Leave a comment at the end of this page or email contact@krishagni.com
CP Settings
- Shraddha Ranpise (Deactivated)
- Tushar Tajane
- Prayuja Teli (Unlicensed)
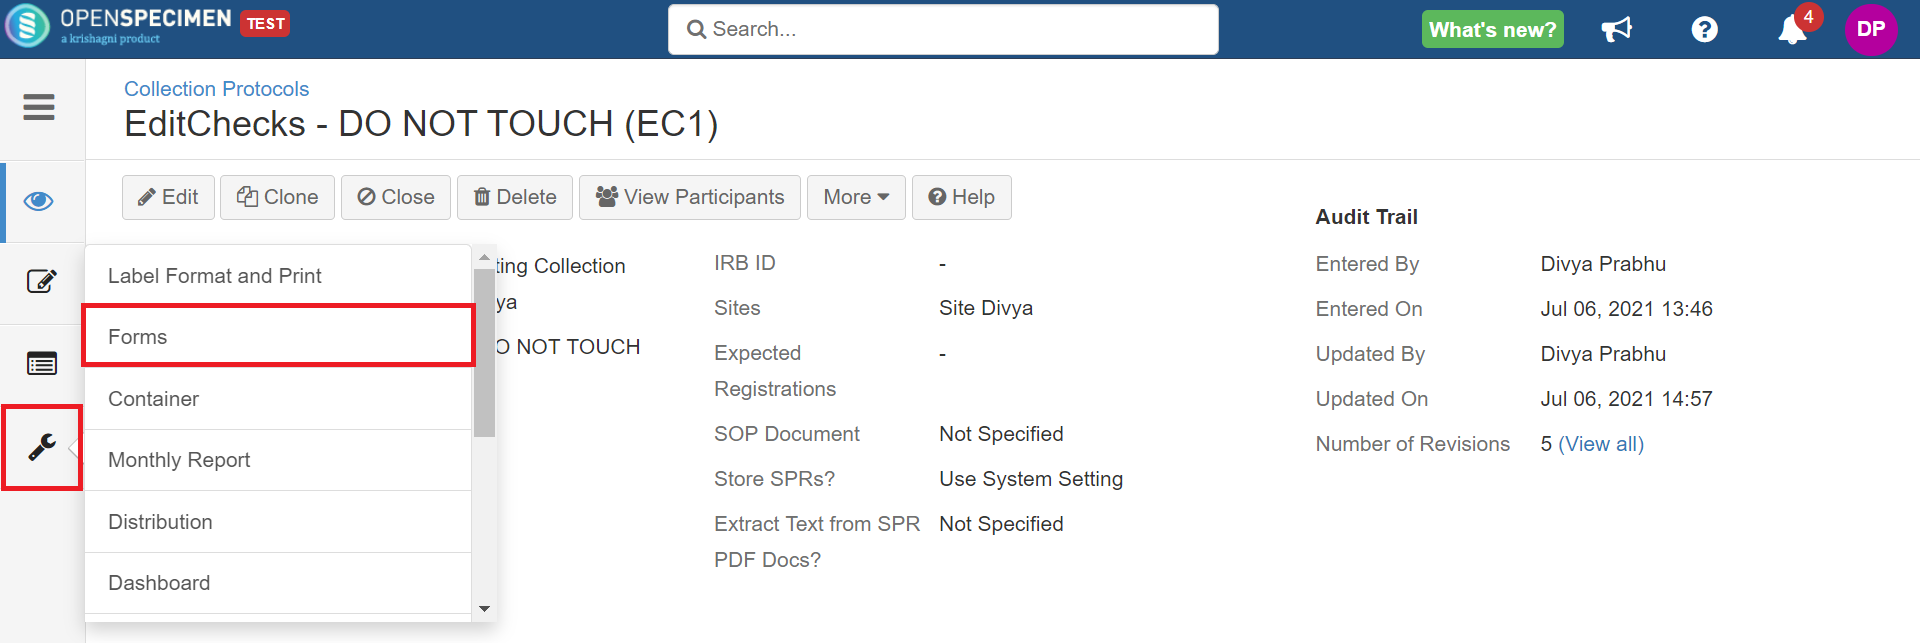
There are various settings to be done at the collection protocol level. To do such settings, click on the 'Settings' tab from the left side menu of the collection protocols overview page.
Label Format and Print
You can specify label format and print settings to autogenerate and print specimen labels/barcodes using the 'Label Format and Print' settings option of a CP.
To define label formats at different levels, click on 'Settings' within a collection protocol and select the 'Label Format and Print' option.
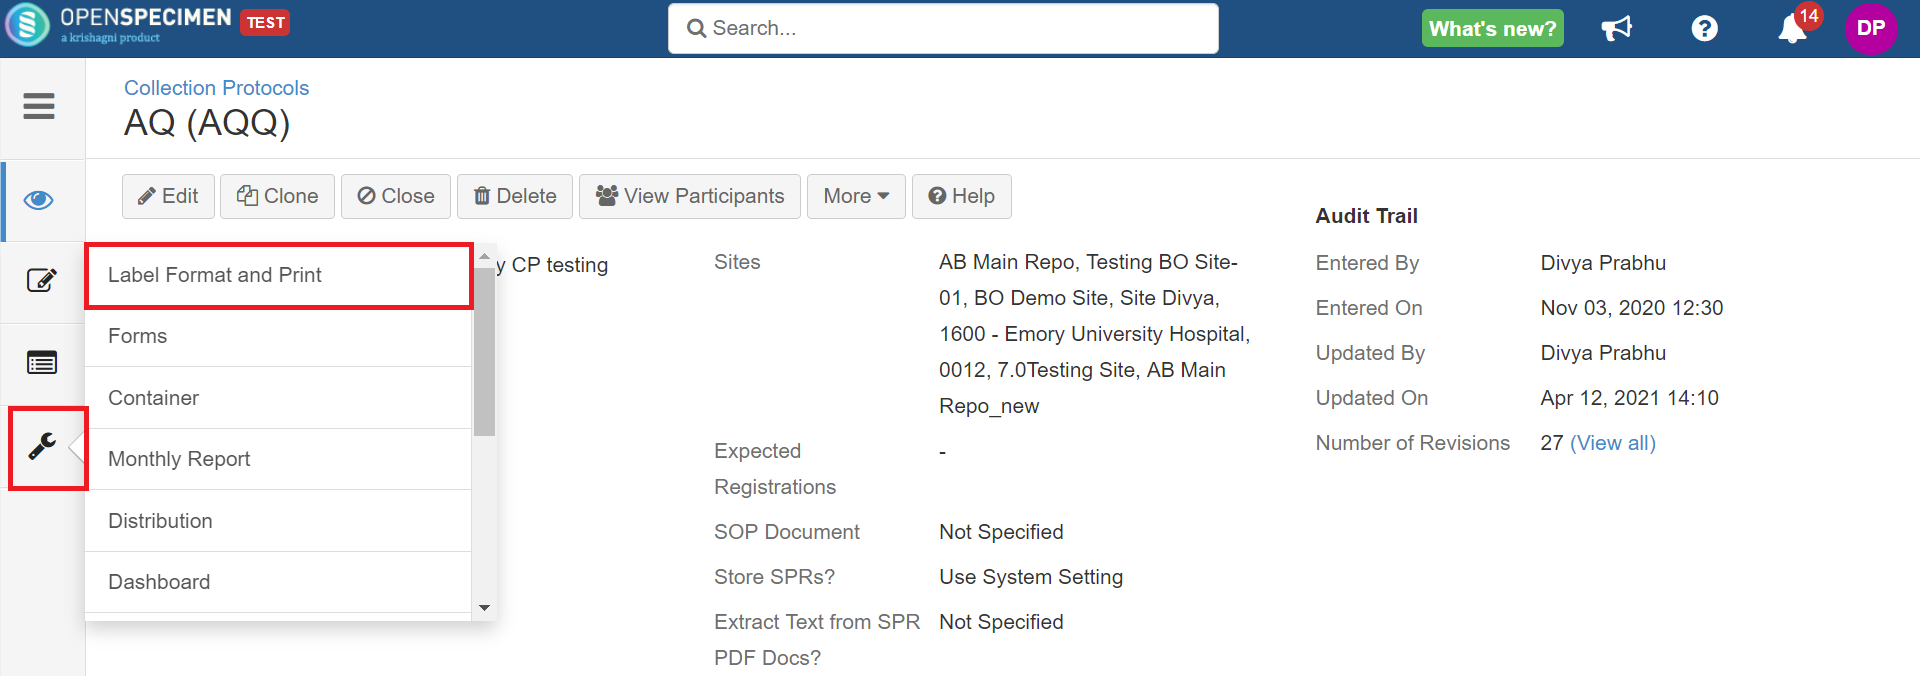
PPID: Applied to each participant as a unique Participant Protocol ID within the collection protocol.
Visit: Applied to all visits created for the collection protocol. Generates a unique name across collection protocols.
Specimen: Applied to all primary specimens created for the collection protocol.
Derivative: Applied to all derivative specimens created in the collection protocol.
Aliquot: Applied to all the aliquots created in the collection protocol. It can be configured at the system level as well. Please refer to System-level aliquot format.
There are similar fields at every requirement level during CP creation. You can define different label formats at each level or keep it the same as defined at the overall CP level.
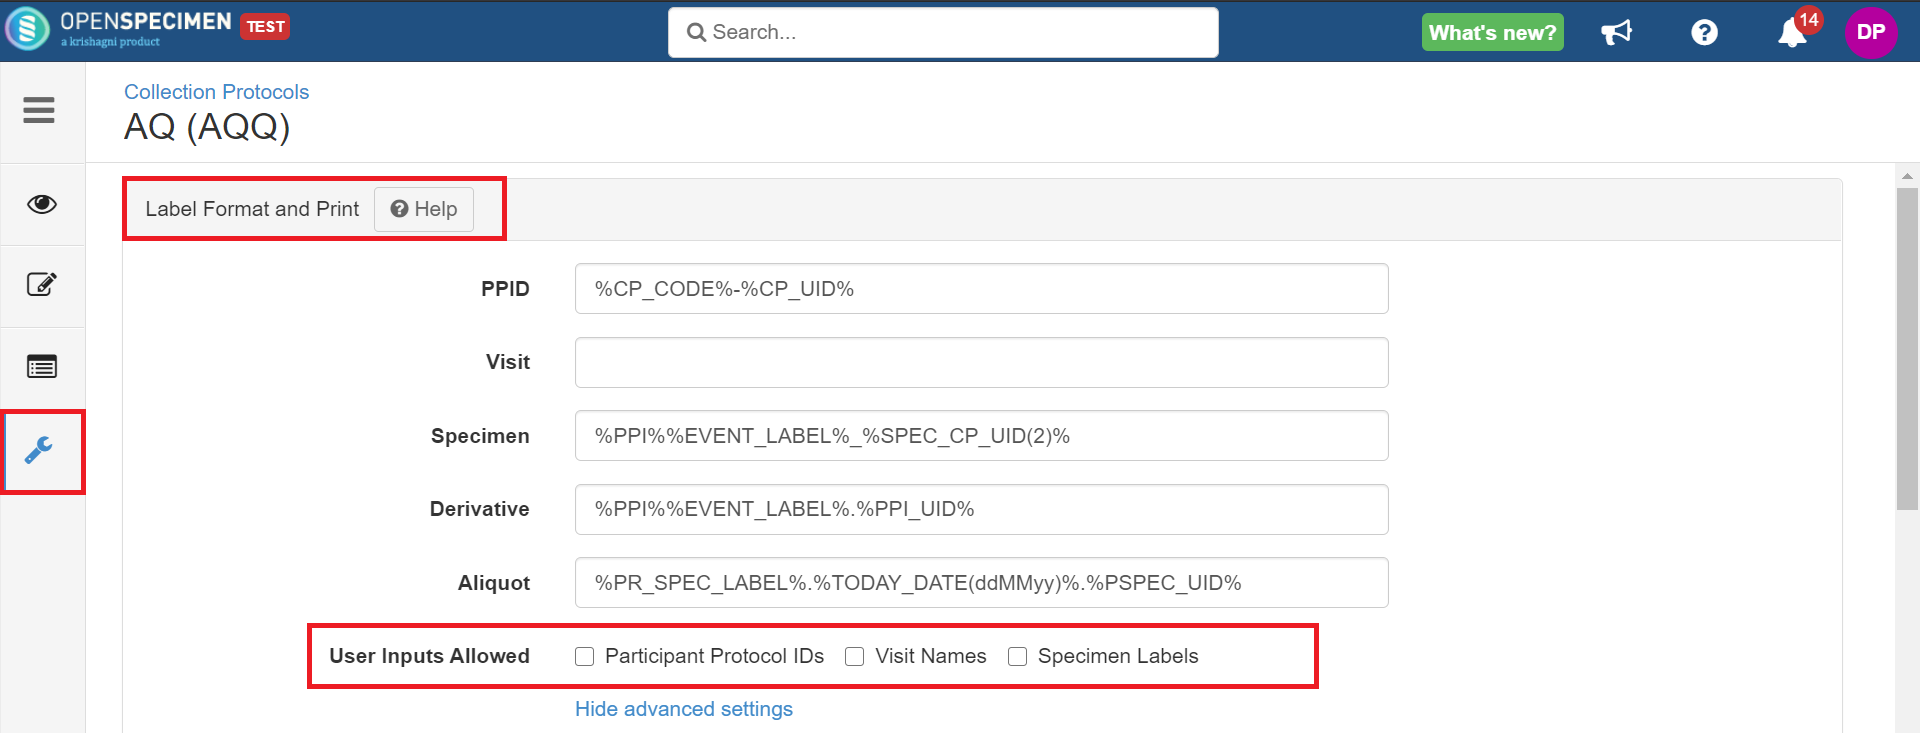
You can also set label printing options at specimen levels. Print settings provide you with the option to pre-print specimen labels or print during collection. Under 'Visit Print Settings' and 'Specimen Print Settings,' enter data of the timing to print labels: pre-print versus on collection and the number of labels that need to be printed.
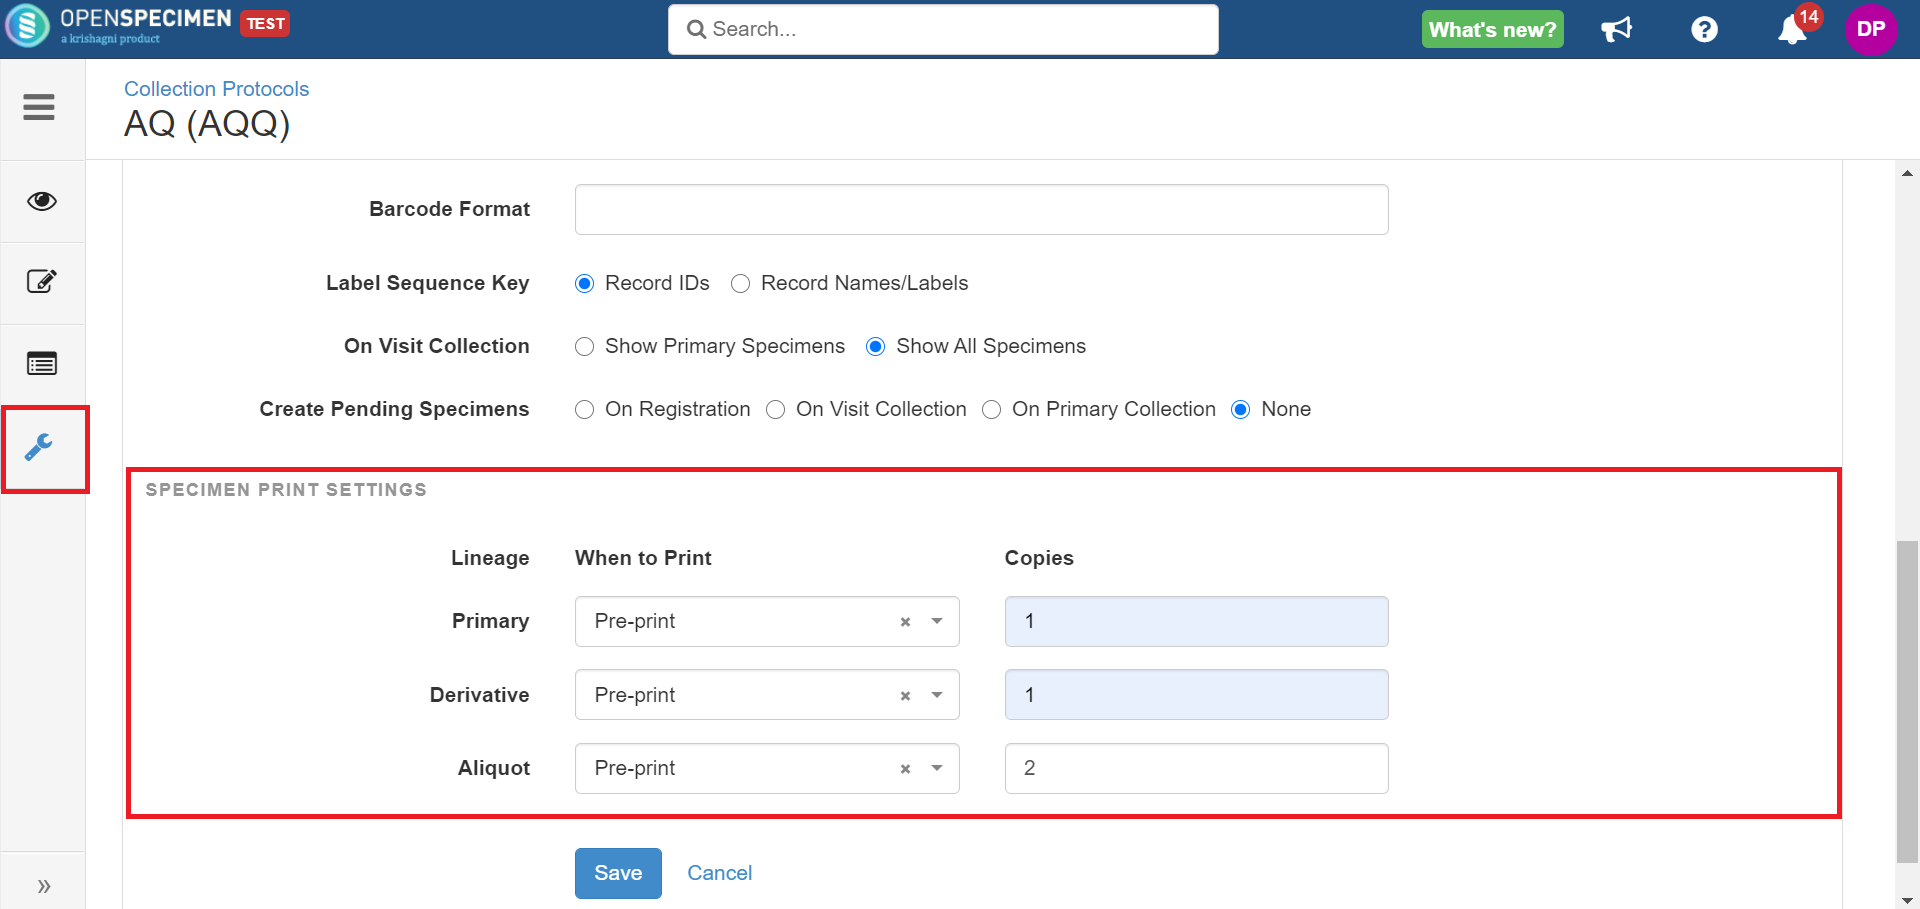
For setting up what needs to be printed on the physical label, your system administrator can do it by referring to the wiki page.
Zero Out Specimen Quantity: It will make specimen quantity zero when you close the specimens.
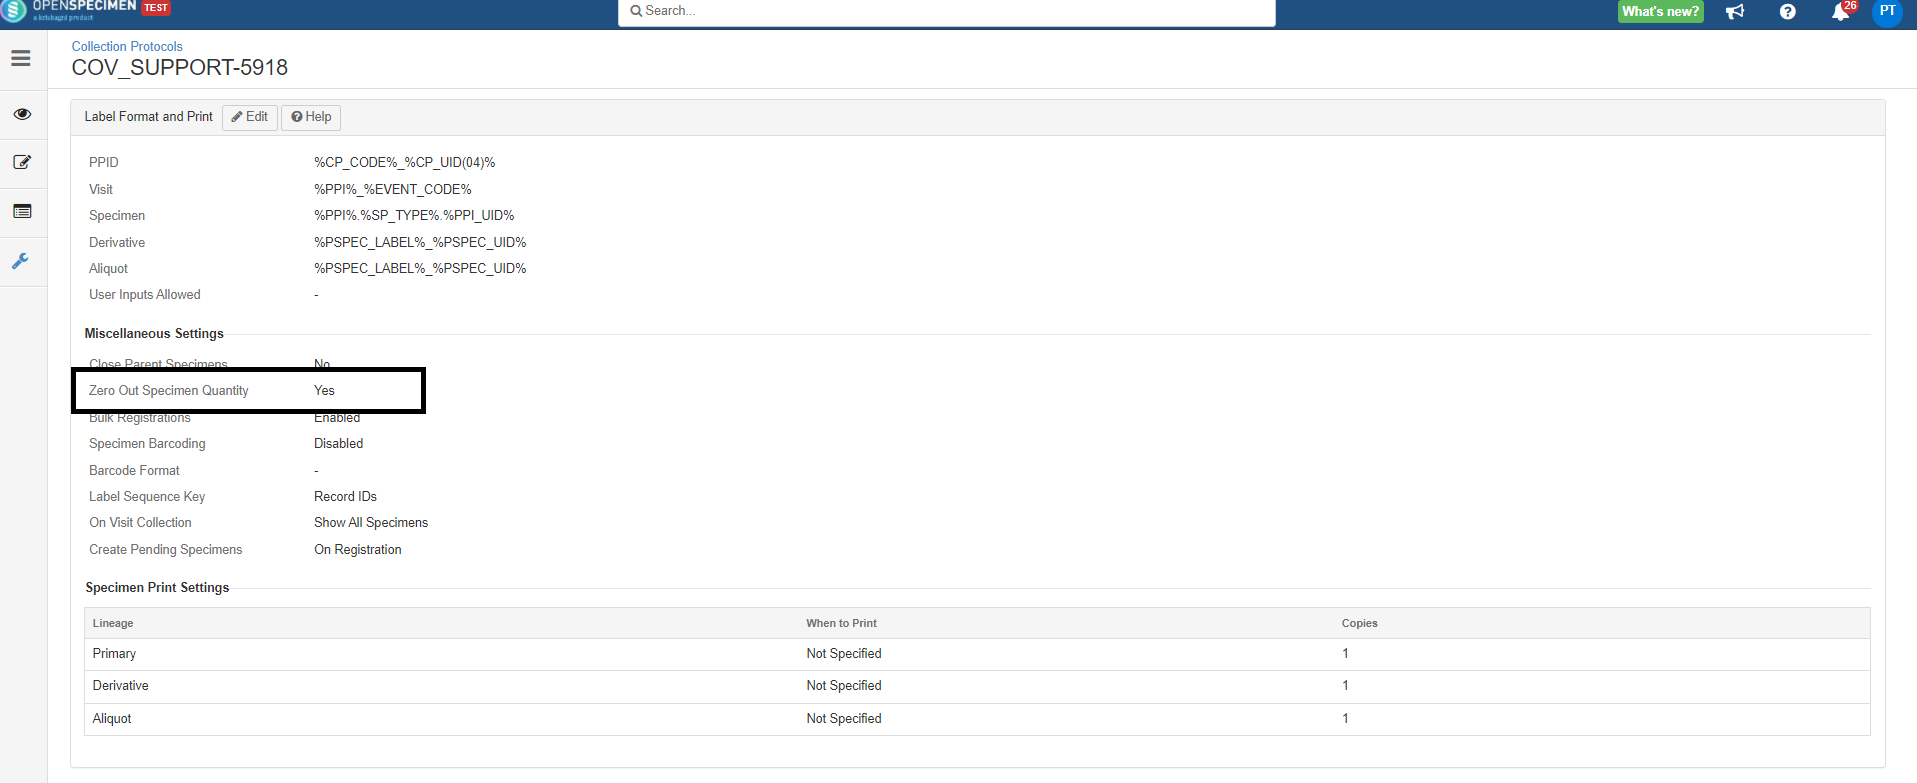
Zero Out Specimen Quantity
Forms
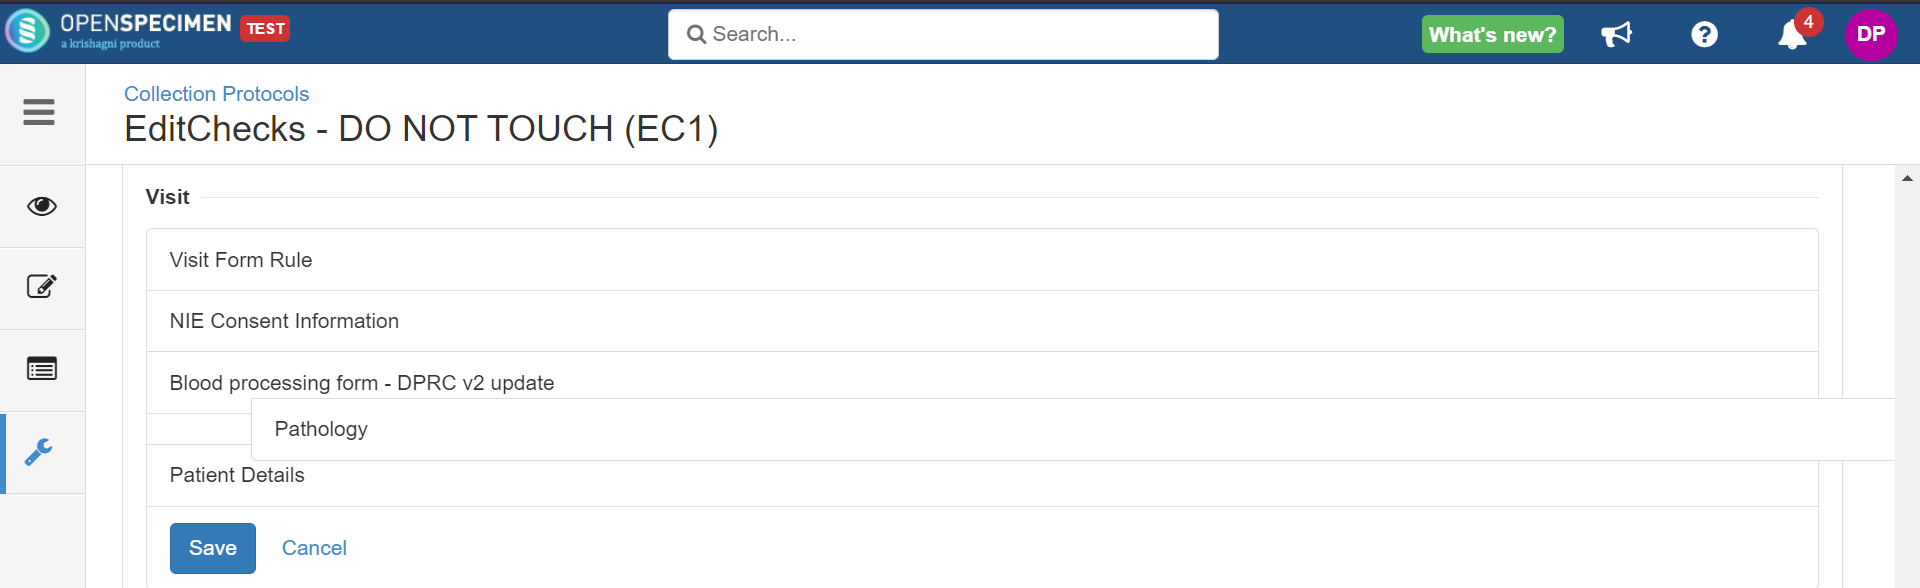
You change the order of data entry forms at respective levels (Participant, Collection Protocol Registration, Visit, and Specimen) through collection protocol settings.
To change forms order, click on 'Settings' within a collection protocol and select the 'Forms' option.
Drag and drop the forms as you want the order of the forms to be and click on 'Save'.
Container
You can auto-allocate the container or can manually select the container to store the specimens. Refer to the wiki page for more details.
Distribution
Often collection protocol is created for a specific project. The specimens collected from such CP should be distributed using the distribution protocol created for the respective project.
To achieve that, OpenSpecimen allows linking a CP to one or more distribution protocols.
Once the DP is linked with a CP, the following features are enabled:
- One-click distribution of the specimens within the collection protocol
- Validation during distribution to avoid distributing specimens to a different distribution protocol
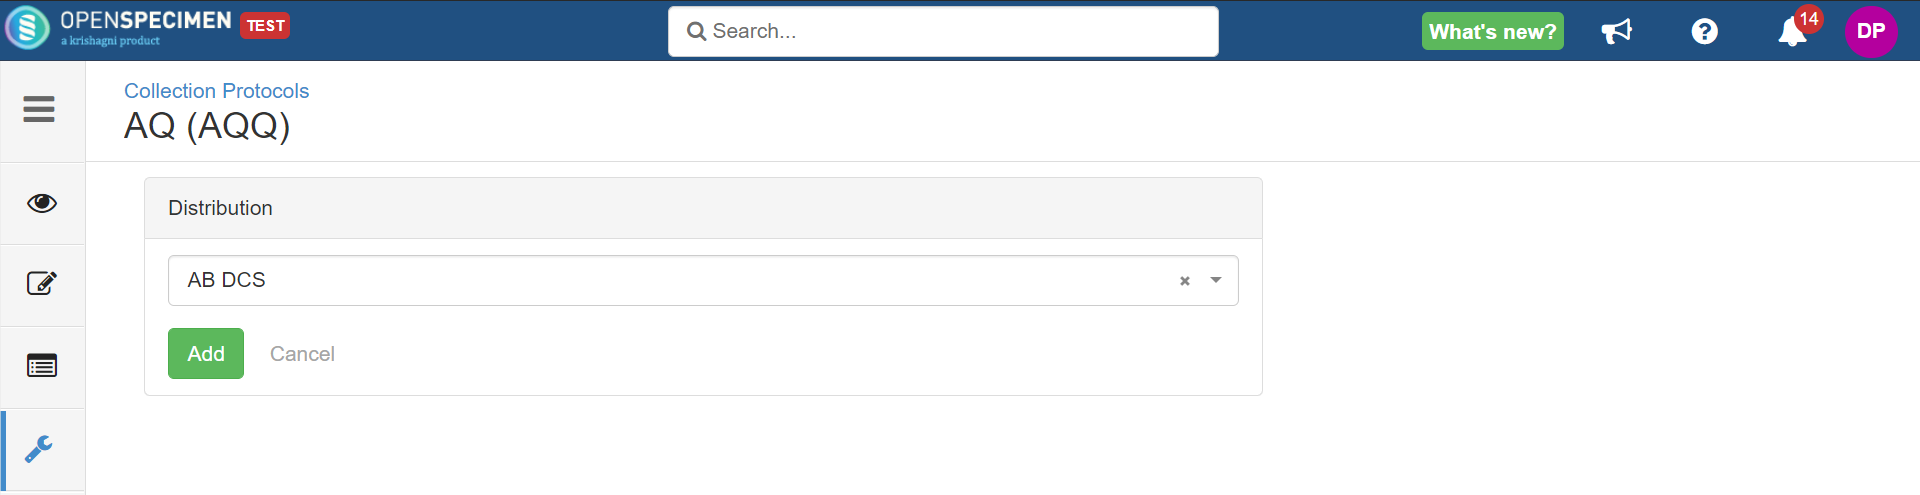
To link a distribution protocol to CP, go to 'Collection Protocols' → Select the CP → Settings →'Distribution' and click on 'Add Distribution Protocol'.
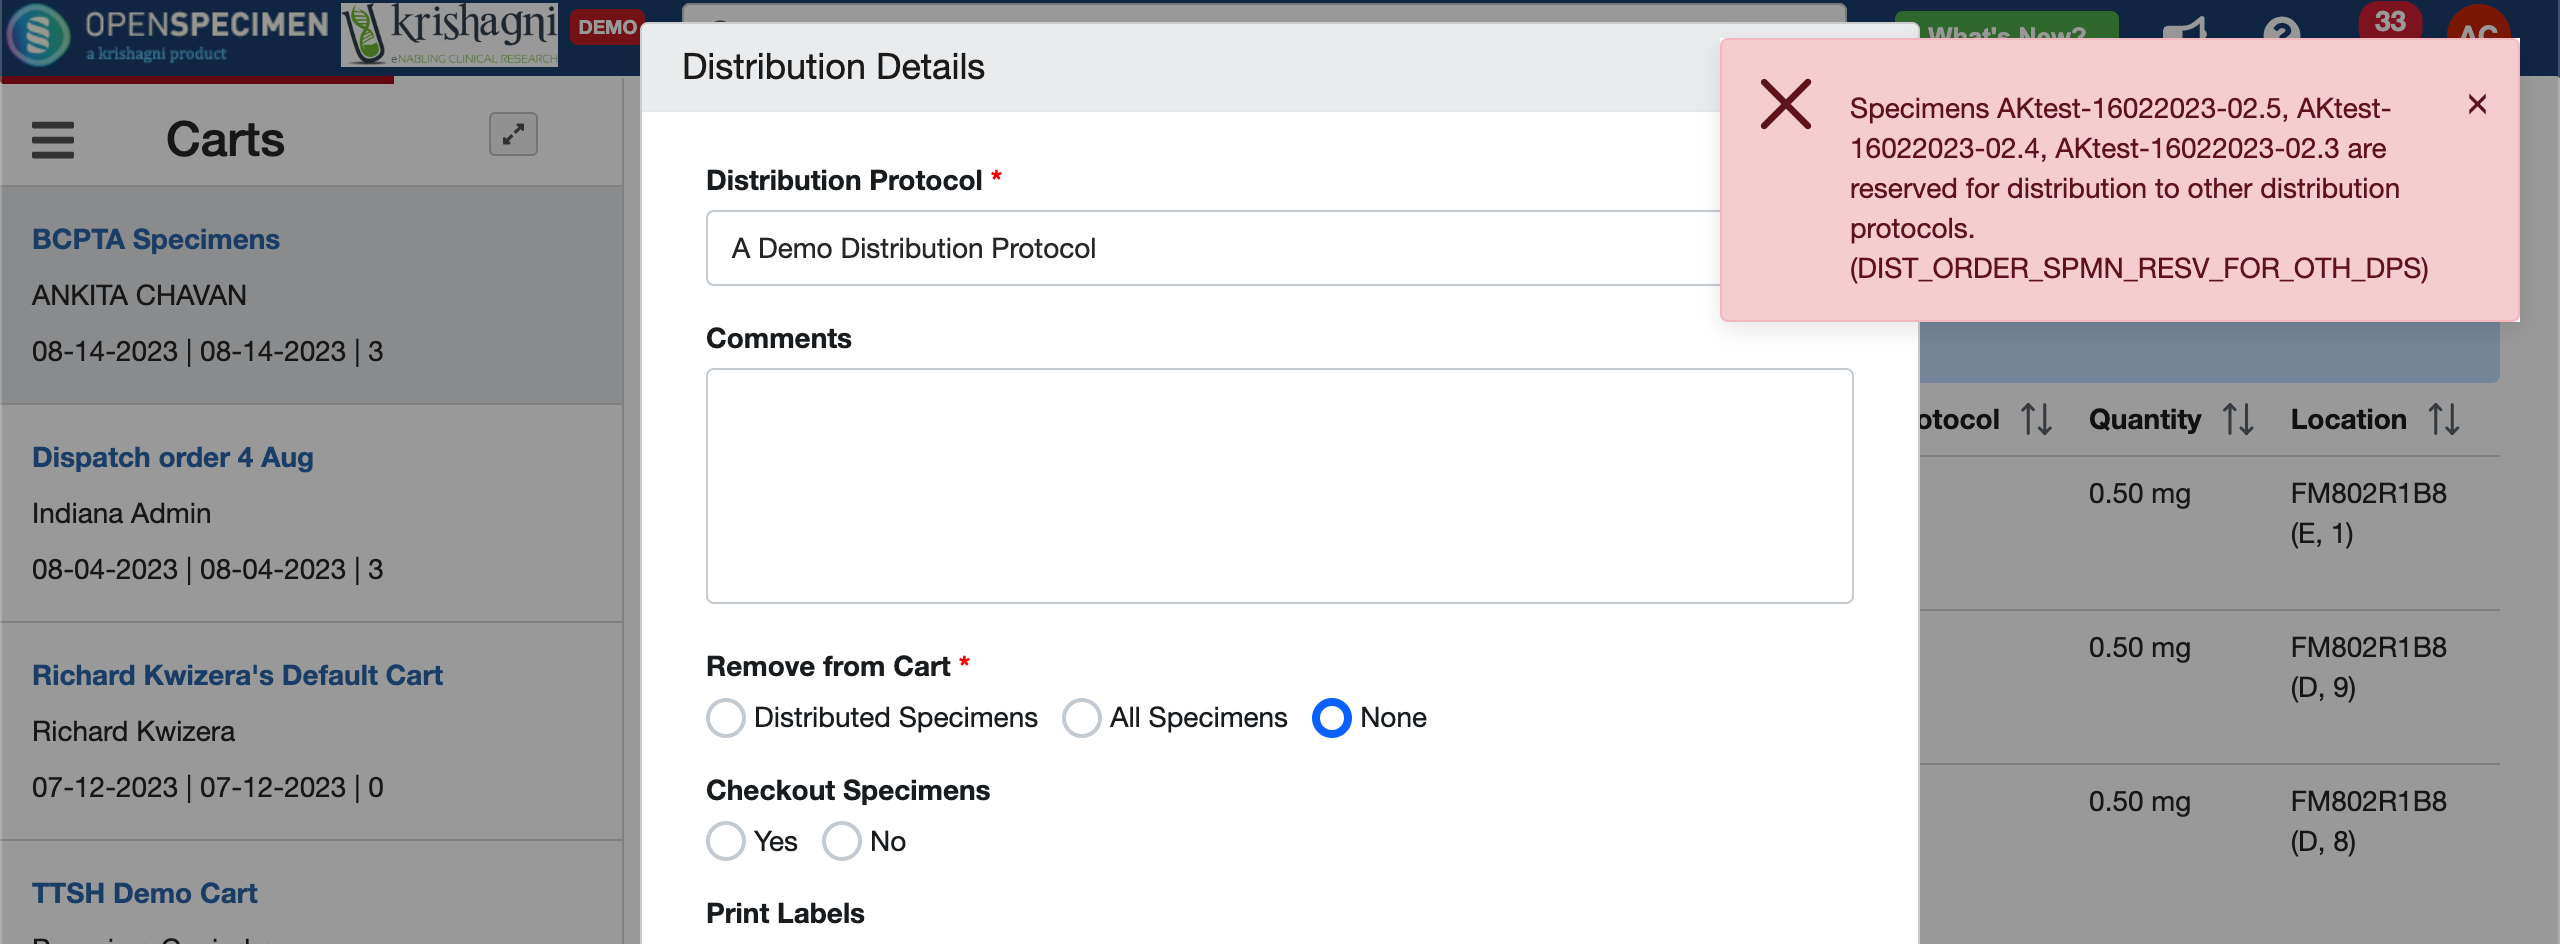
If you've linked a DP to a CP, you cannot distribute the specimens of that CP to any other distribution protocol.
If users try to distribute the specimen to other DP, below error is thrown.
Dashboard
The dashboard is an enterprise plugin available to display different metrics and graphs per protocol within OpenSpecimen. A default dashboard is installed for every protocol and can be further customized as per local needs. Refer wiki page to configure the dashboard and setting to a CP.
Catalog
You can configure any catalog for a CP. Refer wiki page to create and set a catalog for a CP.
Email Template
Users can send the Newsletter to the participants using an Email Template feature.
Pre-requisite:
- User has to set the Messaging (Wiki) Group. Collection Protocol Overview → Settings → Messaging.
The above settings enable the user to send the Emails/Newsletter to the participant.
- Navigates to Collection Protocol Overview → Settings → Email Template, and create the Newsletter based on your requirements.

How to send a Newsletter to the participant?
- Navigates to the Participant Overview → Messages Tab
- Click on the Send Email button → Select New Letter → Send

Leave a comment at the end of this page or email contact@krishagni.com