Leave a comment at the end of this page or email contact@krishagni.com
Rearrange specimens when changing container position assignment
- Neha Nimgire (Unlicensed)
- Prayuja Teli (Unlicensed)
The position assignment option at the container level helps users choose the strategy for specimen allocation when storing the samples, whether horizontal or vertical, top to down/ down to the top, left to right/right to left, etc.
The system does not rearrange the specimens within the box on updating the container position assignment. For example, if a specimen is stored at position 2 ('Horizontal to vertical top-down, left to right' current assignment) and user changes the allocation strategy to 'Horizontal, bottom-up, left to right,' then the position label changes to 92 (10x10 box), and the specimen is not moved to position 2 at the bottom.
Rearrange specimens when changing container position assignment through bulk import
The assignment will affect the allocation strategy of future samples only. To change the positions of the existing samples in the box, follow the steps mentioned below:
- Retain the original position assignment (for example - 'Horizontal to vertical top-down, left to right')
- Create a query for the container with the filter 'Container Name' → Equals → <Add container name> then click on 'View Results'
- Export the data with the columns - 'Specimen Label,' 'Container Name,' and 'Container Position.'
- Change the position assigned to the expected.
- Change the headers in the query exported file to 'Specimen Label,' 'Location#Container', and 'Location#Position.'
- Import the file with import type as 'Update' for specimens
Rearrange specimens when changing container position assignment through UI
Steps:
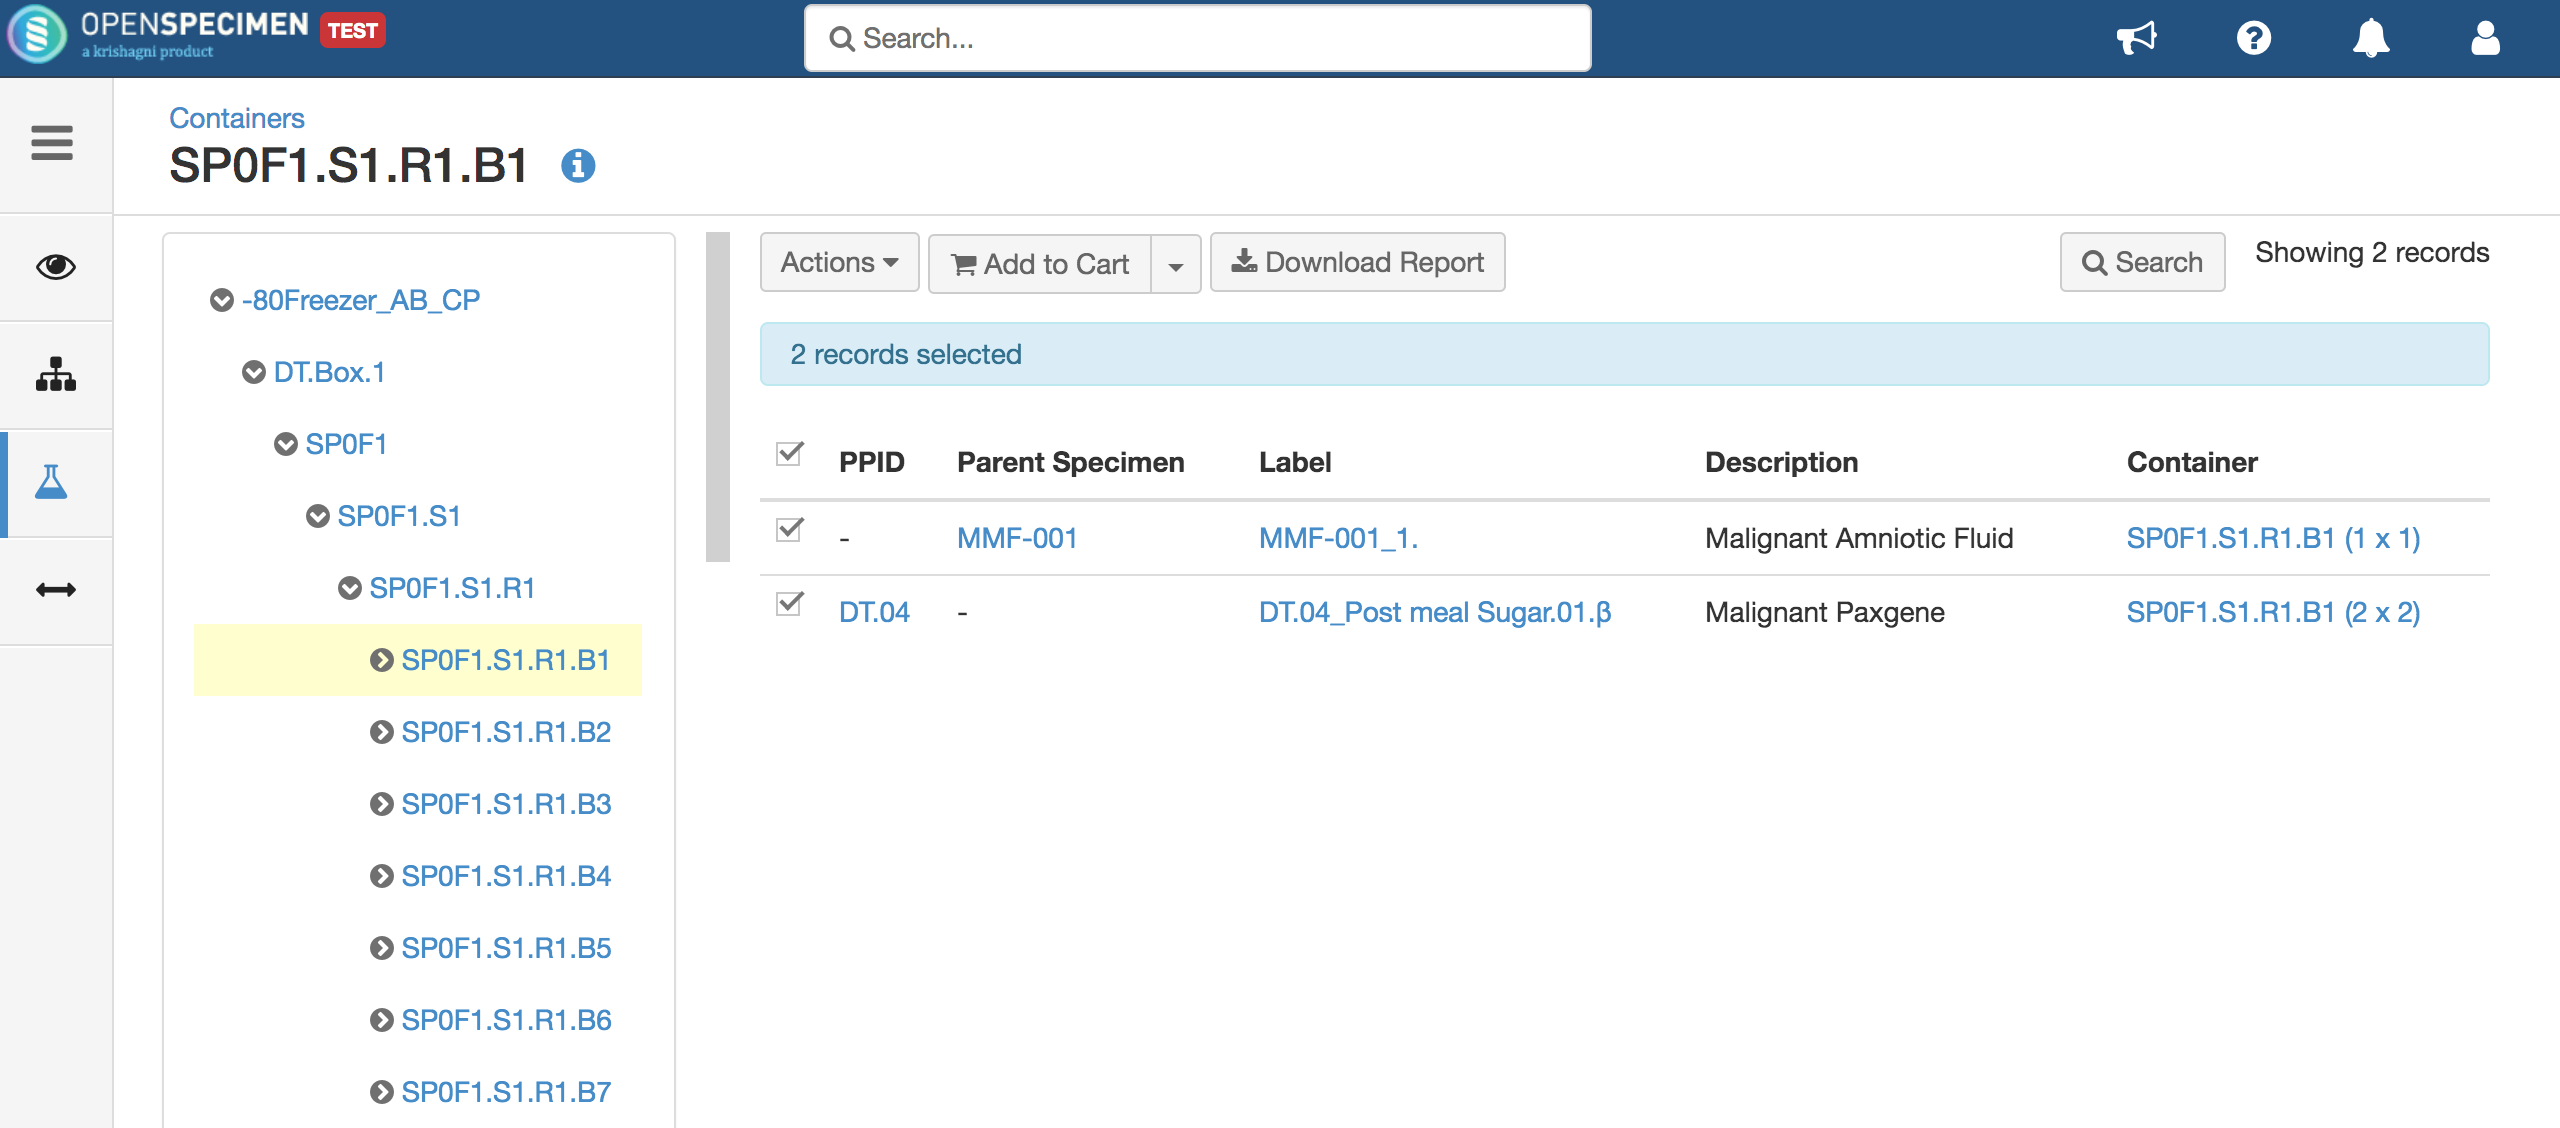
- Go to the specimen tab under a specific container. Select the specimen for which you wish to move the position.
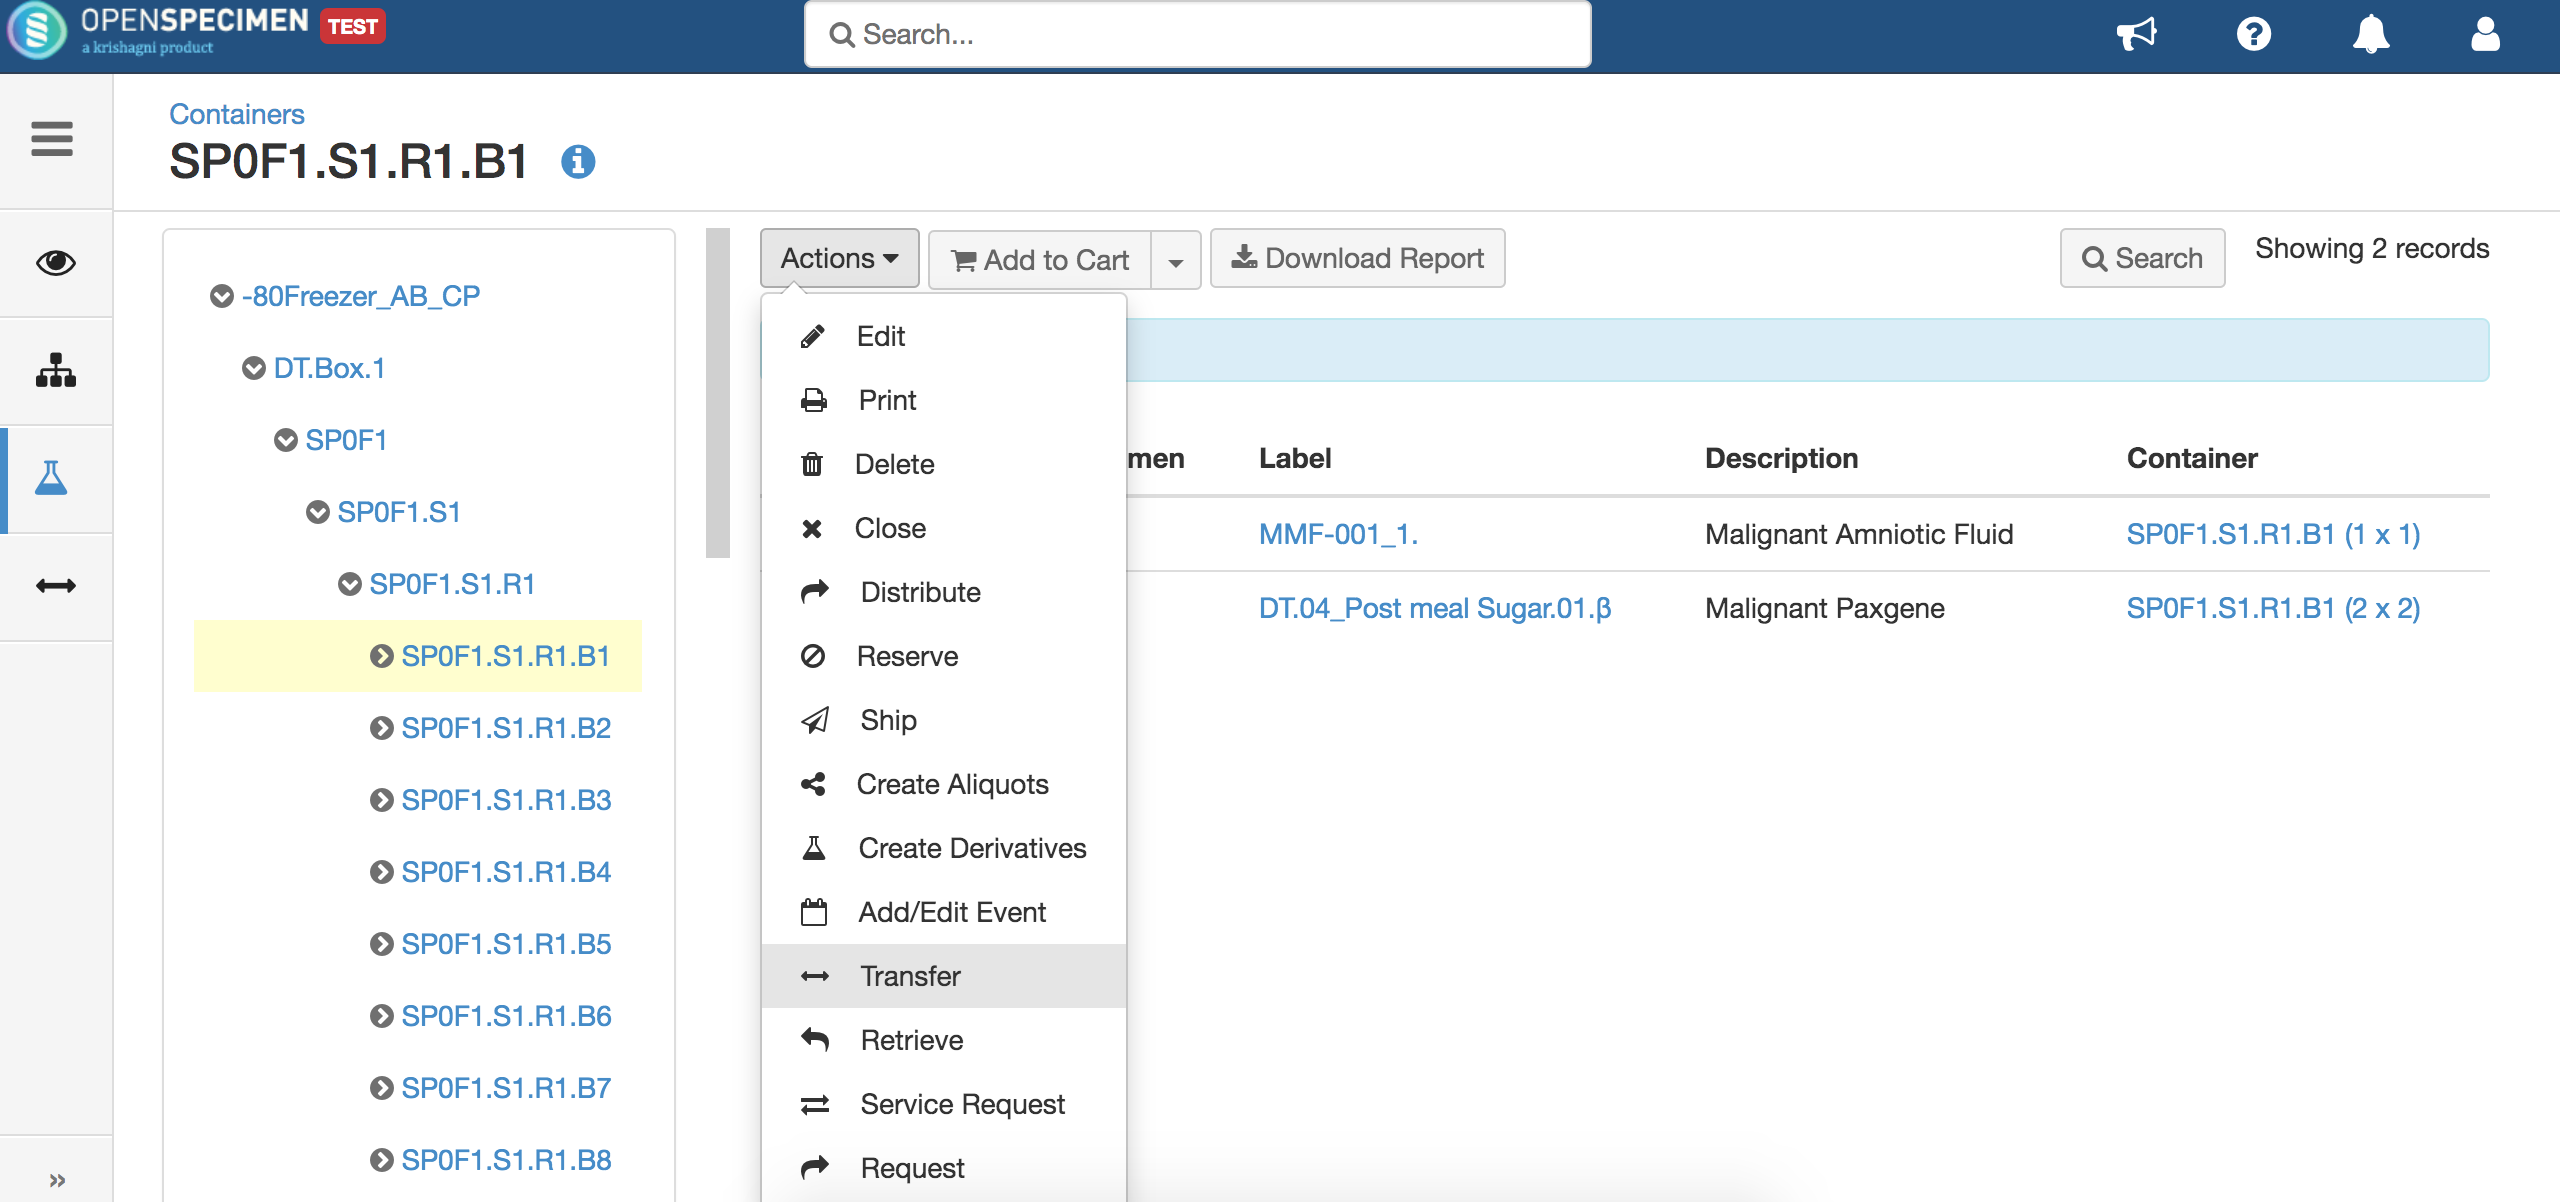
2. Click on the 'Action' button and select the transfer option.
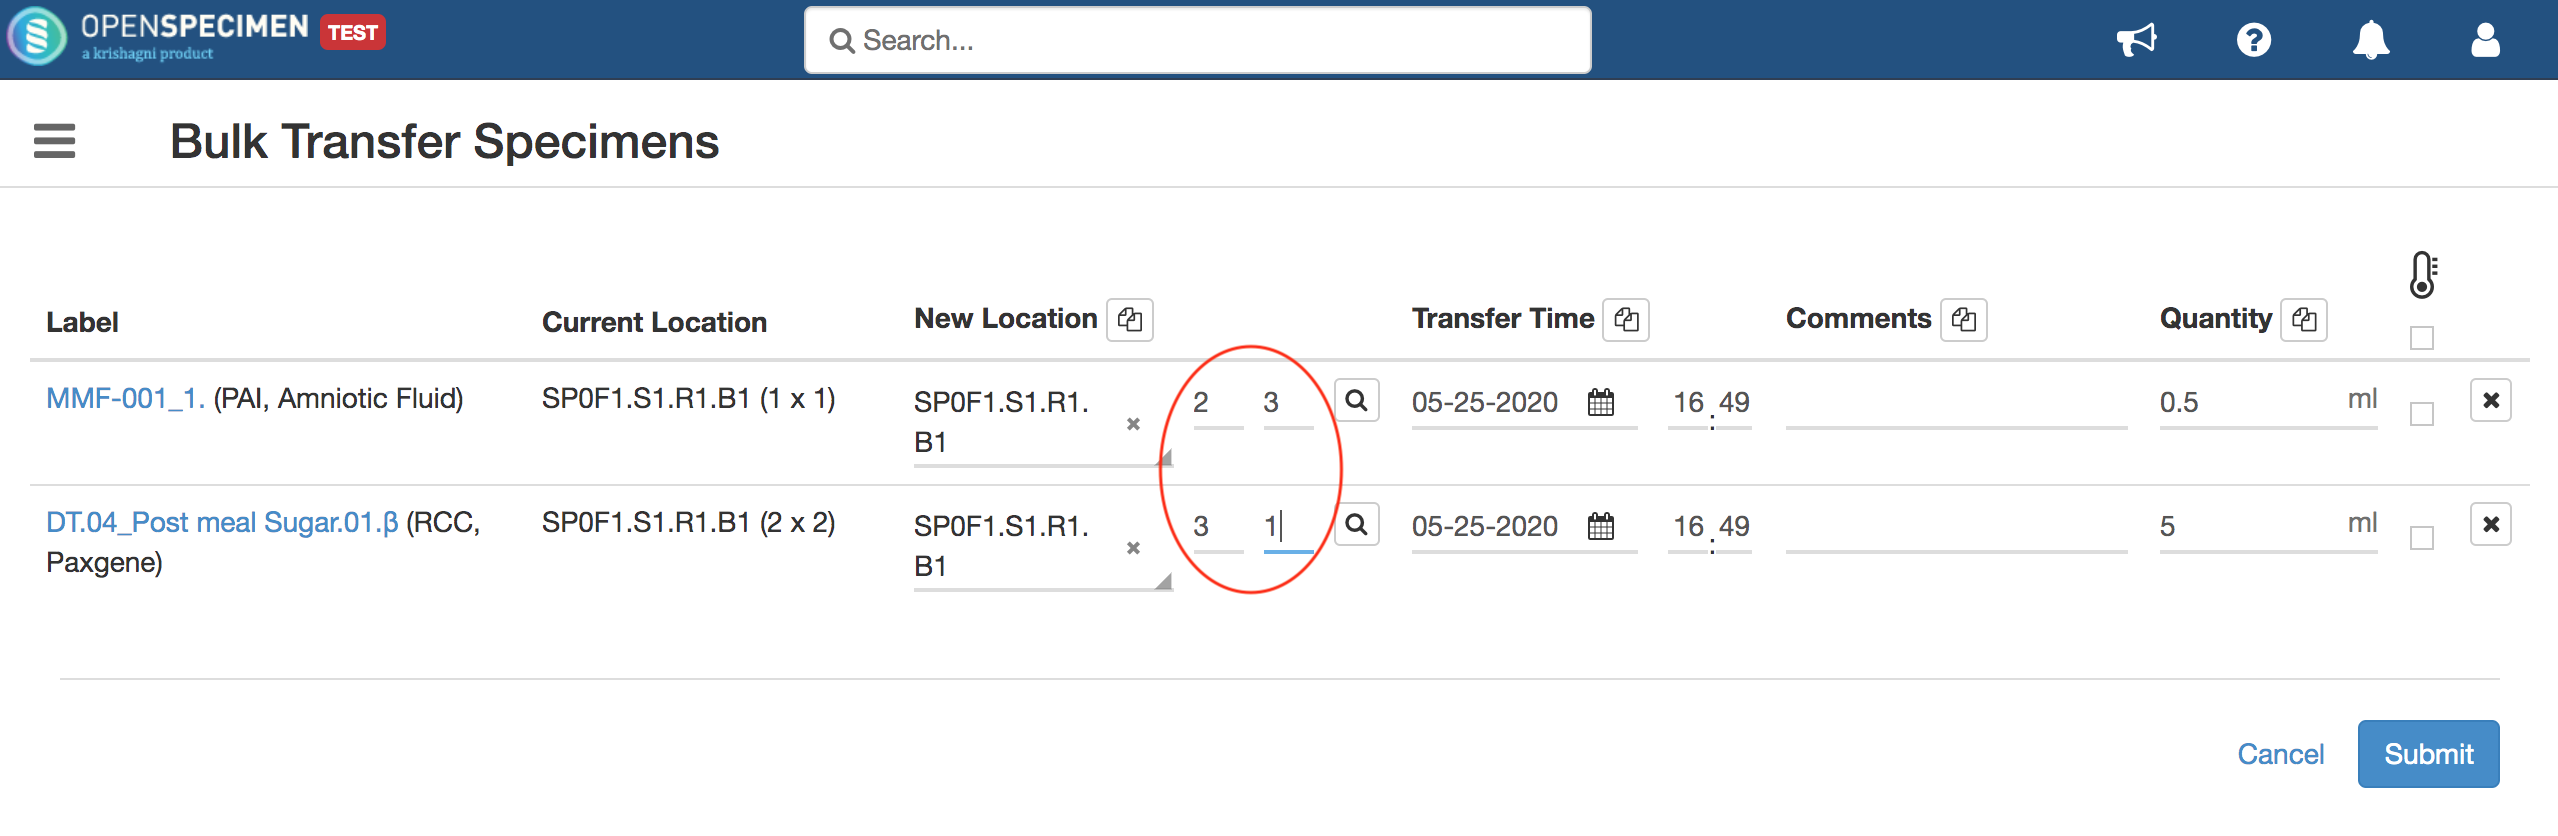
3. Provide the same container name, add the new positions as shown below, and click the submit button.
Related content
Leave a comment at the end of this page or email contact@krishagni.com