/
Move specimens from one container to another
Got feedback or spotted a mistake?
Leave a comment at the end of this page or email contact@krishagni.com
Move specimens from one container to another
- pooja kulkarni (Deactivated)
- Prayuja Teli (Unlicensed)
- Neha Nimgire (Unlicensed)
Owned by pooja kulkarni (Deactivated)
Last updated: May 25, 2020 by Prayuja Teli (Unlicensed)
Question: How to move specimens without making them virtual?
Answer: Specimens can be moved from one container to another from UI or bulk import as given below.
Update specimen's location through UI
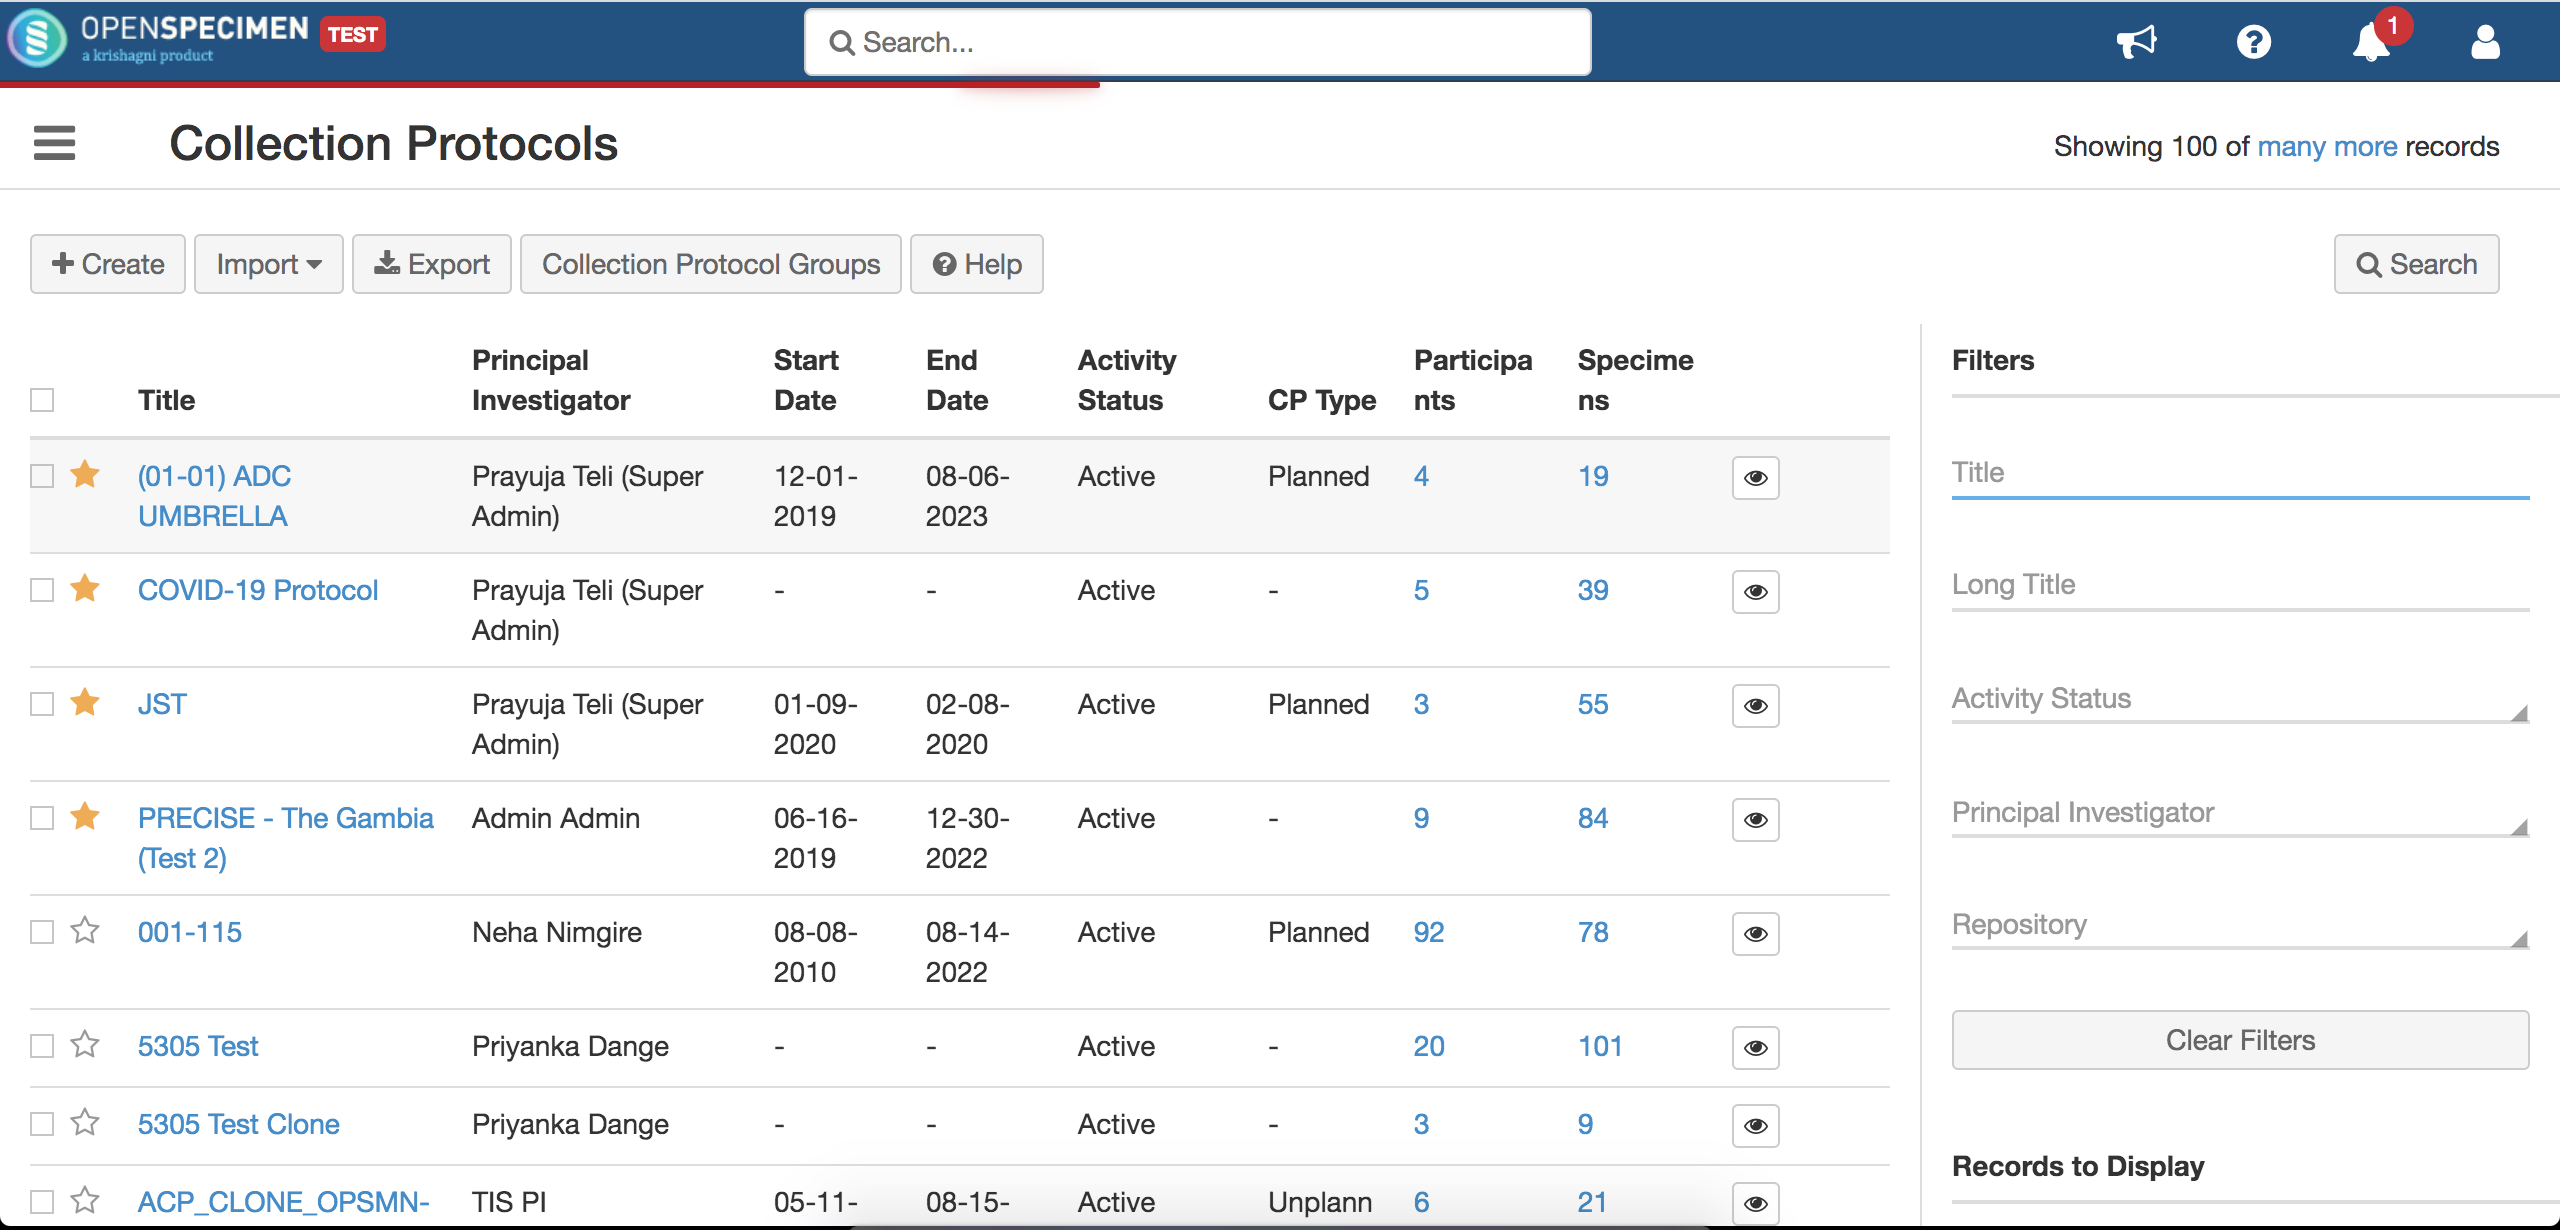
- Go to Collection Protocols page, select the desired Collection Protocol.
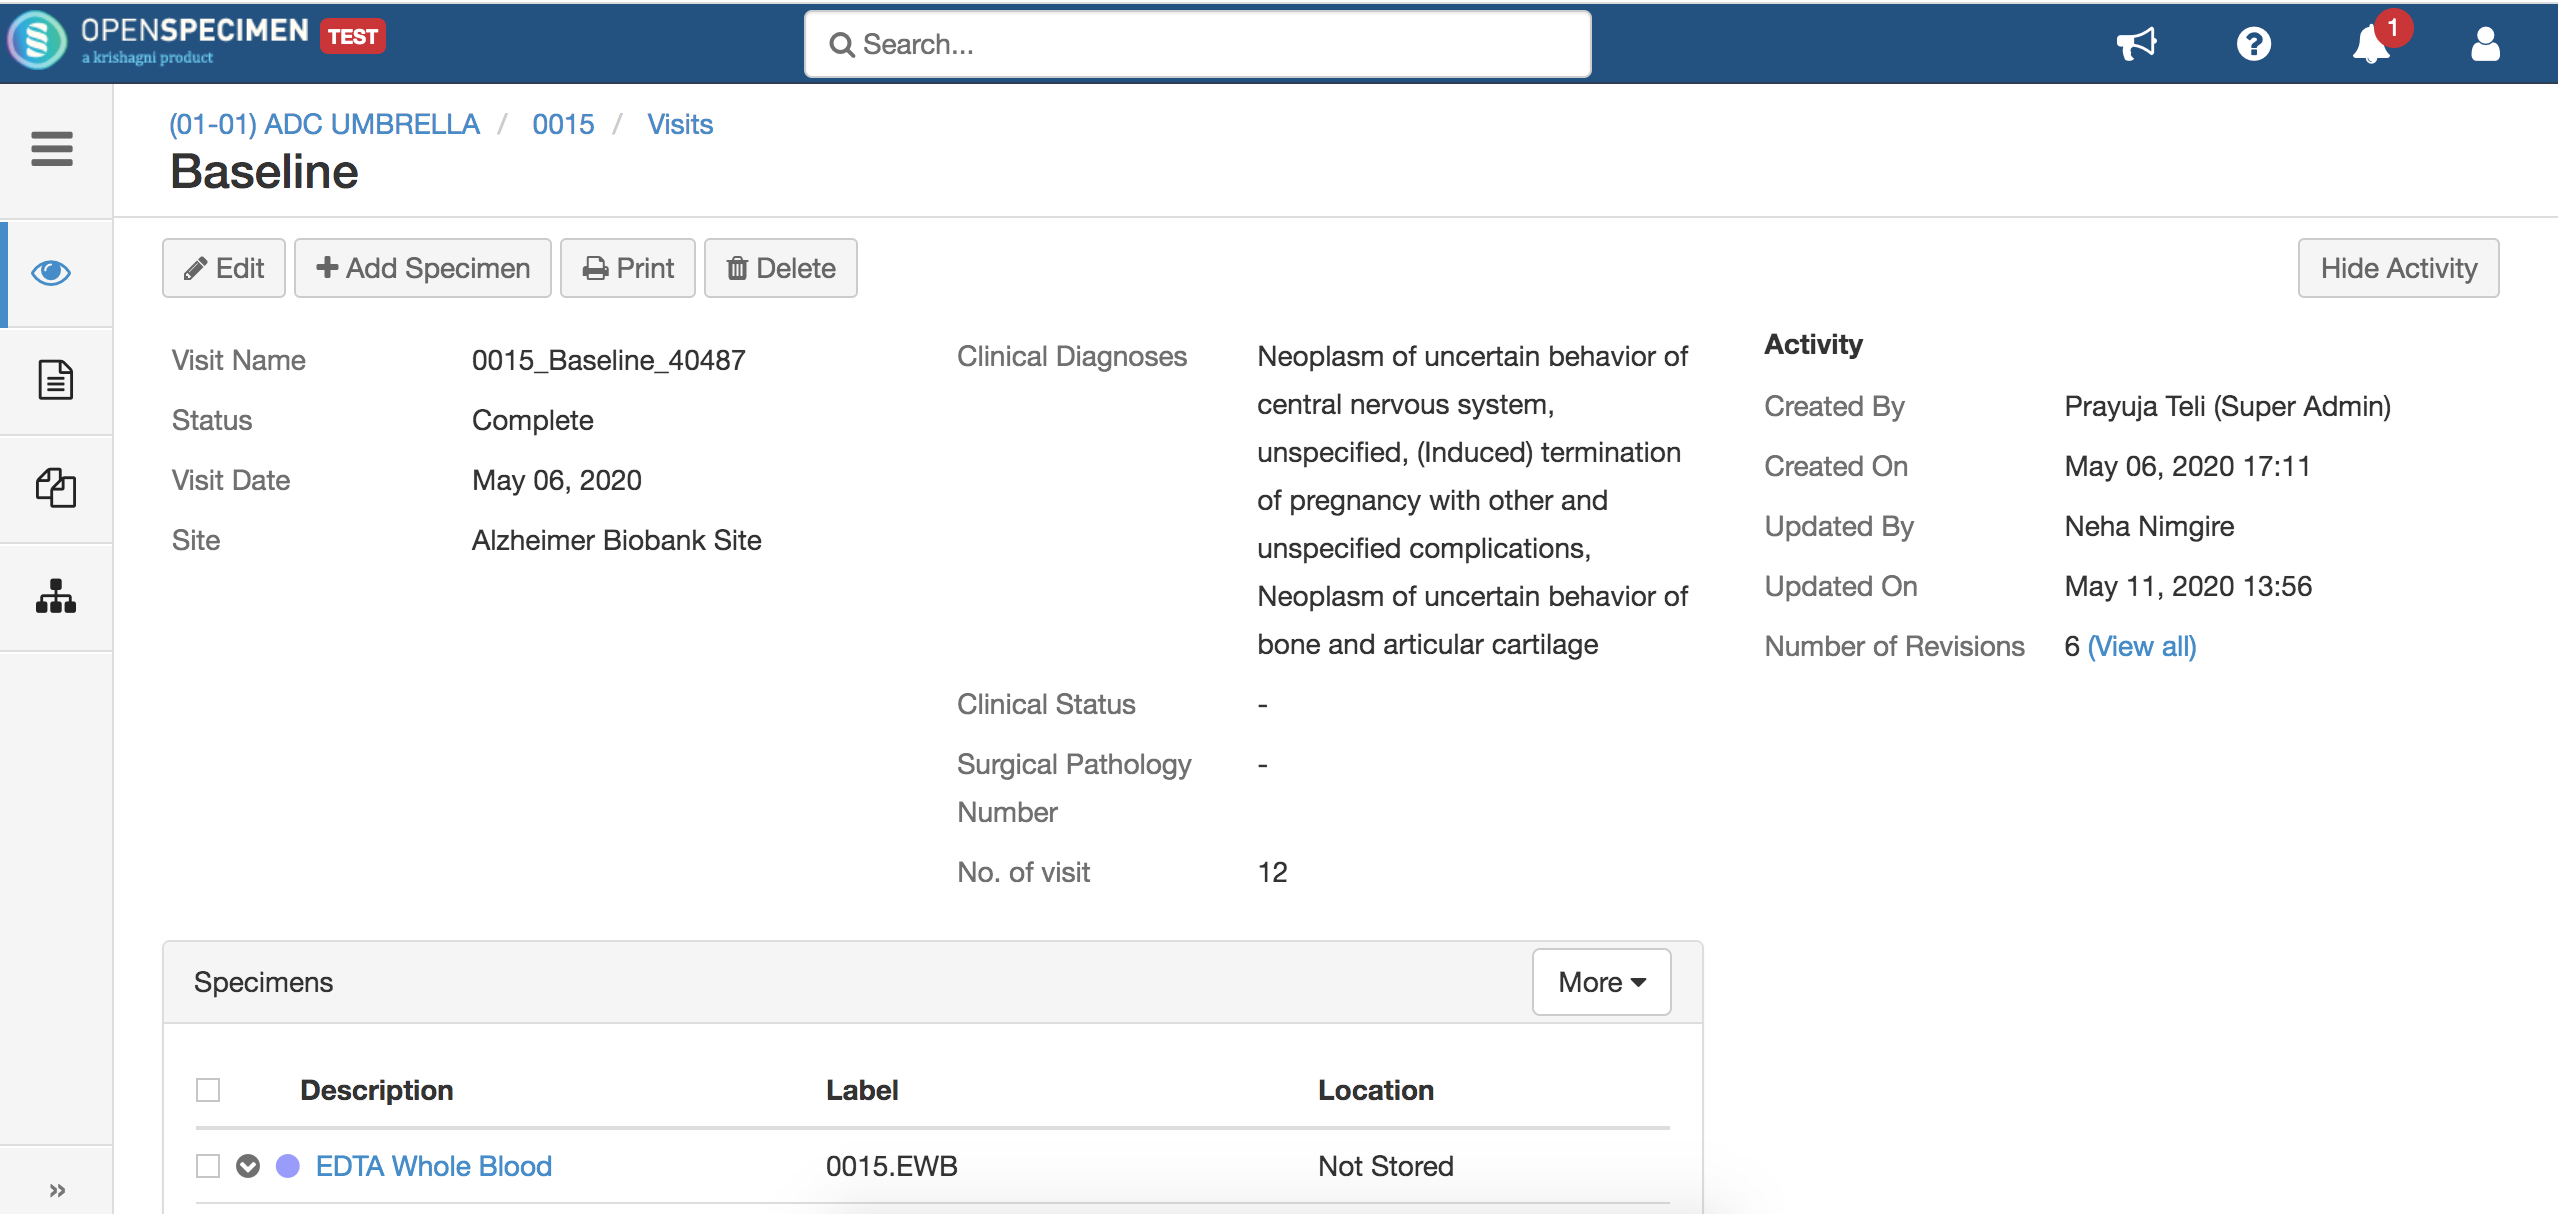
- Click on the participant and further on a visit having the specimen to be edited.
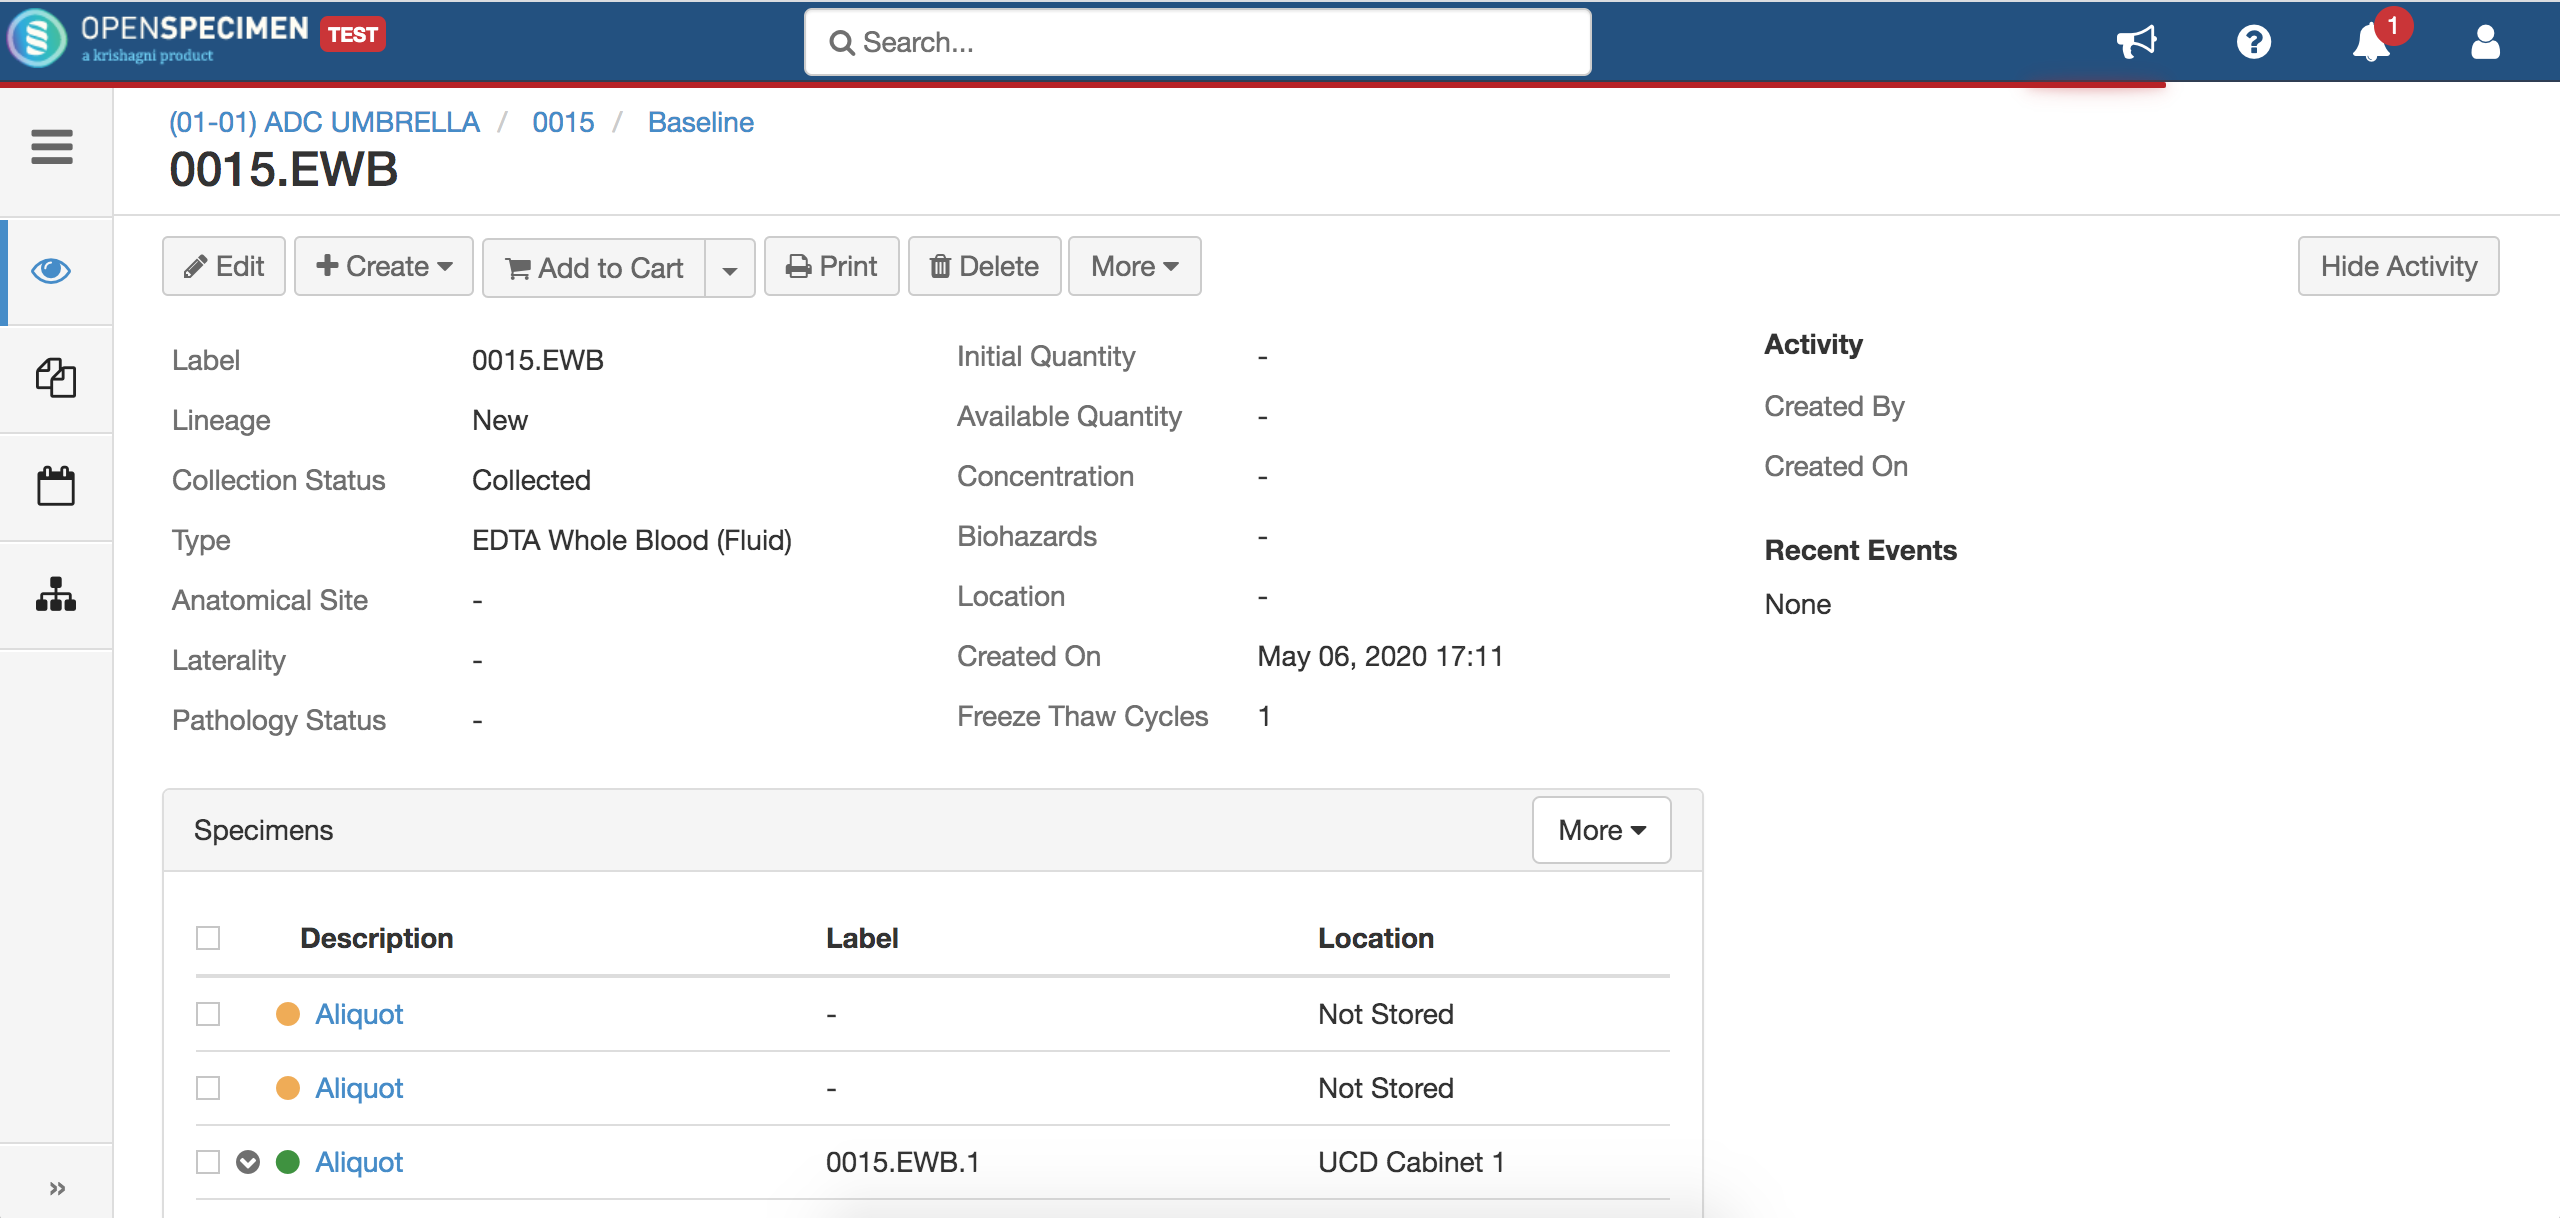
- Click on the specimen and further on "Edit".
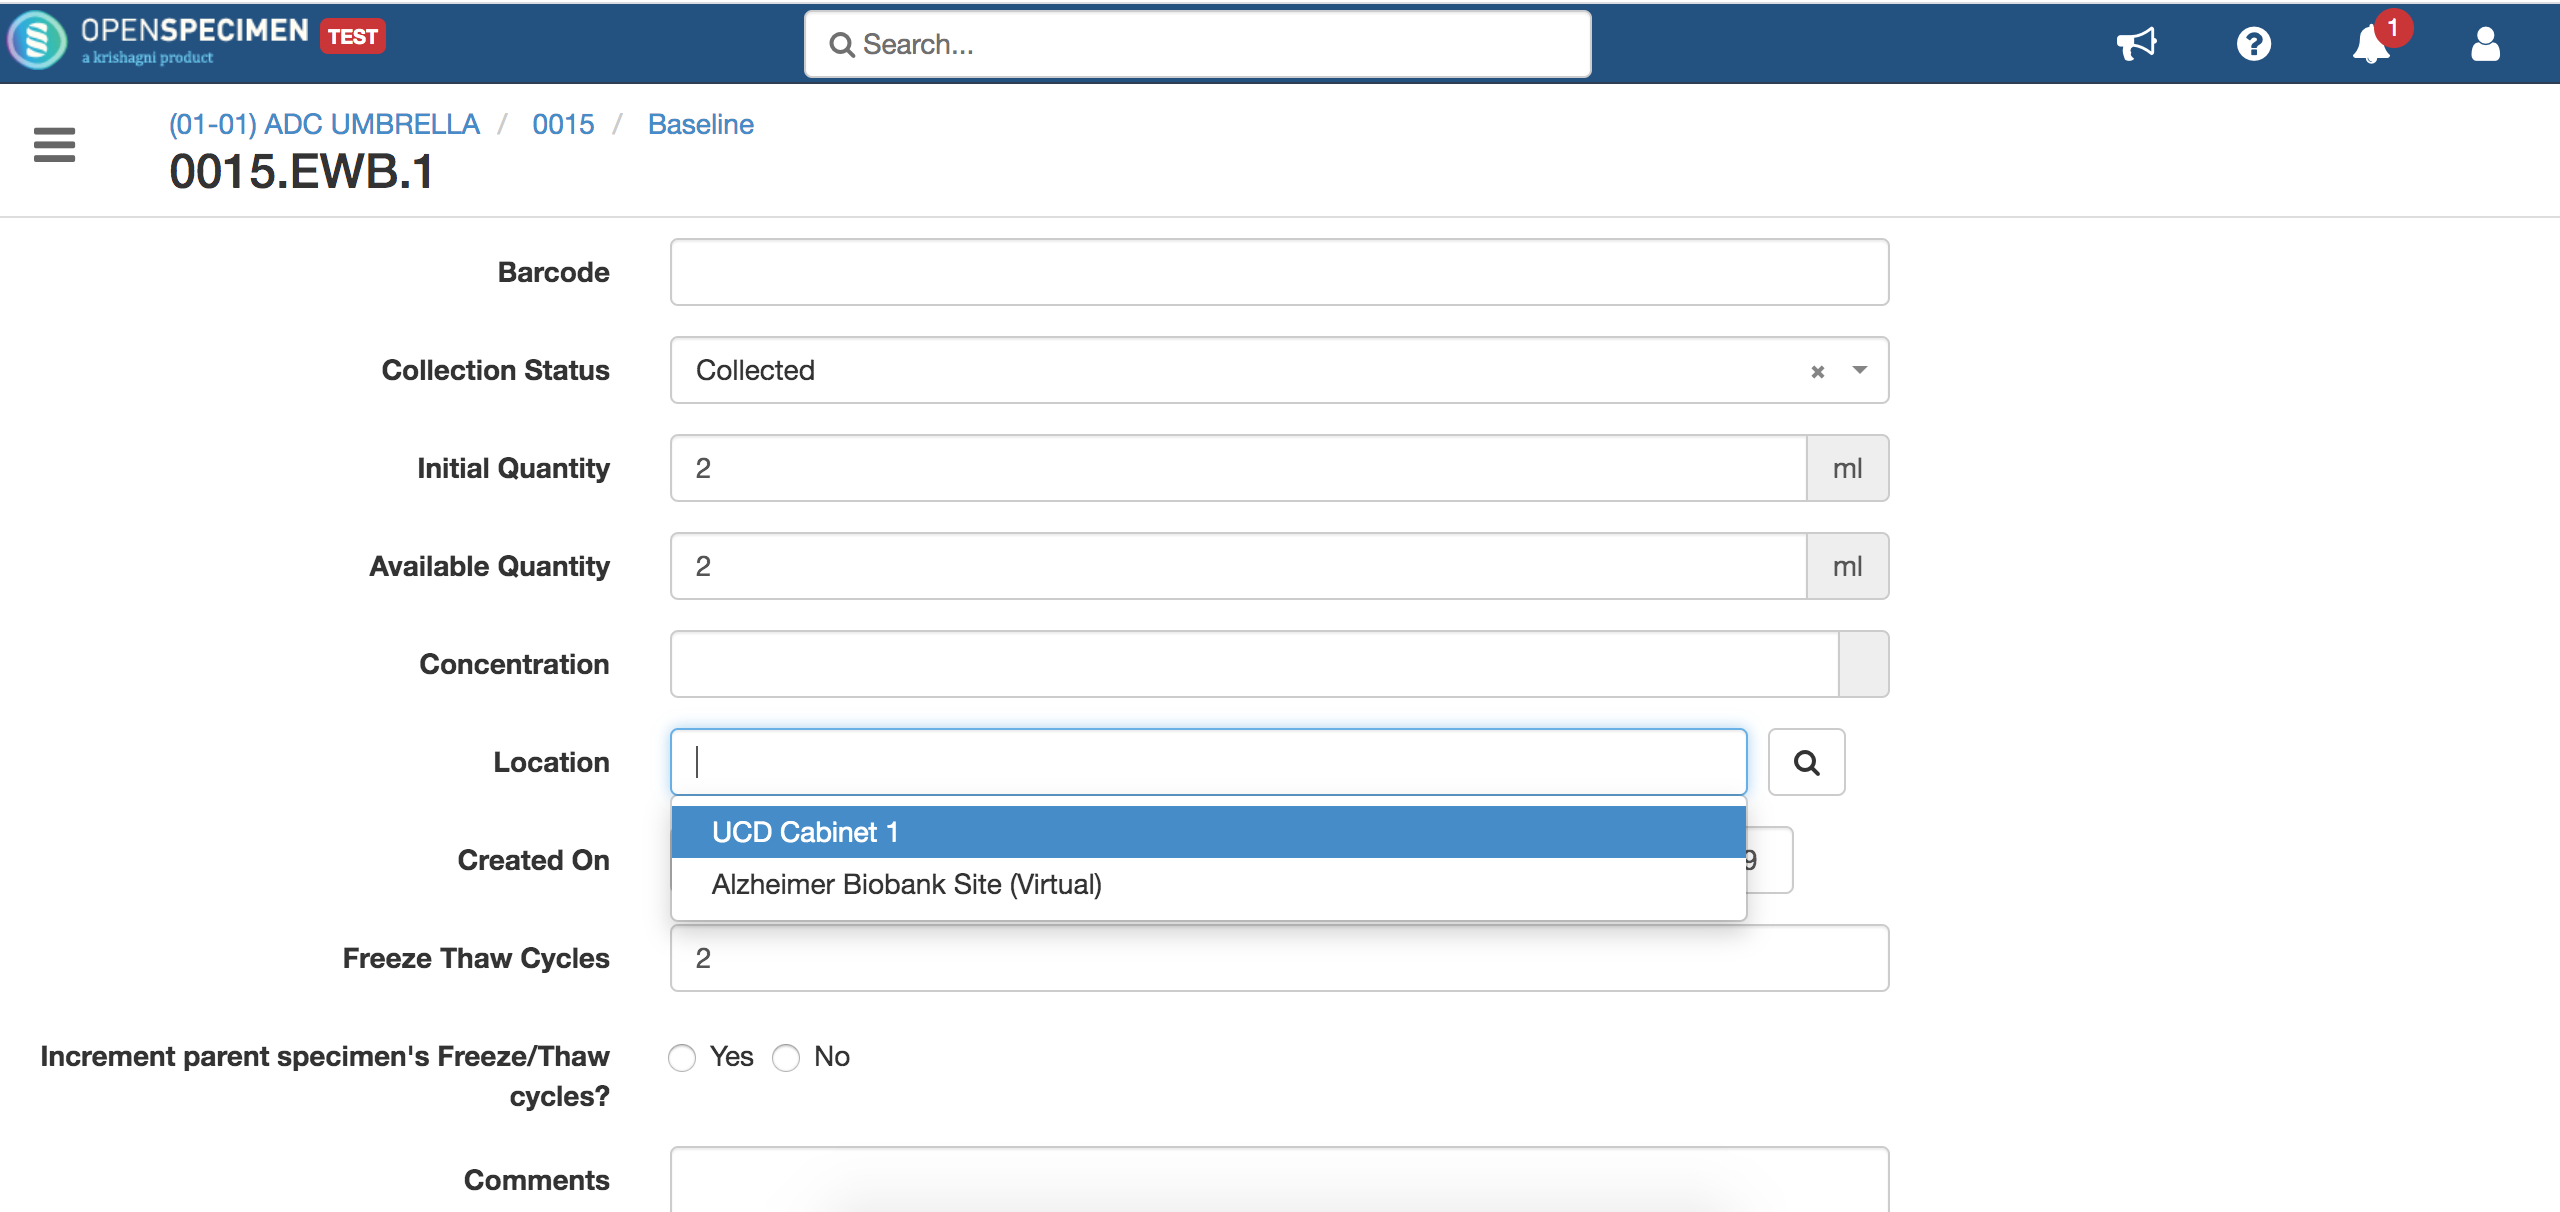
- Under location select the container to which it has to be moved and its respective position.
Update specimen's location using bulk import
- Go to collection protocols, and click on Import.
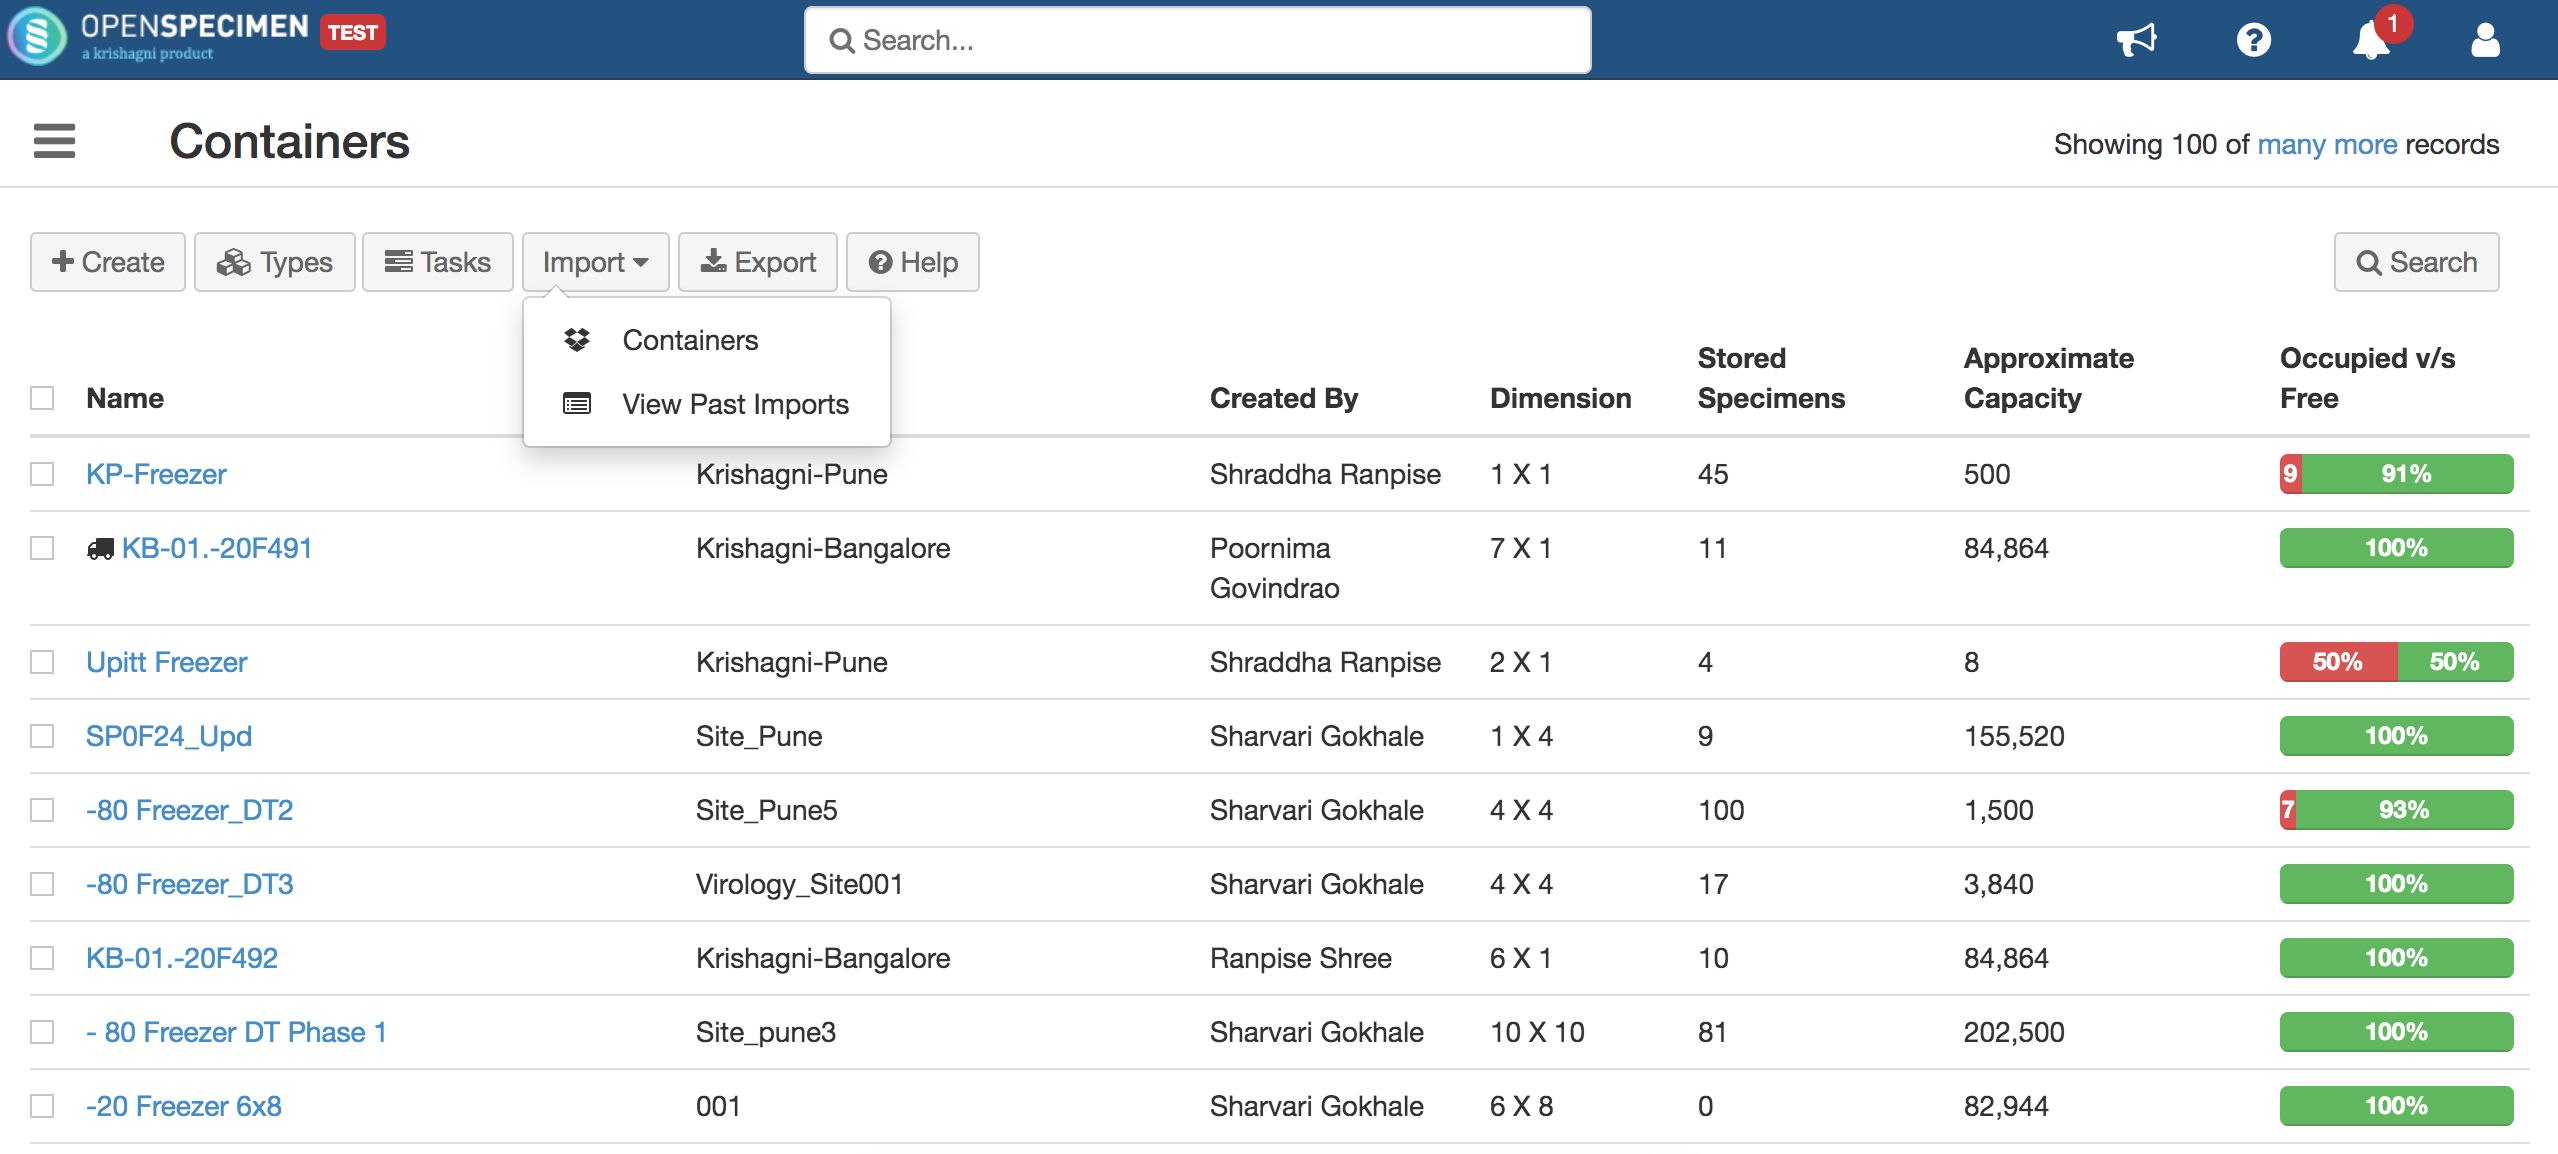
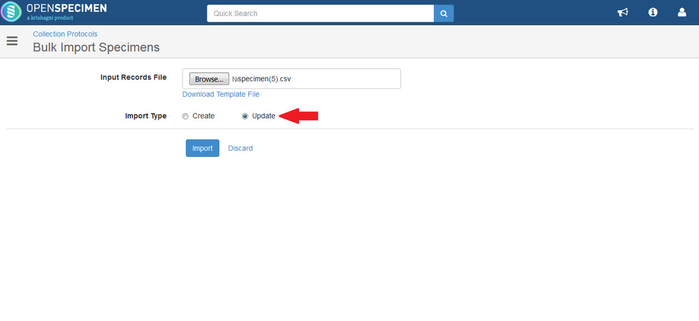
- Select 'Specimens' under import and download template.
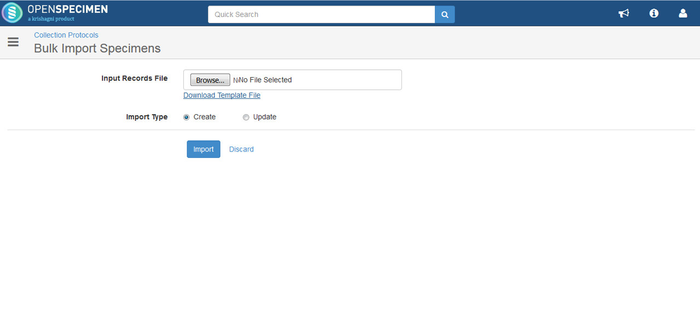
- Fill in the details- mention specimen label and location (rest columns can be removed) refer- Update specimens. Upload the file with import type 'Update'.
Update specimen's location through container UI
- Go to the specimen tab under a specific container and select the specimen you wish to move to another container.

2. After selecting specimens click on the 'Actions' button and select the 'Transfer' option.
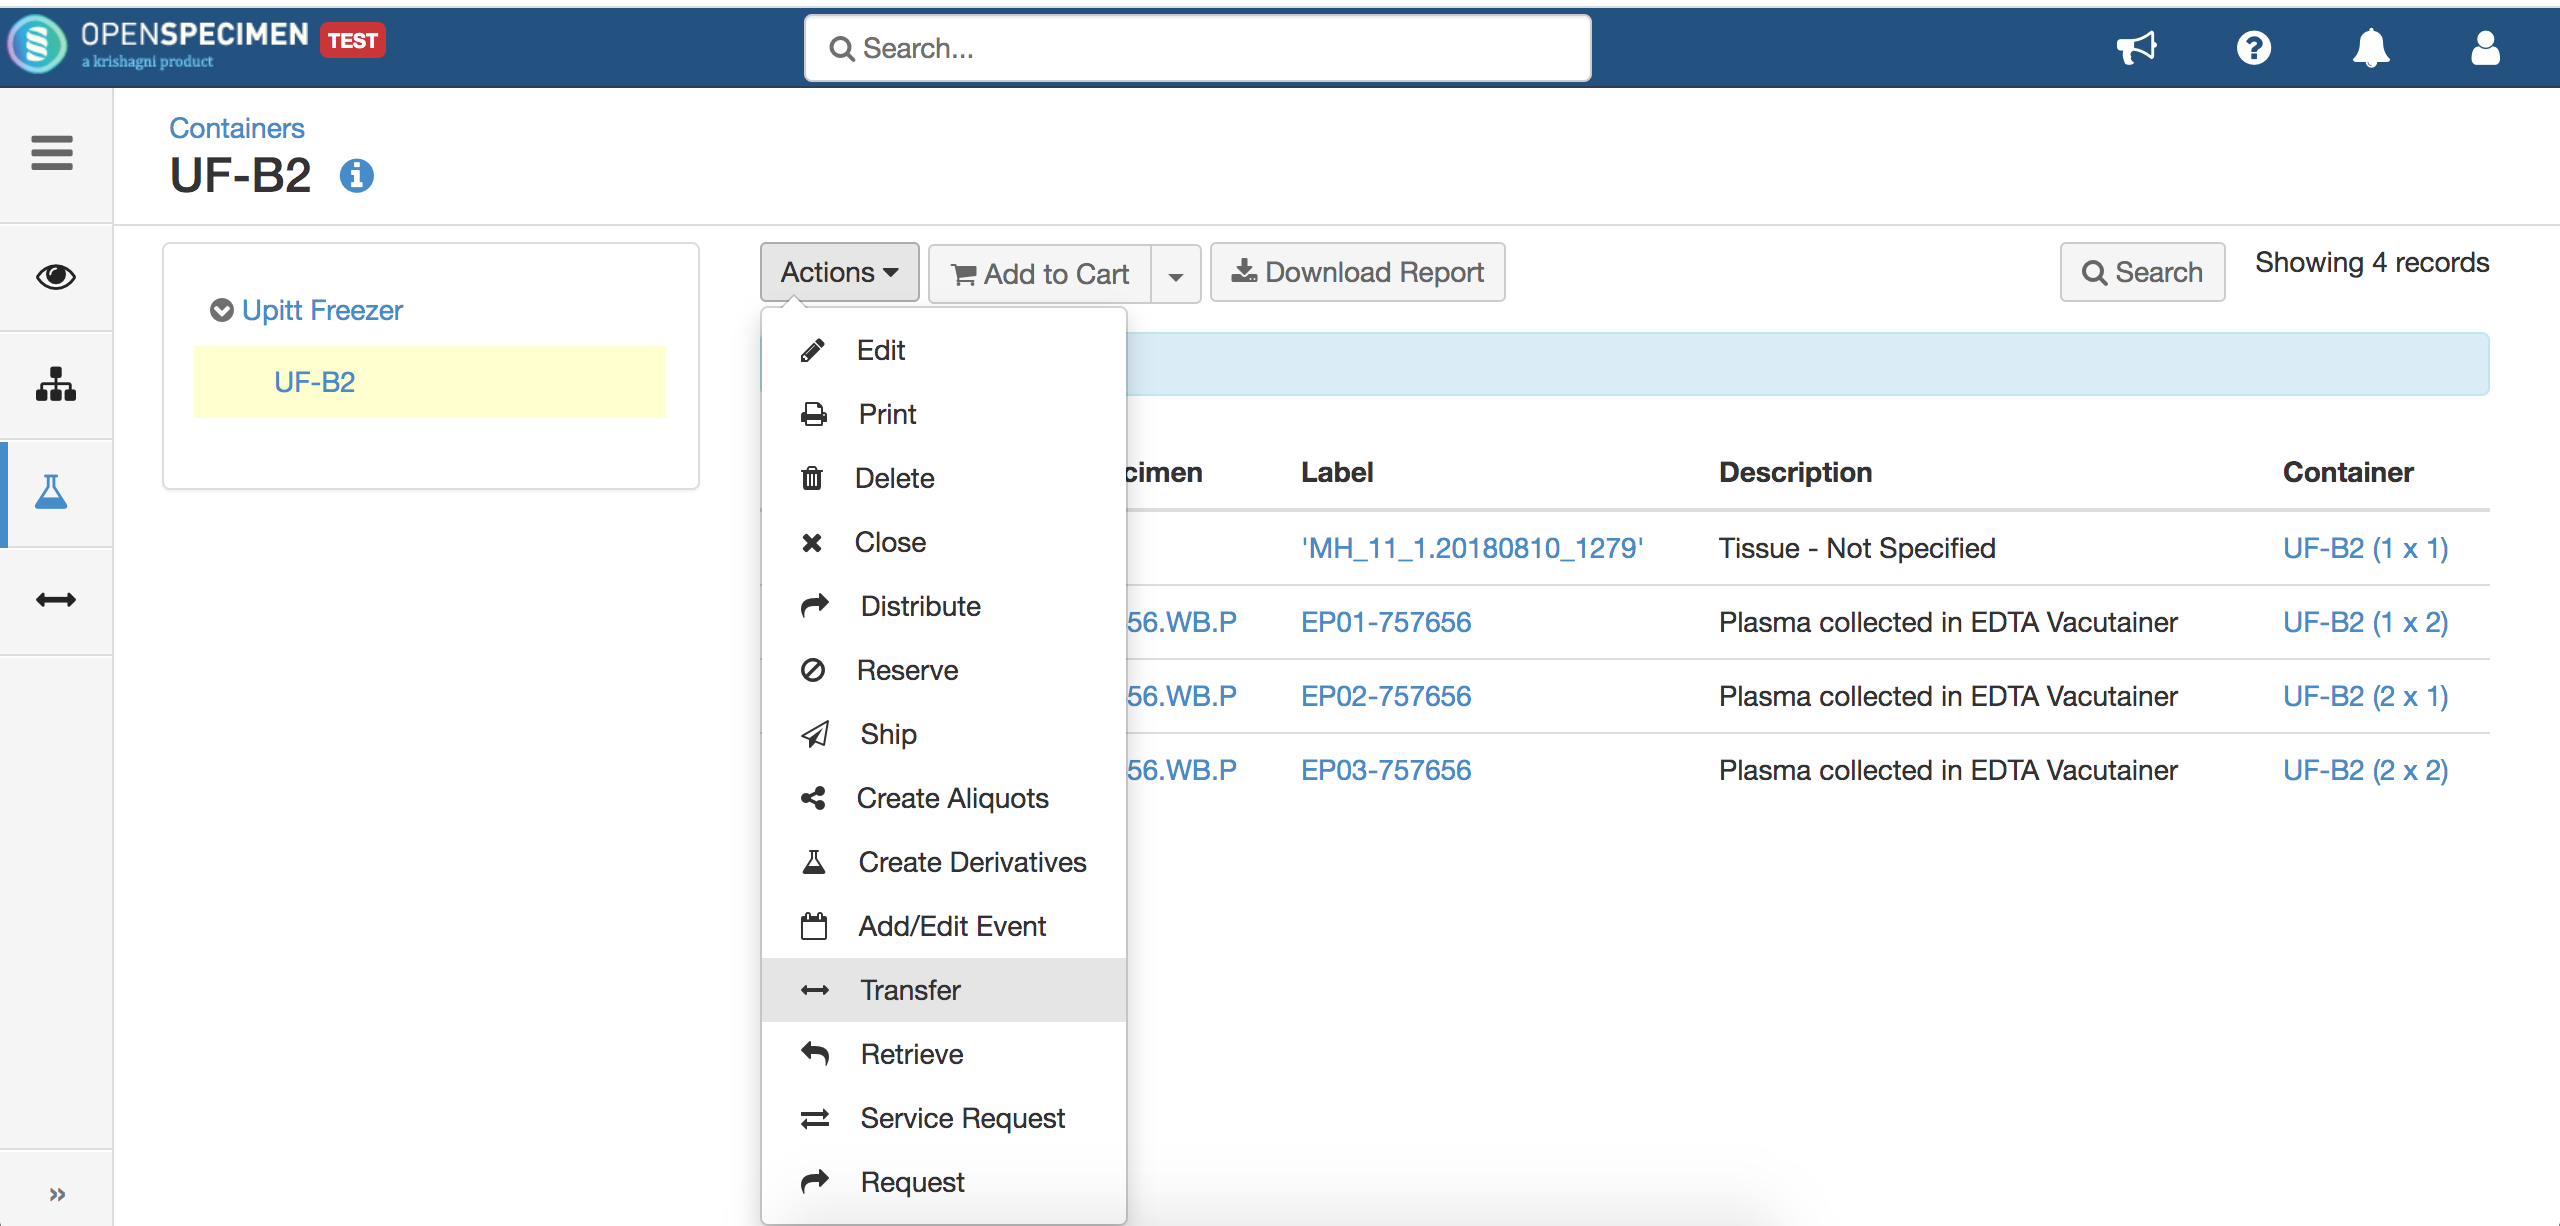
3. Provide the details of the new location/container on the below screen and click on the submit.
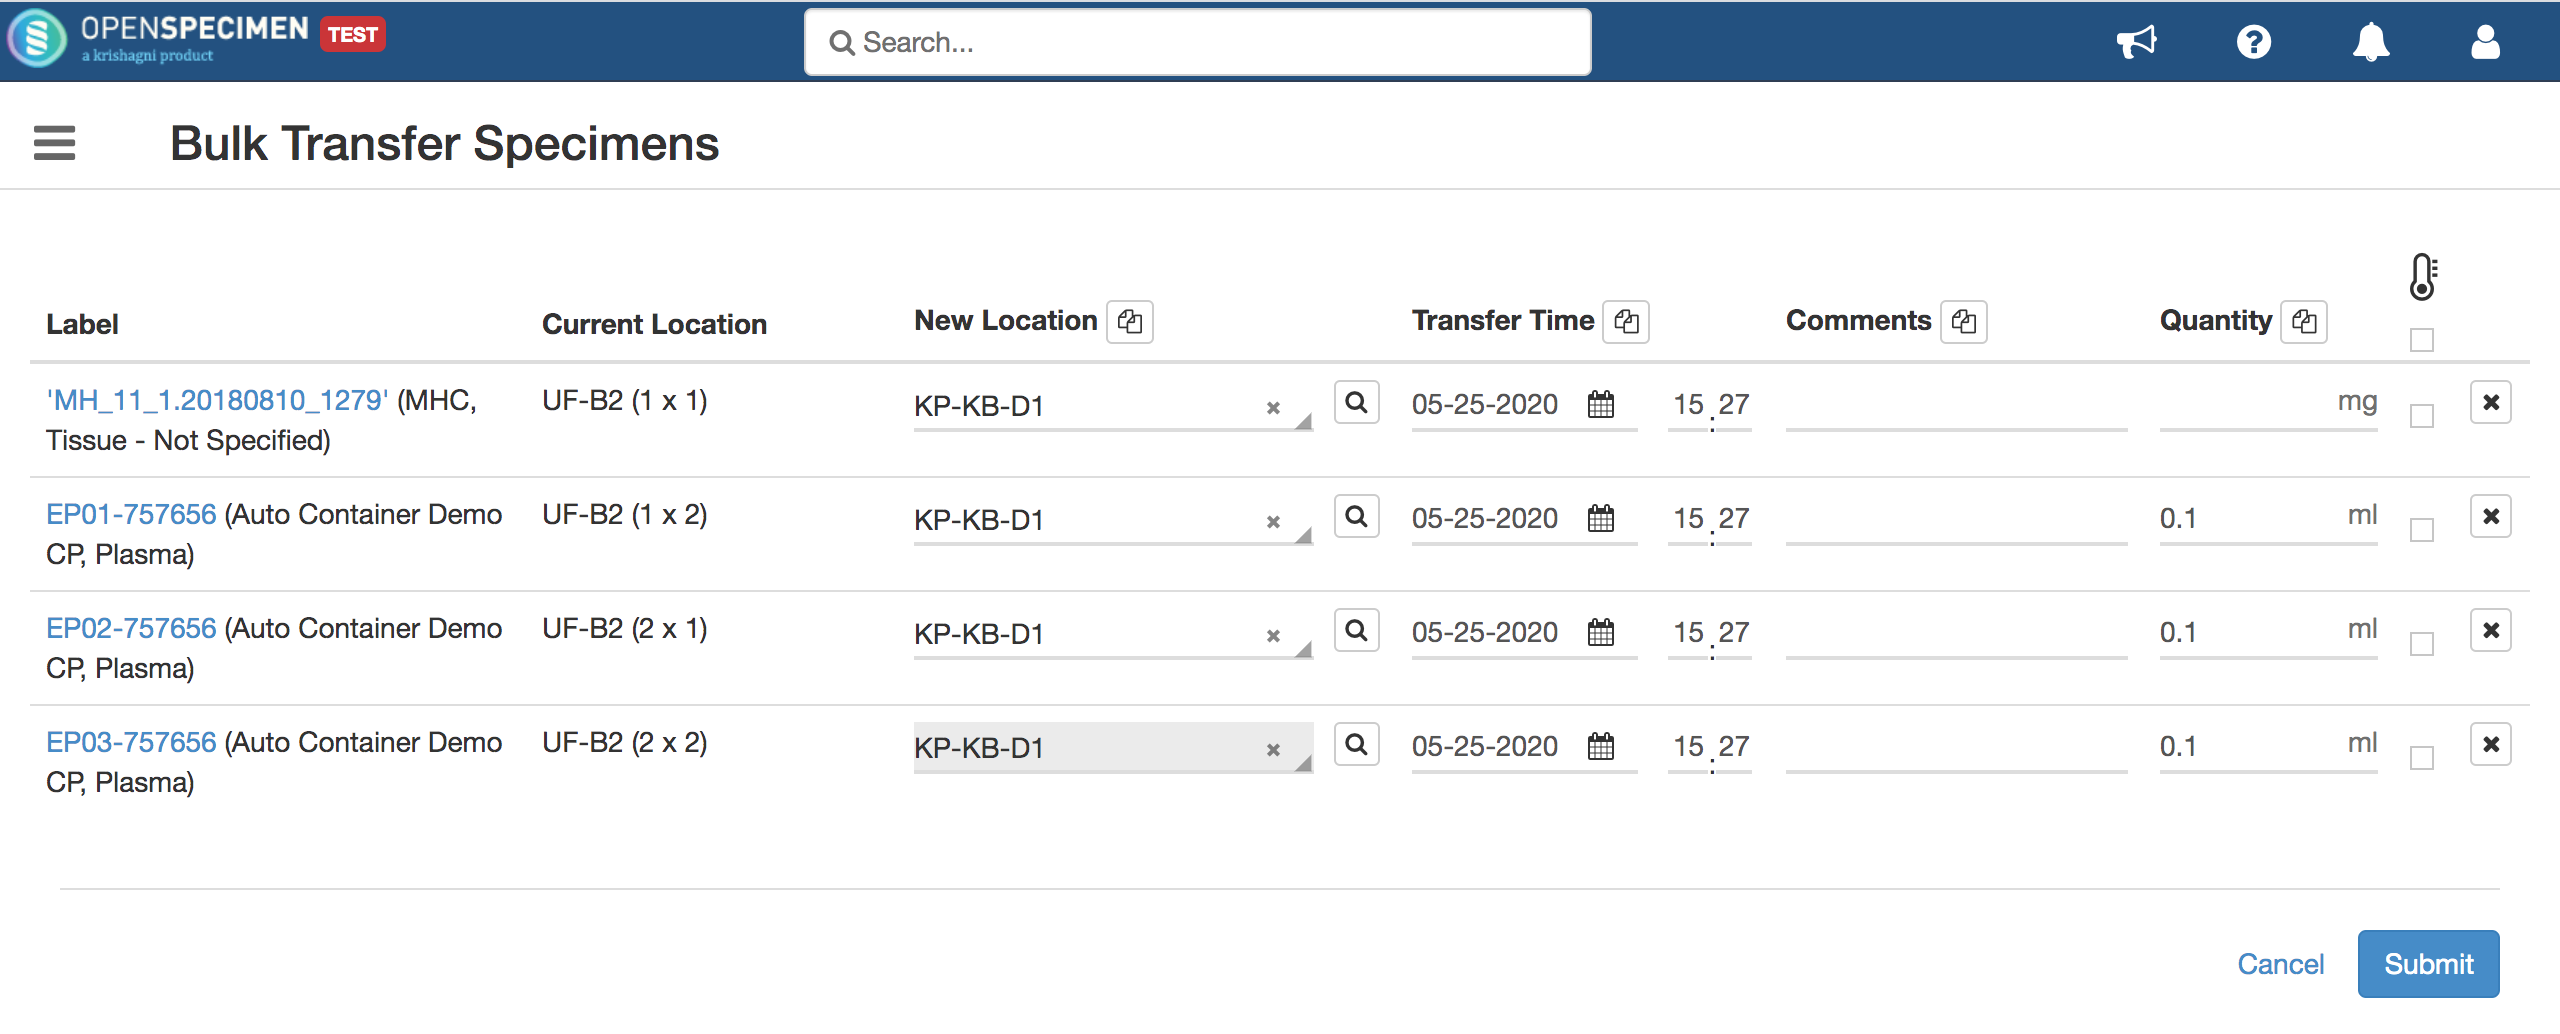
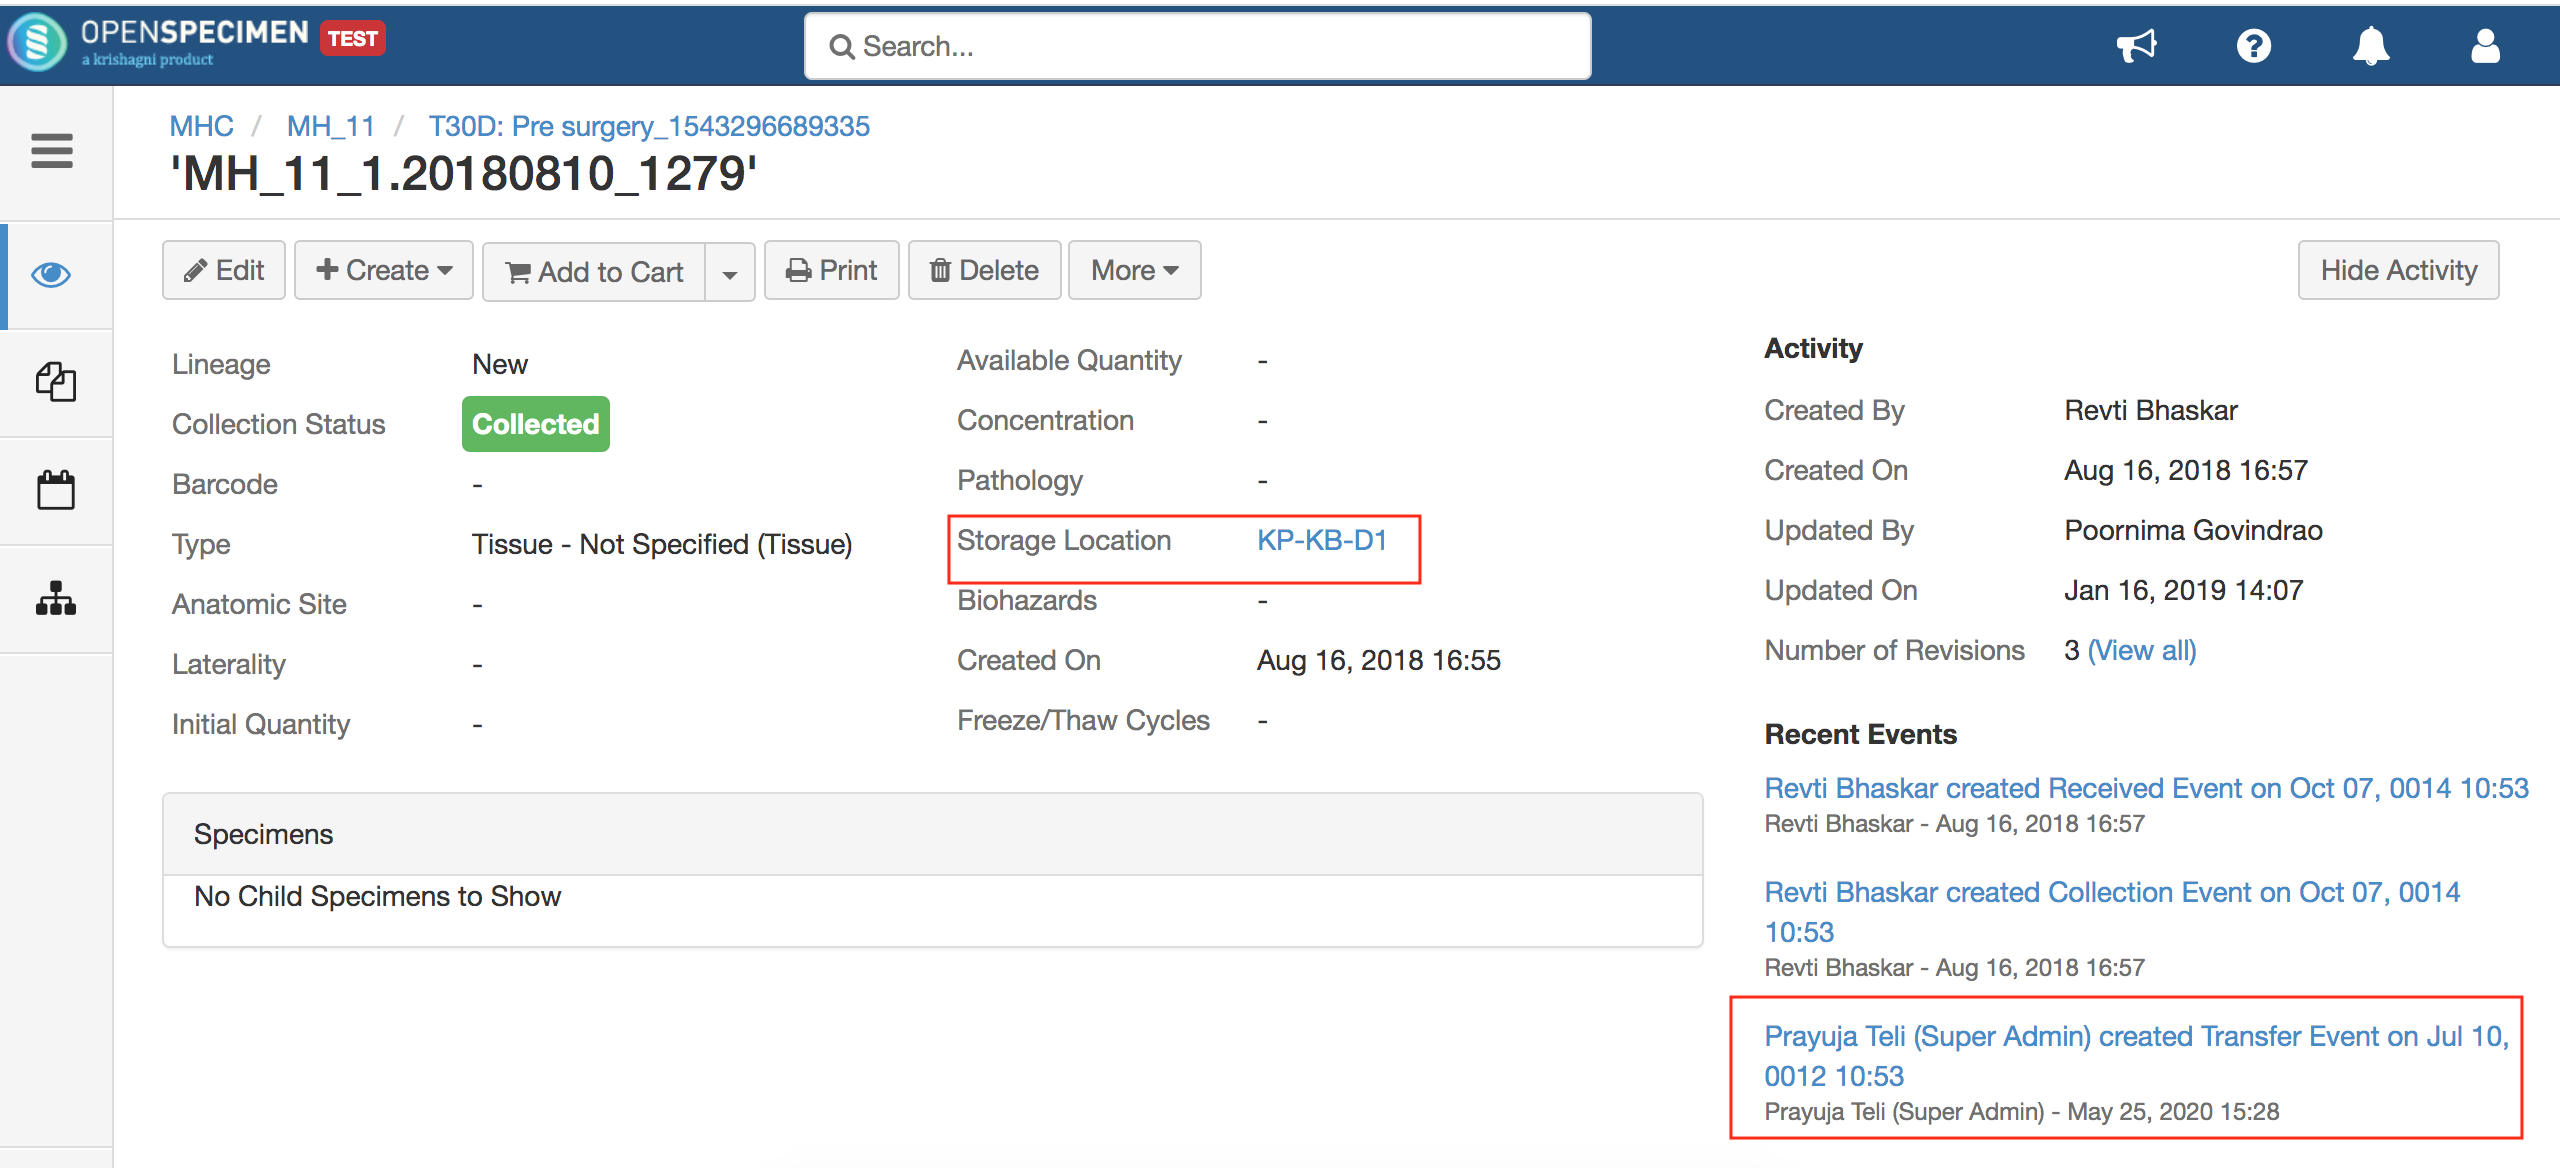
4. Go to the specimen and verify that the location is updated and the transfer event is created for the specimen.
, multiple selections available,
Related content
Rearrange specimens when changing container position assignment
Rearrange specimens when changing container position assignment
More like this
How to move specimens from one freezer to another?
How to move specimens from one freezer to another?
More like this
Moving primary specimens from one visit to another
Moving primary specimens from one visit to another
More like this
Specimens in the container
Specimens in the container
More like this
Transfer Containers via Bulk Import
Transfer Containers via Bulk Import
More like this
Shipment of Containers
Shipment of Containers
More like this
Got feedback or spotted a mistake?
Leave a comment at the end of this page or email contact@krishagni.com