In participant-centric studies, participant data like name, age, sex, etc., is collected along with the specimens. The study can be -
- Planned
- Unplanned
In planned studies, it is pre-defined what type of specimens are to be collected and how they have to be processed. These details can be set at the collection protocol (CP) level, which will make data entry simpler.
In unplanned studies, there is no predefined CP.
Follow the below steps to create participant-centric CP:
Study creation with basic details
In OpenSpecimen, you can create a CP with basic details for your study.
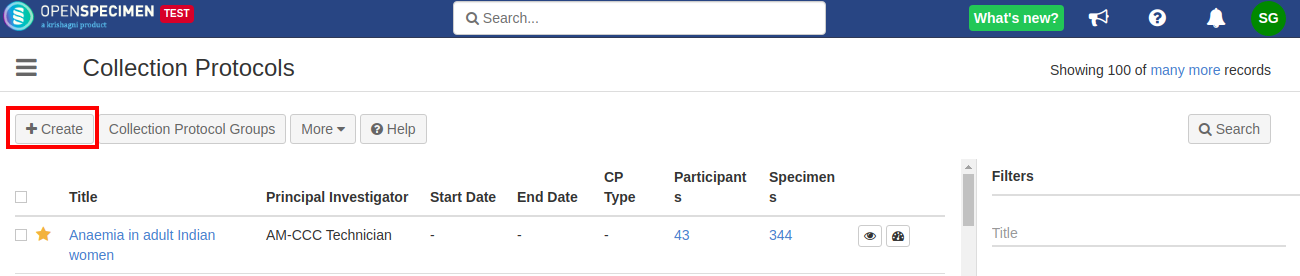
- Select 'Collection Protocols' from the left side menu or home screen
- Click the 'Create' button from the protocol's list page.
Enter the required information according to your study and click the 'Create' button
Example: Creating a CP for the 'Lung cancer research study.'
Details for all the fields on the CP overview page,
Note:
- The CP level PI and Coordinators will not be assigned roles automatically or by default.
- After creating the CP, the admin has to manually assign specific roles to all the users who need to access the CP.
Setting up consents
Consents statements are created at the system level by super admins and institute admins. Once created, the User can use it in multiple CPs. Refer 'Coded consents' for more details.
- Go to the CP in which you want to add the consents.
- Click the 'Consents' tab from the left-side menu.
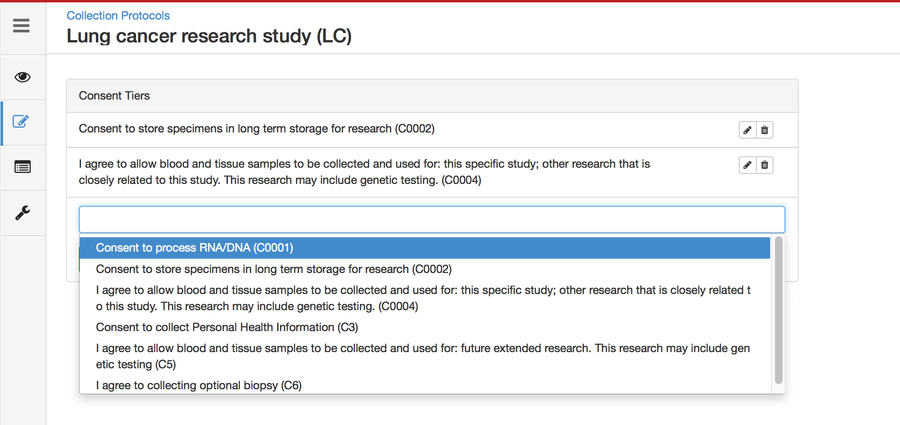
- Click 'Add Statement'. A drop-down list of existing consent statements will appear.
- Search for the required consent statement using its code or the statement itself and click 'Add.'
If you are not planning to use a consent feature for your CP, select 'Consent Waived?' as 'Yes.' This will hide the consents tab from the participant level page.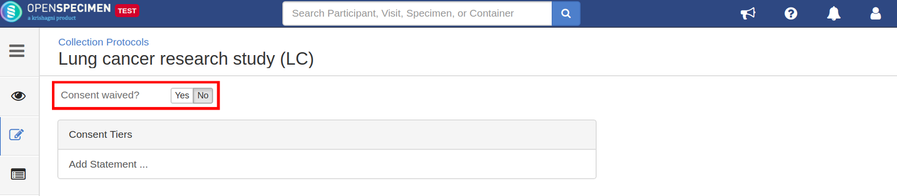
Setting up a specimen collection calendar
For longitudinal collections, you can configure event points and specimen requirements. The more you pre-define CP events, the fewer data entry has to be done on a day to day basis. The system can handle all kinds of deviation (like collected less quantity than planned) during collection.
Adding Events
An event represents one collection time point in which one or more specimens are collected. E.g. Day 0, Day 30, Cycle 1 etc.
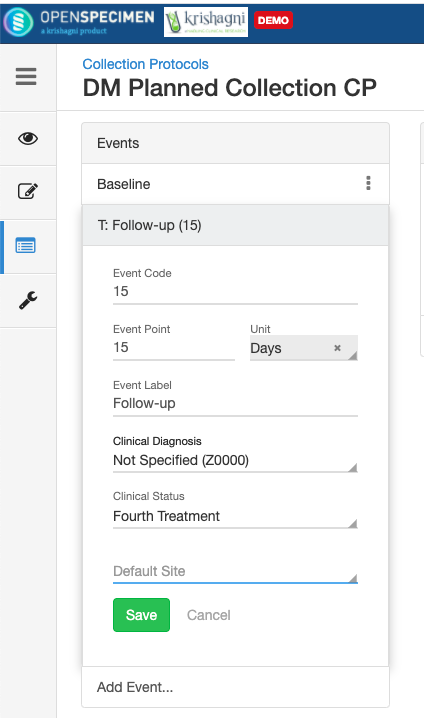
- Click the 'Events' tab on the left-hand side of the CP details page.
- Click 'Add Event' and enter the required information.
Field | Mandatory? | Description |
|---|---|---|
| Event code | No | It's a shortcode for an event that can be used for specimen barcoding or auto label generation. |
| Event Point (number) | No | Timepoint within the study calendar on which the specimen collection or registration is due. It decides the order of events displayed in the CP and participant overview page. You can edit the event point to change the order of events. |
| Event Point Unit (new in v4.3) | No | Timepoint units like Days, Weeks, Months, and Years. |
| Event Point Label | Yes | A unique name within the CP for this time point. For example, Pre-Surgery, Surgery, 90-day follow-up, Relapse, etc. |
| Default Site | No | You can select the default site for the event timepoint |
For an unplanned CP, it is not required to pre-define event time points. However, it is mandatory to have at least one event defined in the current version.
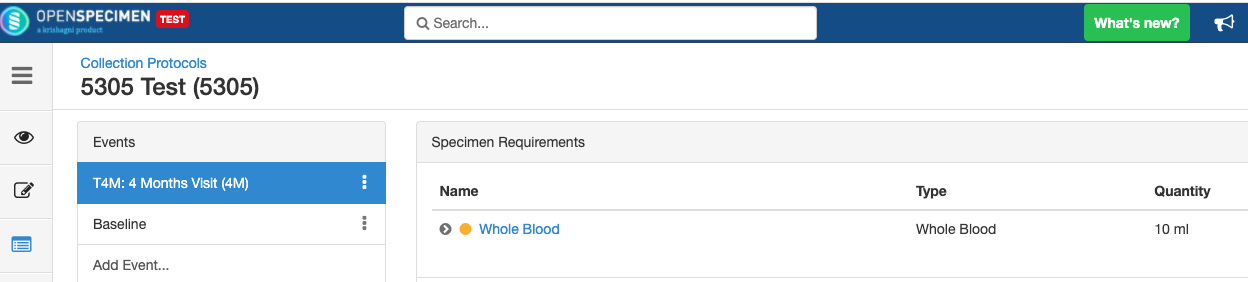
Adding Specimen Requirements (SR)
Specimen requirement defines what specimens are expected to be collected and how they should be processed at each time point. E.g., Collect two whole blood specimens, process one into plasma and the other into the serum.
- Click 'Add Specimen Requirements' and enter the required information.
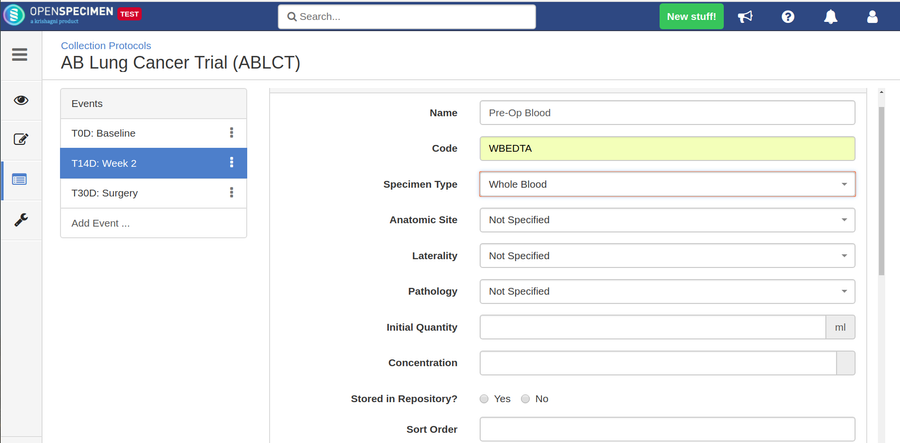
Field Title | Mandatory? | Description |
|---|---|---|
| Name | No | The user-friendly name for the requirement. (Used for display and query. E.g., Pre-op blood.) |
Code | No | A short unique code that is used for auto labeling specimens. e.g., WBEDTA stands for whole blood in EDTA |
Stored in the repository? | No | Whether the specimen would be fully utilized in processing or stored in the repository, E.g., 'Whole blood' will be stored in aliquots. For setting up auto container allocation, refer to https://openspecimen.atlassian.net/wiki/x/KABLB |
| Sort Order (Number) | No | This field is used to decide the order of the specimen requirement(SR). By default, SRs appear in the order they were added by you. If you wish to reorder the sequence of SRs to accurately mimic the collection process, edit the SR, and assign new values to the sort order. |
| Collection Container | No | Type of container used for specimen collection. |
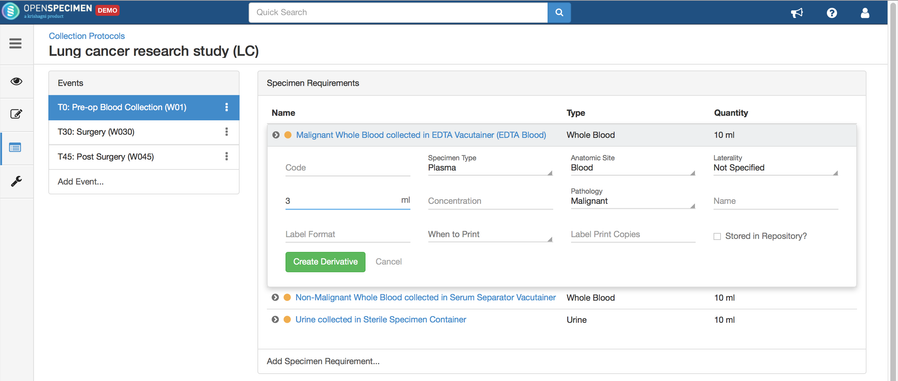
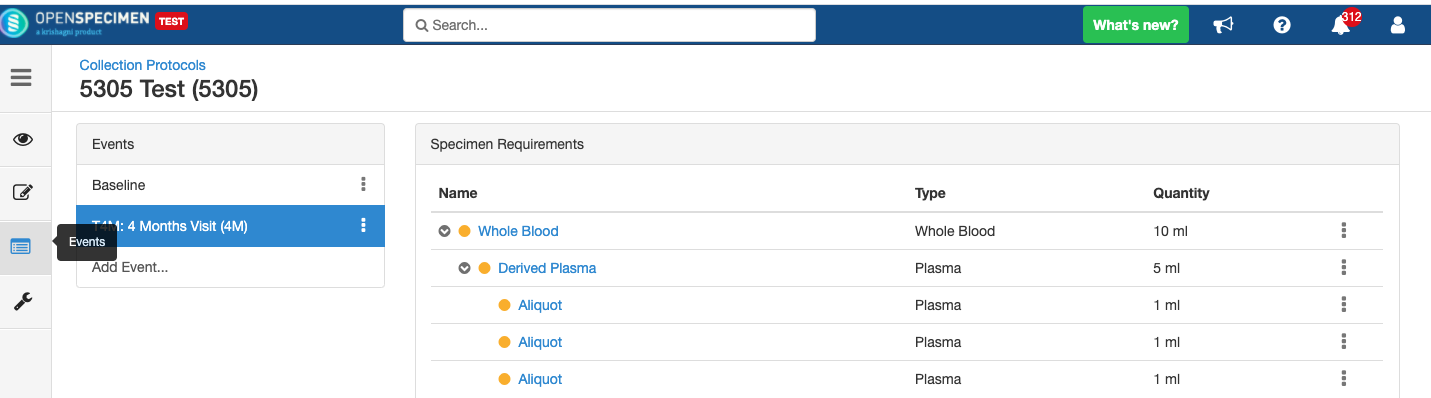
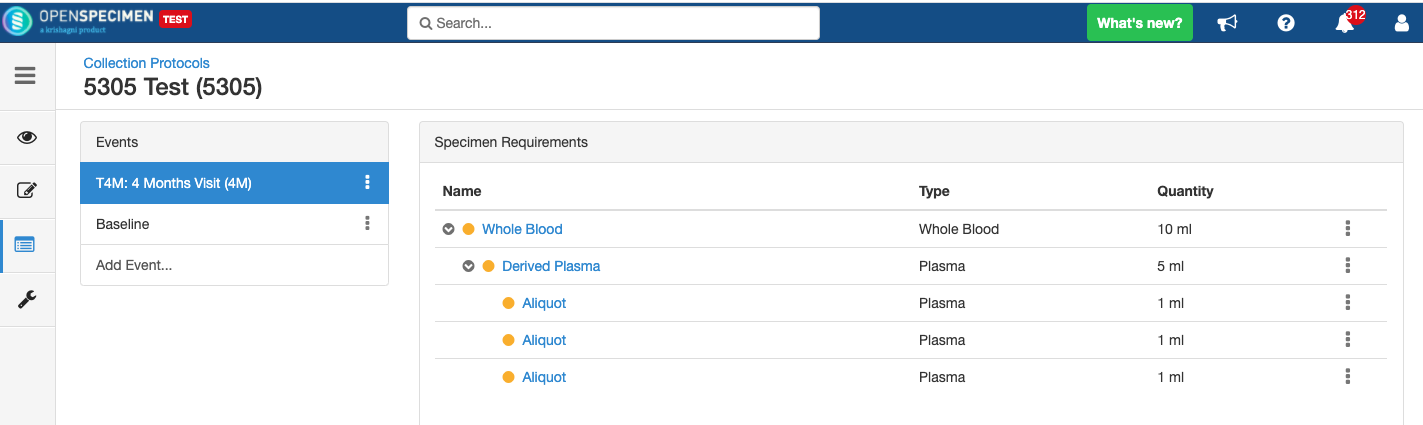
Adding Derivatives and Aliquots
A derivative is the parent specimen's processed outcome (e.g., plasma or serum from blood), whereas an aliquot is the smaller portion of the parent specimen.
- Click the dotted menu of the specimen and click 'Create Derivatives'
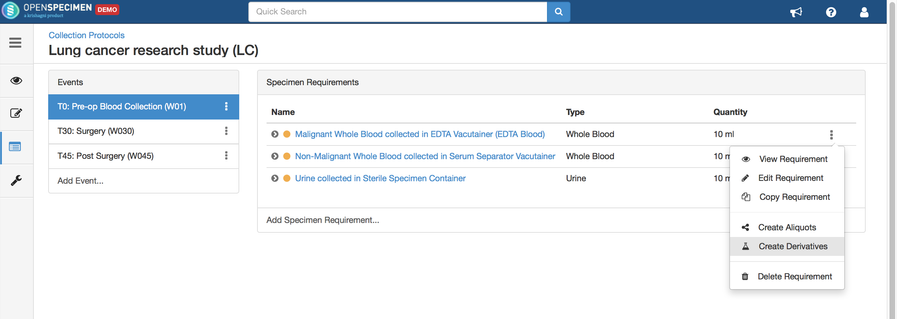
- Enter the required information and submit
- To add aliquots, follow the same steps and select 'Create Aliquots'
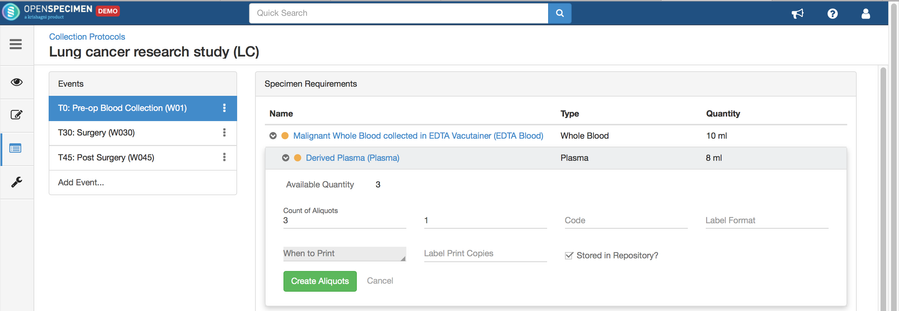
To create aliquot with 0 quantity, you need to ask the super admin to enable "Mandatory Aliquot Quantity" under the "Settings" card.
Edit Event/SR
The event and SR details can be edited using the ‘Edit’ option. To edit an event or SR:
- Go to the events page of a CP.
- Click the dotted menu for the event/SR and click ‘Edit.’
- Do appropriate changes and click ‘Save.'
’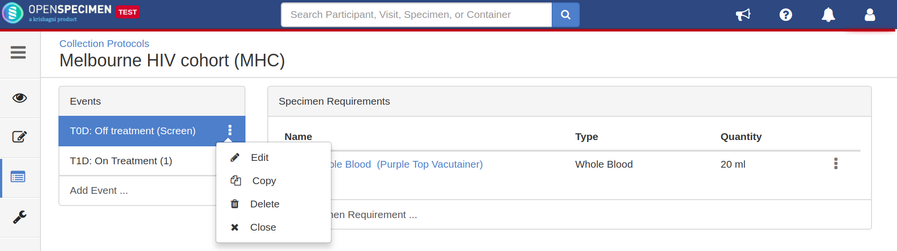
Copy Event/SR
Some studies may have similar events or SRs. In such cases, you can copy the event/SR. Copying an event also copies all the SRs under it. Similarly, copying the SR also copies all the child SRs under it.
Delete Event/SR
You can delete unwanted events/SR, e.g., event/SR created by mistake.
Impact of closing an event/SR:
- Any visit and specimens collected before the deletion of the event will be visible after deletion.
- No new visit/specimen can be collected for the deleted event/SR.
- Deleted event/SR will not be visible in the CP.
Close and Reopen Event/SR
Sometimes you may need to discontinue an event or SR. In such cases, the event/SR can be "closed."
Close and Reopen Event:
- Go to the events tab of the collection protocol.
- Click on 3 dots present against the event label and select the option 'Close.'
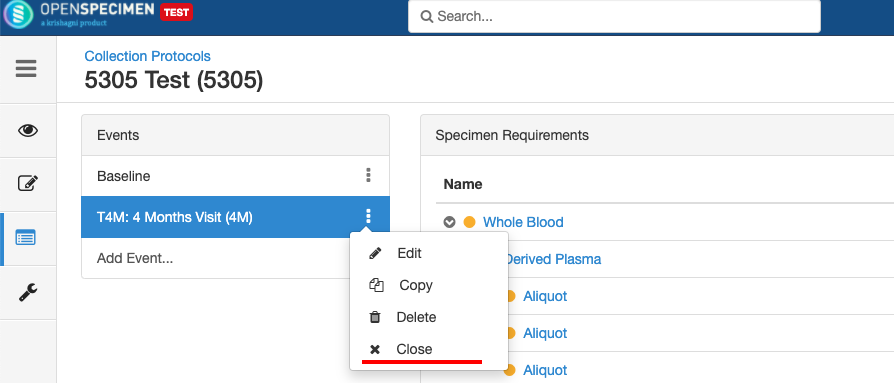
- Confirmation popup is opened. Click on 'Yes.'
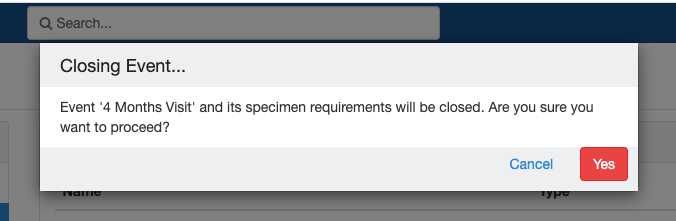
- The event is closed. The 'Closed events' cannot be displayed under the pending visits table of the participant overview page.

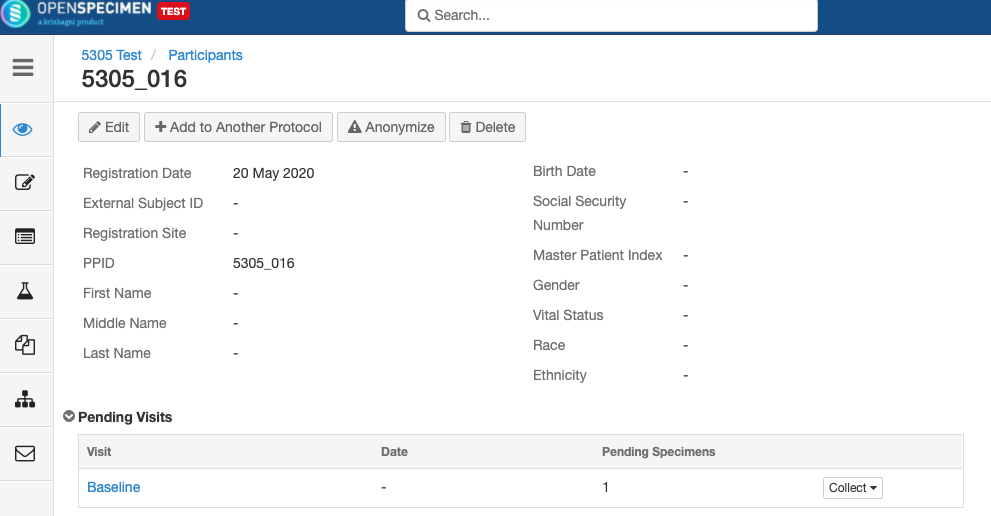
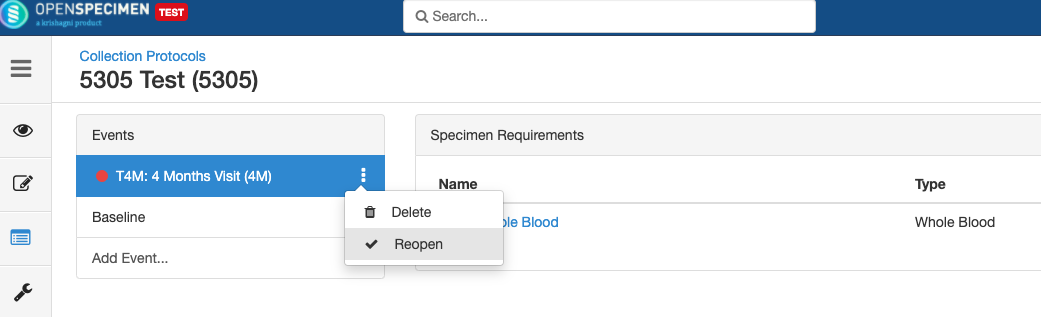
- To reopen the event, click on the 3 dots present against the closed event and select the 'Reopen' option. It reopens the event.
Close and Reopen SR:
- Go to the events tab of the collection protocol. The specimen requirement table is present against events.
- Click on 3 dots present against the specimen requirement and select option 'Close.'
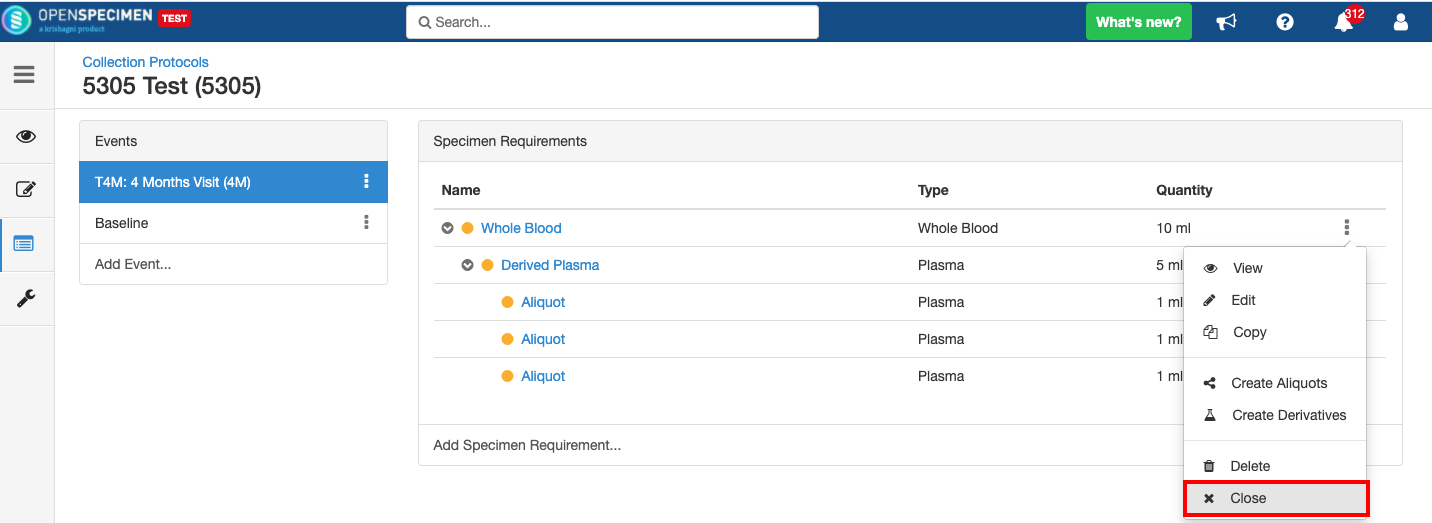
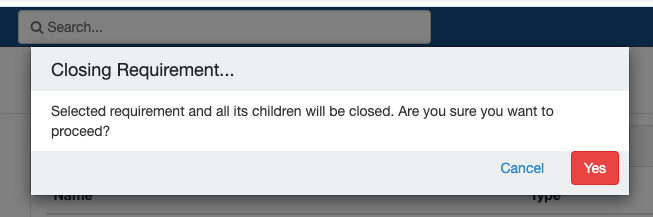
- Confirmation popup is opened. Click on 'Yes.'
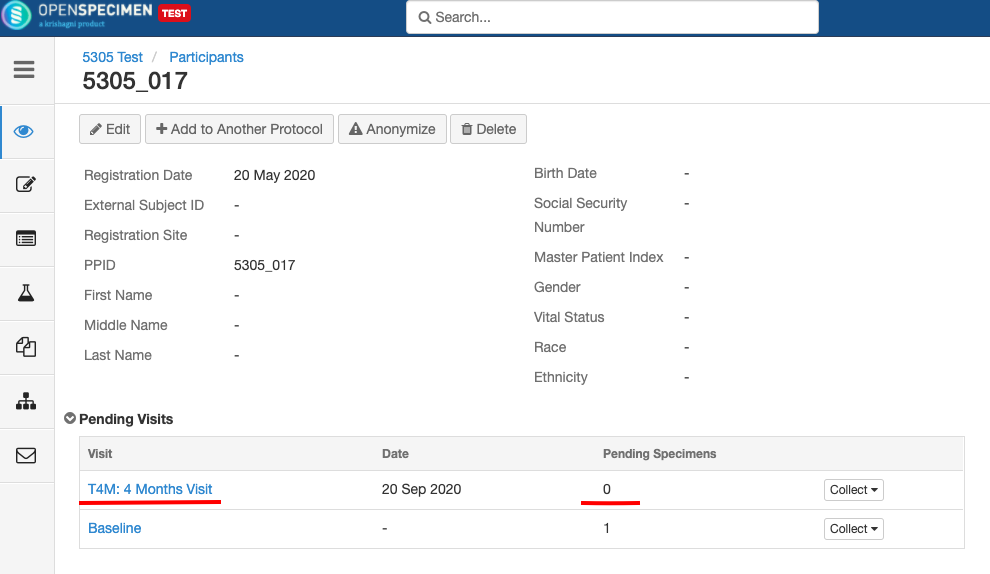
- The SR is closed. The specimen pending count is zero against the event under the pending visit table.
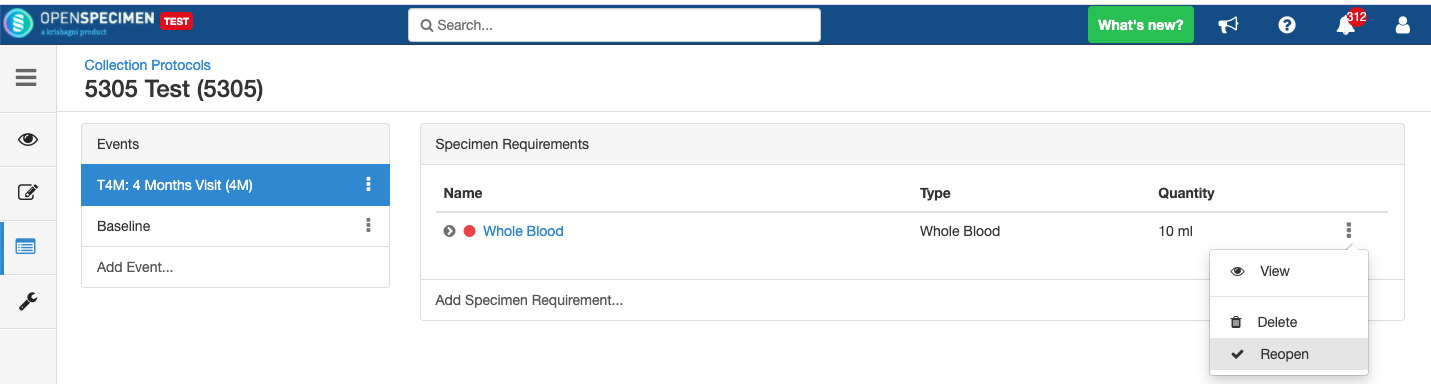
- To reopen the SR, click on the 3 dots present against the closed SR and select the 'Reopen' option. It reopens the SR.

Impact of closing an event/SR:
- Already collected or missed specimens will continue to remain as-is.
- All the SRs under the event/all child SR under the SR will also get closed.
- No new visits or SRs can be collected.
- The closed events/SR will be visible in the CP for audit purposes.
Impact of reopening an event/SR:
- It is possible to collect older pending visits/SRs.