When you have set auto-generation of participants, visits, and specimen labels in your study and due to an incorrect entry, you had to delete any one of them. If you delete a visit with say ‘Visit Name' as ‘C0010.11.1’ and then try to create a new visit under the same patient, the visit name generated is 'C0010.11.2’.
Since the visit name for your study is auto-generated, you need to turn off the labels temporarily, change the visit name back to ‘C0010.11.1’ and turn the auto-generation on.
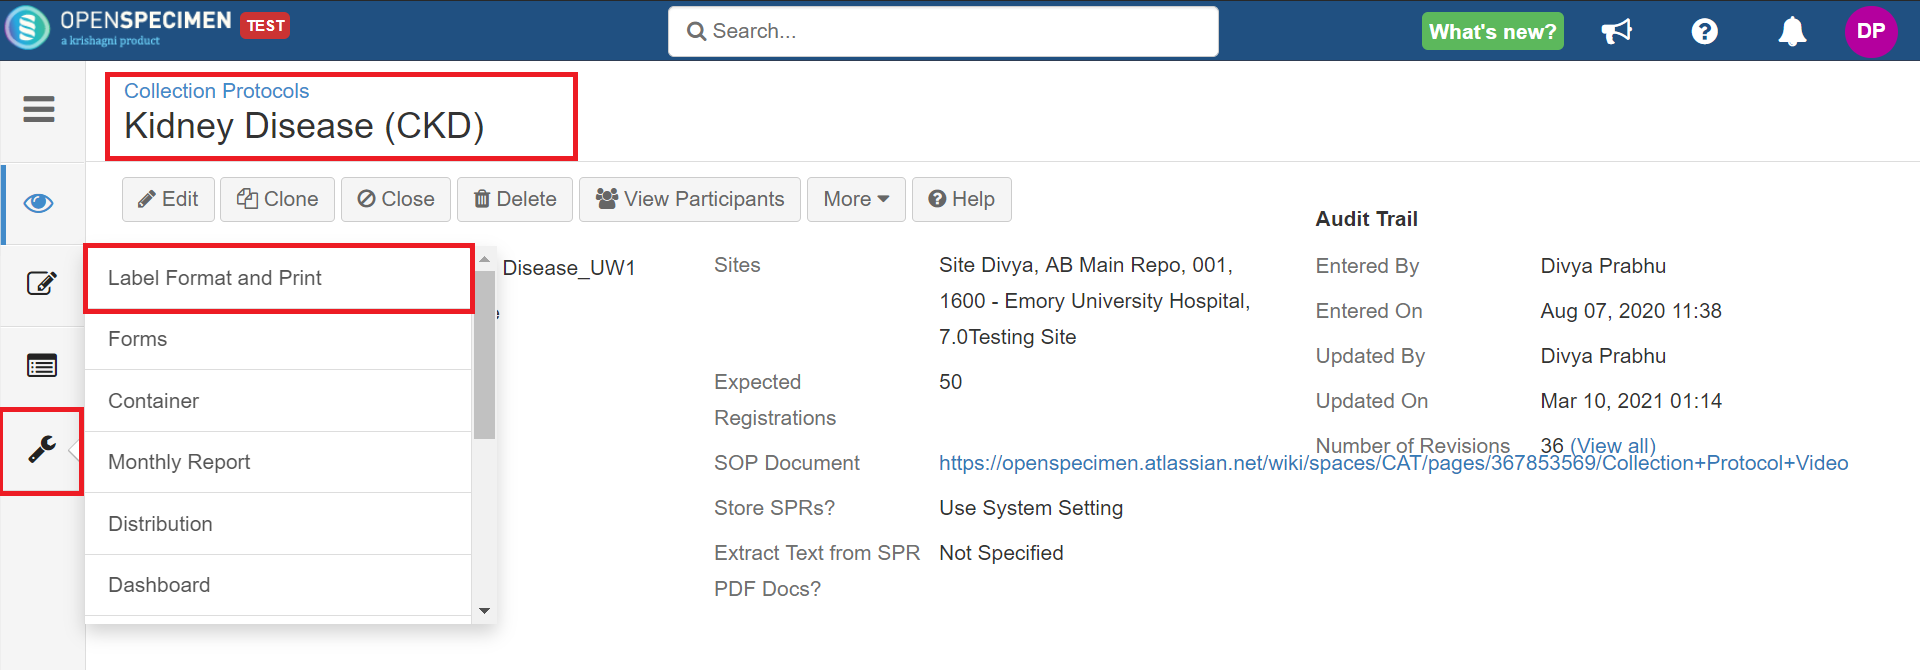
Navigate to 'Collection Protocols'.
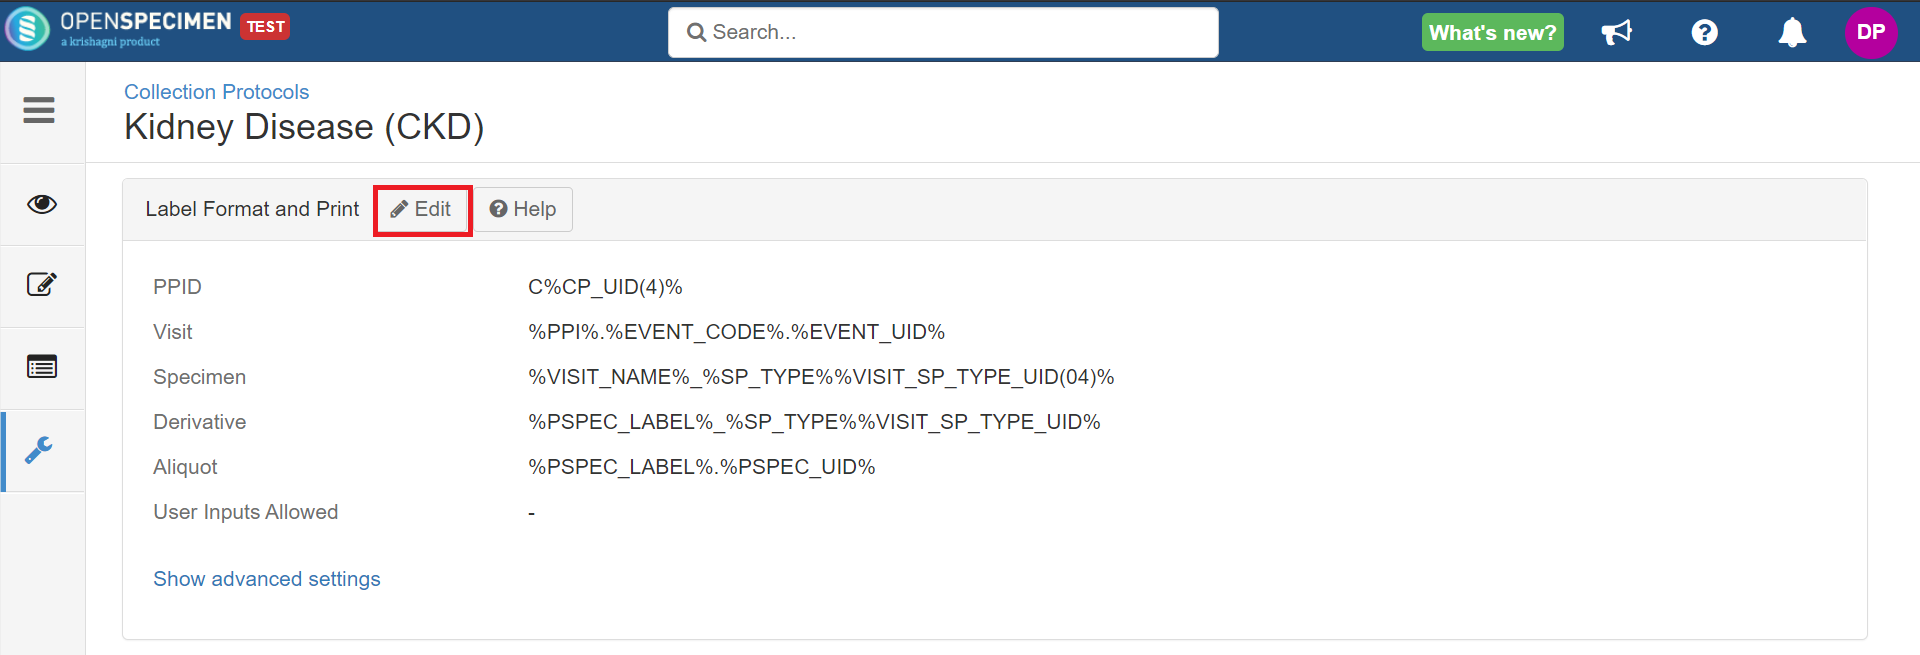
From the overview page, go to 'Label Format and Print' settings.
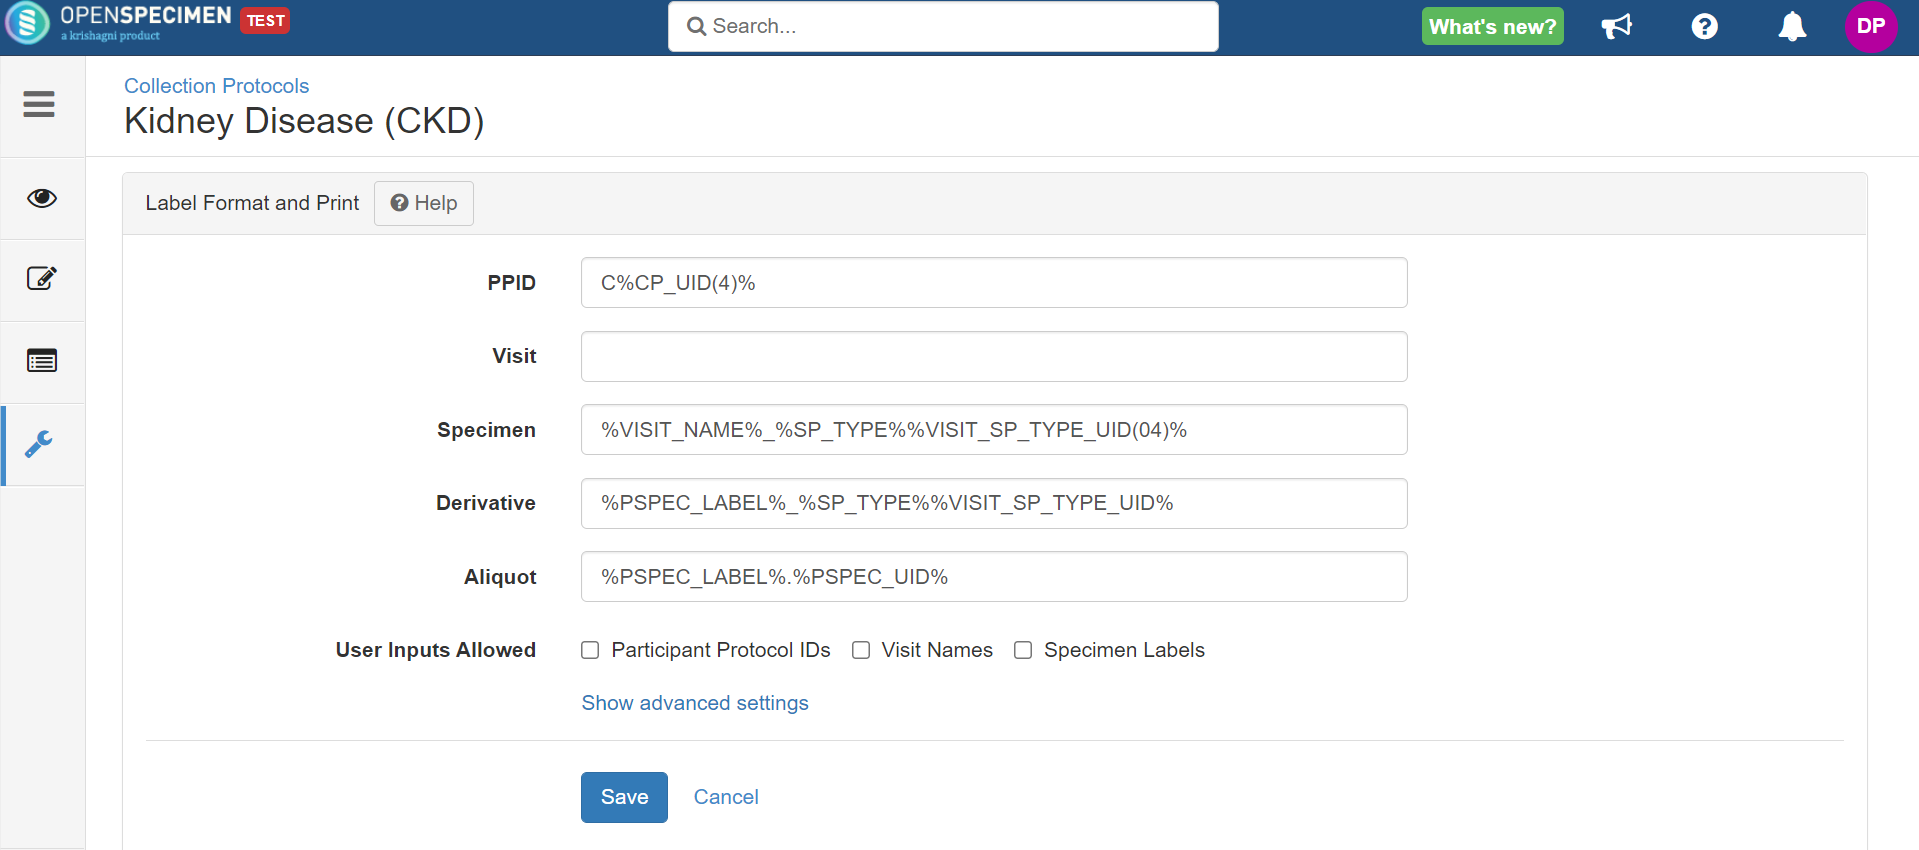
3. Click on 'Edit' → Remove the Visit label format and save it in notepad to use back later → Save
4. Now, go to the participants-list-view page, and select the patient for whom you want to edit the visit name.
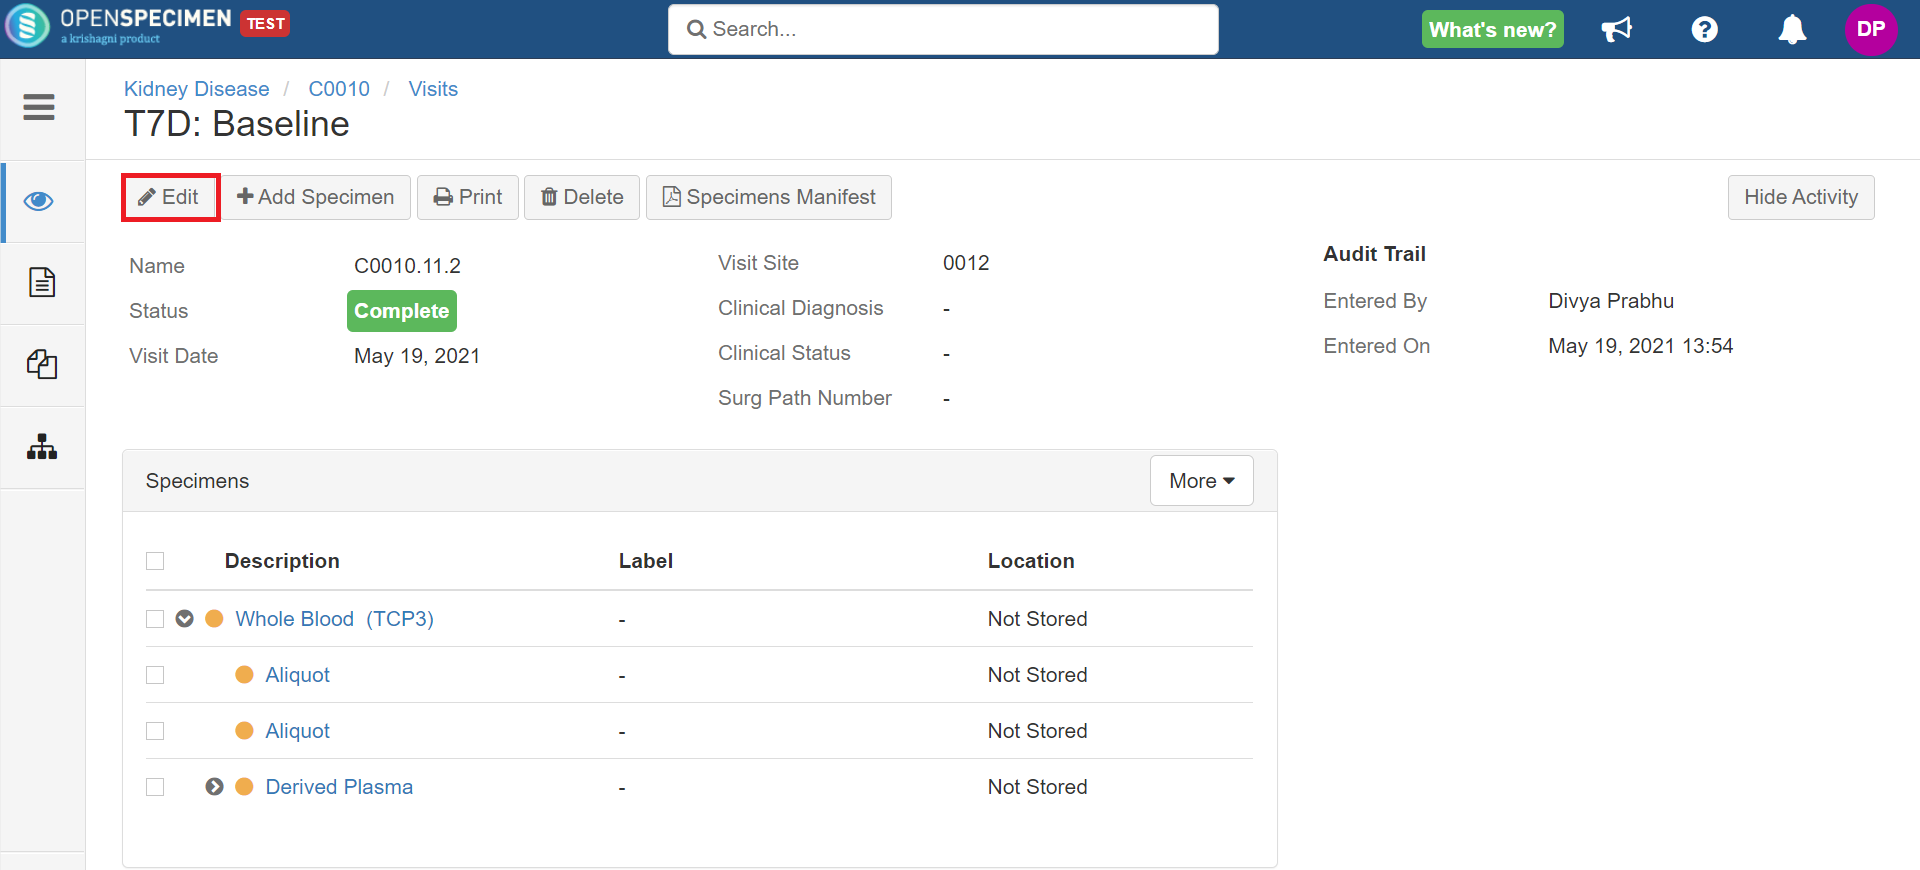
5. Go to the visit overview page → Click on 'Edit'.
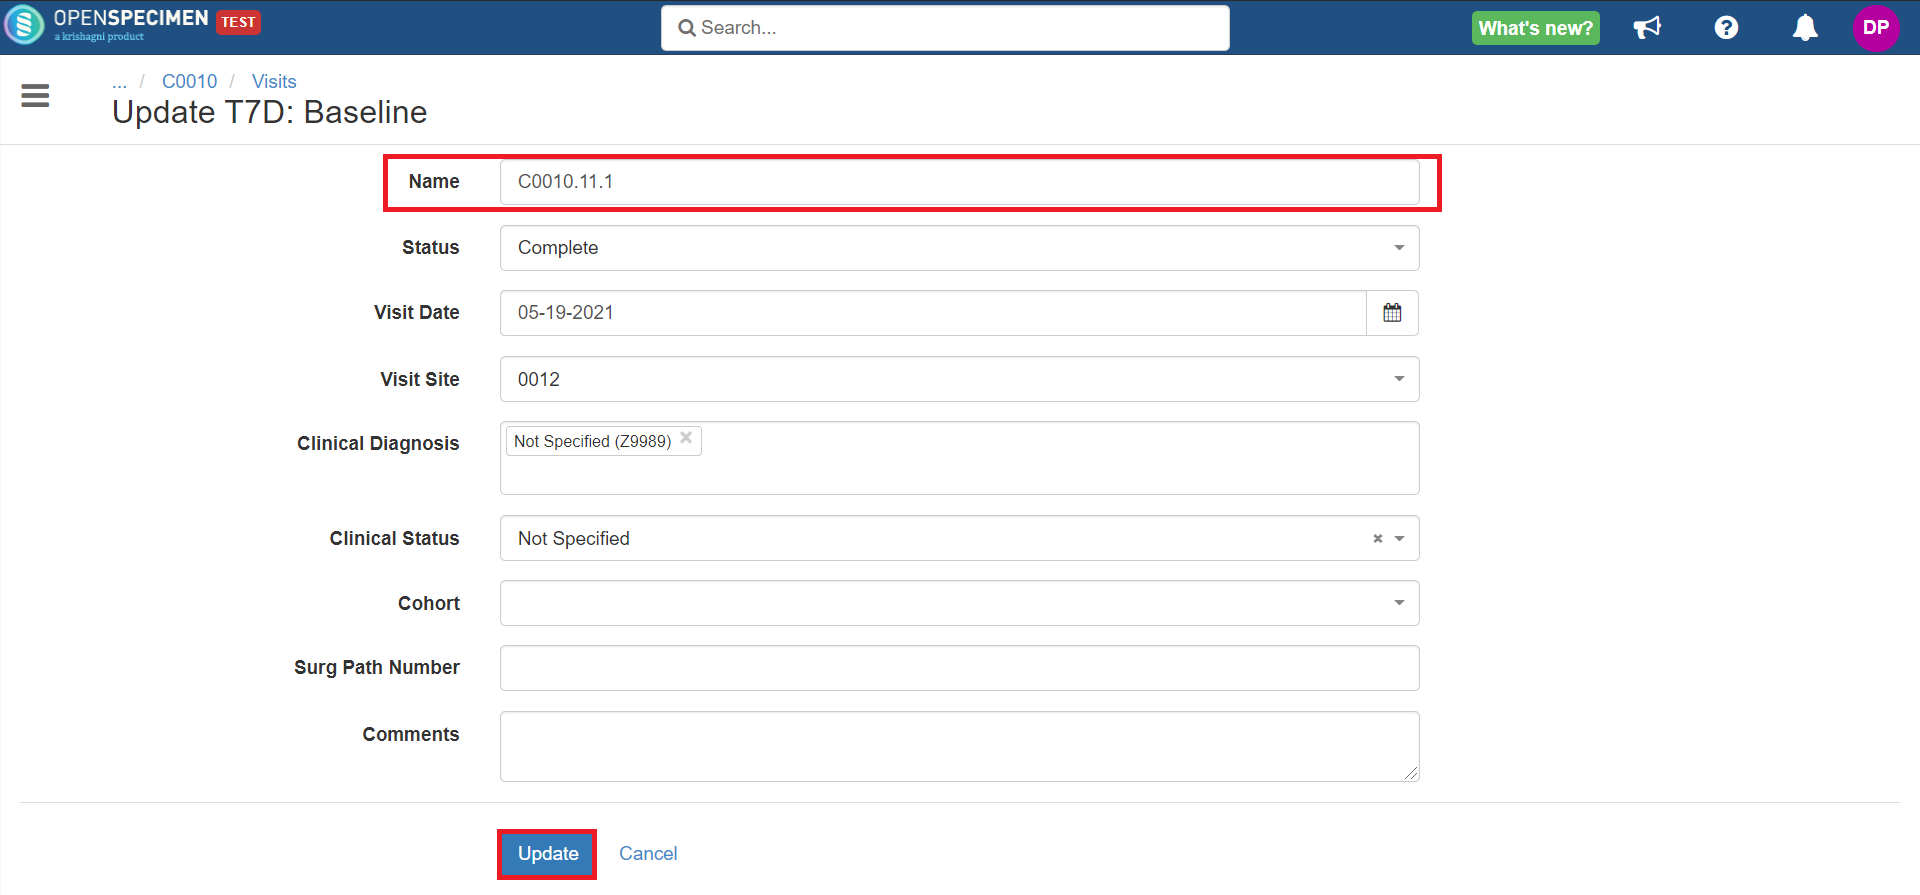
6. Change the visit name and click on 'Update'.
7. Now, go to 'Label Format and Print' settings, → Add the visit label back and save.
You can also achieve this for patient and specimen labels.
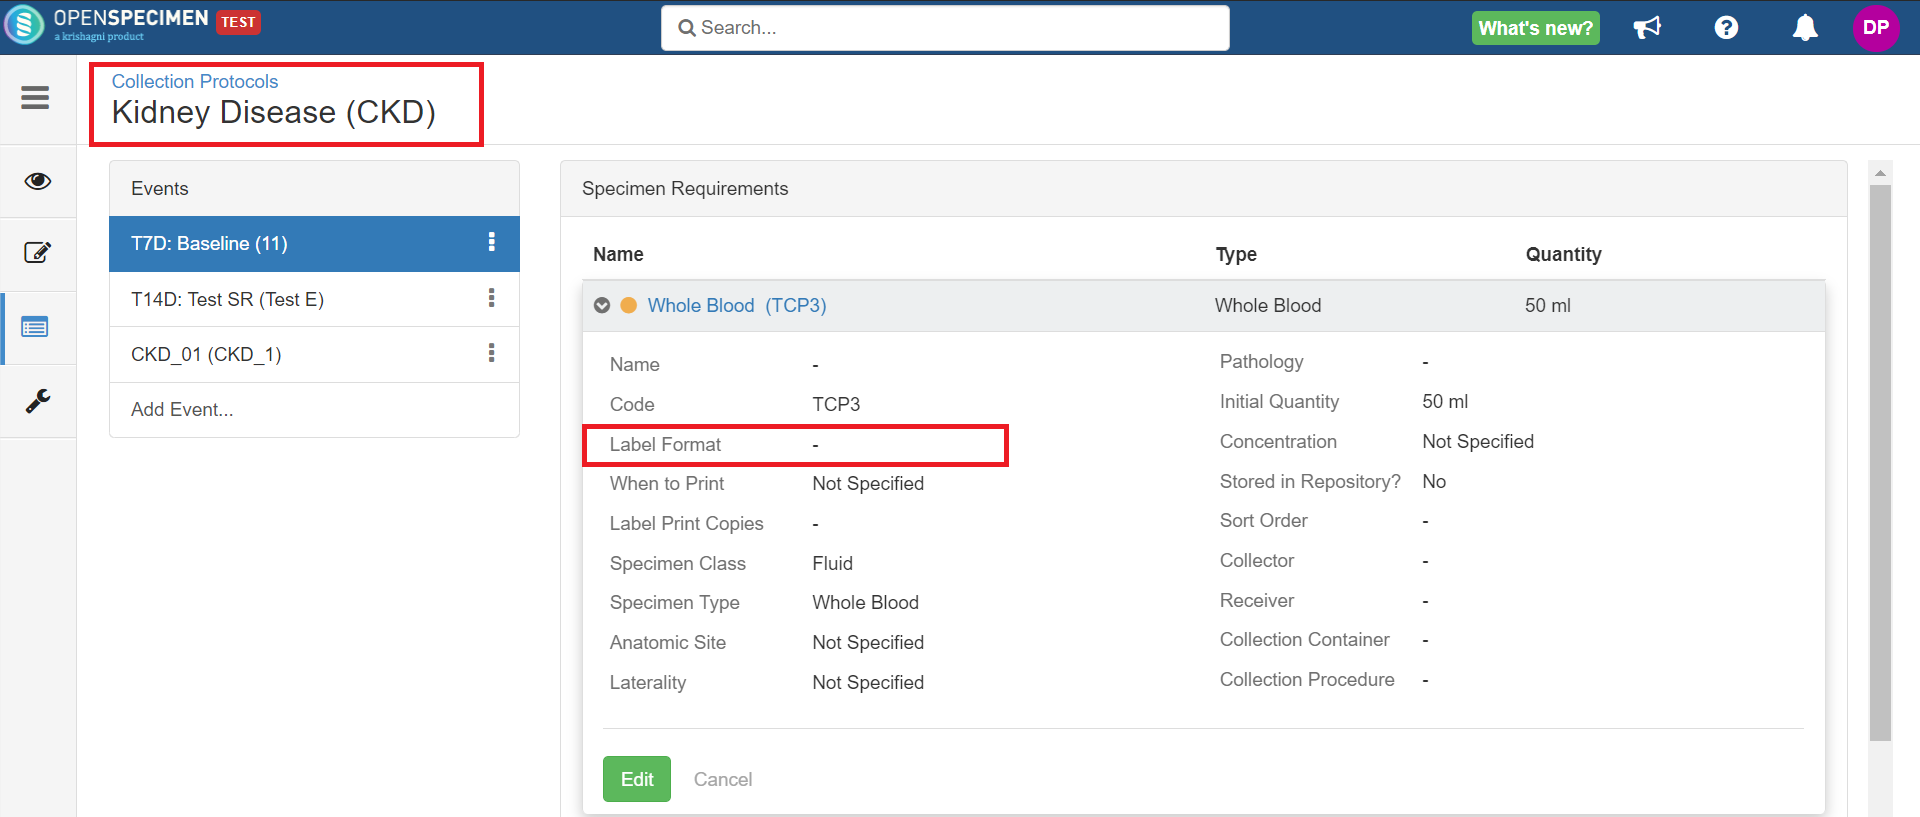
For specimens, you need to also check if there are any label formats set at specimen requirement level:
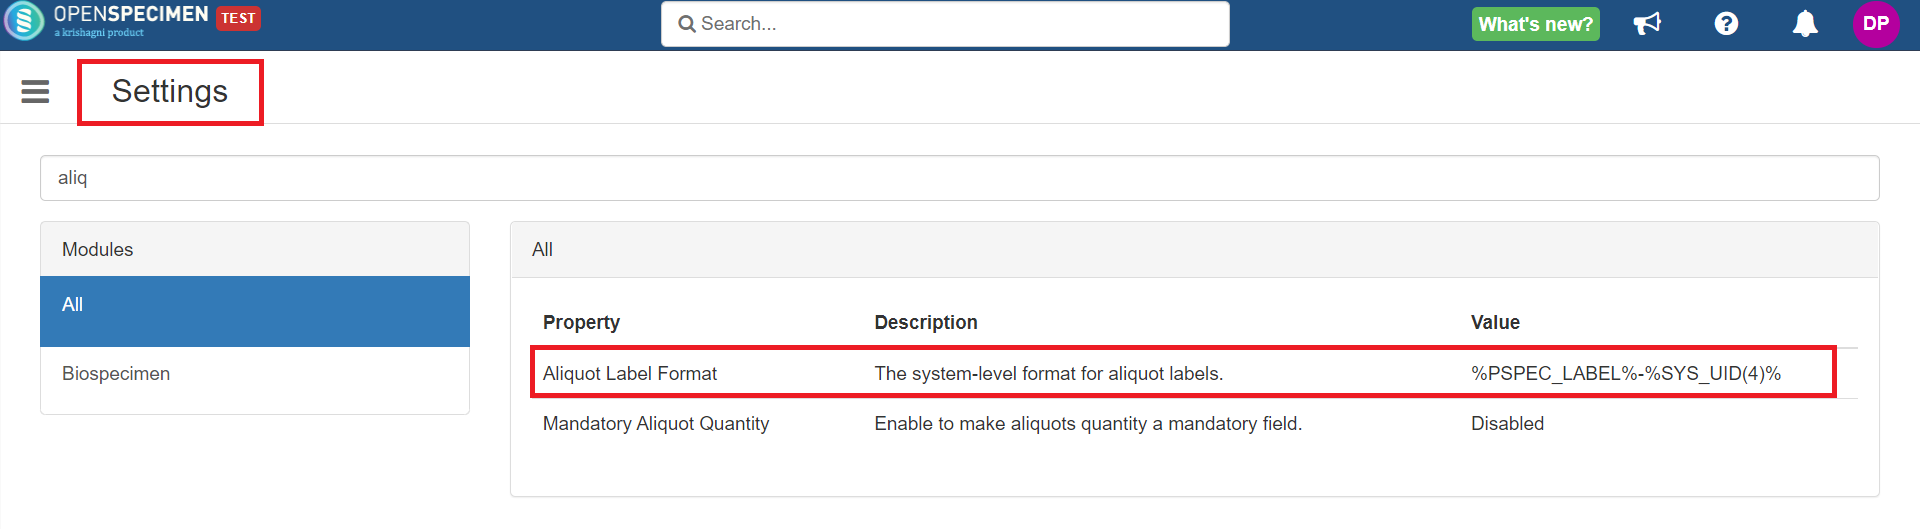
For aliquots, you need to verify if the aliquot format is set at the system 'Settings' level: