| Table of Contents |
|---|
| Note | ||
|---|---|---|
| ||
|
Introduction
The query results display fields along with the options to perform various operations like Save, Export, Define Columns, Specimen Operations, etc.
...
Wide Rows is related to 1:many fields like. E.g. one Participant with many Race, Ethnicity or MRNs OR Visit with multiple Clinical Diagnosis. In such cases, the Wide Row checkbox determines where to display all the values in one row (i.e. Wide Row) or display one row per value.
| Expand |
|---|
 Example - On Enabling Wide Rows Example - On Disabling Wide Rows |


Display Field Names
If you need to display the internal "field name" as column headers instead of the "display name", the 'Display Field Names' option from 'Query' > 'Columns' can be used. This is especially useful for Forms where the display name can be a long question.
By default, the fields use display names
| Expand | ||
|---|---|---|
| ||
On enabling 'Display Field Names'
Default: Disabled 'Display Field Names'
|


...
| Expand | ||
|---|---|---|
| ||
Example - Case Sensitive Search enabled (default) on first name
Example - Case Sensitive Search disabled on first name
|


Configure display names for column headers
From v5.1, you You can configure the header names for the columns in the query results page and the Exported CSV.
...
| Expand |
|---|
Once the query is created, select the columns to be displayed in the query results page and click on 'Next' button. From 'Field Labels' section, specify the labels to be displayed and click on 'Done' Column headers before configuration:
Column headers after configuration: |


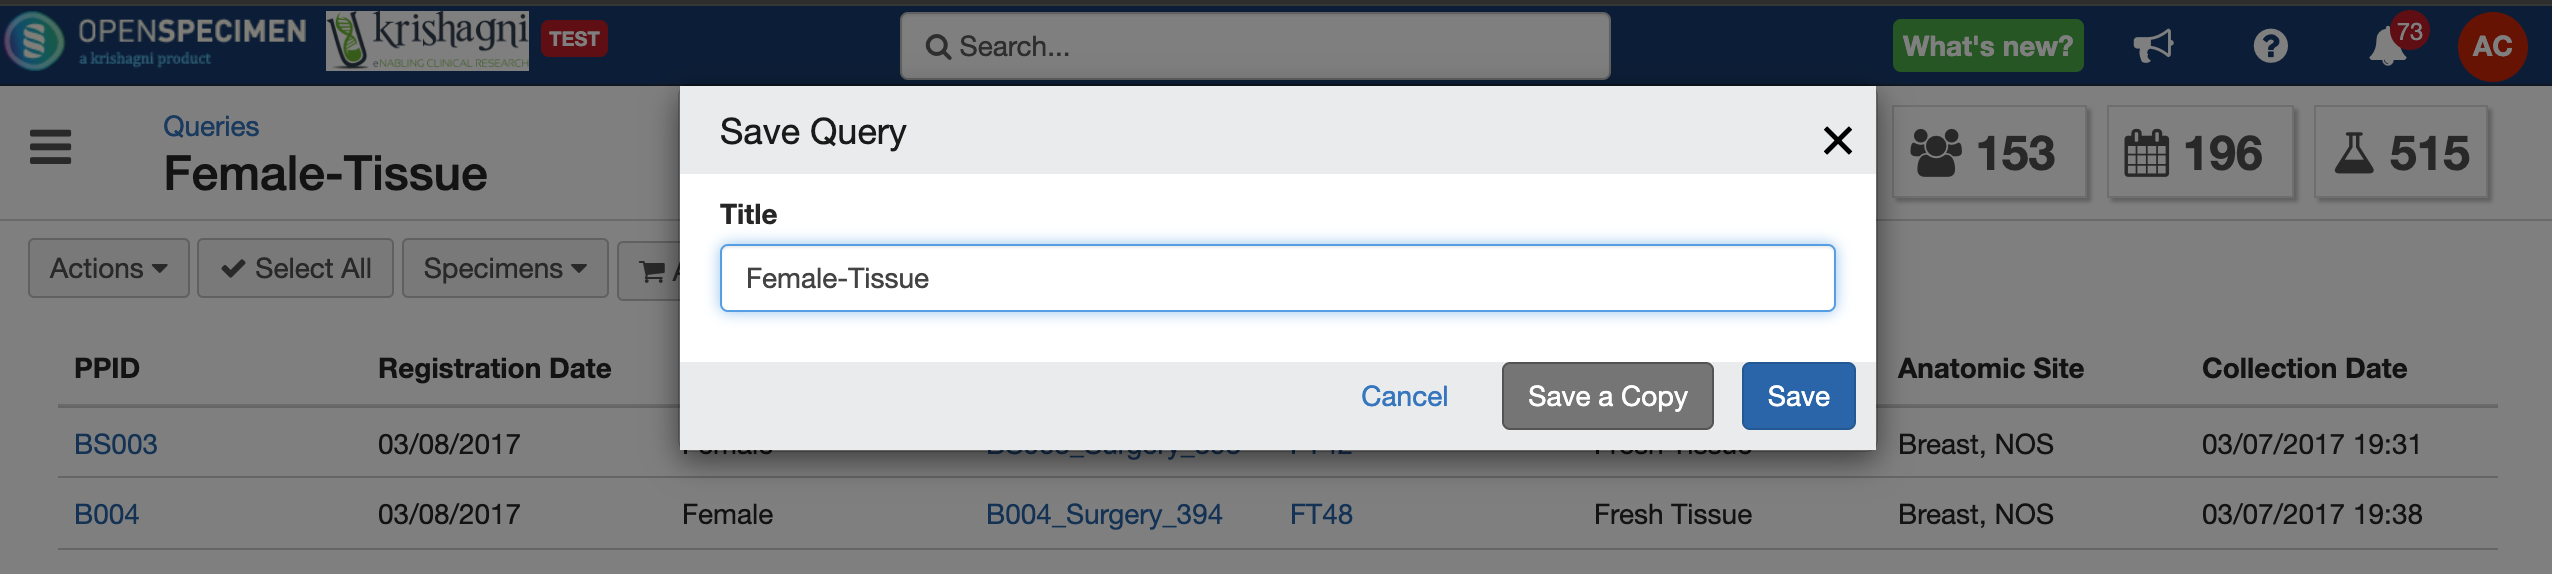
Save query
A query can be saved for future reuse OR sharing with other users.
| Expand | ||
|---|---|---|
| ||
This will save the query along with the results view. |

Export Query Results
| Expand |
|---|
You can export the query results as a CSV file, click on the 'Actions' button, and select option 'Export' to export query results.
|

Select rows in query for operations
Users can select the rows from the query result and perform the action specified in below 'Specimen Operation' section.
...
...
Display the count of row selected feature is implemented in v7.1. Check the highlighted in the below screenshot.

Specimen Operations
You can perform any specimens operation listed by selecting specimens in bulk.
...
| Expand | ||
|---|---|---|
| ||
To perform specimen operations, follow the below steps:
|


...
| Expand | ||
|---|---|---|
| ||

|

Creating New Dashlets
...