Table of Contents
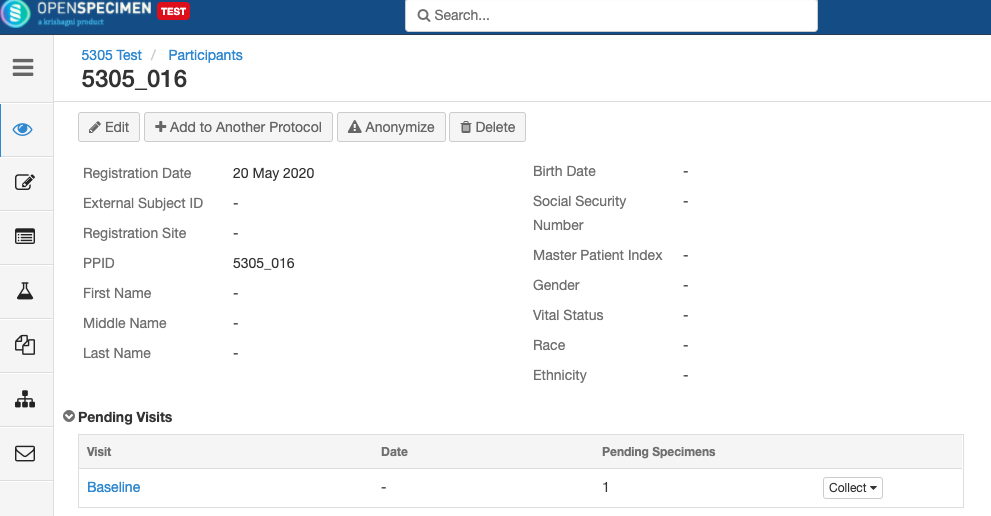
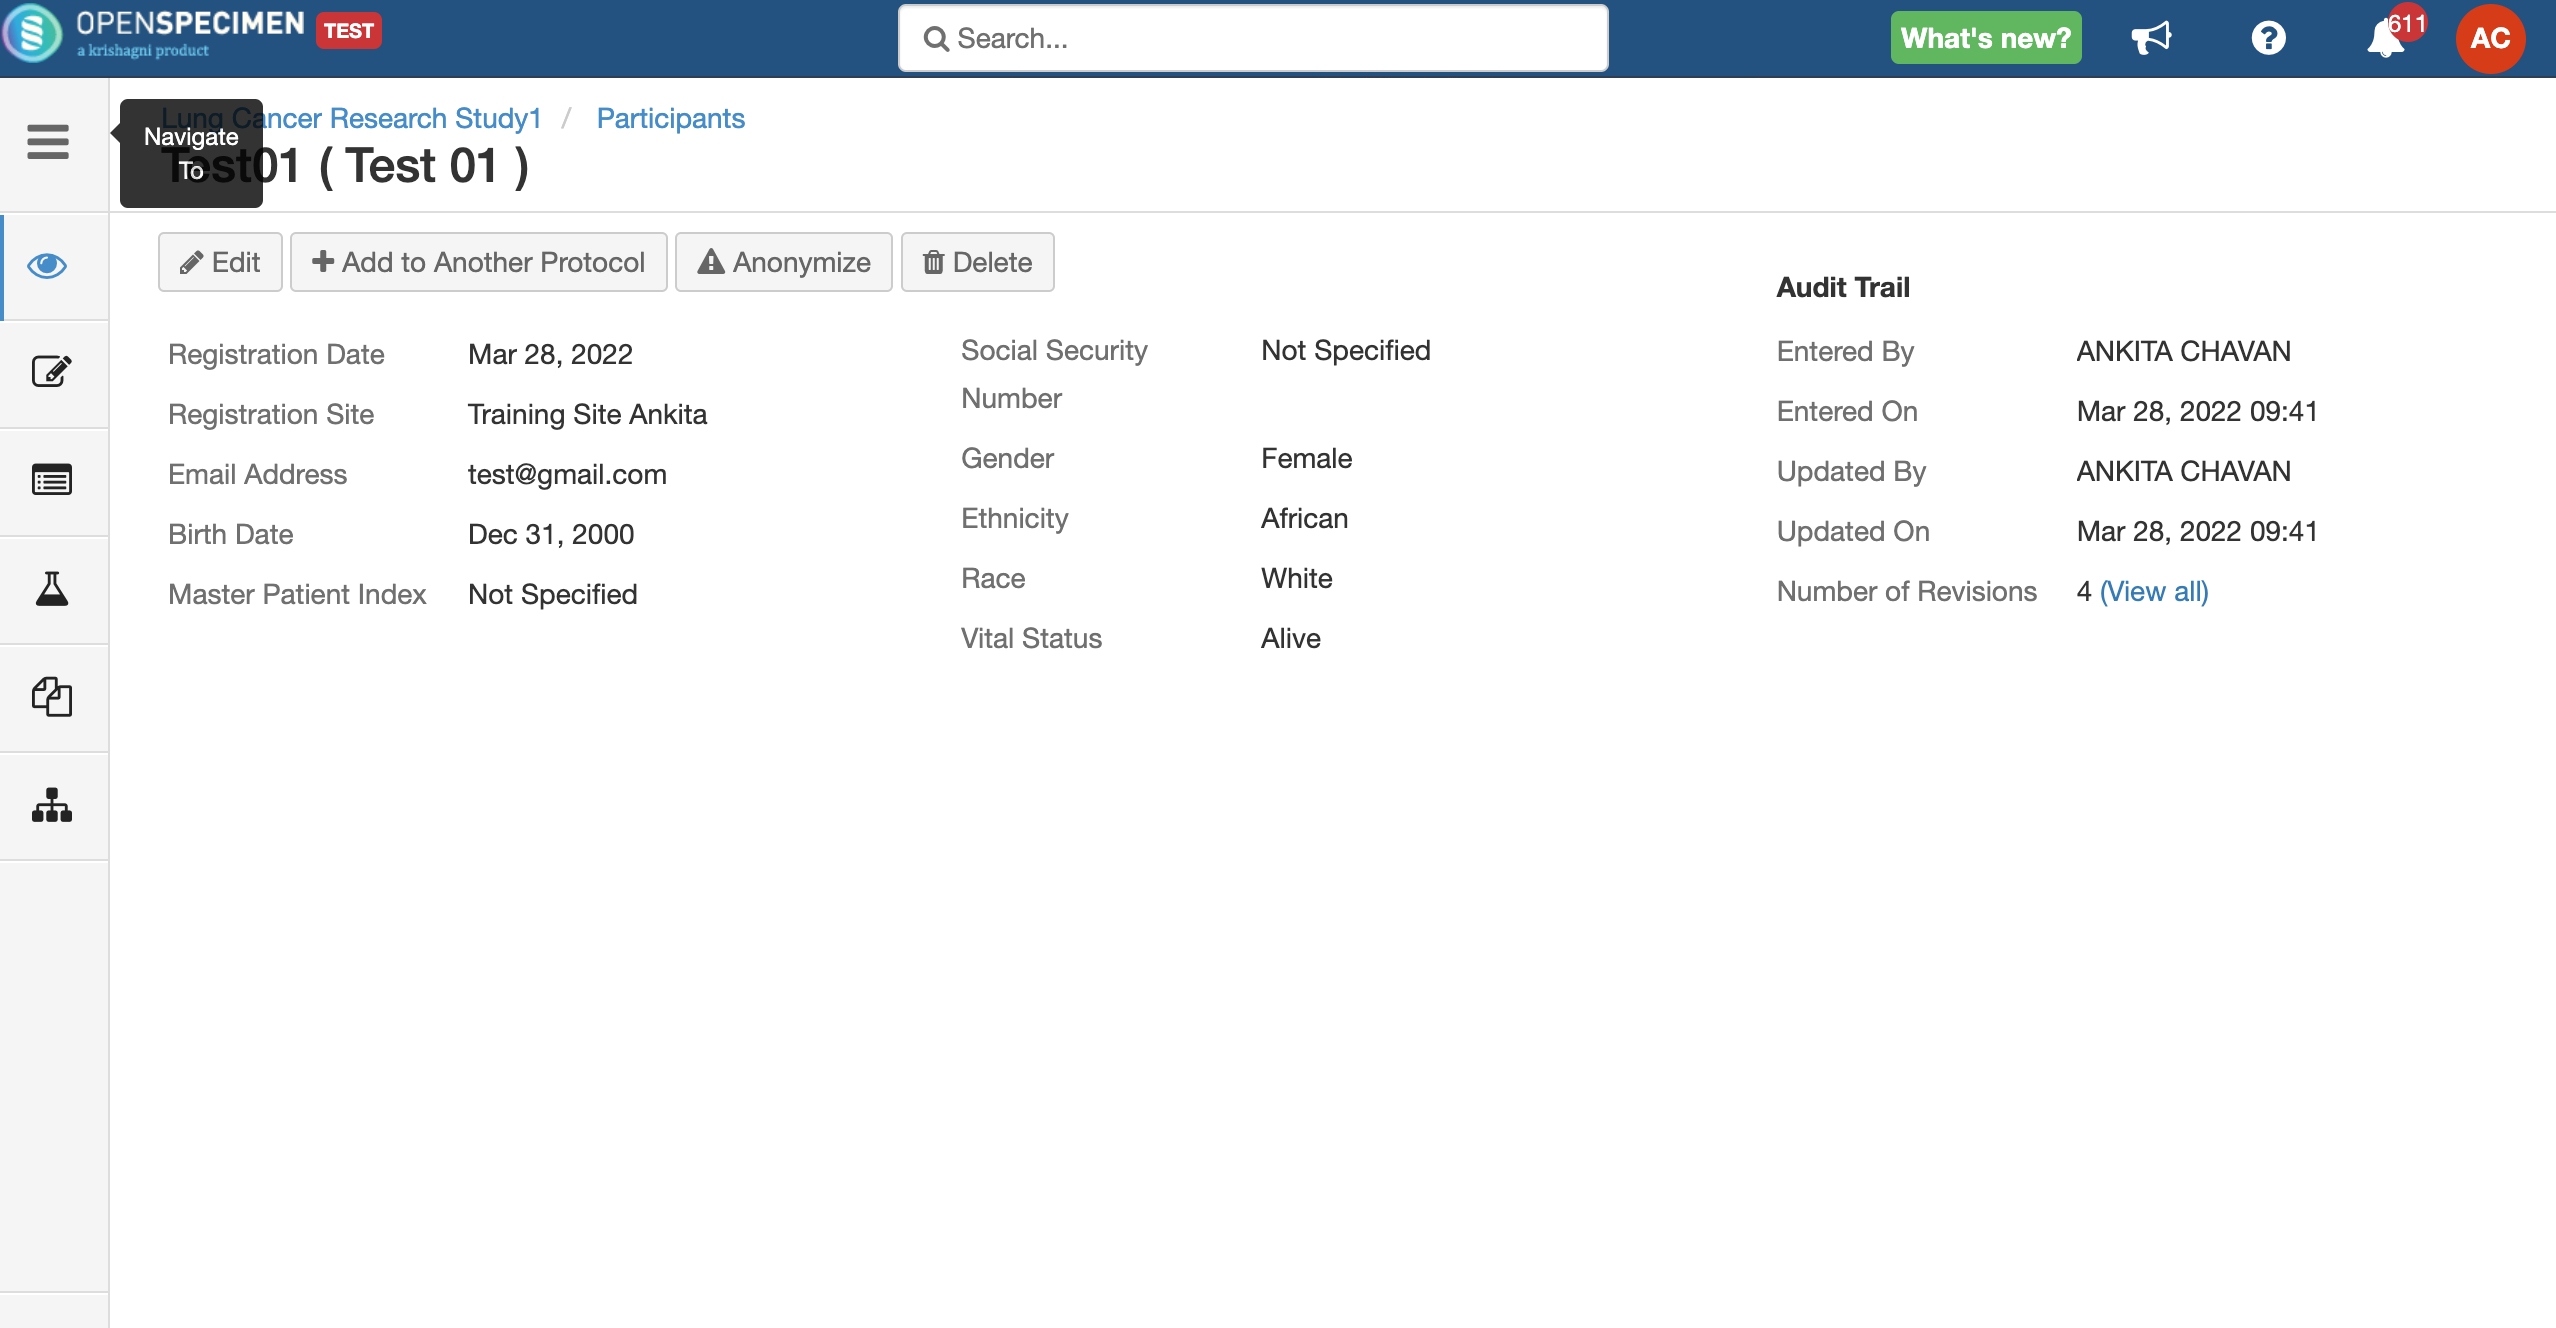
In participant-centric studies, participant data like name, age, sex, etc., is collected along with the specimens. The study can be -
...
In planned studies, it is pre-defined predefined what type of specimens are to be collected and how they have to be processed. These details can be set at the collection protocol (CP) level, which will make data entry simpler.
...
| Expand | ||
|---|---|---|
| ||
|
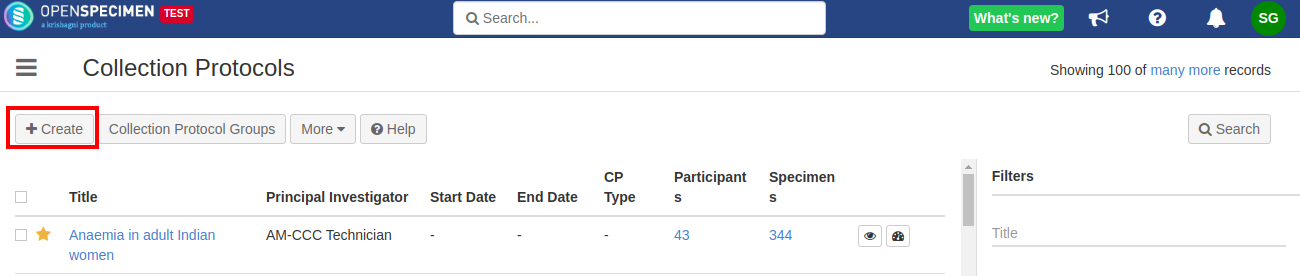
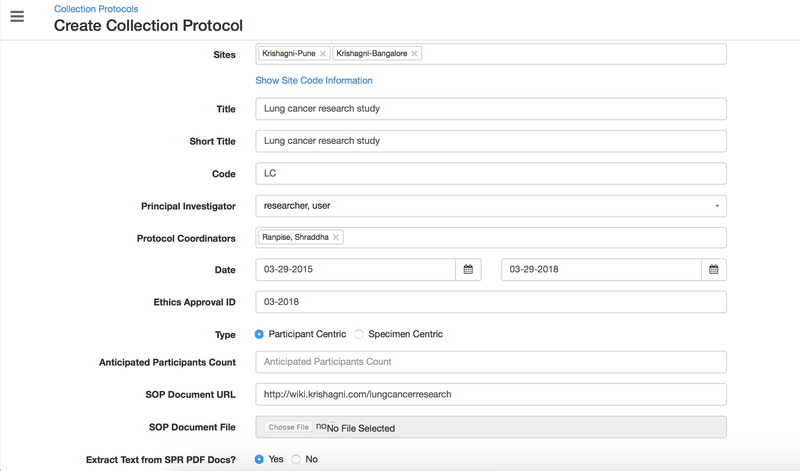
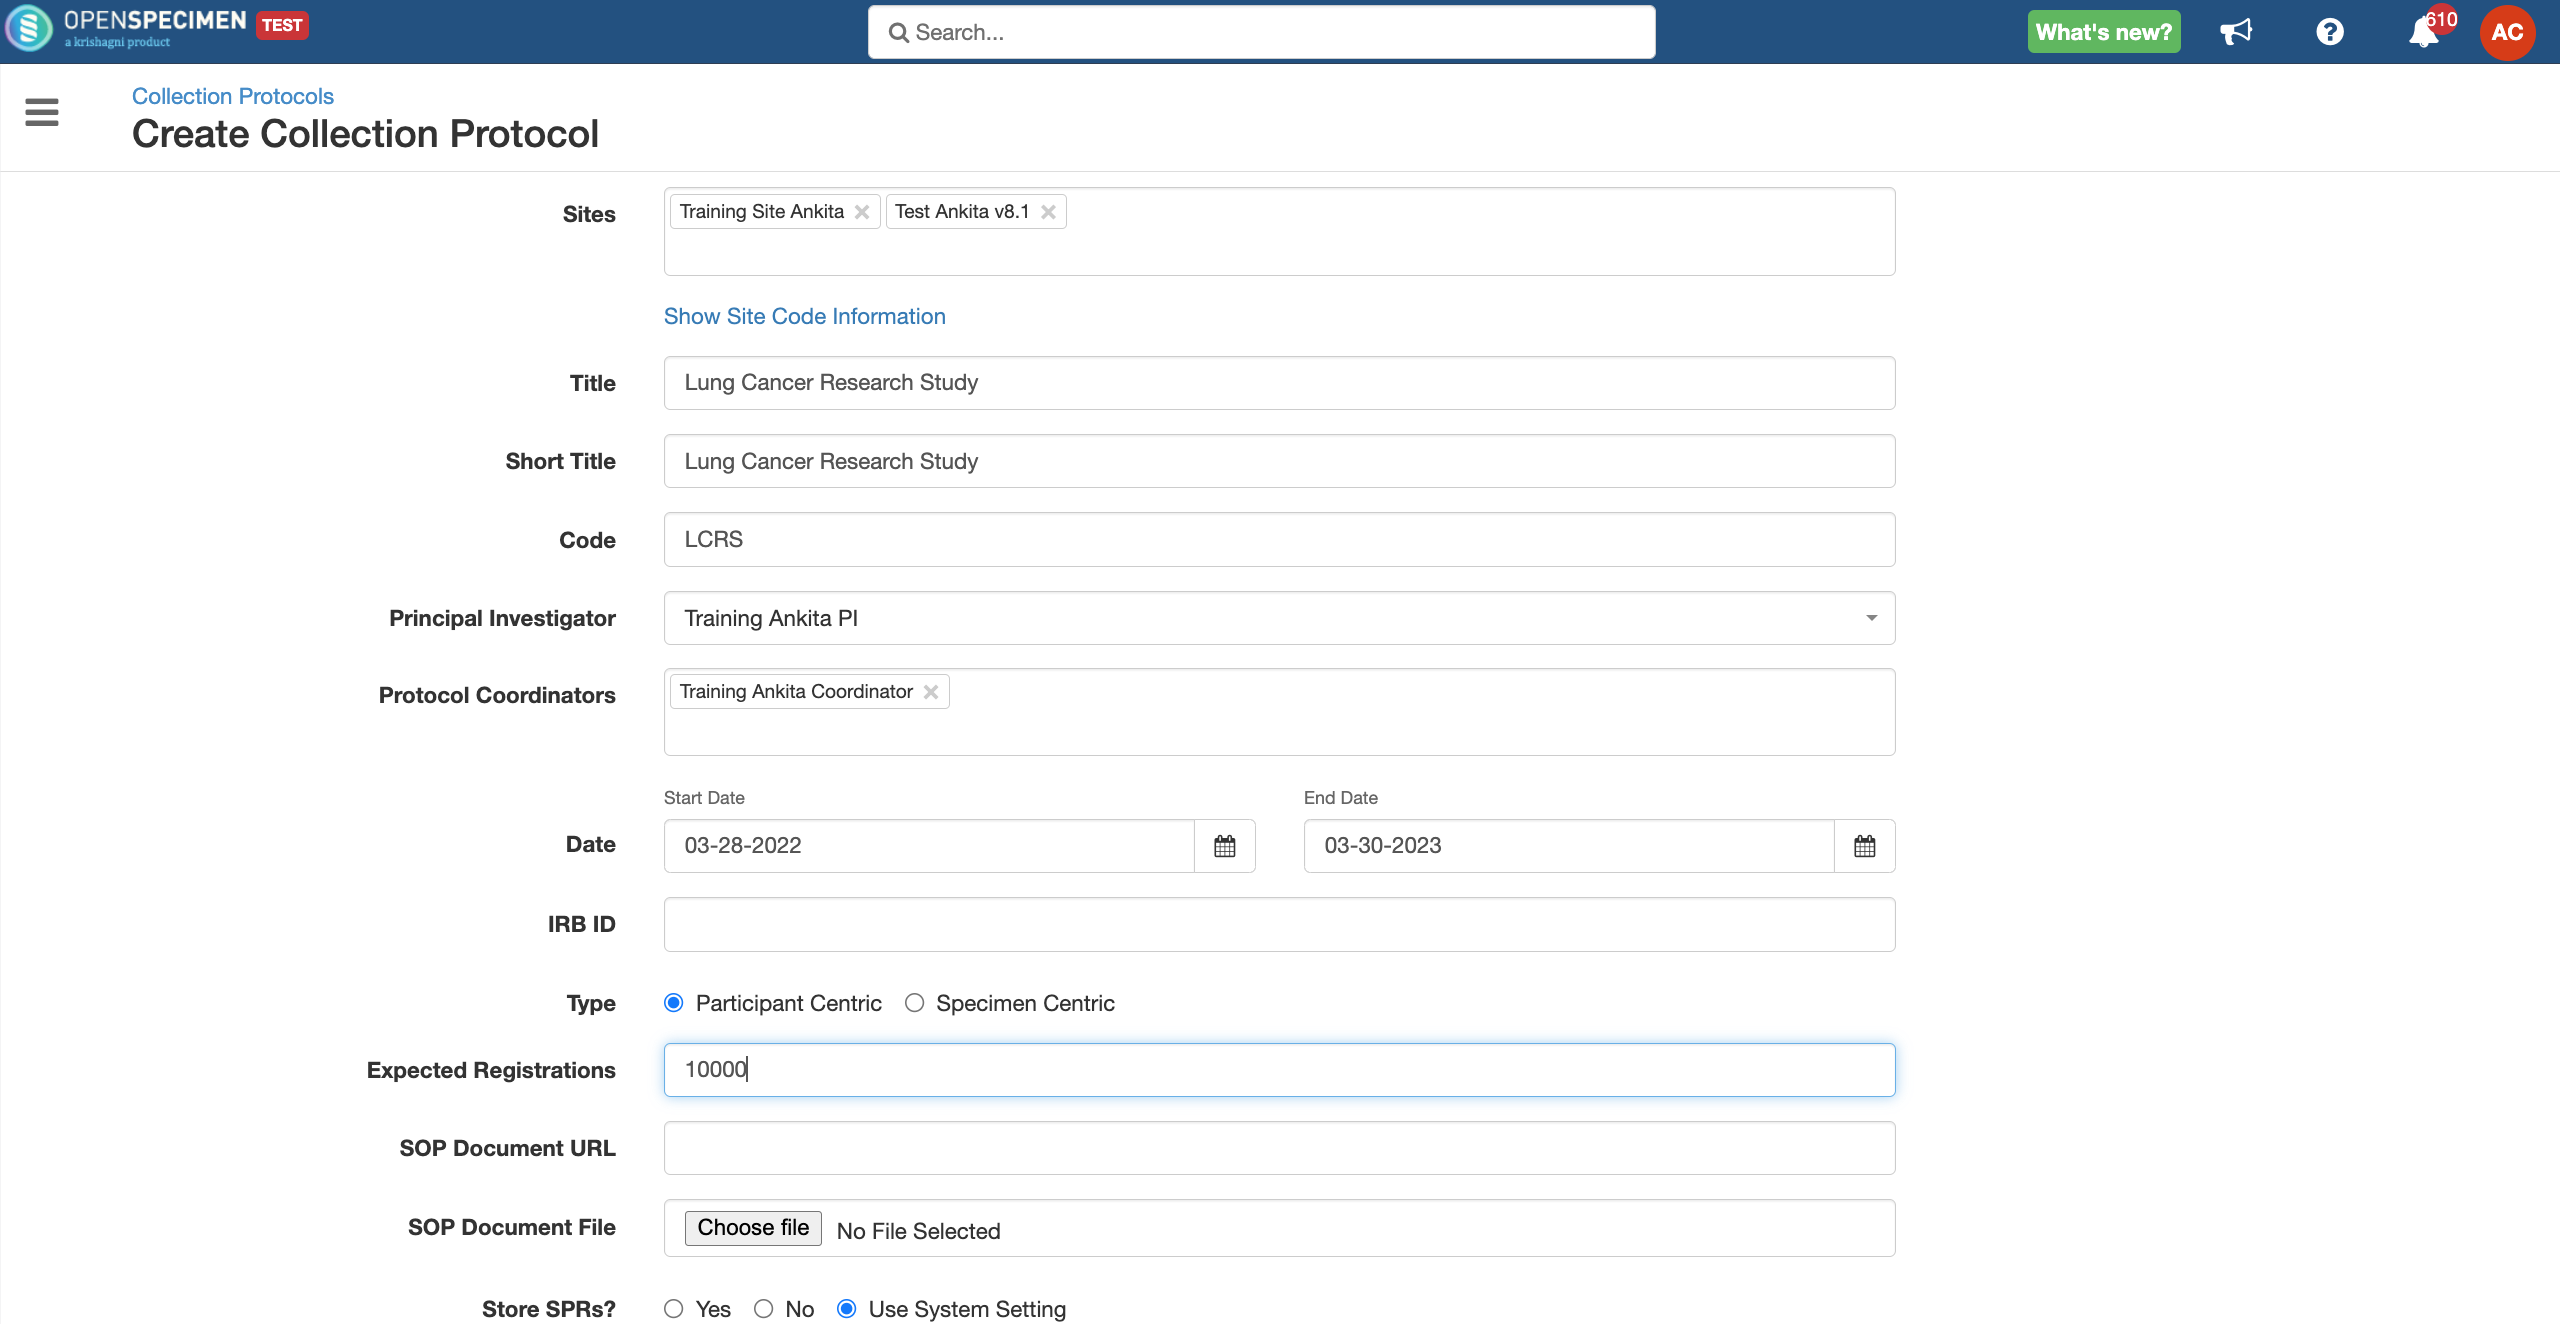
Details for all the fields on the CP overview page,
...
| Expand | ||
|---|---|---|
| ||
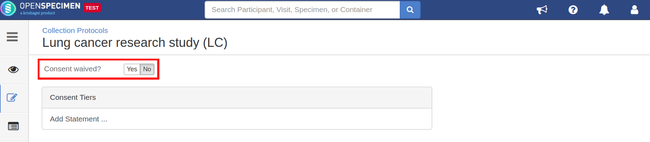
If you are not planning to use a consent feature for your CP, select 'Consent Waived?' as 'Yes.' This will hide the consents tab from the participant level page. |


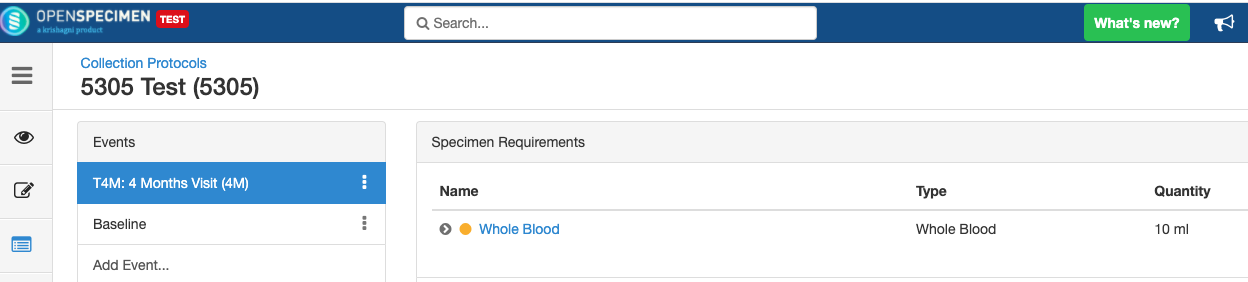
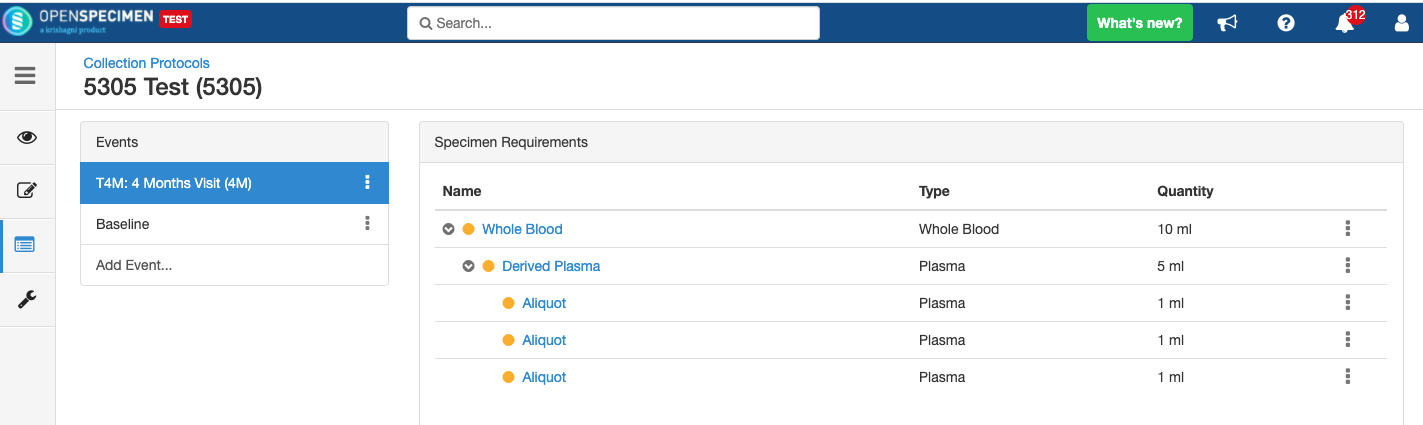
Setting up a specimen collection calendar
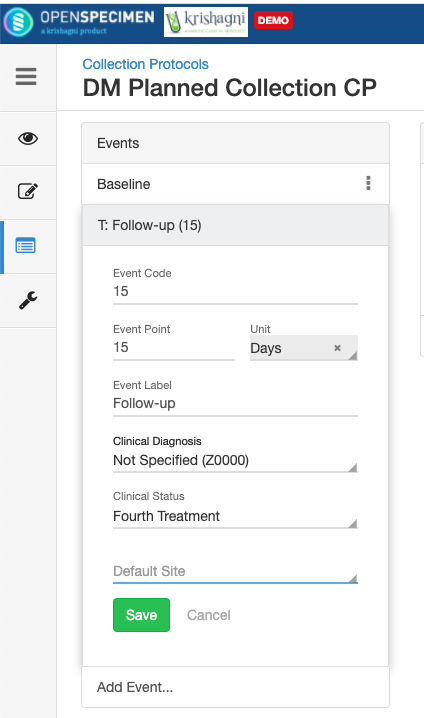
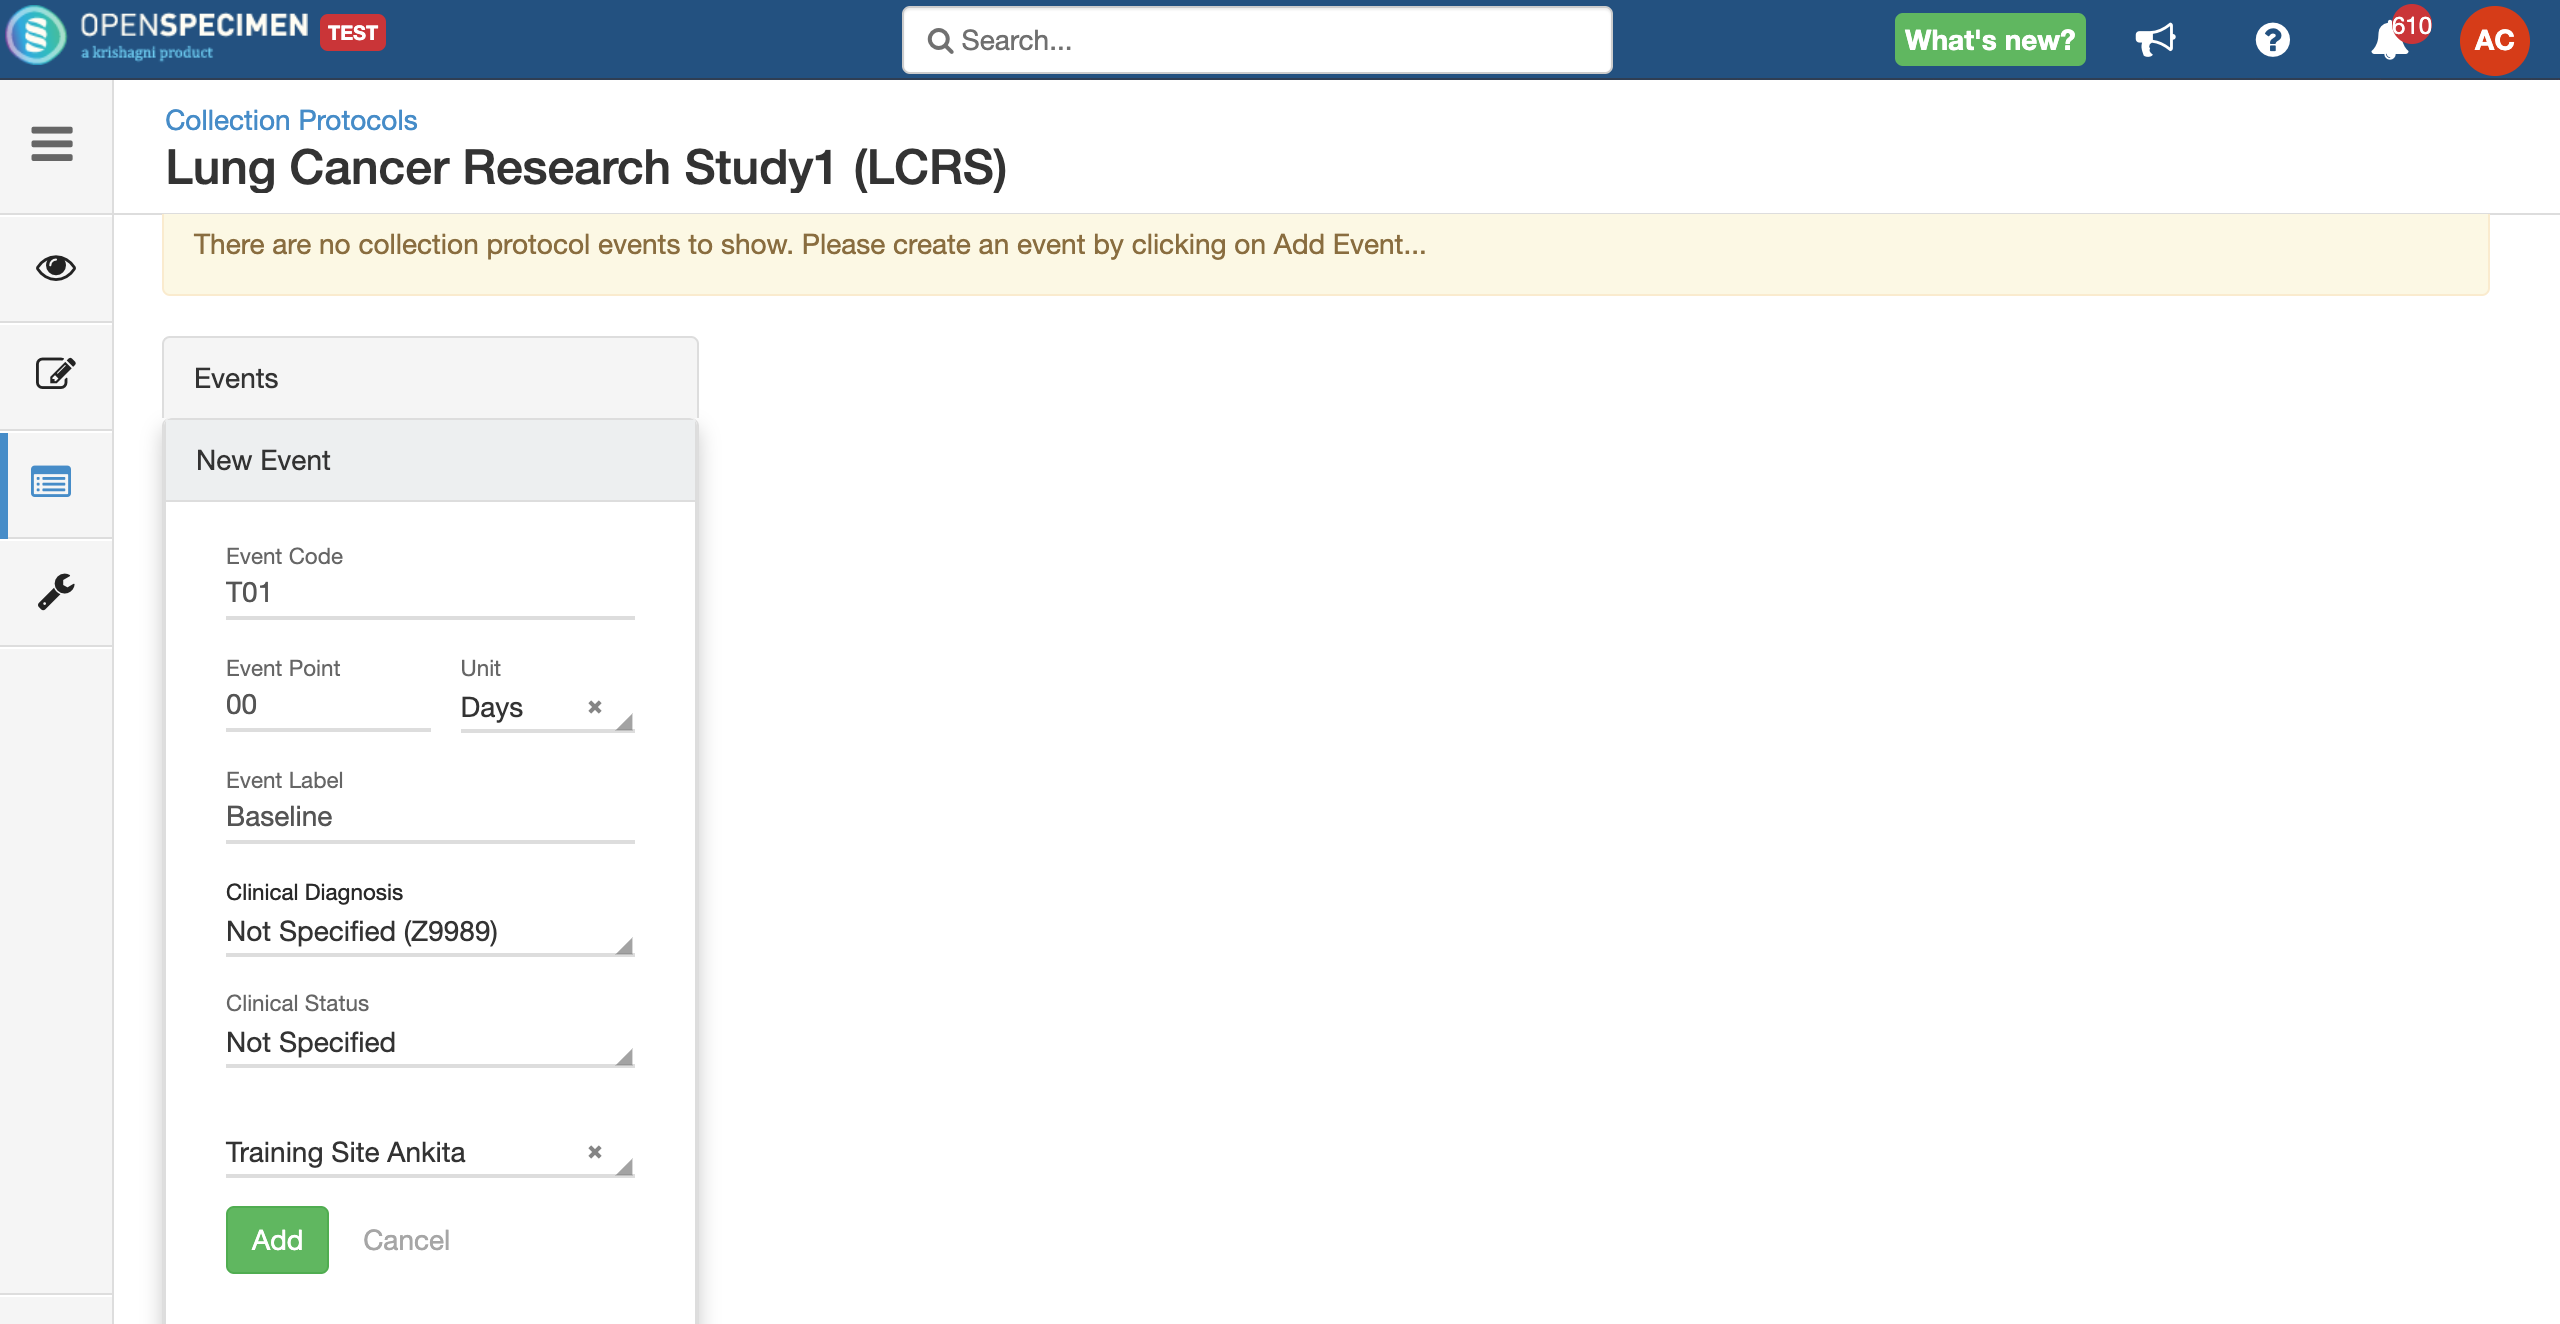
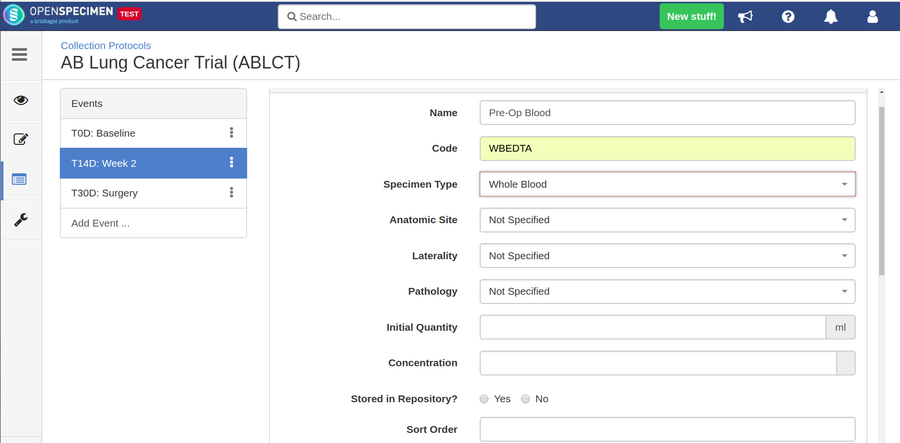
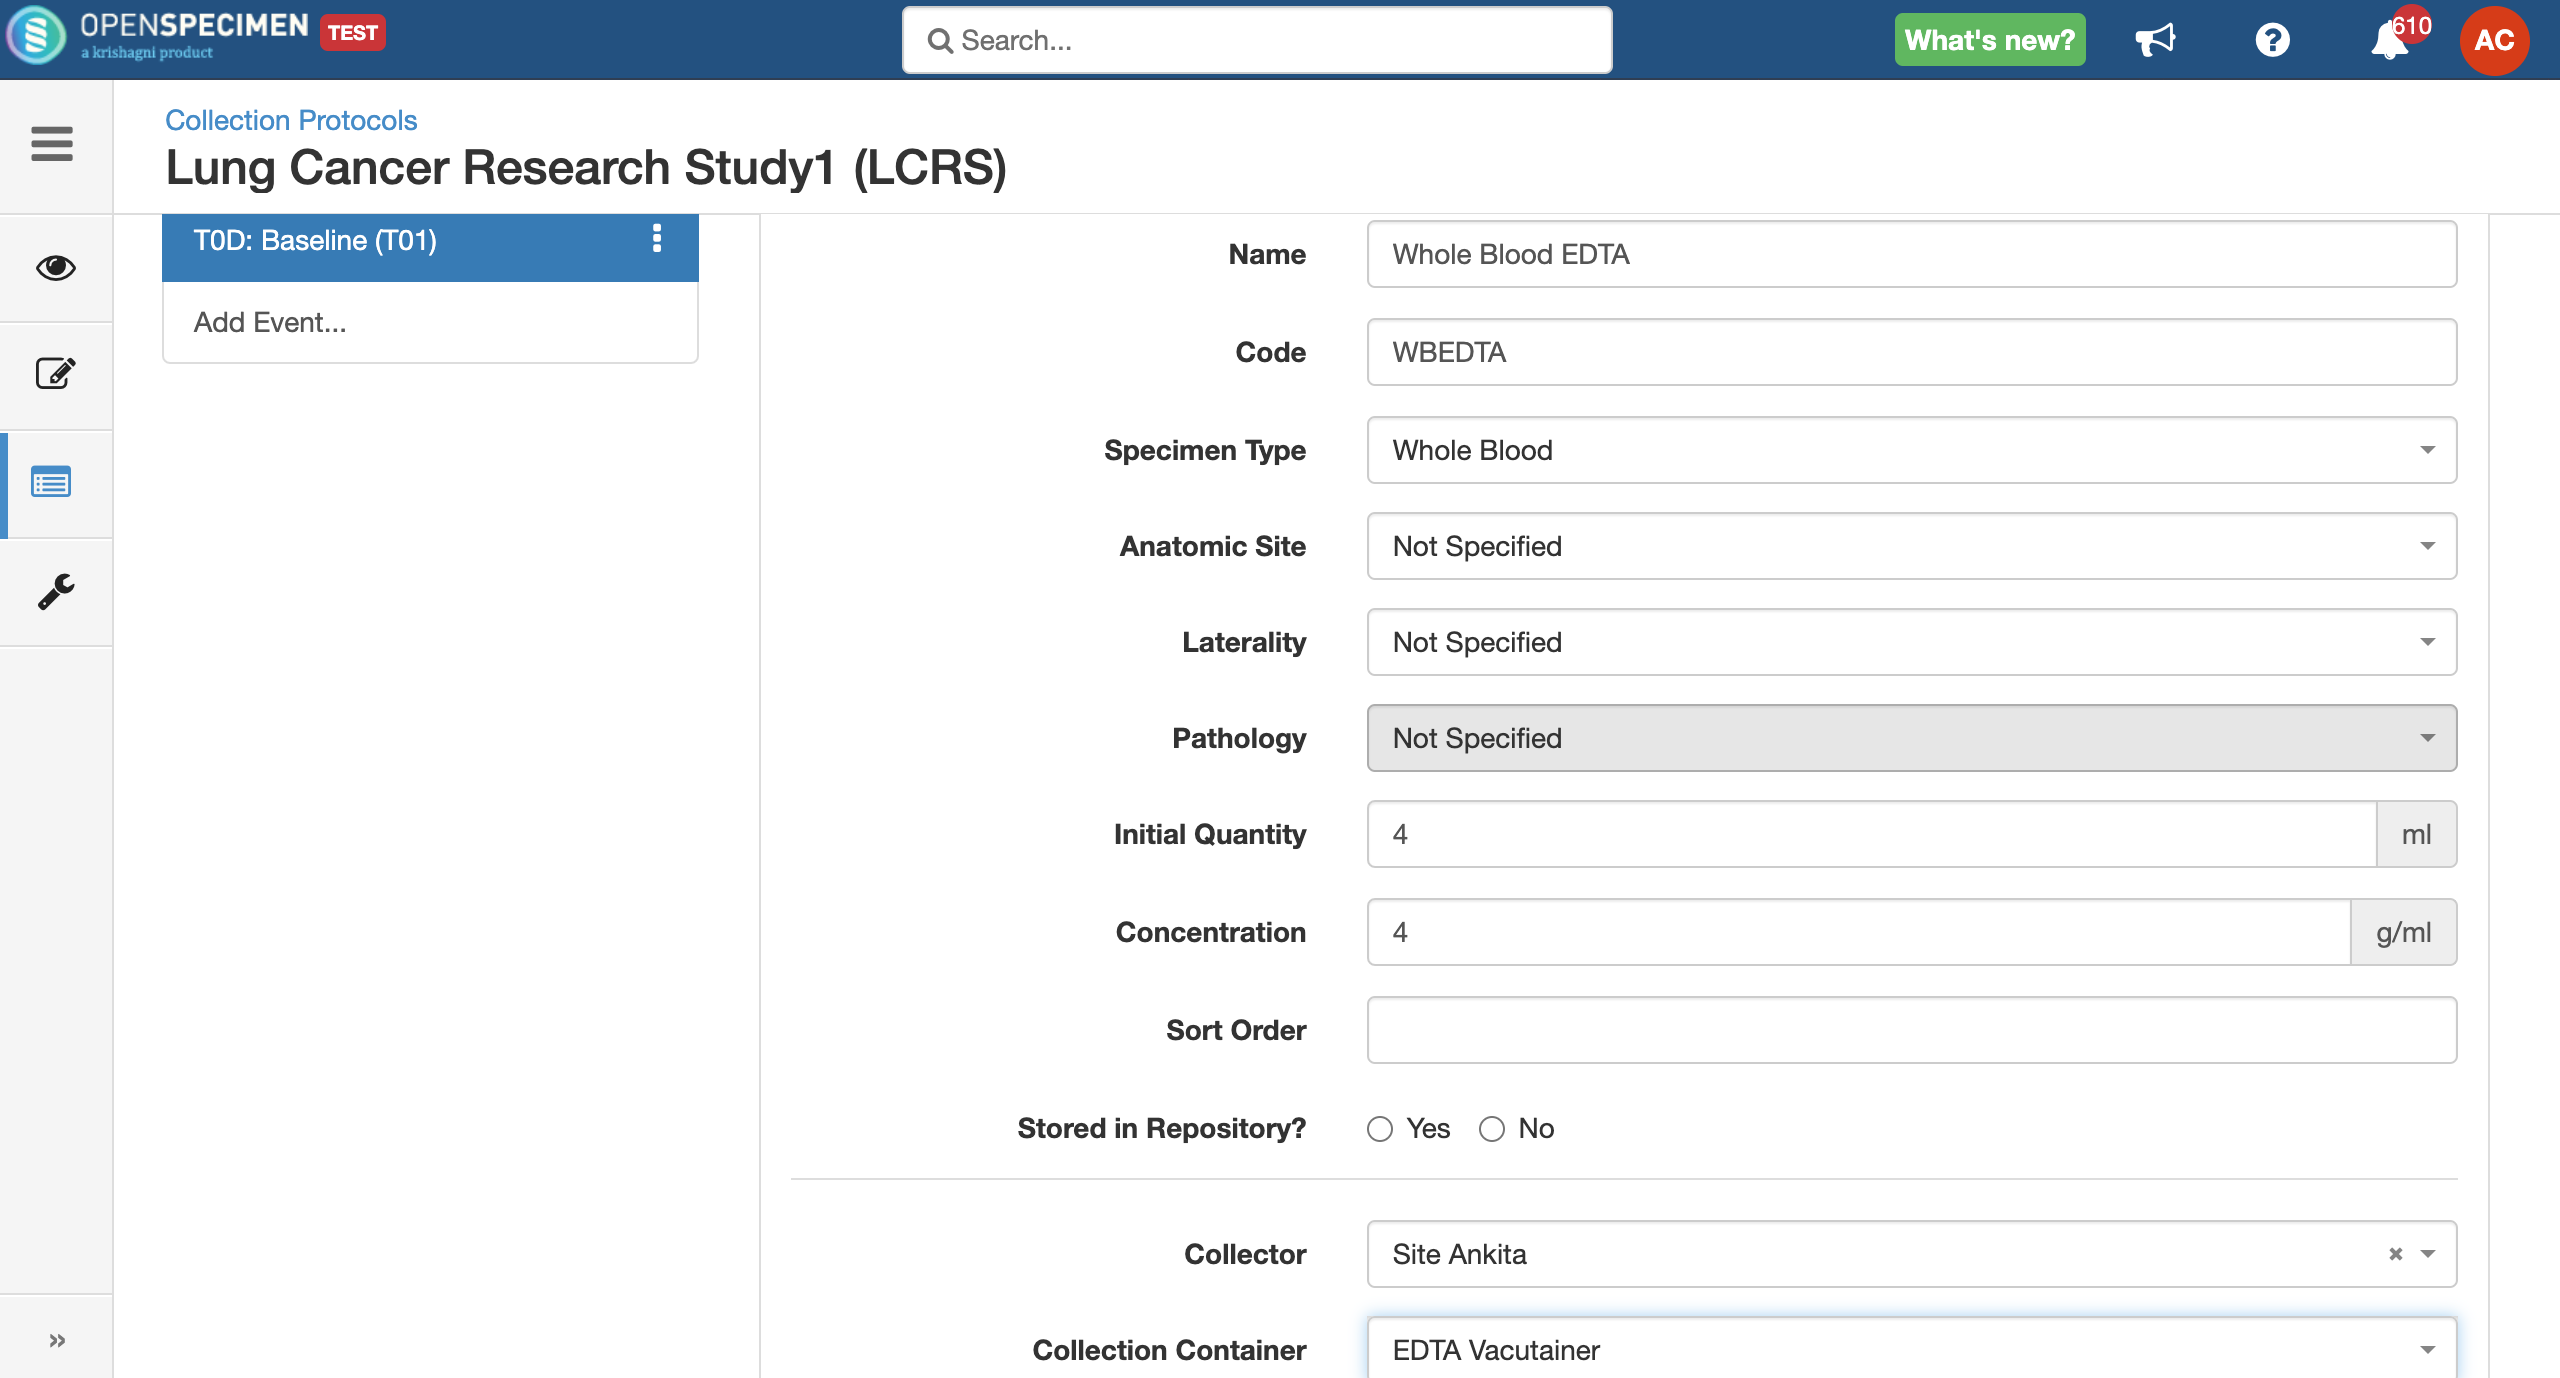
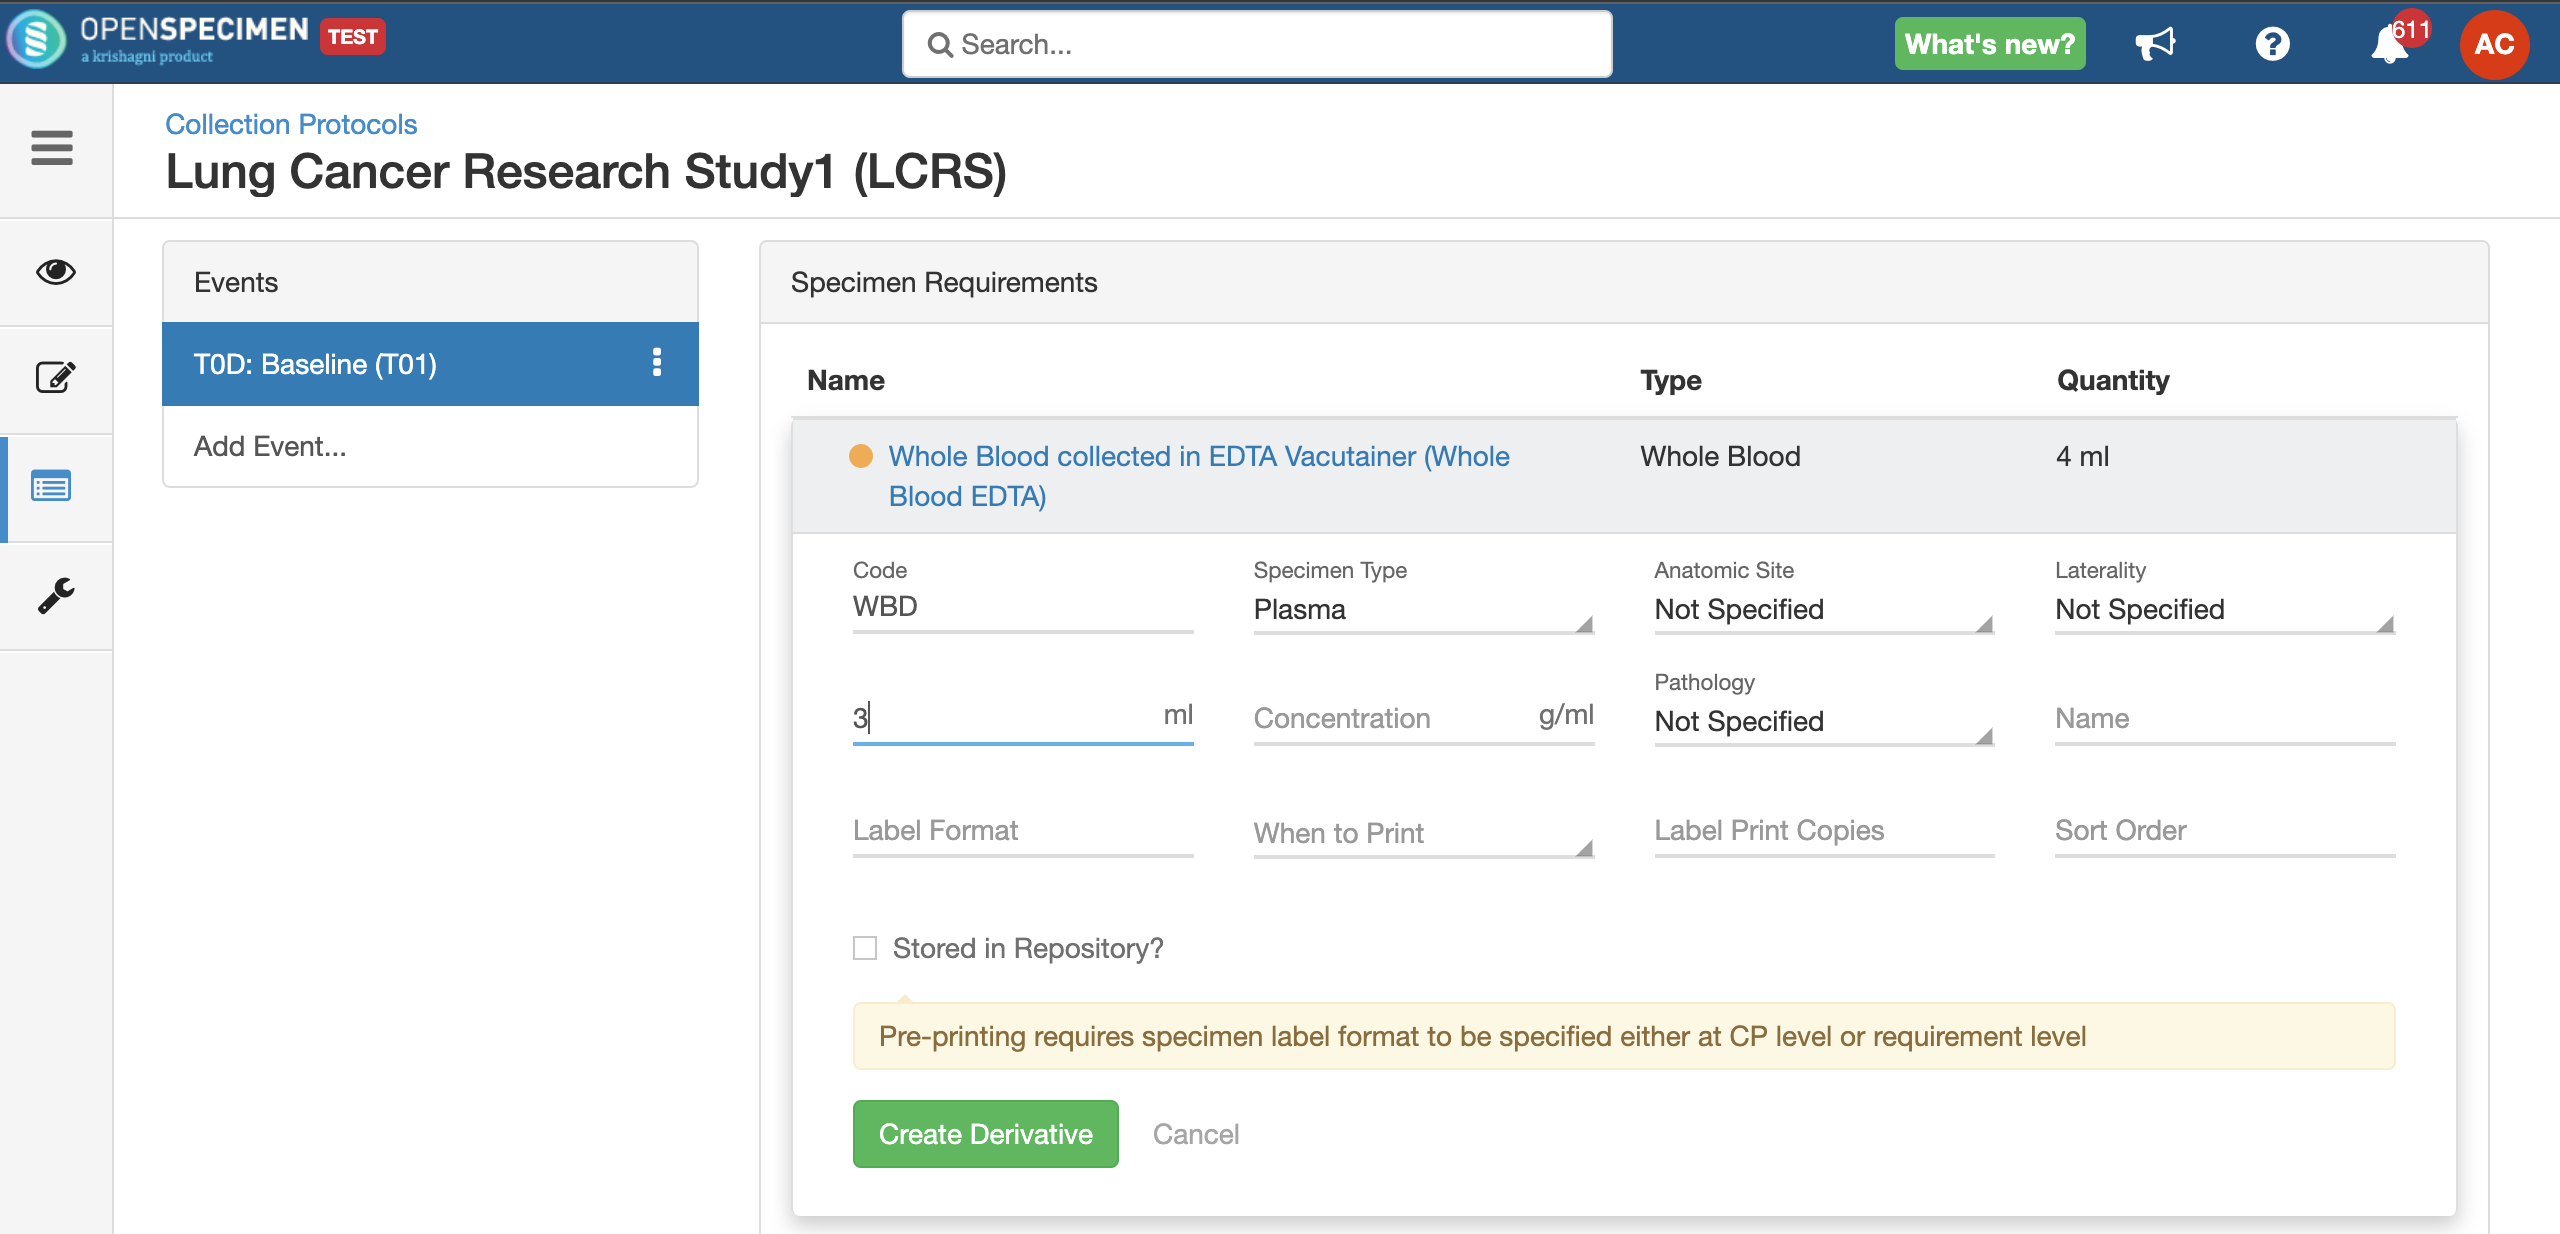
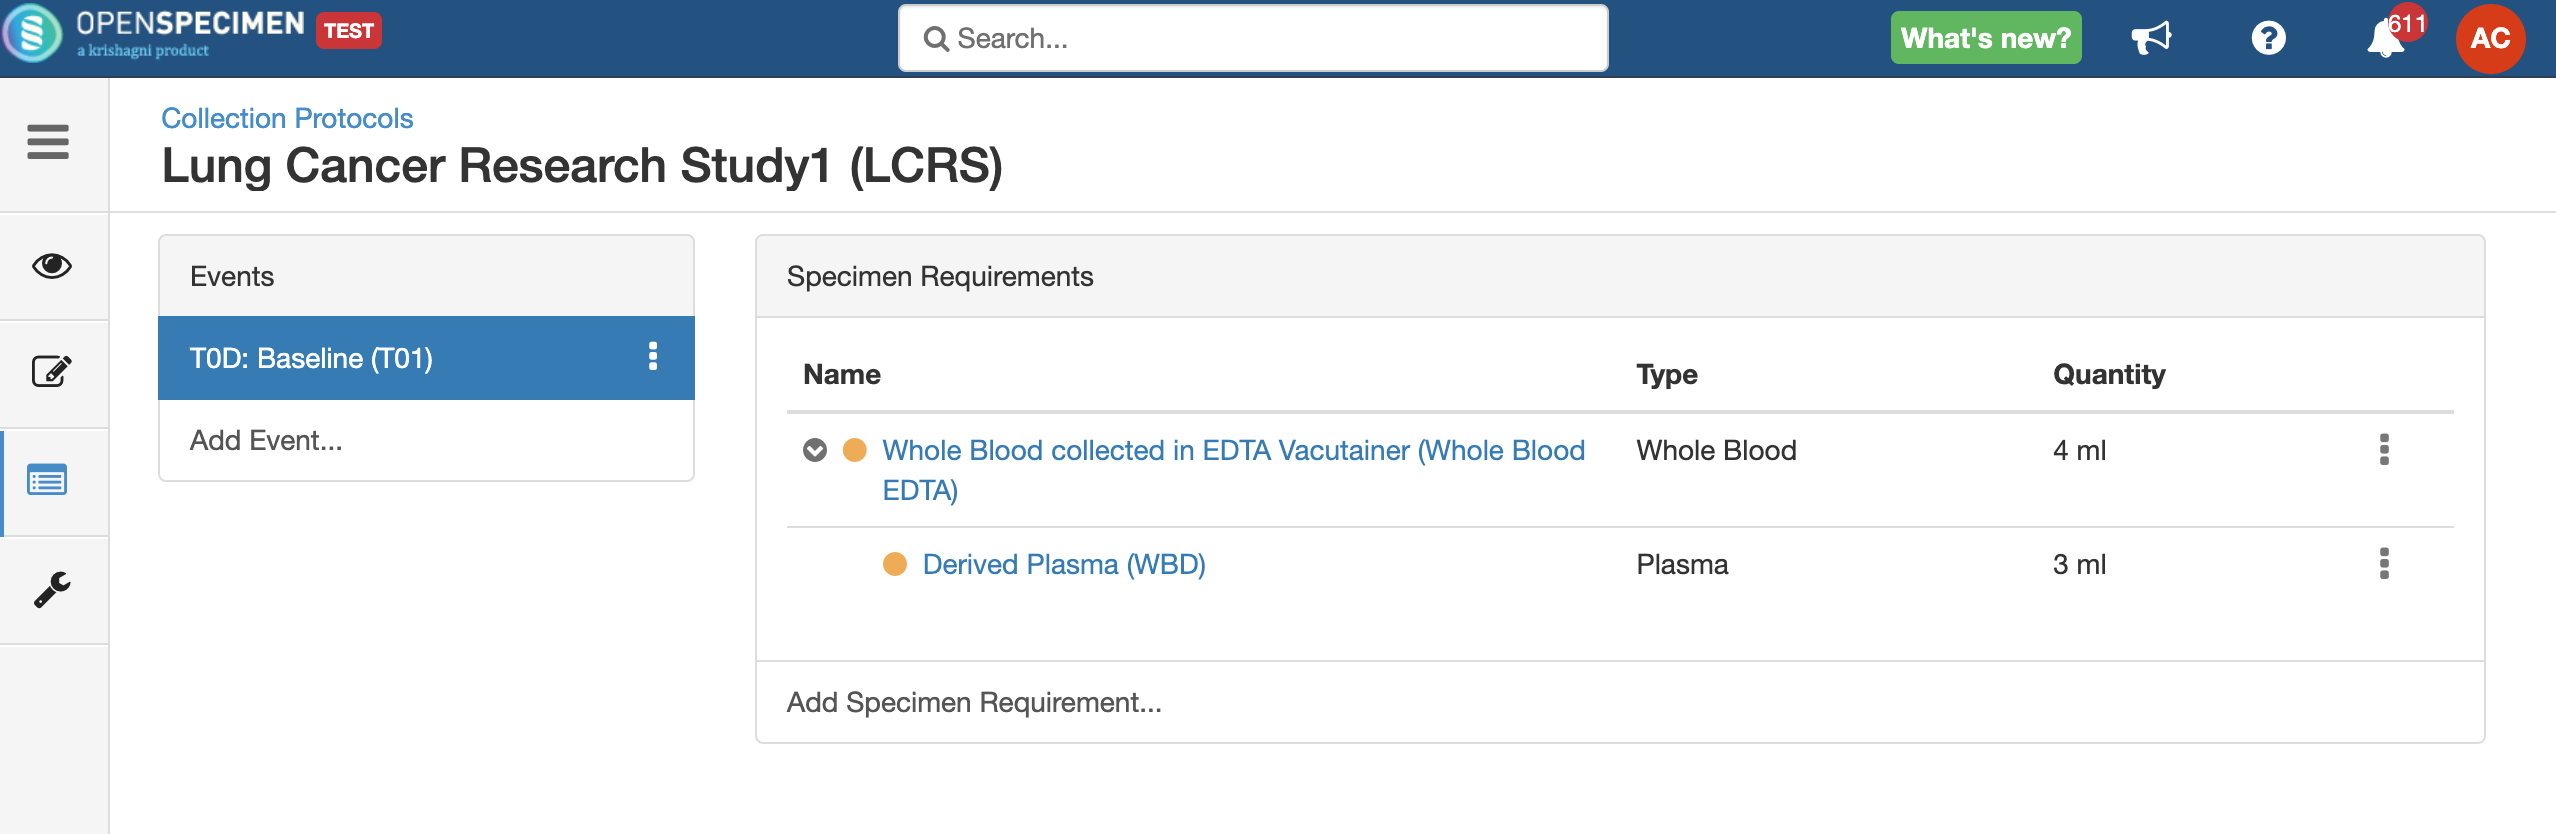
For longitudinal collections, you can configure event points and specimen requirements. The more you pre-define predefine CP events, the fewer data entry has to be done on a day to day basisdaily. The system can handle all kinds of deviation (like collected less quantity than planned) during collection.
...
| Expand | ||||||||||||||||||||
|---|---|---|---|---|---|---|---|---|---|---|---|---|---|---|---|---|---|---|---|---|
| ||||||||||||||||||||
|
...
| Expand | ||||||||||||||||||
|---|---|---|---|---|---|---|---|---|---|---|---|---|---|---|---|---|---|---|
| ||||||||||||||||||
|
...
| Expand | ||
|---|---|---|
| ||
|

...
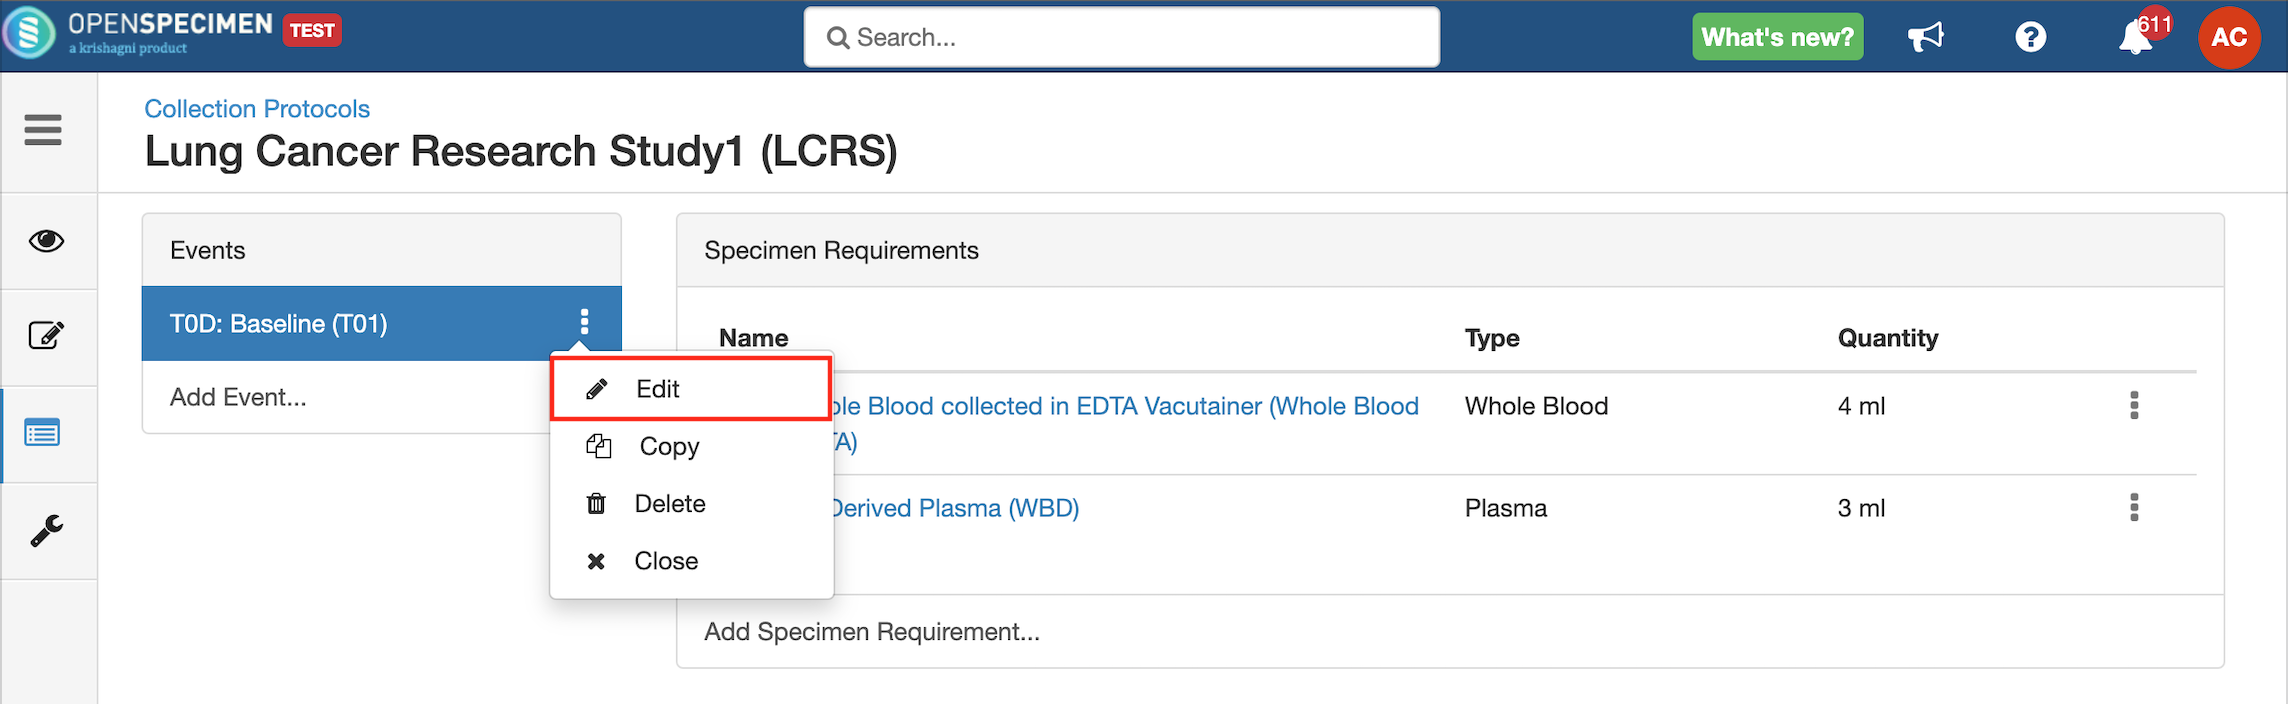
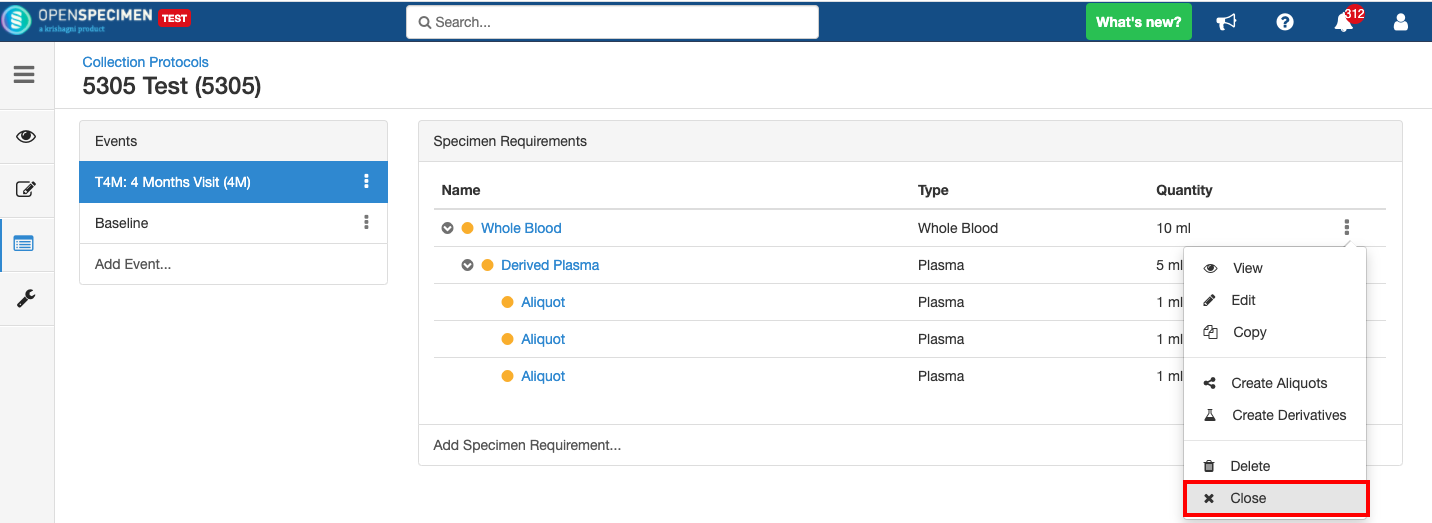
- Go to the events page of a CP.
- Click the dotted menu for the event/SR and click ‘Edit.’
- Do appropriate changes and click ‘Save.'
’
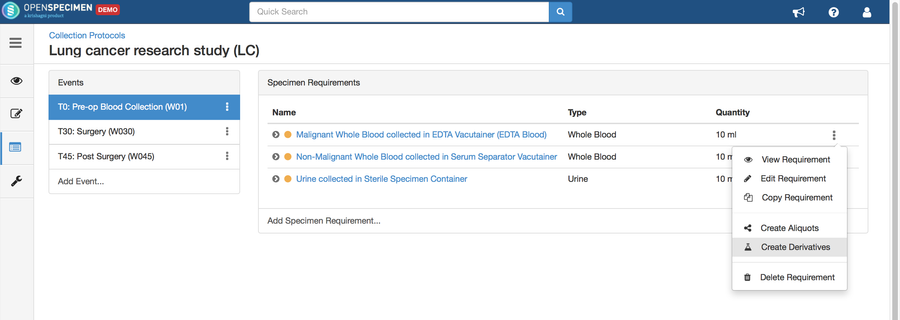
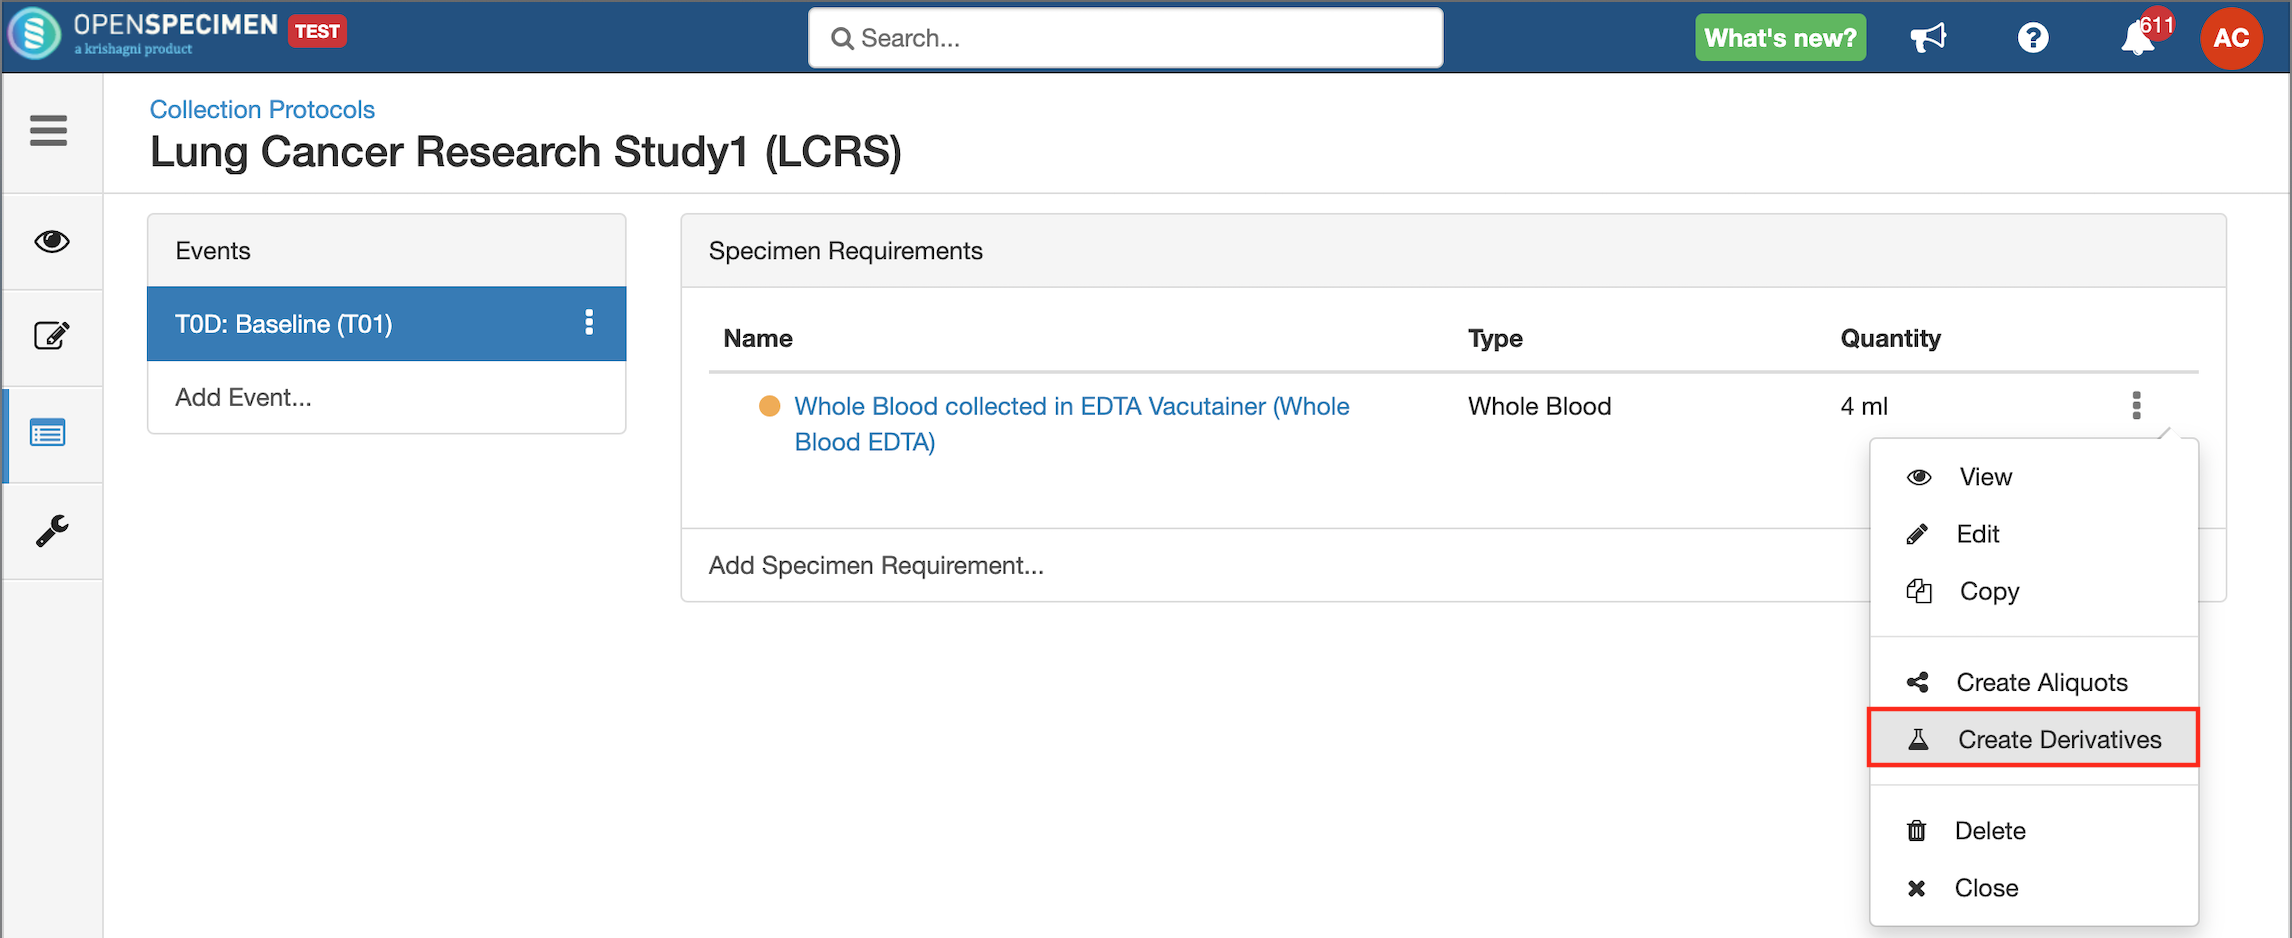
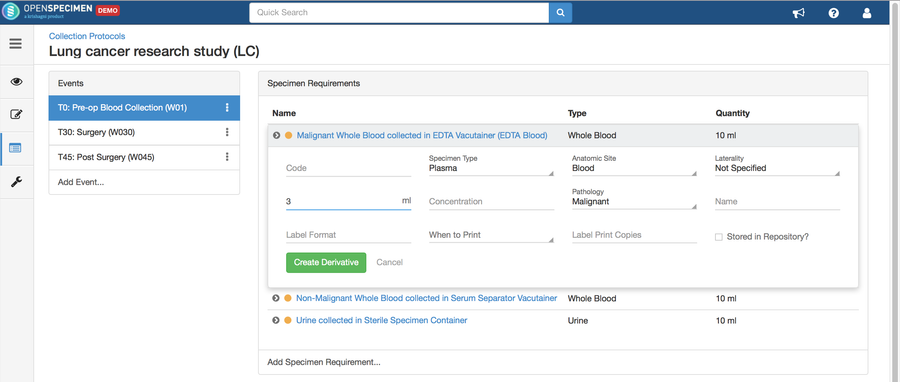
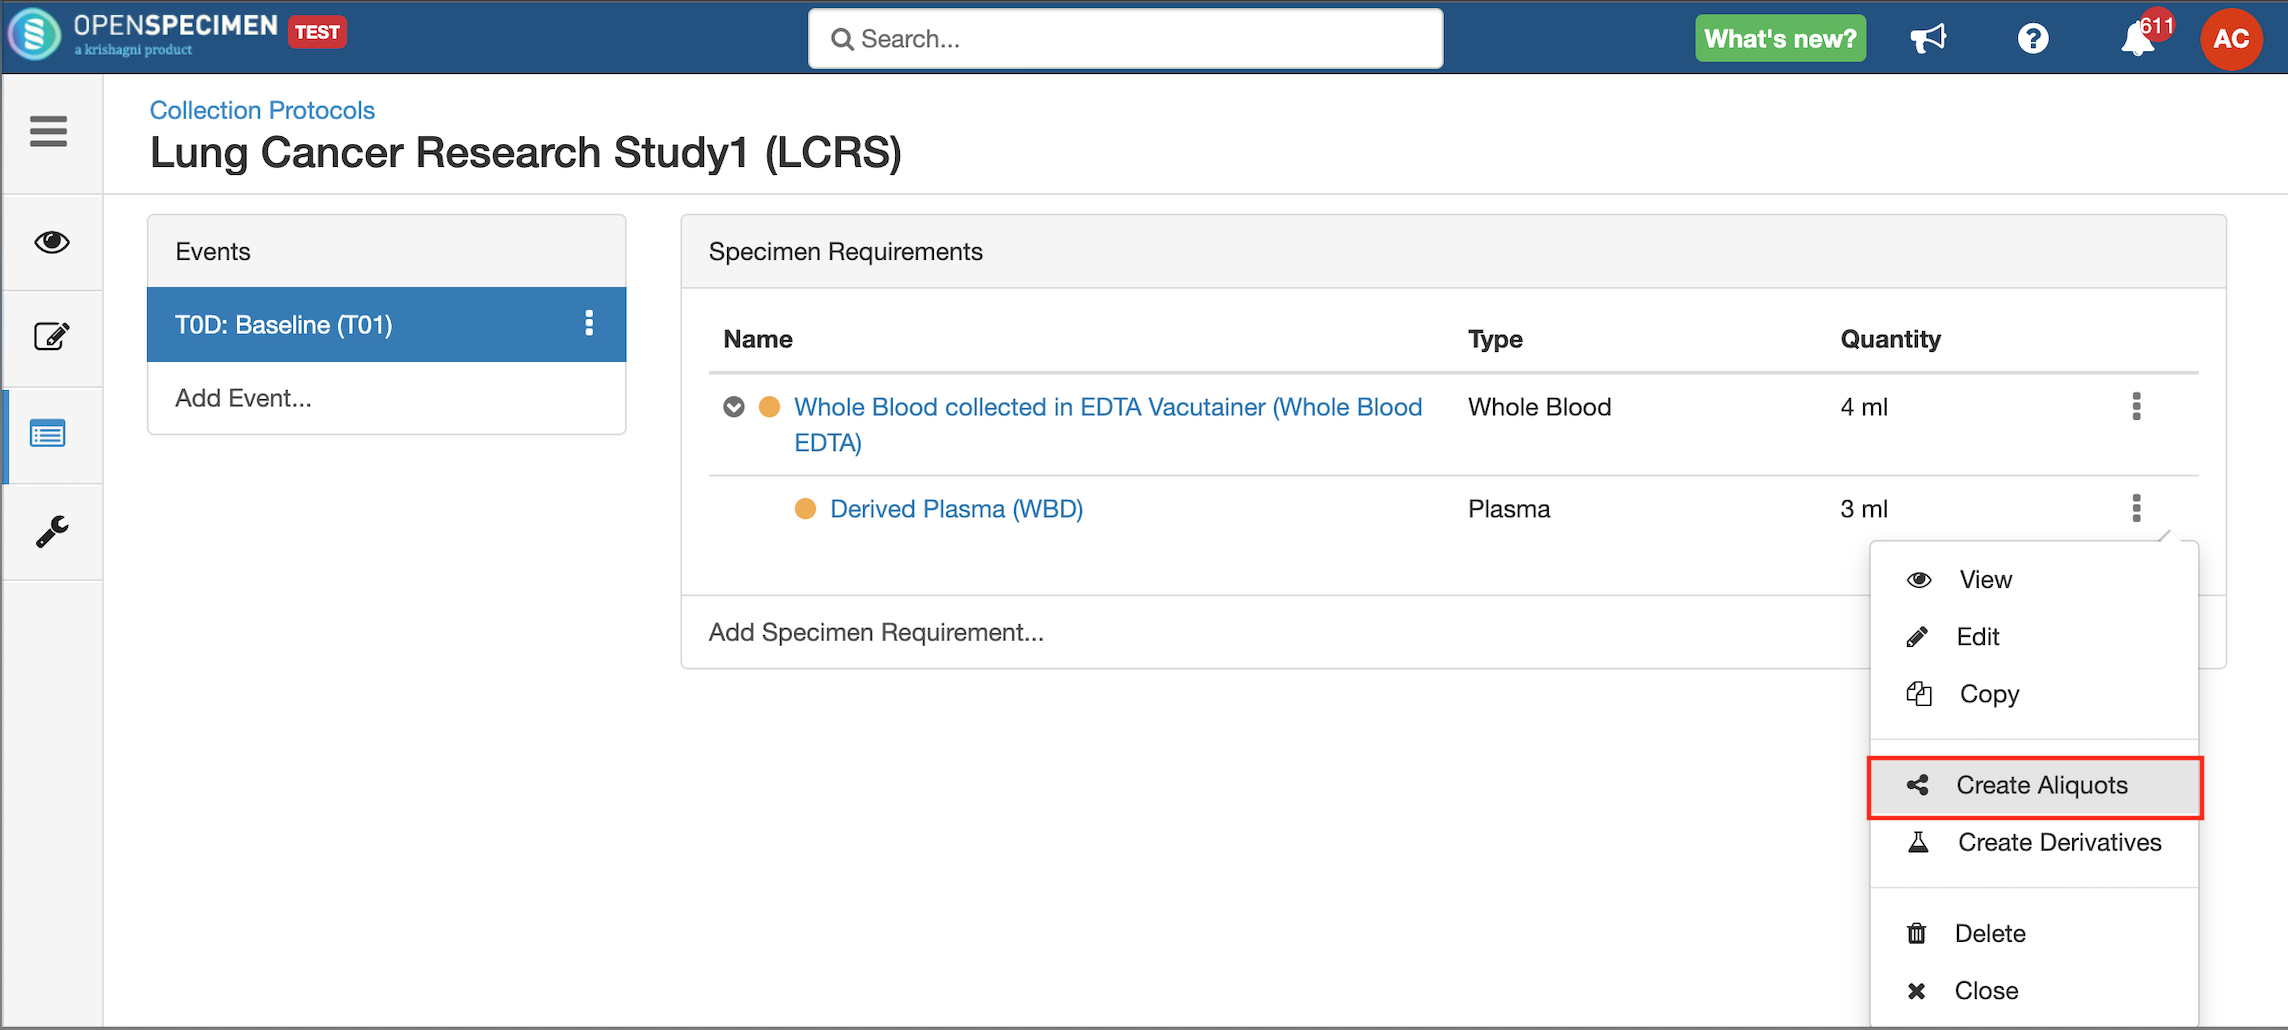
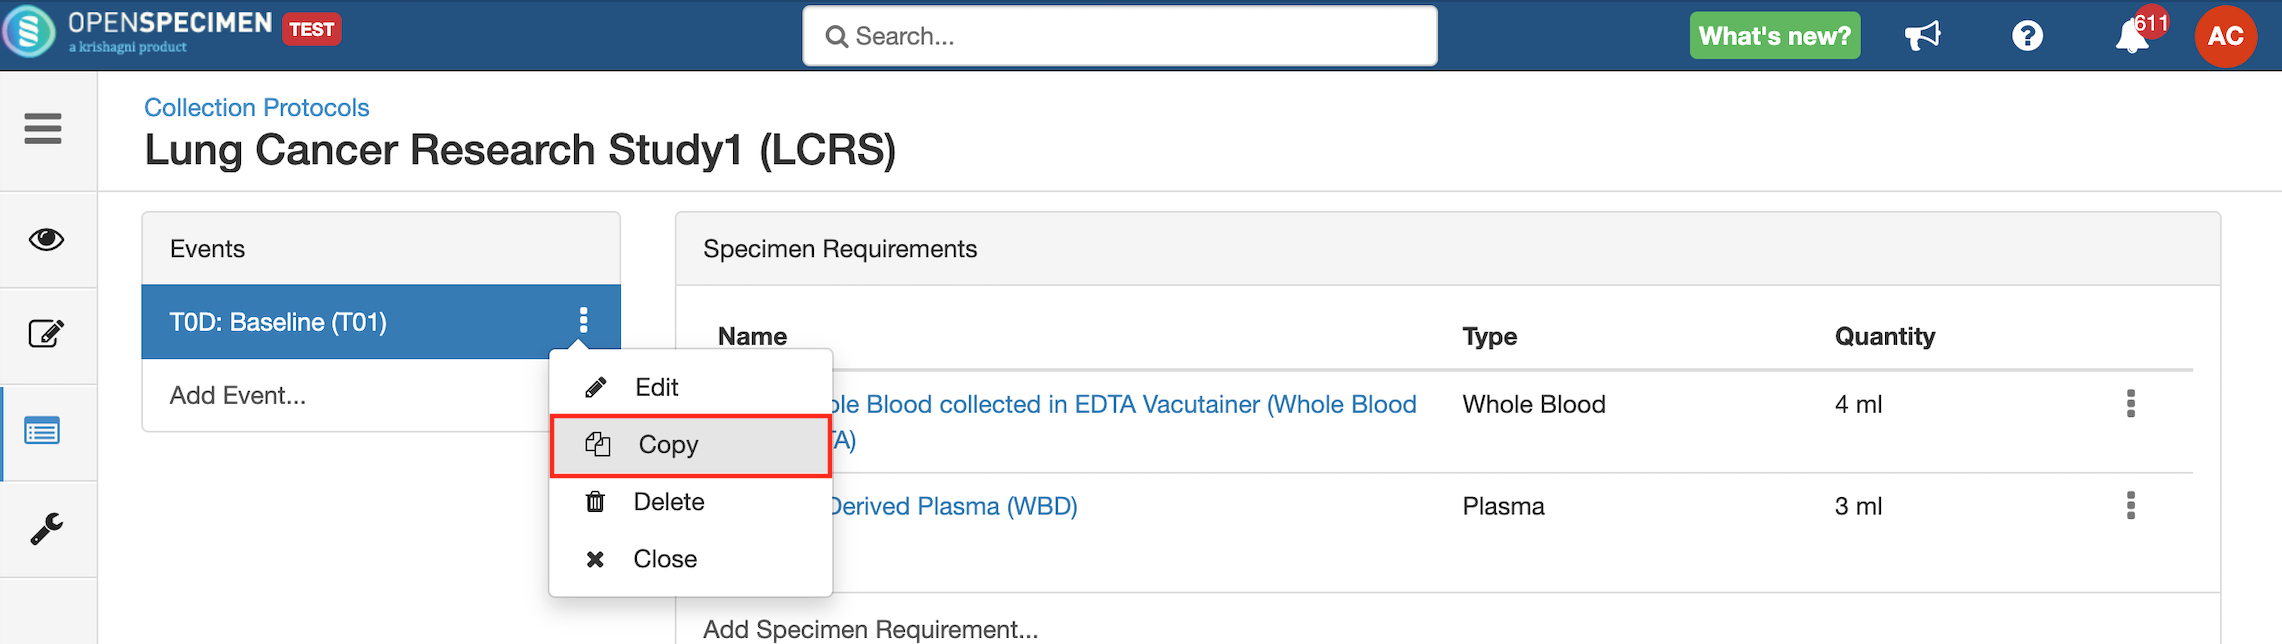
Copy Event/SR
Some studies may have similar events or SRs. In such cases, you can copy the event/SR. Copying an event also copies all the SRs under it. Similarly, copying the SR also copies all the child SRs under it.
| Expand |
|---|
|
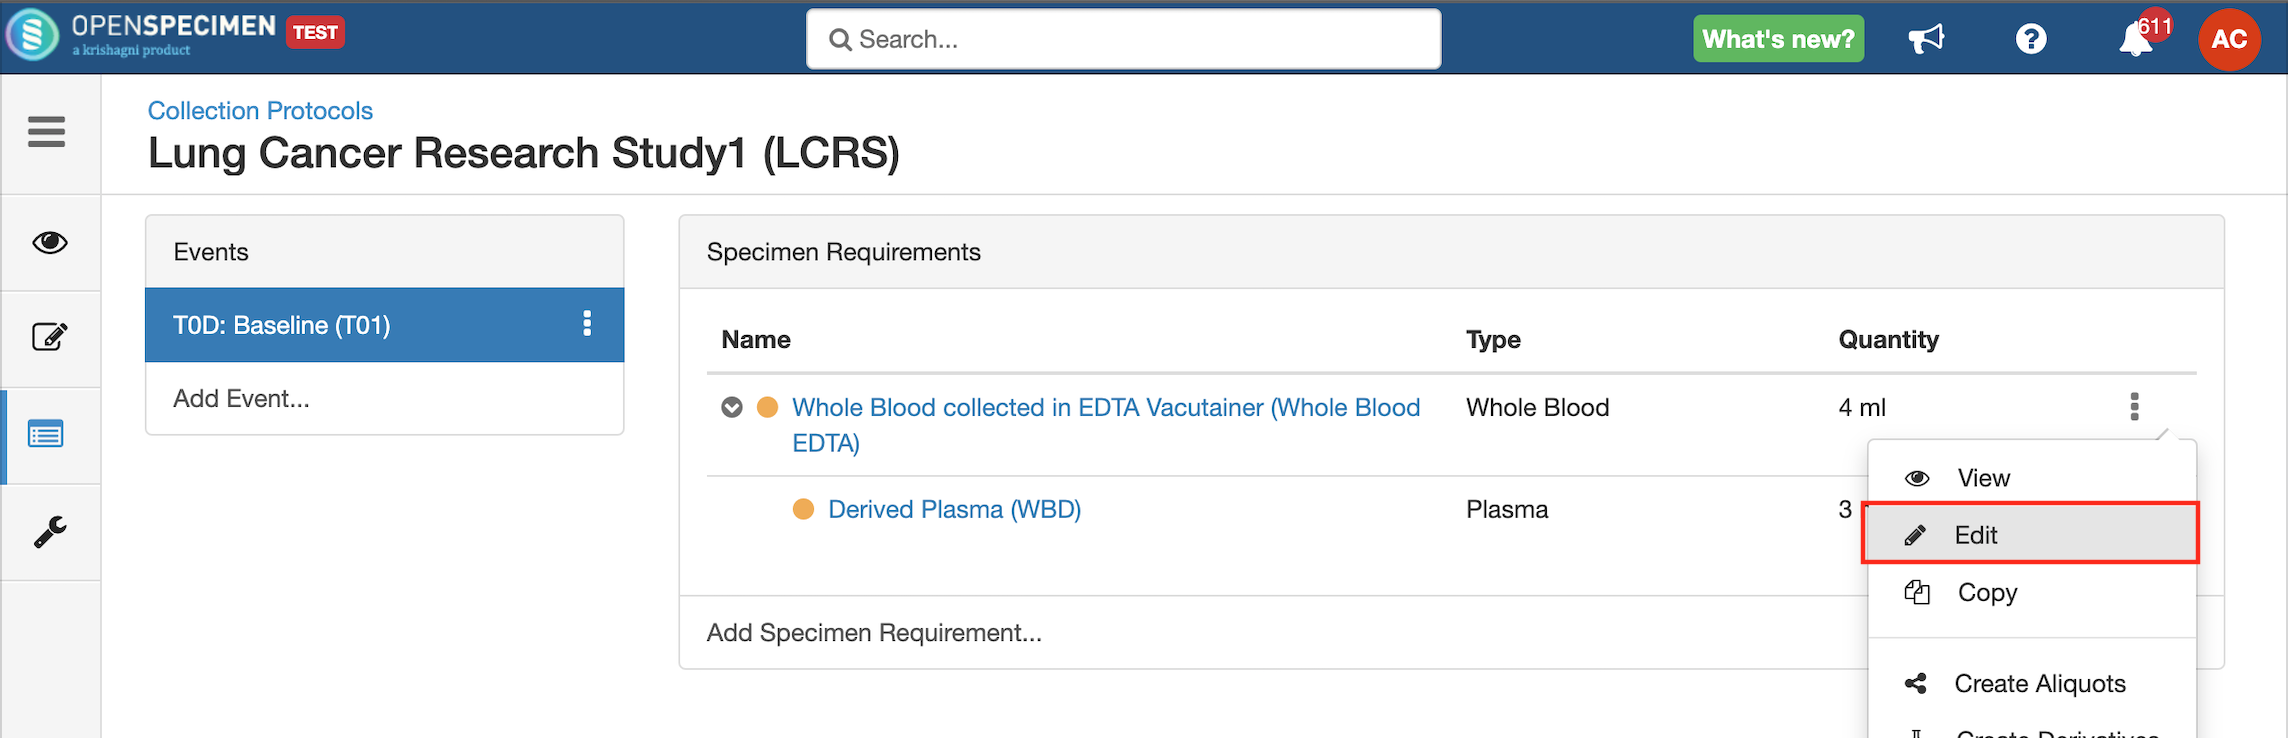
Delete Event/SR
You can delete unwanted events/SR, e.g., event/SR created by mistake.
...
| Expand |
|---|
|
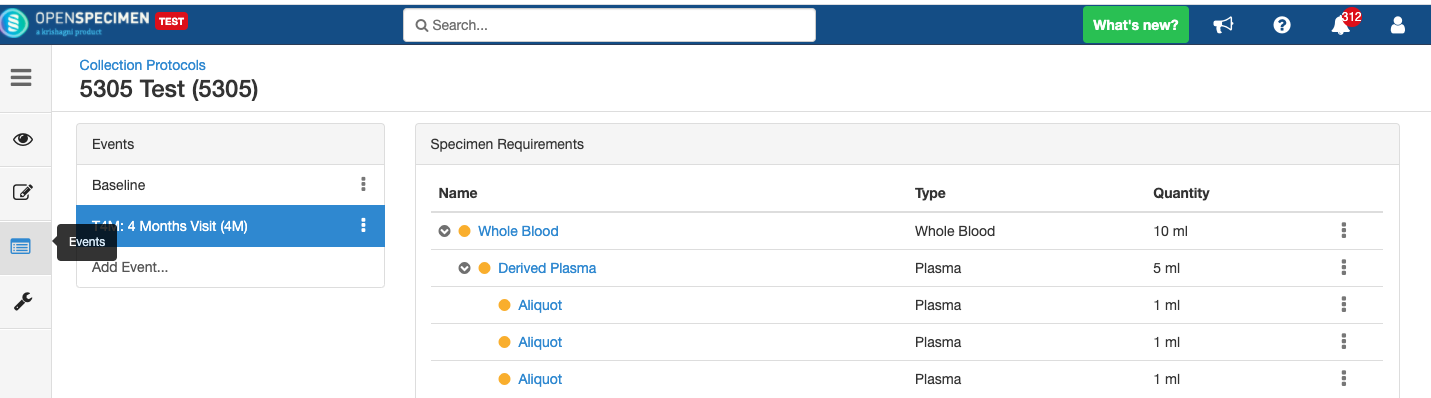
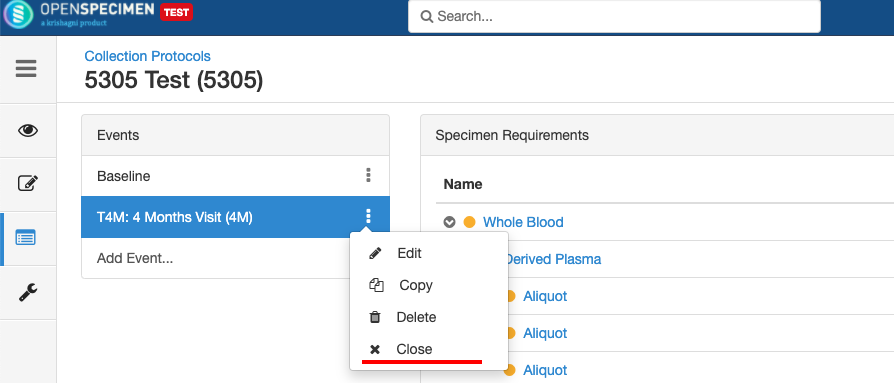
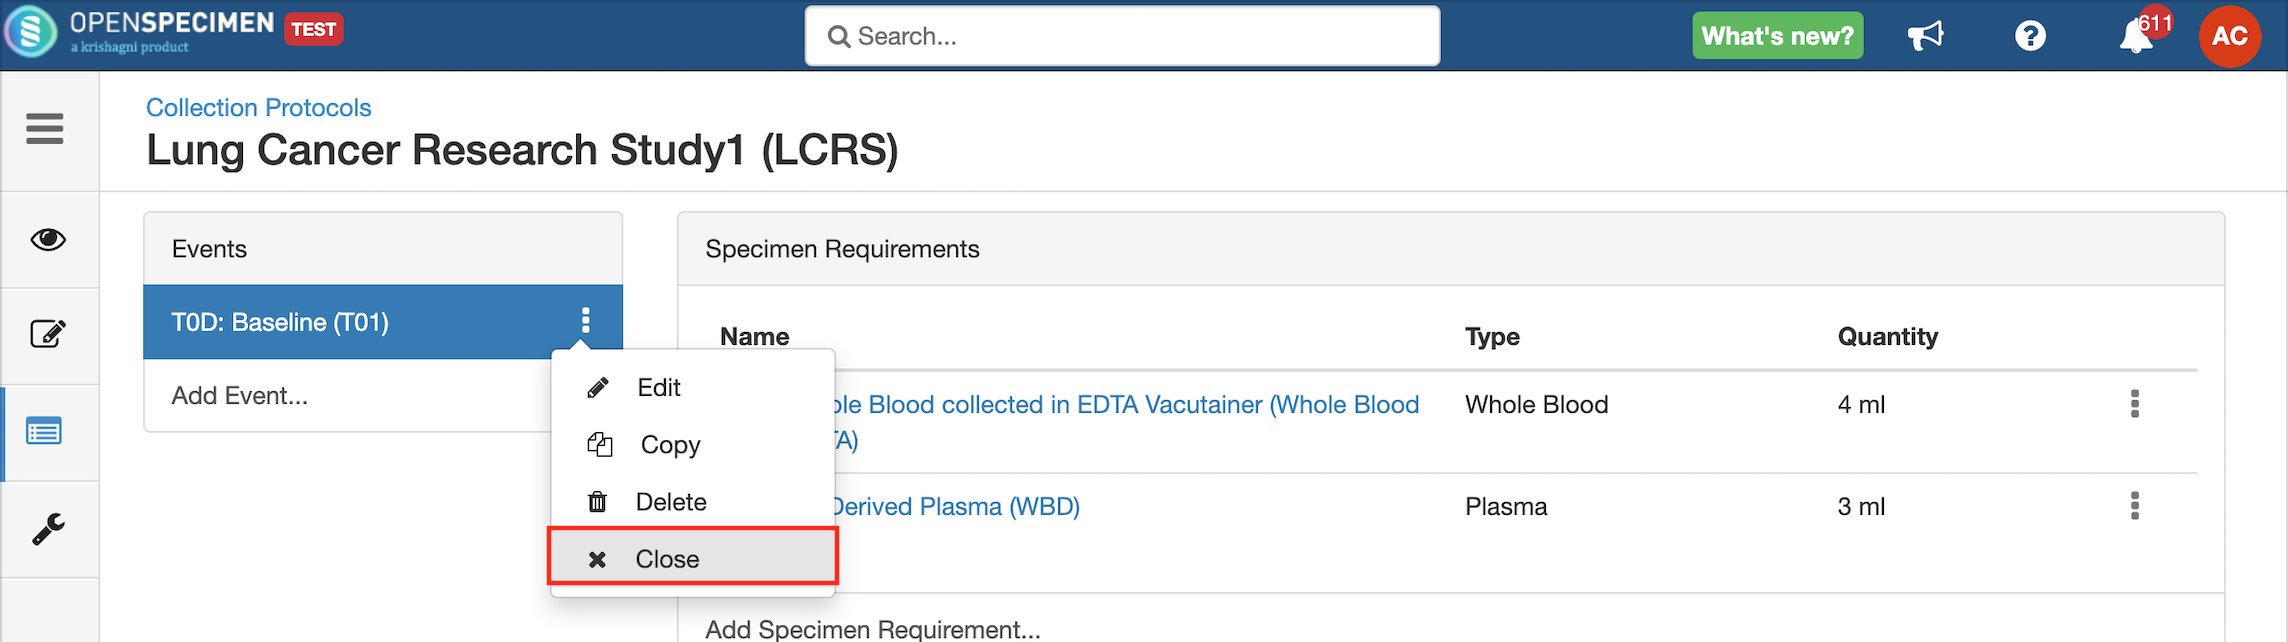
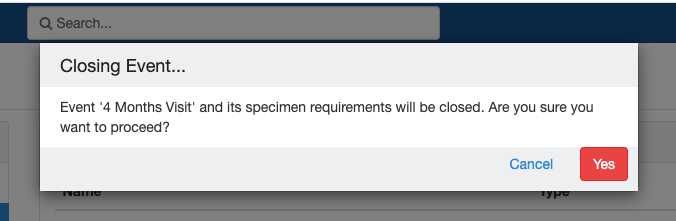
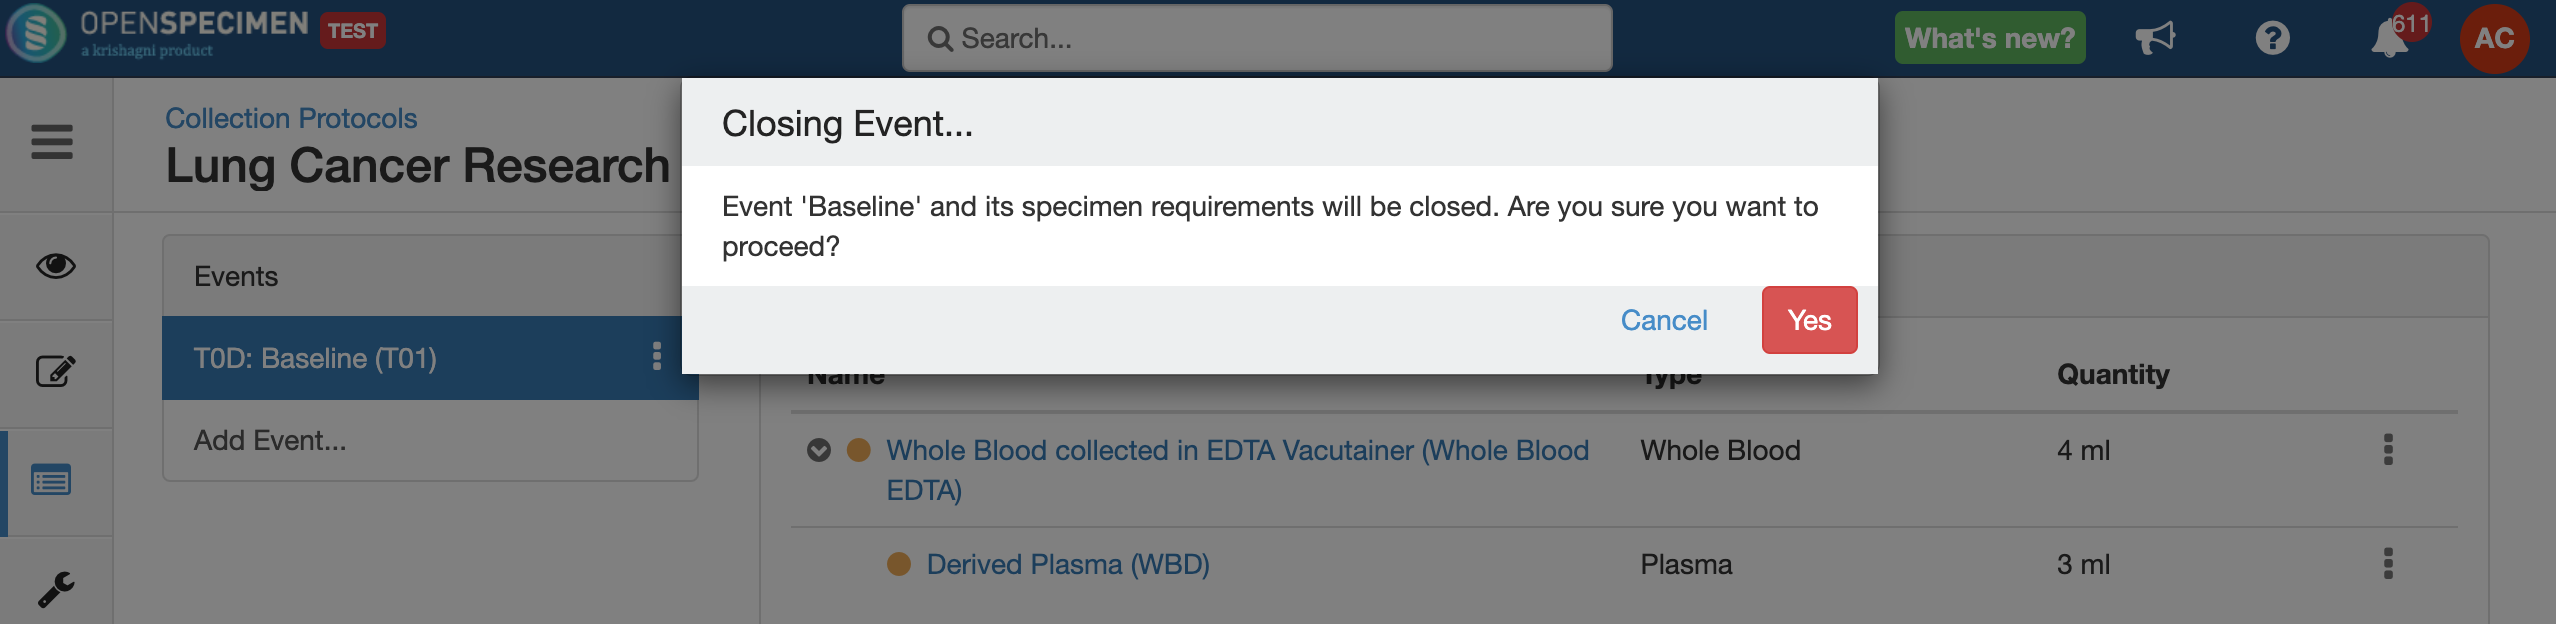
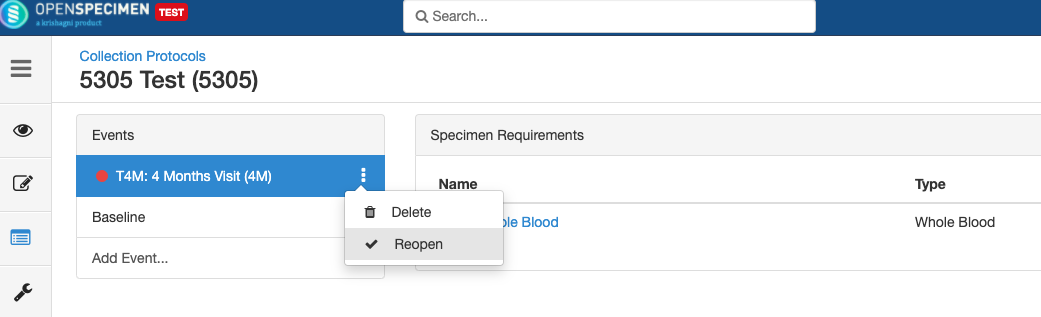
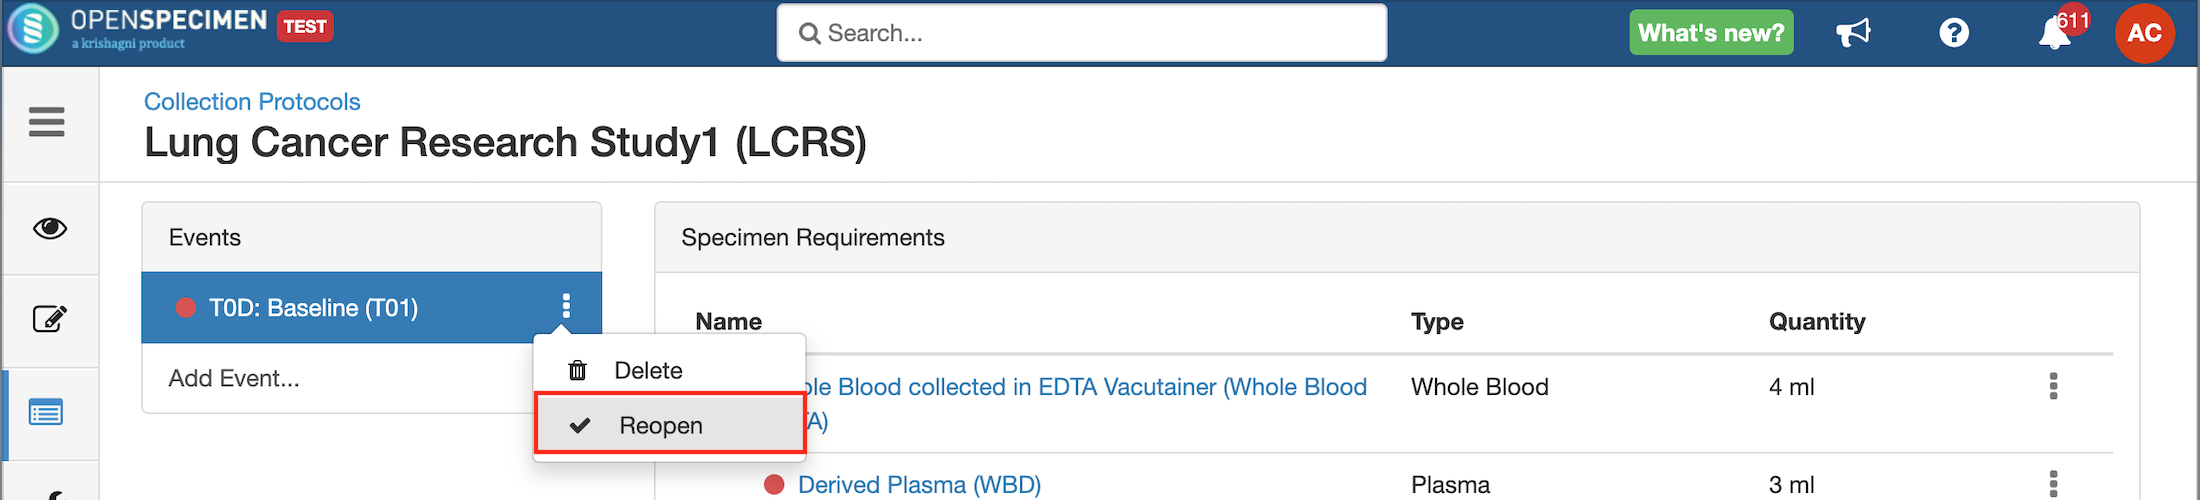
Close and Reopen SR:
| Expand |
|---|
|
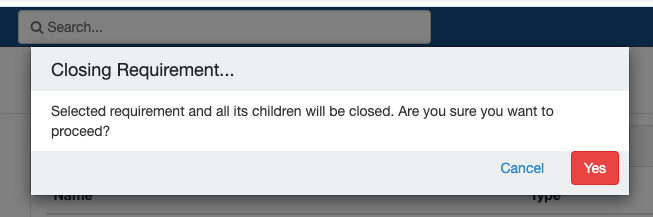
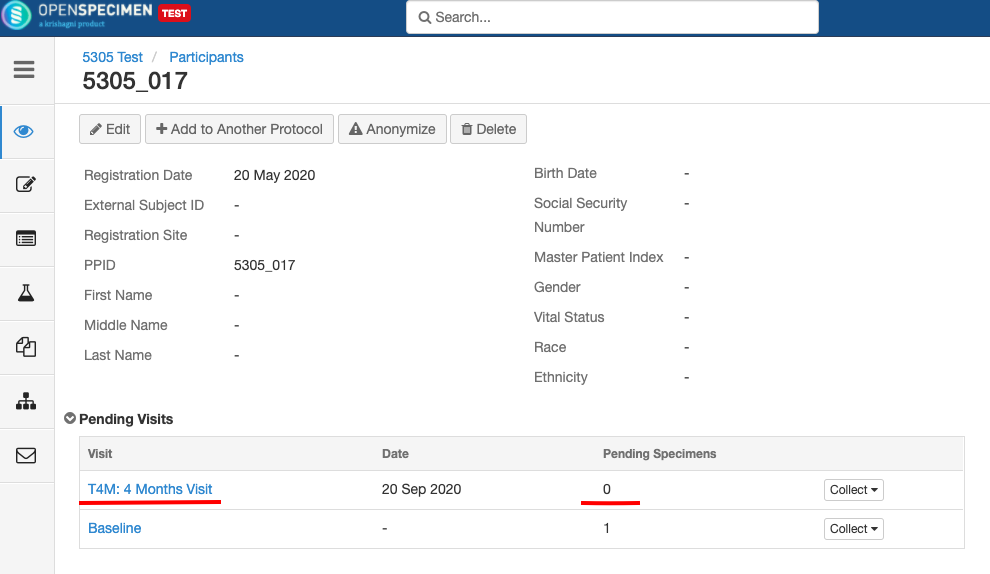
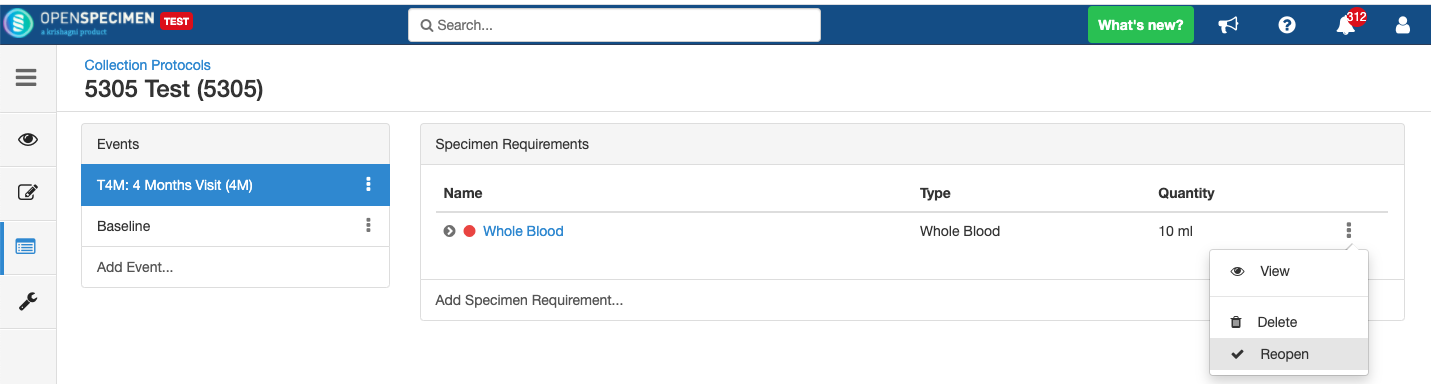
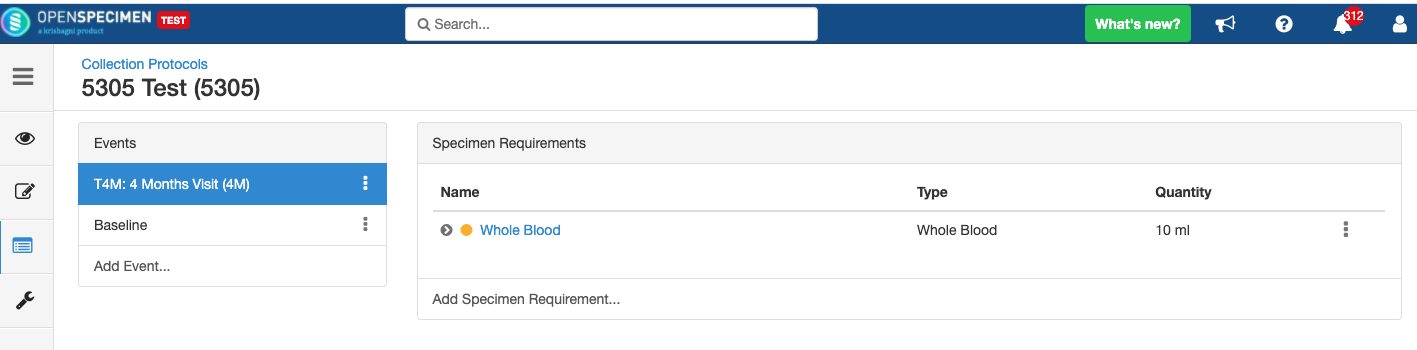
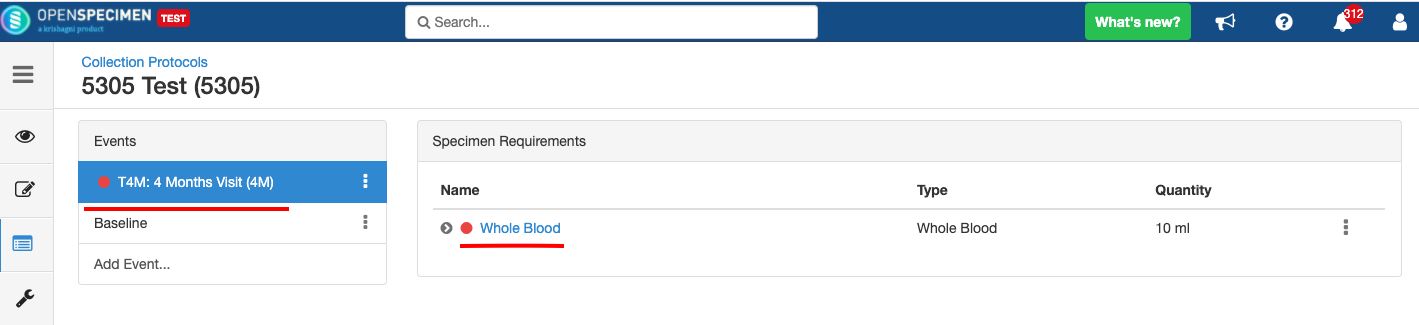
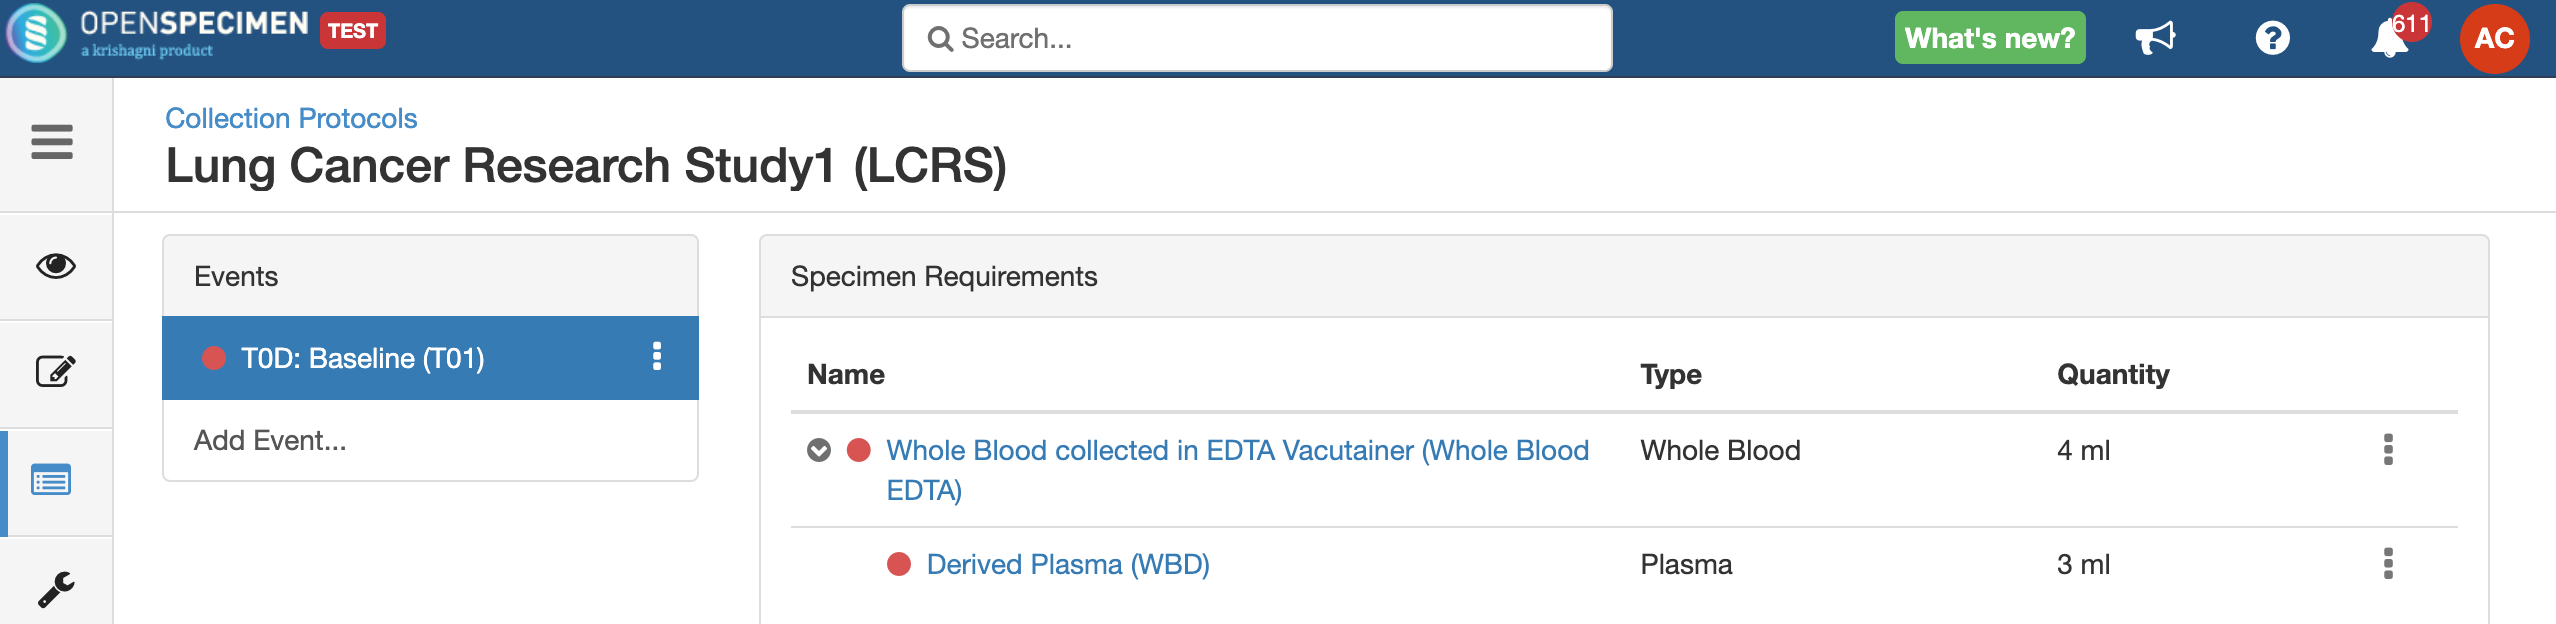
Impact of closing an event/SR:
...