| Table of Contents |
|---|
Introduction
Currently, you can download the specimen cart report with a default set of columns. But most of the biobanks may want to include different columns or the custom fields to be included in the exported cart report. From v5.1, OpenSpecimen allows you to configure the columns in the CSV file export of the 'Specimen Cart'. This is configured at the system level settings via a "saved query".Until v5.1, the columns of the specimen cart export was fixed. Starting v5.1, you can configure the columns using a saved query at the system level.
Step 1: Create a Query
Create a saved query with columns that you want to be displayed in the cart report.
| Expand | ||
|---|---|---|
| ||
Info |
|
Step 2: Configure the Query
...
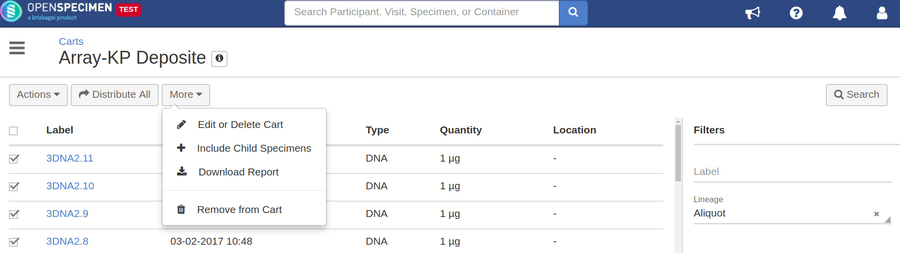
- Go to the specimen carts list page and click on the cart whose report has to be exported
- Select the specimens from a list whose details has to be exported (supported from v5.1)
- Click on ‘More’ button and select ‘Download Report’ to export the cart specimens report
- Check the columns from the exported file. It should be the same as columns defined in the query