...
| Expand |
|---|
| title | Expand to view steps.. |
|---|
|
You can create a new shipment by going to the "Shipment" module and scanning or typing in the specimen labels. This works well when you already have the list of specimens to ship/ request. | Info |
|---|
| Shipment request feature is introduced from v10.3 |
- From Home page navigate to 'Shipments'.
- Click on the 'Create' button and select the option 'Specimens'

- On the 'Create Shipment' page, you'll see option to generate shipment request. Fill all the details
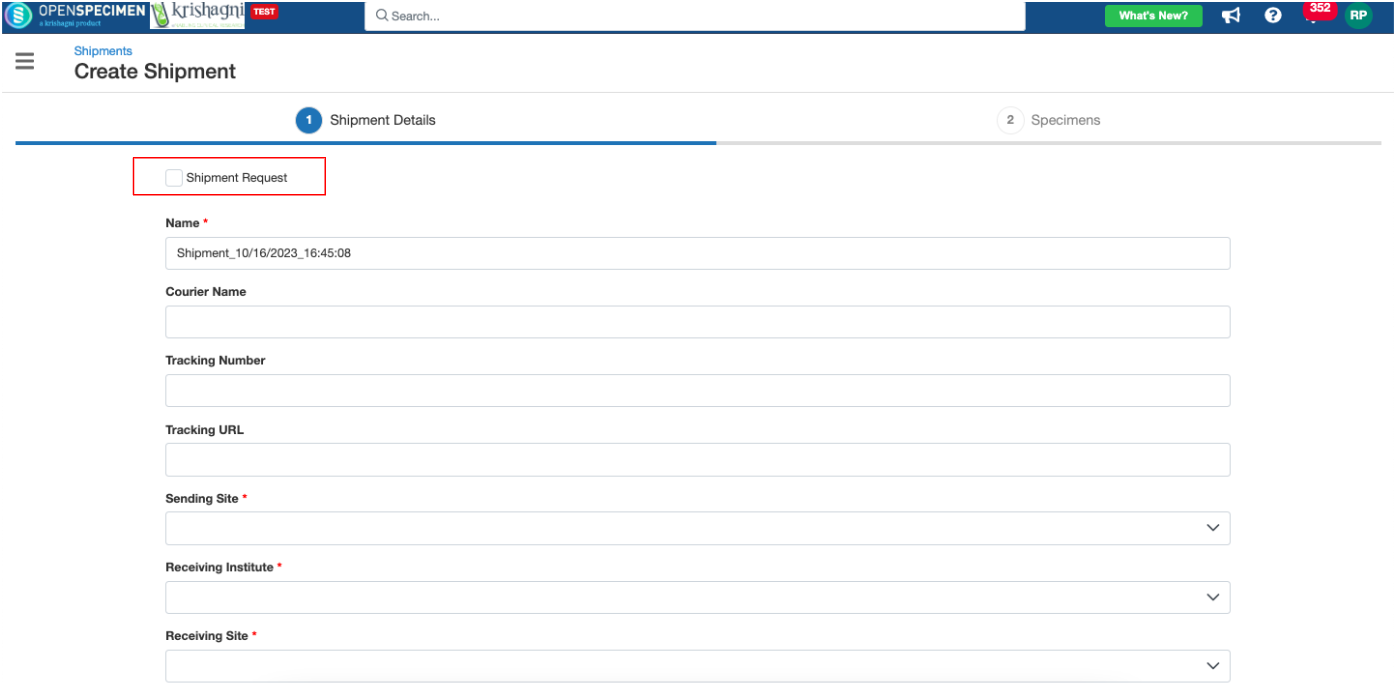
| Info |
|---|
| From v10.3 Unique shipment names will be auto-generated with the format |
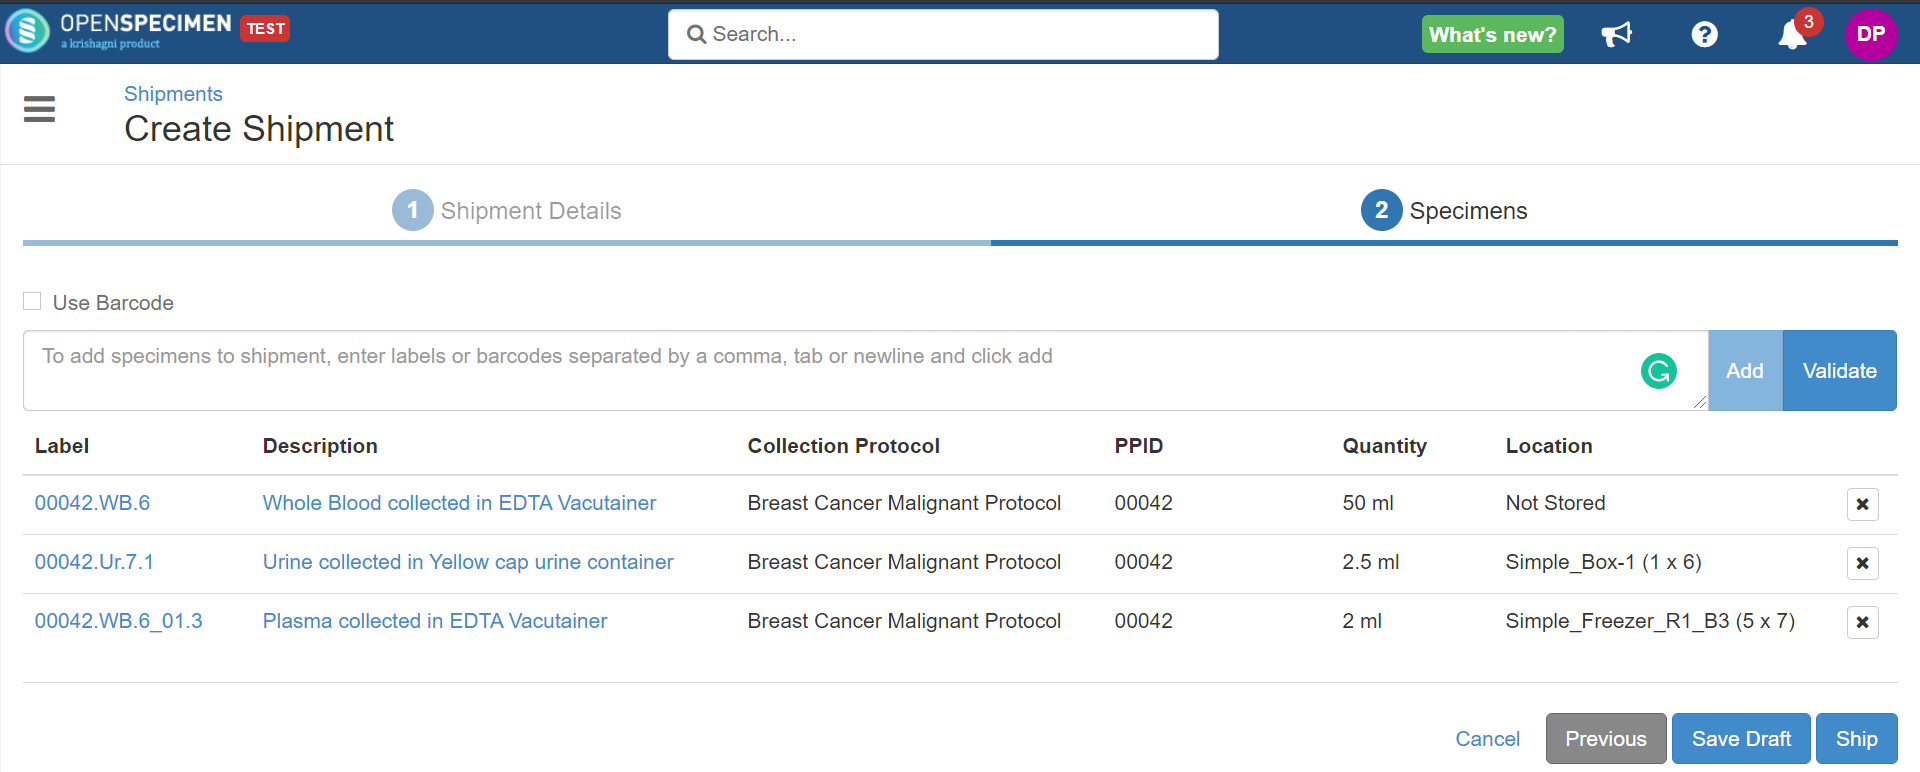
- Add specimen labels/barcodes and click on "Add".
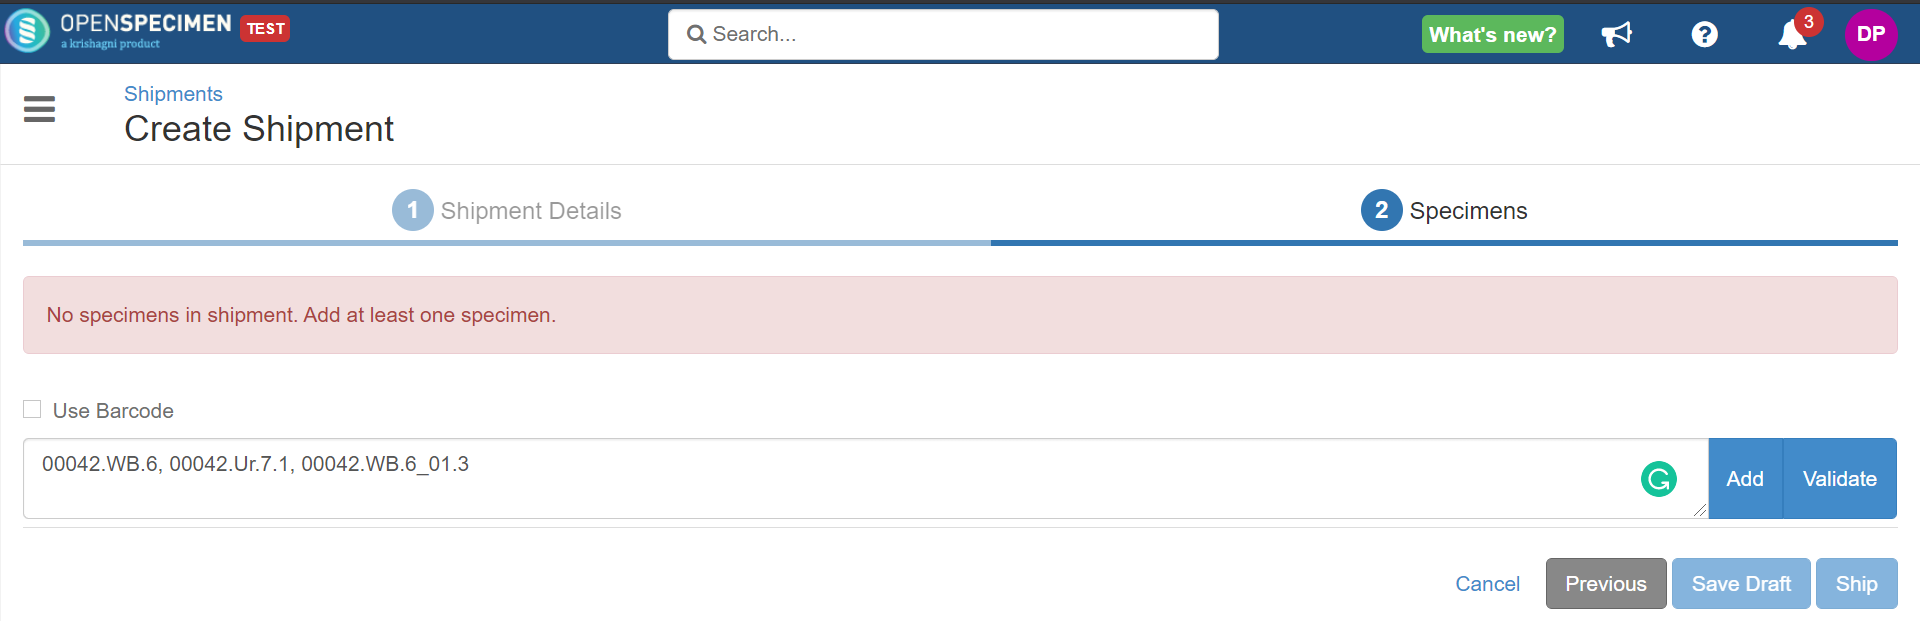
- Selected specimens will appear on the next page. To confirm the shipment, click on 'Ship'.
- Further, the users selected in 'Notify Users' will receive an email with a link to the shipment details.
- A 'Shipment Shipped Event' is created under all shipped specimens.
| Info |
|---|
The users with minimum update privilege to the 'Shipping and Tracking' resource, will receive email notifications about the shipment.- If the shipment is requested, user can ship the requested specimens similar to creating regular shipment.
- Once the shipment is “Shipped“/ "Requested", you cannot edit the “Notify Users“ field
.- You can see the “Notify Users“ field on the overview page for the Shipped shipments but cannot see it on the edit screen.
|
|
Ship from query
You can query specimens using the query interface and ship from the results page.
...
| Expand |
|---|
| title | Click here to view the steps... |
|---|
|
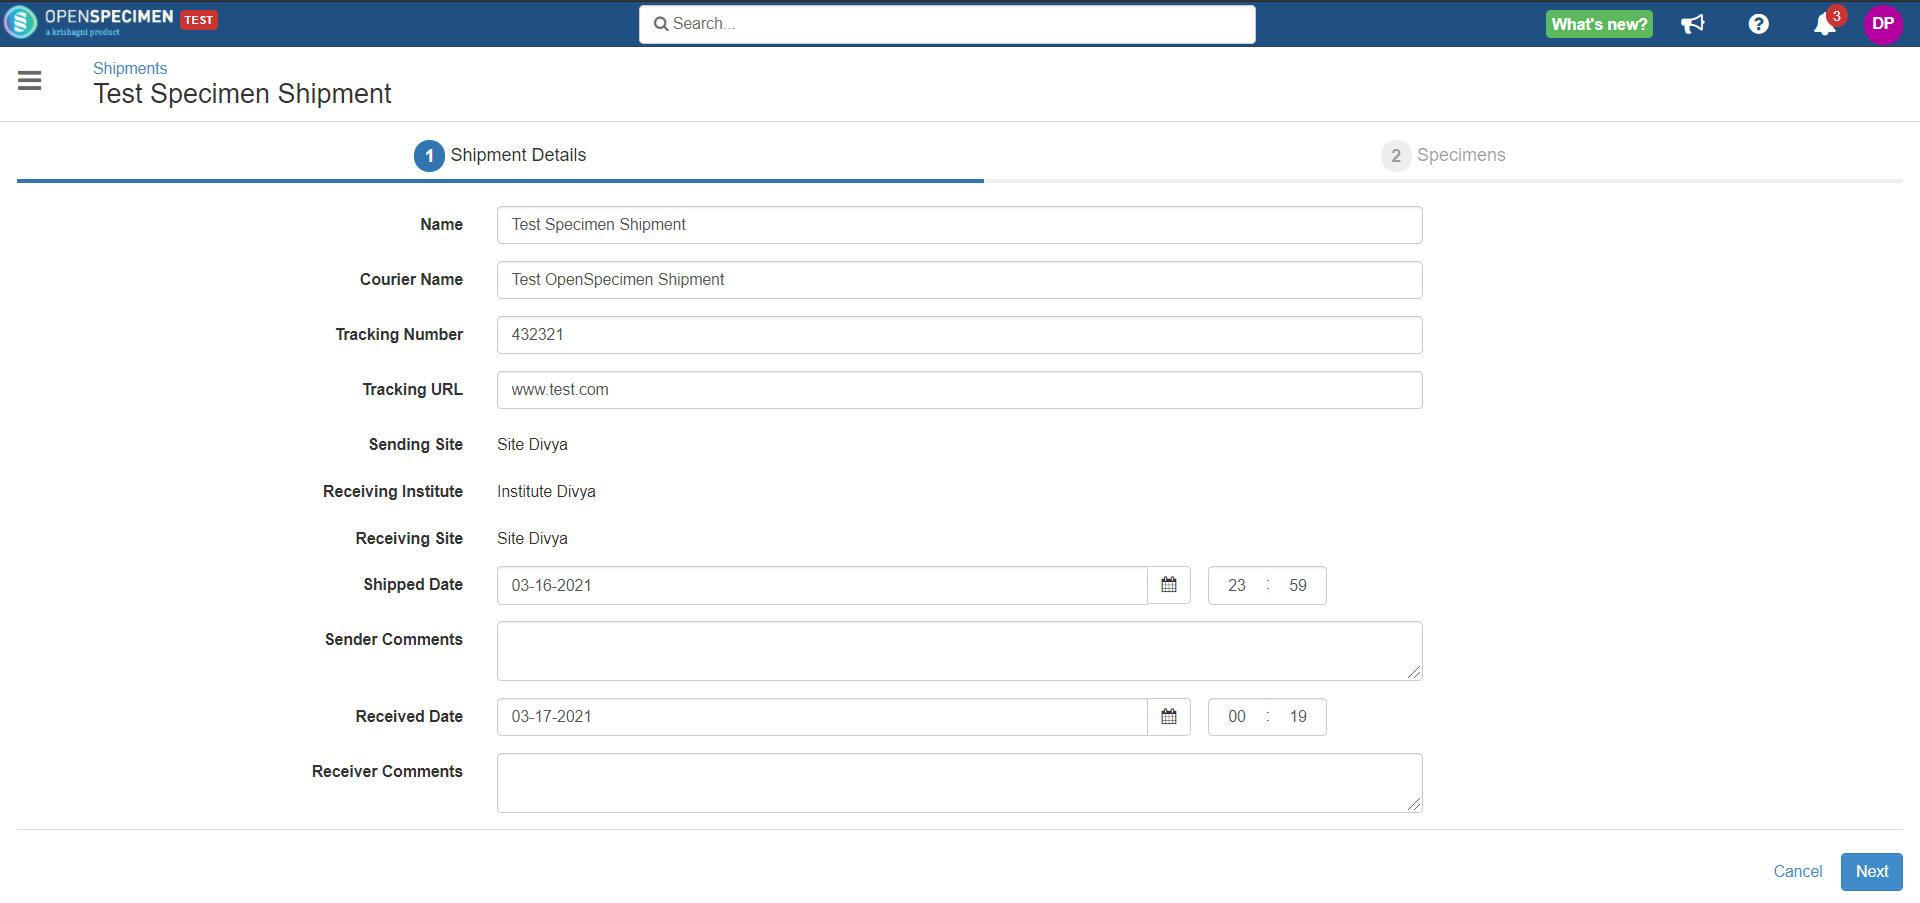
- The user from receiving site logs in and selects 'Shipments' from the homepage to receive the specimens.
- Select the shipment from the list and click on 'Receive'.

- Review the shipment details and click on 'Next' to confirm the receipt of samples.
- In the next step, you can choose the
- Received sample quantity
- Quality (e.g., acceptable, unacceptable, etc.).
- Storage location: where the receiving site is storing the specimen
- On saving, the system will create a 'Shipment Received Event' for each specimen in the shipment.
| Info |
|---|
The users with minimum 'Update' privilege to the 'Shipping and Tracking' resource, will receive email notifications about the dispatch of shipment. |
|---|
|
|
| Note |
|---|
The email notifications will be sent to the users of the sending and receiving site who have minimum of ‘Update’ privilege to the 'Shipping and Tracking' resource. |
Edit the specimen details while receiving a shipment
...
| Expand |
|---|
A system-level setting will allow you to relabel the shipped specimens while receiving the shipment. To enable/disable this setting, go to 'Settings' → 'Administrative' module → 'Relabel Shipment Specimens' → Select option 'Enabled' and click on the 'Update' button. 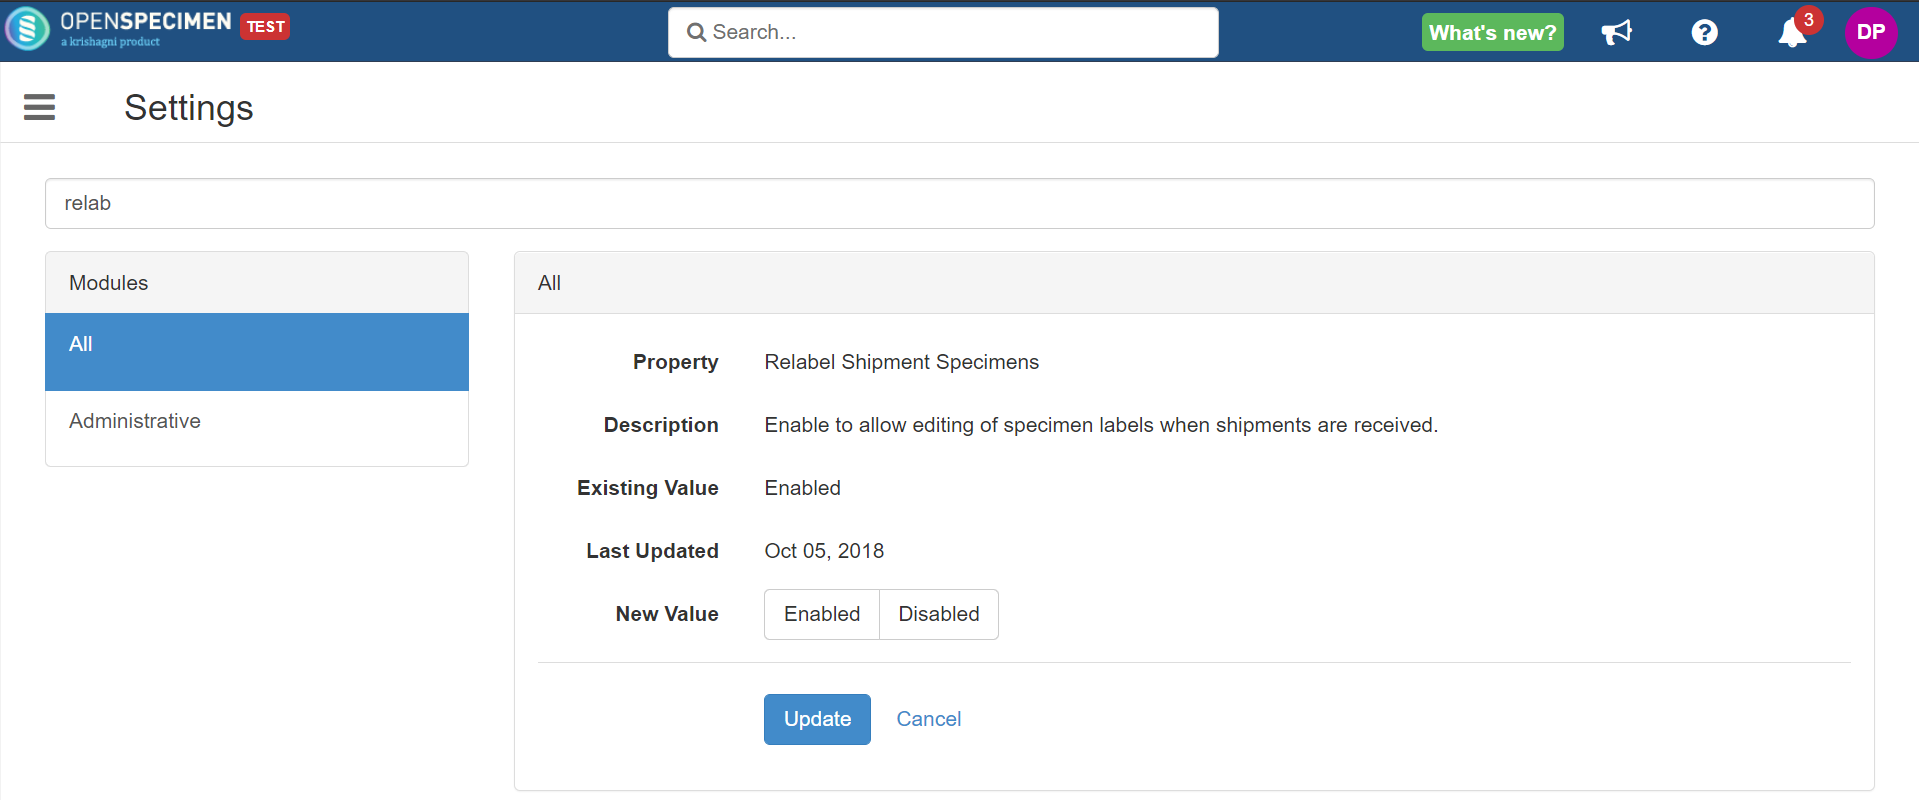
Once enabled, you can edit the specimen labels and other details while receiving the shipment. From the shipped shipments overview page, click on the 'Receive' button → Next → Change the specimen labels or other details, and click on 'Receive'. 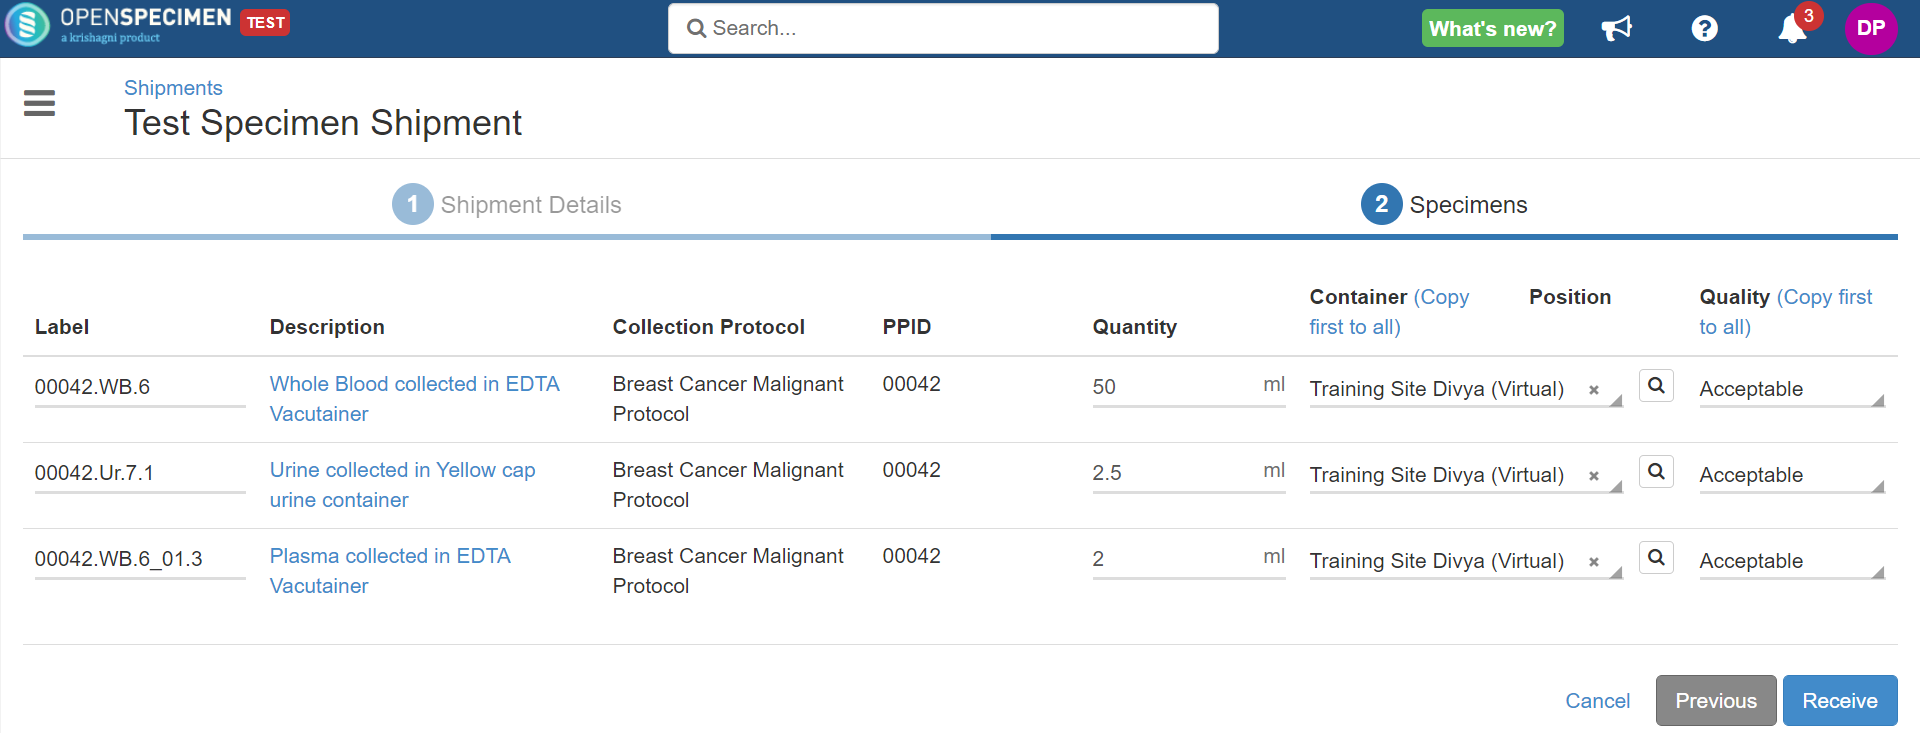
|
...
| Expand |
|---|
| title | Enable the pre-print setting... |
|---|
|
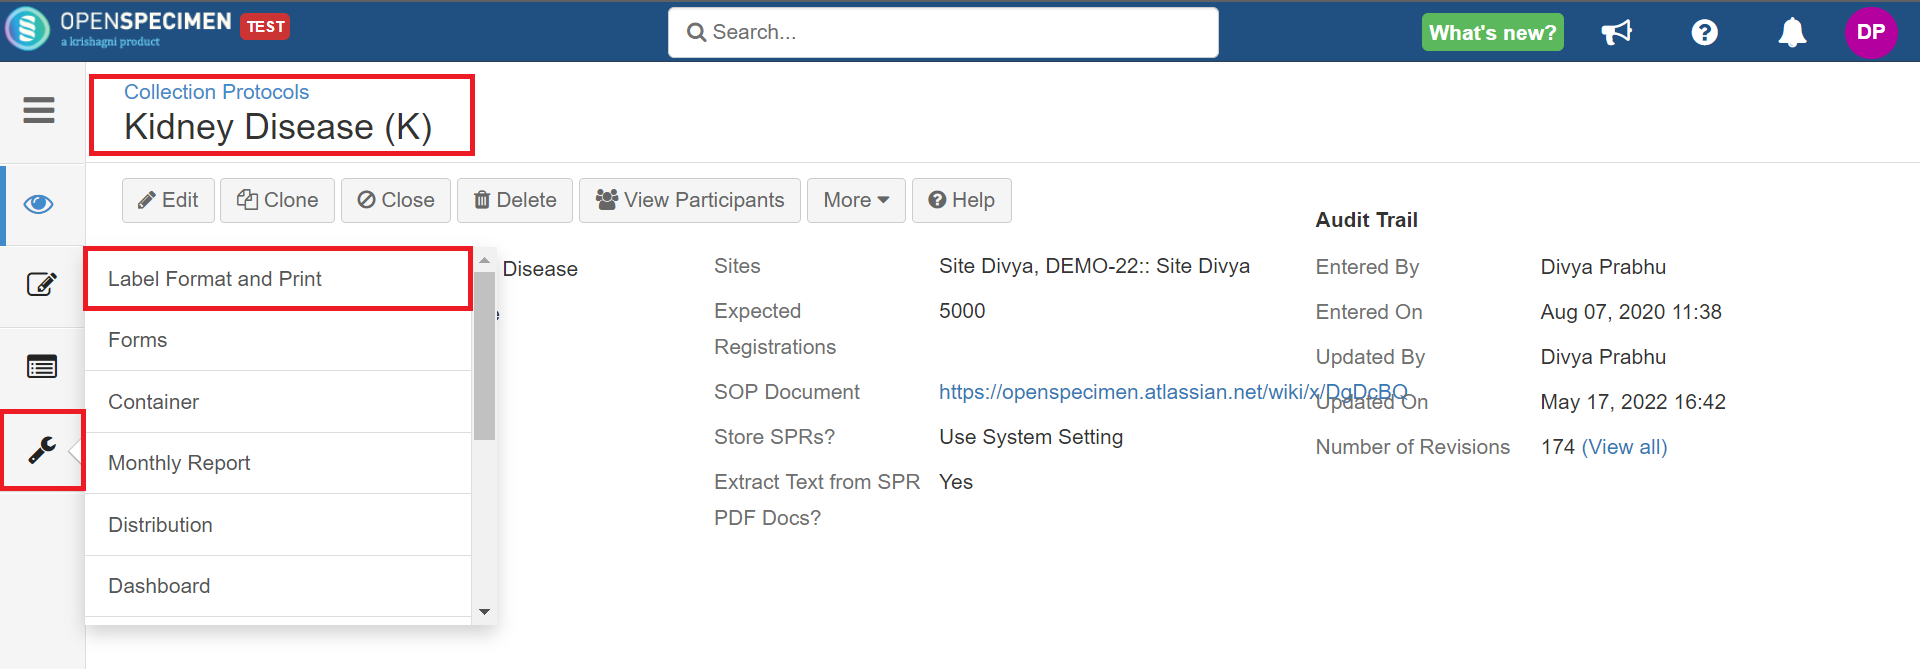
The setting is available at the CP level. Follow the below steps to enable: - Navigate to any 'Collection Protocol'.
- Click on the 'Settings' tab → Label Format and Print.
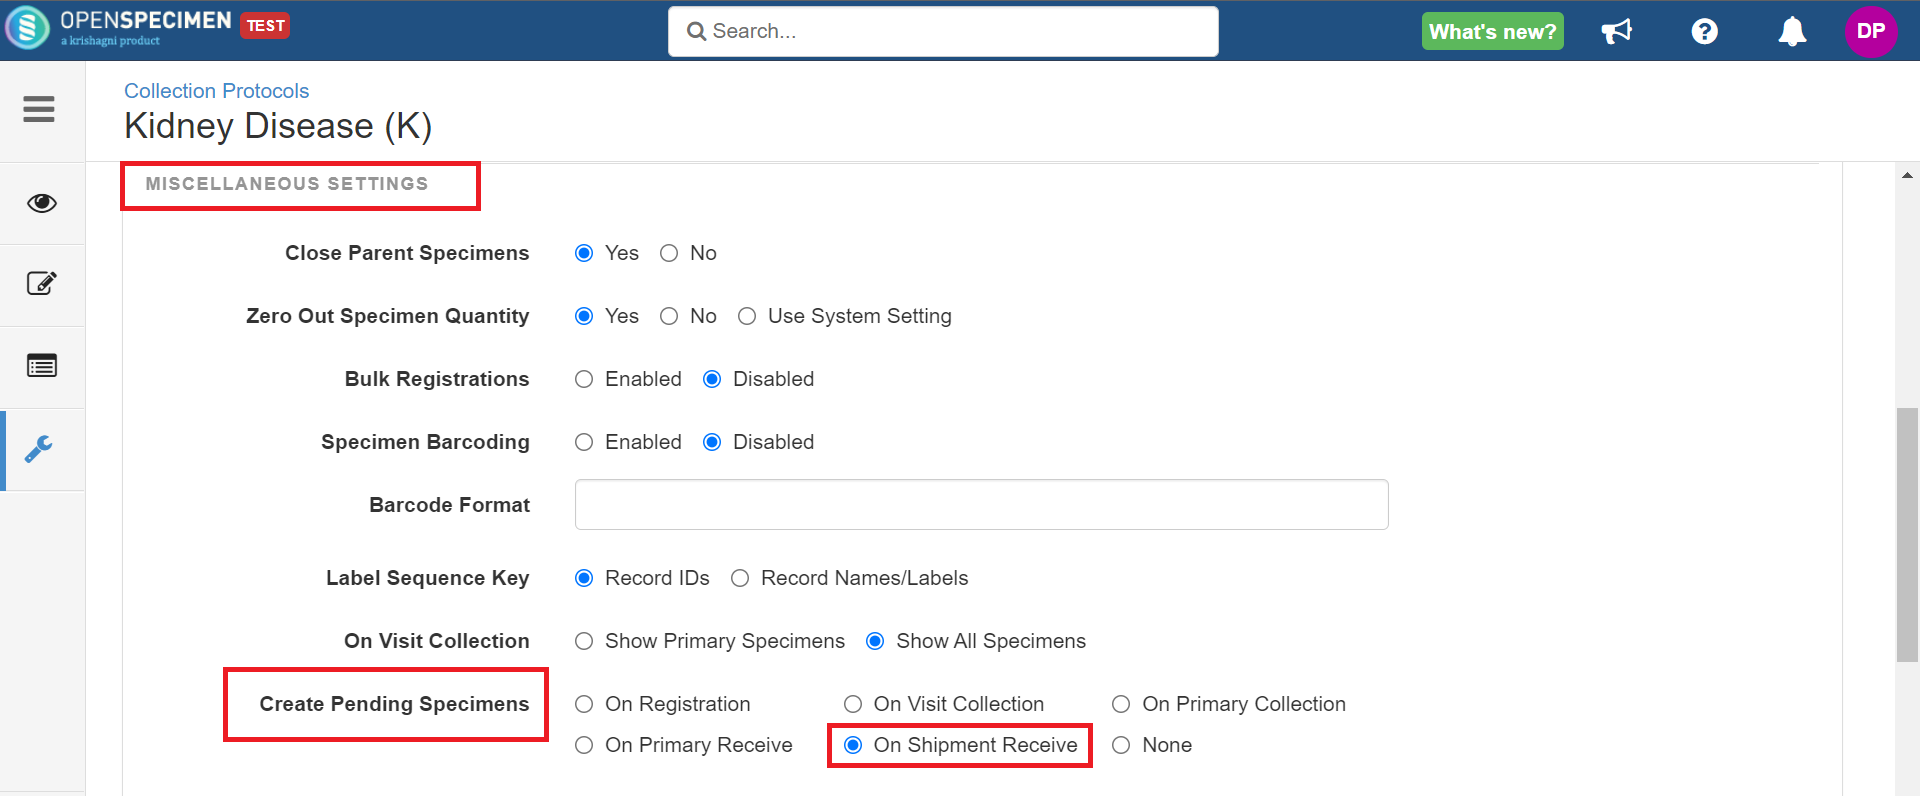
- Under 'MISCELLANEOUS SETTINGS' → Create Pending Specimens → On Shipment Receive. Refer to the wiki page for more details.
|
You can also choose for which 'Quality' you want to pre-print the child specimen labels by adding one or more values. This can be done by going to system-level 'Settings' → Biospecimen → Shipment Received Quality:
...
The below table lists the example expressions which you can use:
| Expression | Description |
|---|
| ^Acceptable.* | Pre-prints child specimen labels for Shipment Received Quality = Acceptable, Acceptable - Clotted. i.e., It will pre-print labels for all specimens where the received quality starts with 'Acceptable'. |
| Acceptable|Acceptable - Clotted|Acceptable - Insufficient Quantity | Pre-prints child specimen labels for three qualities: Acceptable, Acceptable - Clotted, and Acceptable - Insufficient Quantity |
| Acceptable | Pre-print child specimen labels for Shipment Received Quality = Acceptable. |
| ^((?!Unacceptable).)*$ | Pre-prints child specimen labels for any Shipment Received Quality that does not include the word "Unacceptable" |
| Info |
|---|
- By default, all shipment received quality values are considered as 'Acceptable', and it pre-prints child specimen labels for all values.
- The specimen labels should be auto-generated for the CP.
- Only Super Admins can change the system-level settings.
|
...