| Table of Contents |
|---|
...
| Expand | ||||||||||||
|---|---|---|---|---|---|---|---|---|---|---|---|---|
| ||||||||||||
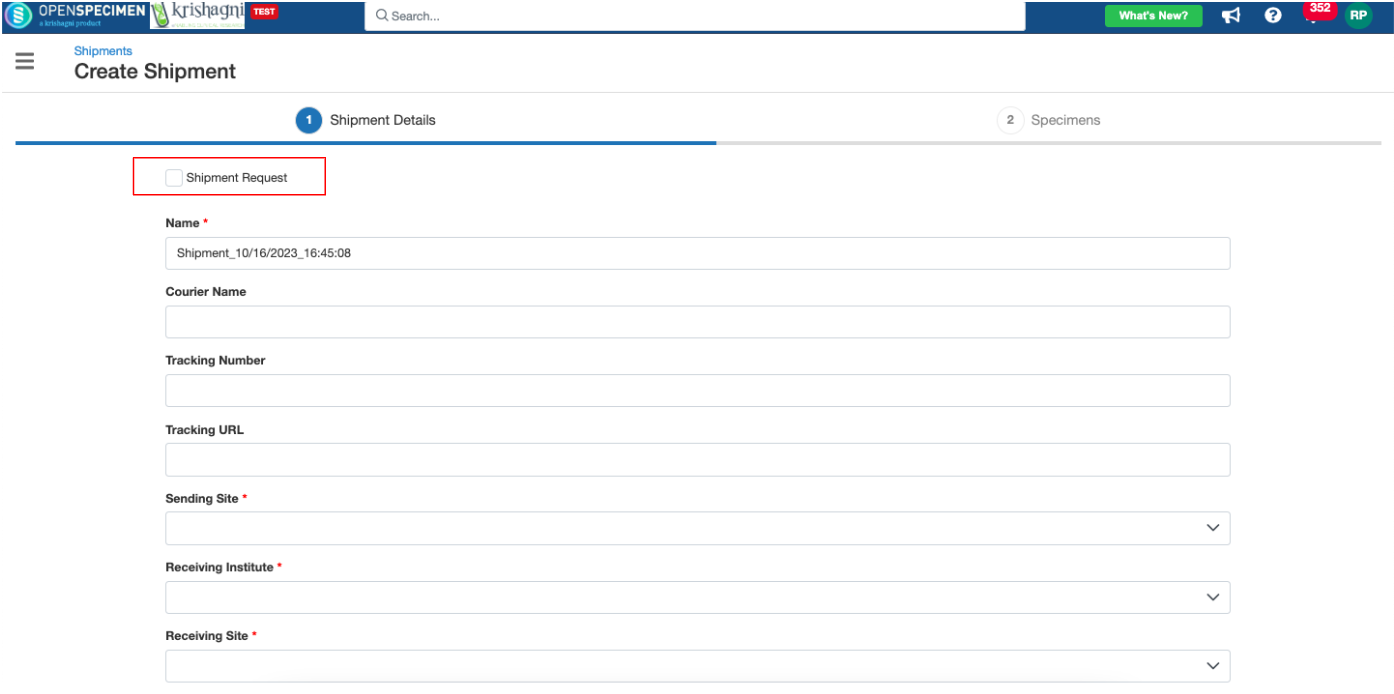
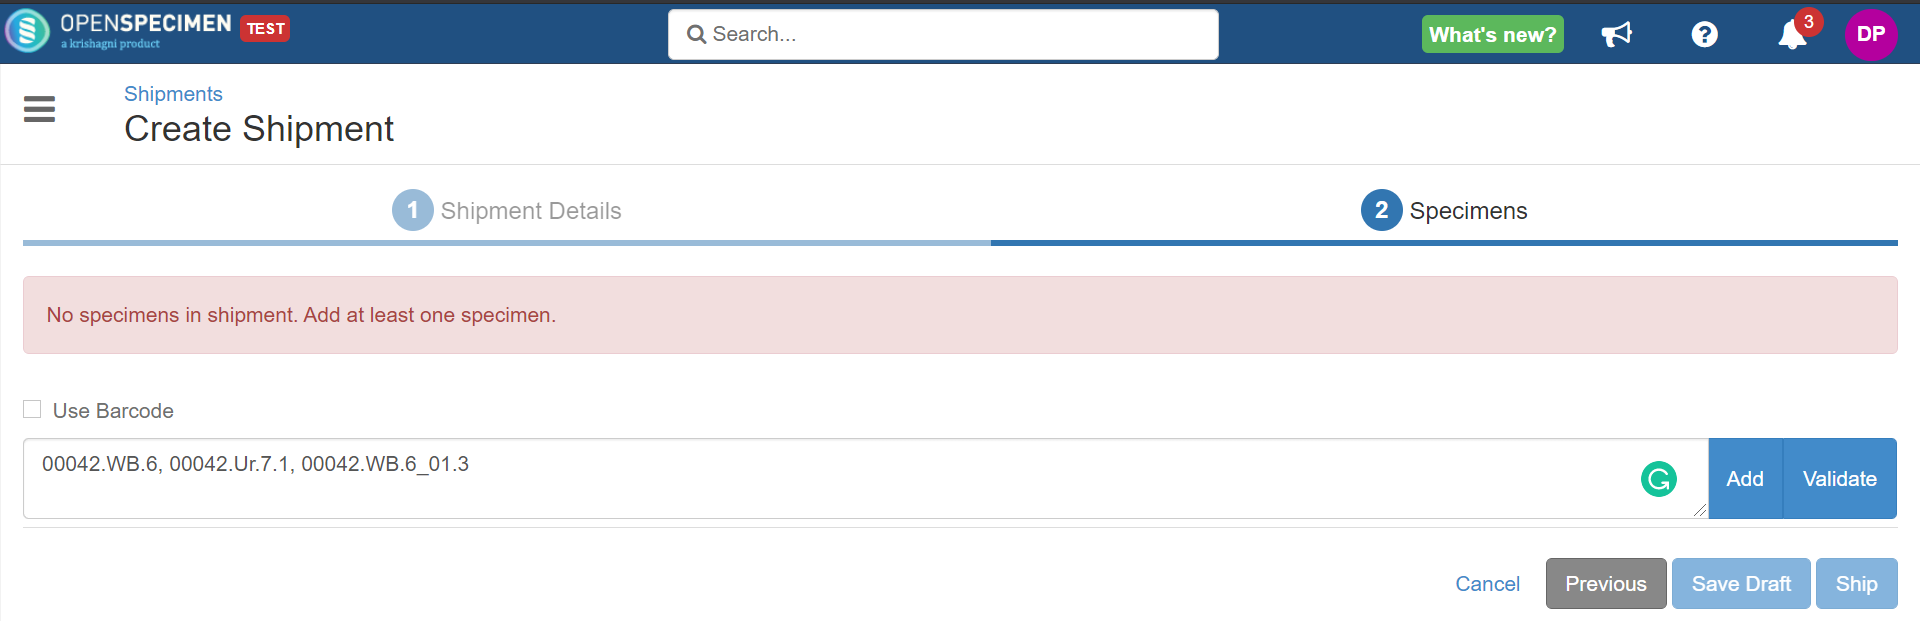
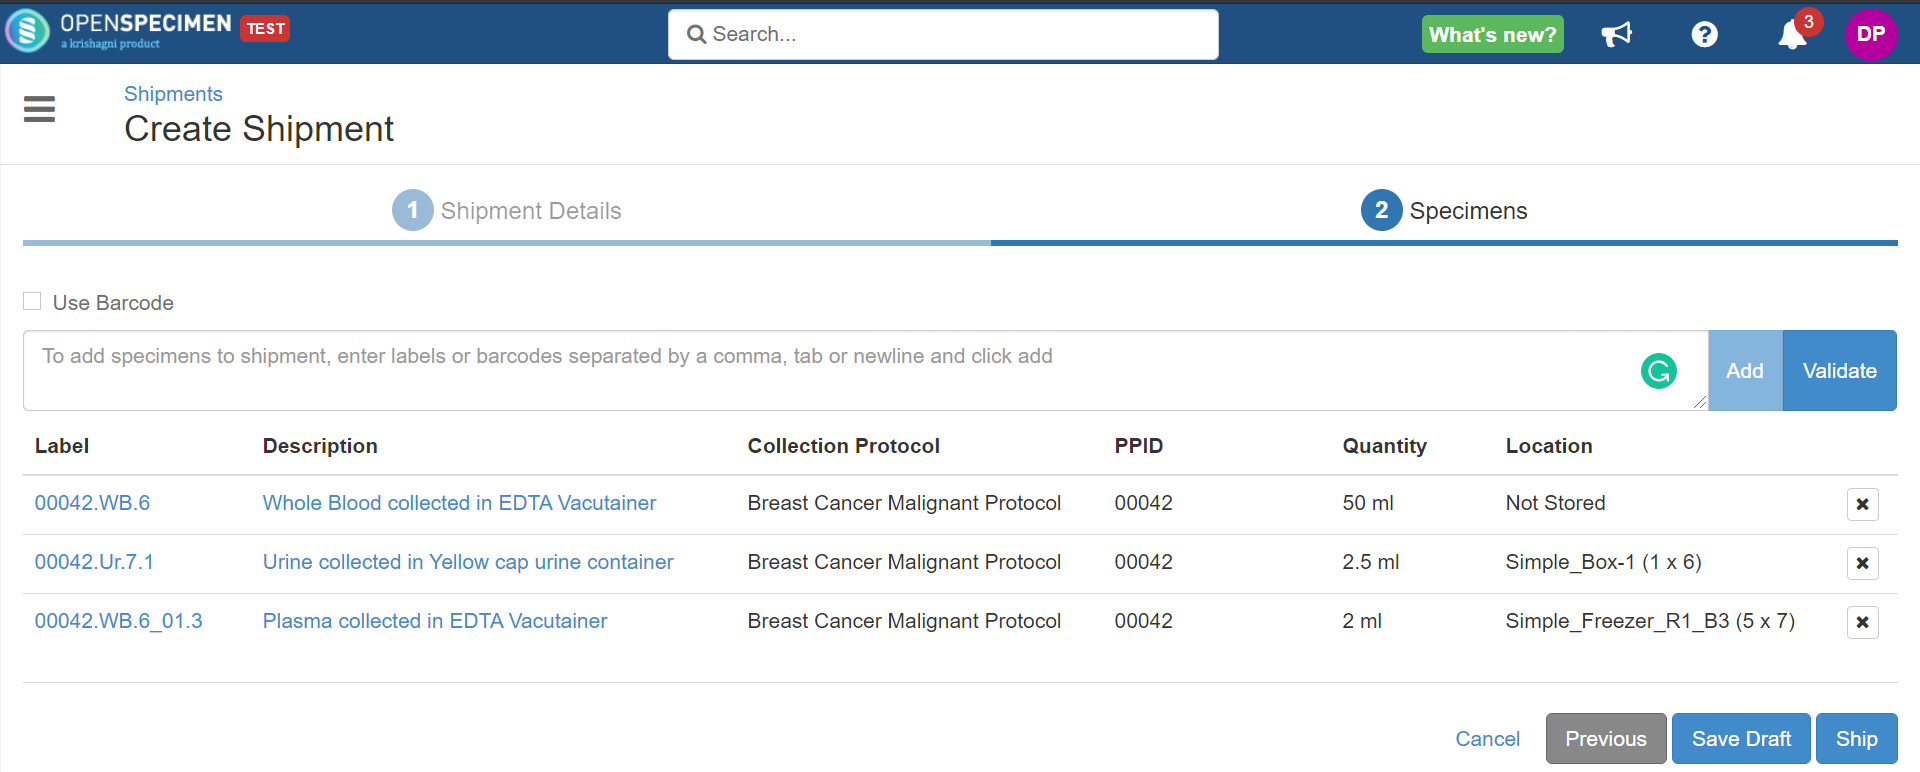
You can create a new shipment by going to the "Shipment" module and scanning or typing in the specimen labels. This works well when you already have the list of specimens to ship/ request.
|

...
| Expand |
|---|
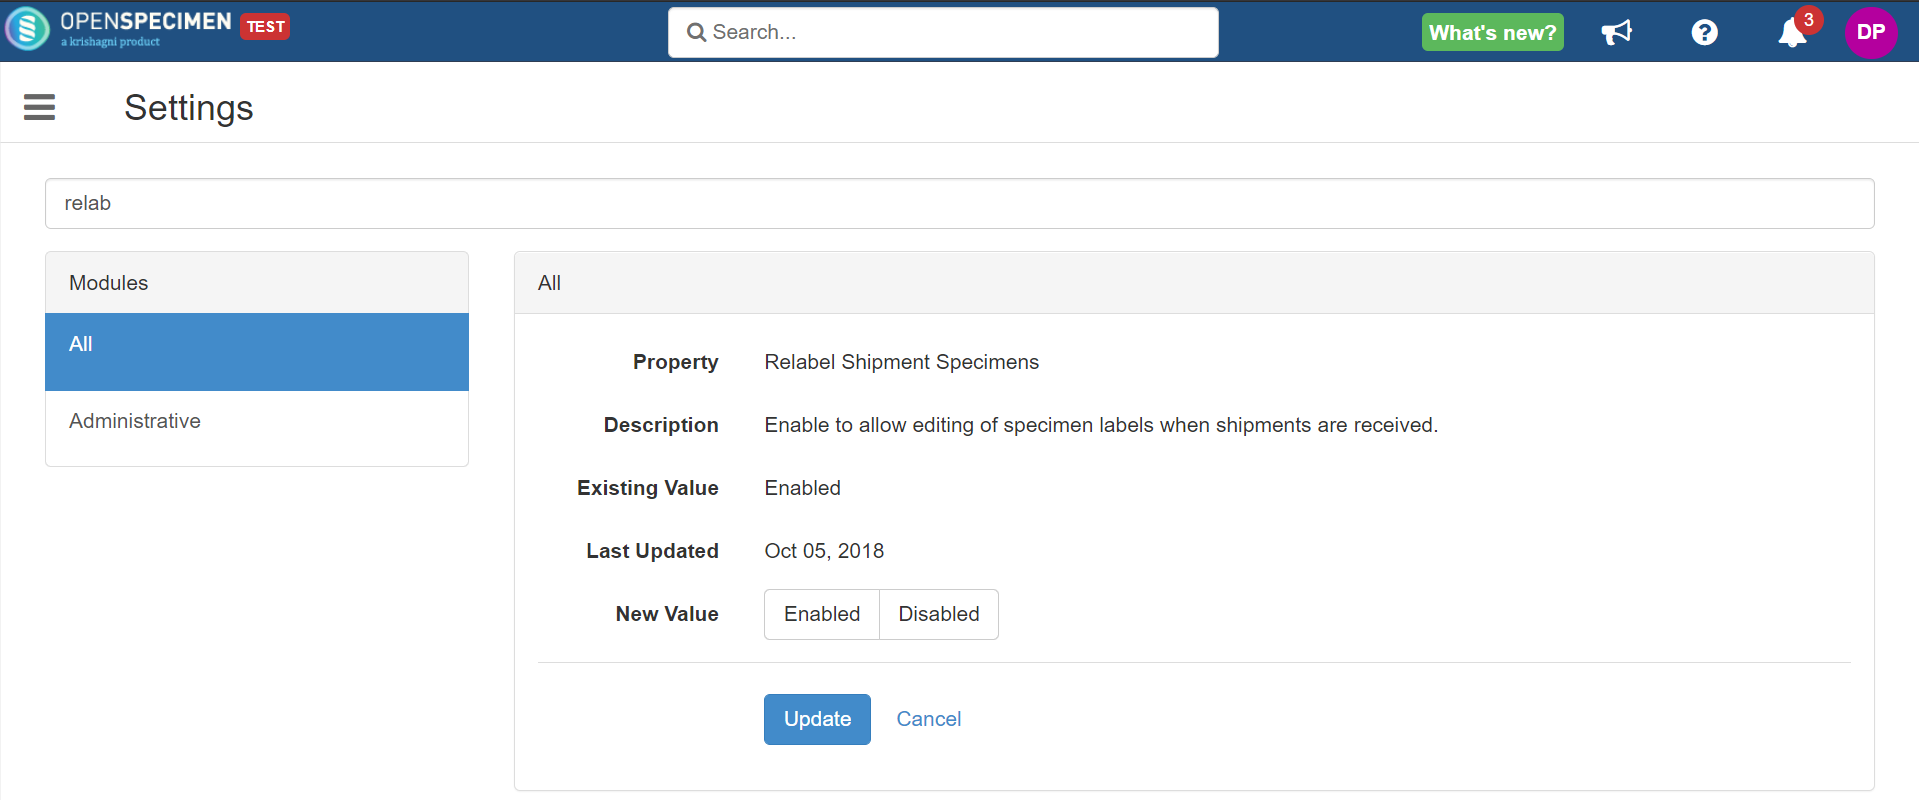
A system-level setting will allow you to relabel the shipped specimens while receiving the shipment. To enable/disable this setting, go to 'Settings' → 'Administrative' module → 'Relabel Shipment Specimens' → Select option 'Enabled' and click on the 'Update' button.
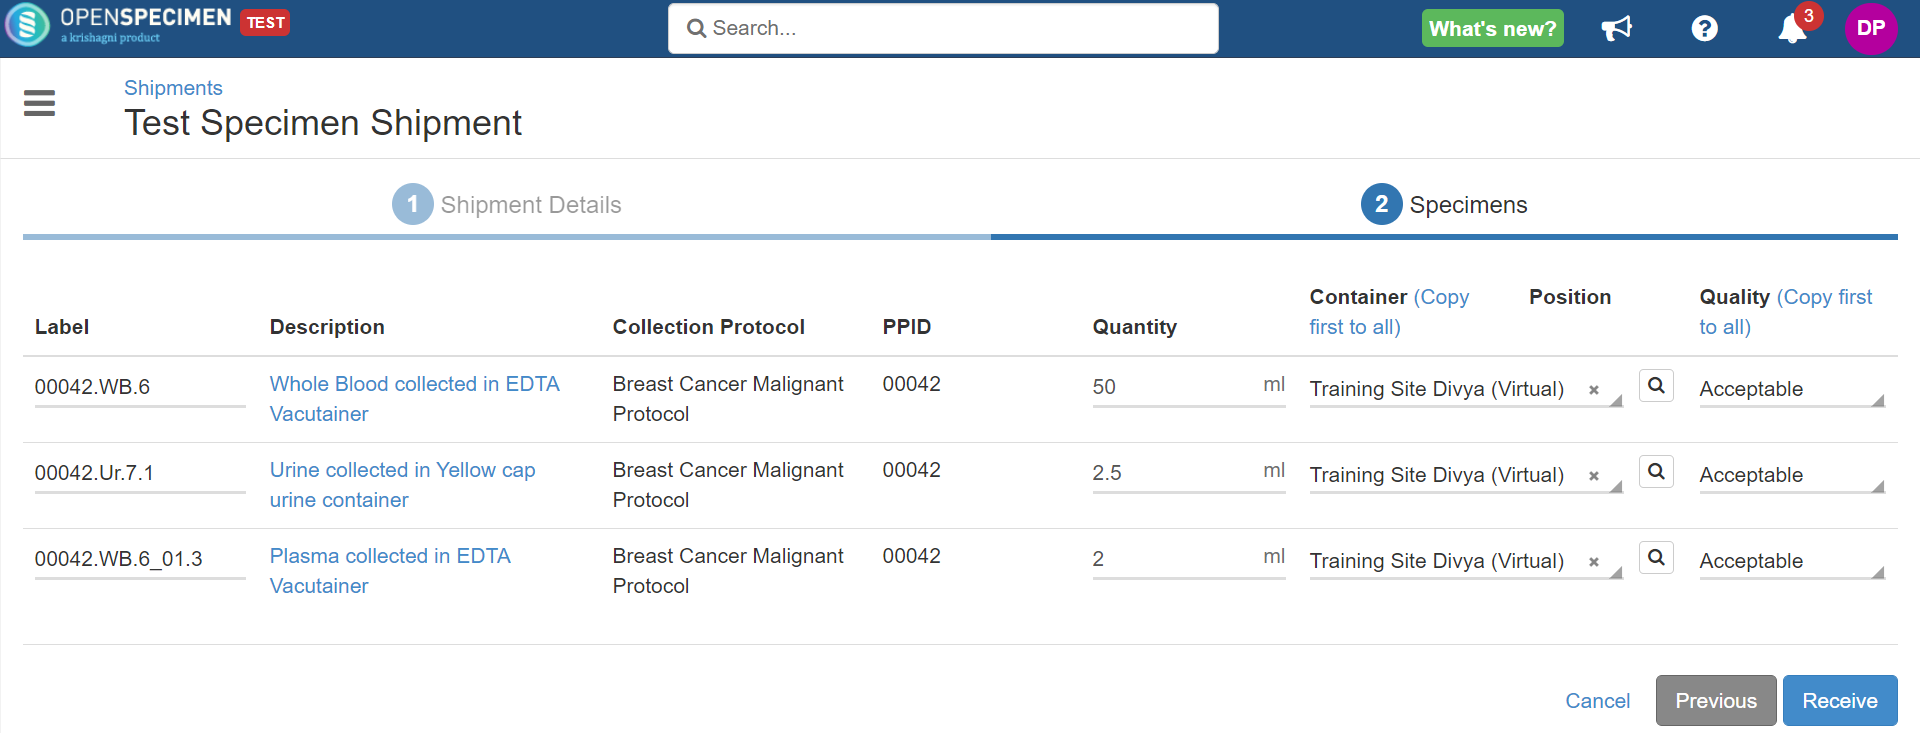
Once enabled, you can edit the specimen labels and other details while receiving the shipment. From the shipped shipments overview page, click on the 'Receive' button → Next → Change the specimen labels or other details, and click on 'Receive'.
|
...
| Expand | ||
|---|---|---|
| ||
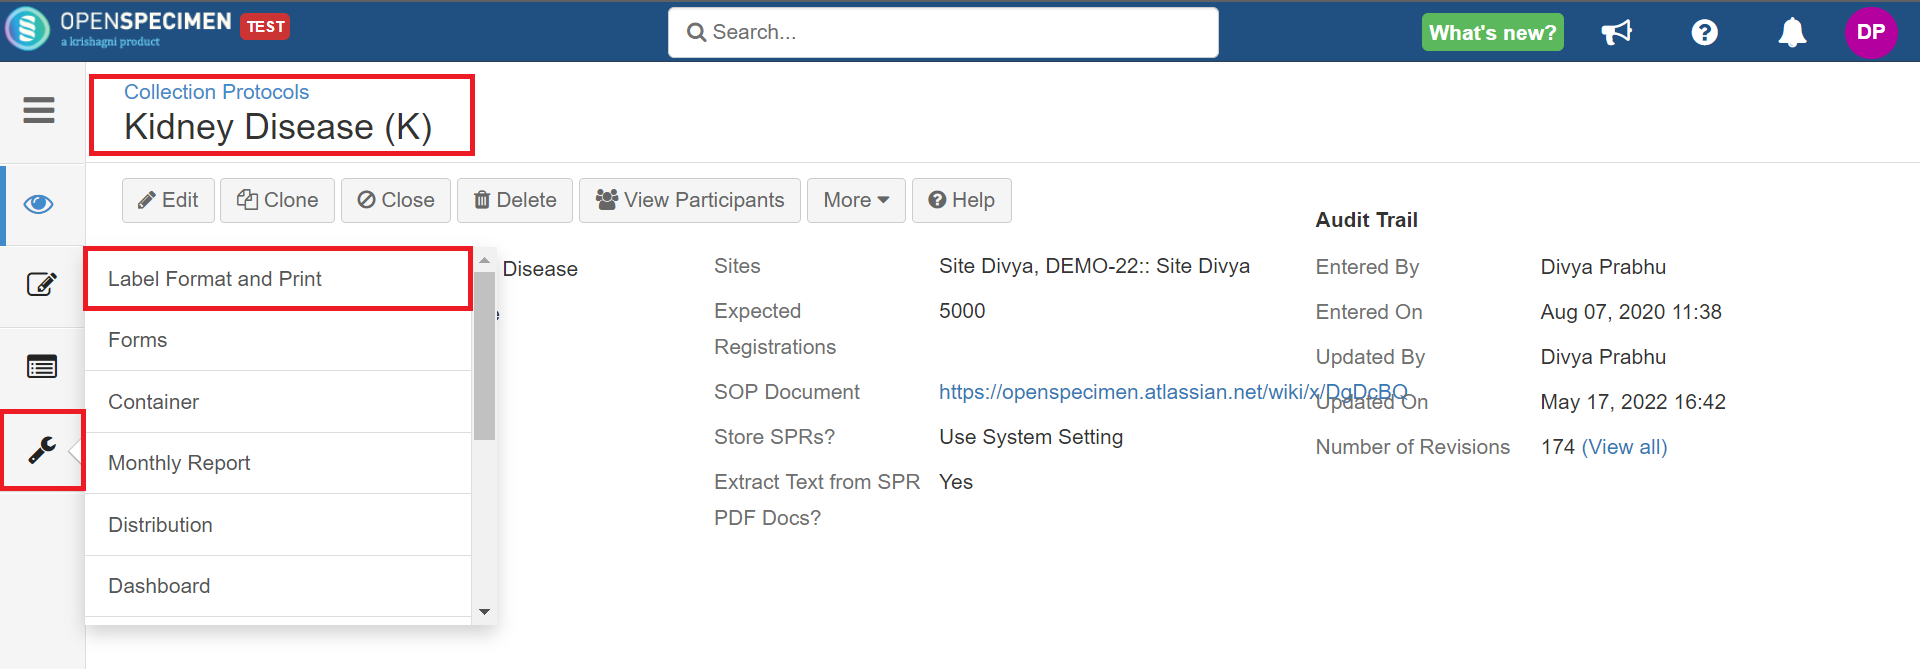
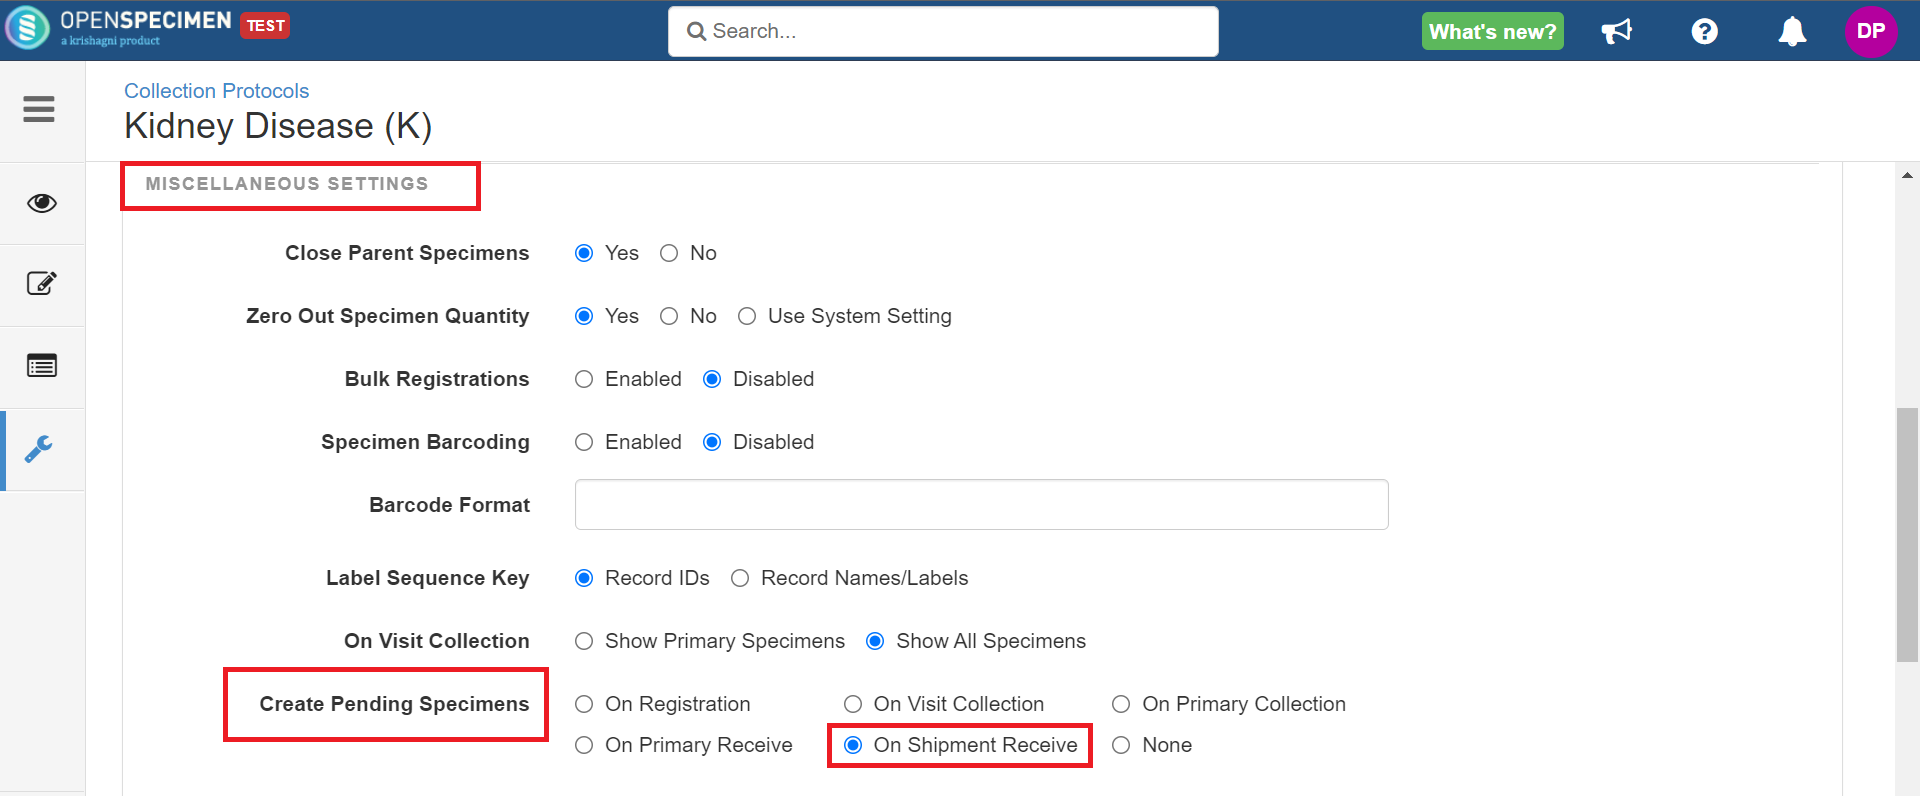
The setting is available at the CP level. Follow the below steps to enable:
|
You can also choose for which 'Quality' you want to pre-print the child specimen labels by adding one or more values. This can be done by going to system-level 'Settings' → Biospecimen → Shipment Received Quality:
...
The below table lists the example expressions which you can use:
| Expression | Description |
|---|---|
| ^Acceptable.* | Pre-prints child specimen labels for Shipment Received Quality = Acceptable, Acceptable - Clotted. i.e., It will pre-print labels for all specimens where the received quality starts with 'Acceptable'. |
| Acceptable|Acceptable - Clotted|Acceptable - Insufficient Quantity | Pre-prints child specimen labels for three qualities: Acceptable, Acceptable - Clotted, and Acceptable - Insufficient Quantity |
| Acceptable | Pre-print child specimen labels for Shipment Received Quality = Acceptable. |
| ^((?!Unacceptable).)*$ | Pre-prints child specimen labels for any Shipment Received Quality that does not include the word "Unacceptable" |
| Info |
|---|
|
...