| Table of Contents |
|---|
...
- The shipping site and receiving site should use the same instance of OpenSpecimen.
- Both sites and the logged-in user should be part of the CP that has the specimens being shipped.
- Cannot ship specimens from multiple sites in one shipment.
- If the shipped specimens being shipped are stored in a container, the container's site should be sending site.
- When receiving a shipment, the user can only store specimens in the containers of the receiving site.
- The sending site should be the site to which specimens belong (Site under CP).
...
| Expand | ||
|---|---|---|
| ||
|
...
| Expand | ||
|---|---|---|
| ||
|

...
The specimens are often collected in multiple hospitals for different studies. These specimens are labeled and then shipped to the receiving site facility for further processing and storage. For faster collection and data entry, the labeling at hospitals is done using generic labels like the randomly generated unique numbers, etc. However, when specimens are received at the receiving site, the biobankers relabel the received specimens based on their type, collection container, study, or other established practices for better organization and retrieval purposes.
| Expand |
|---|
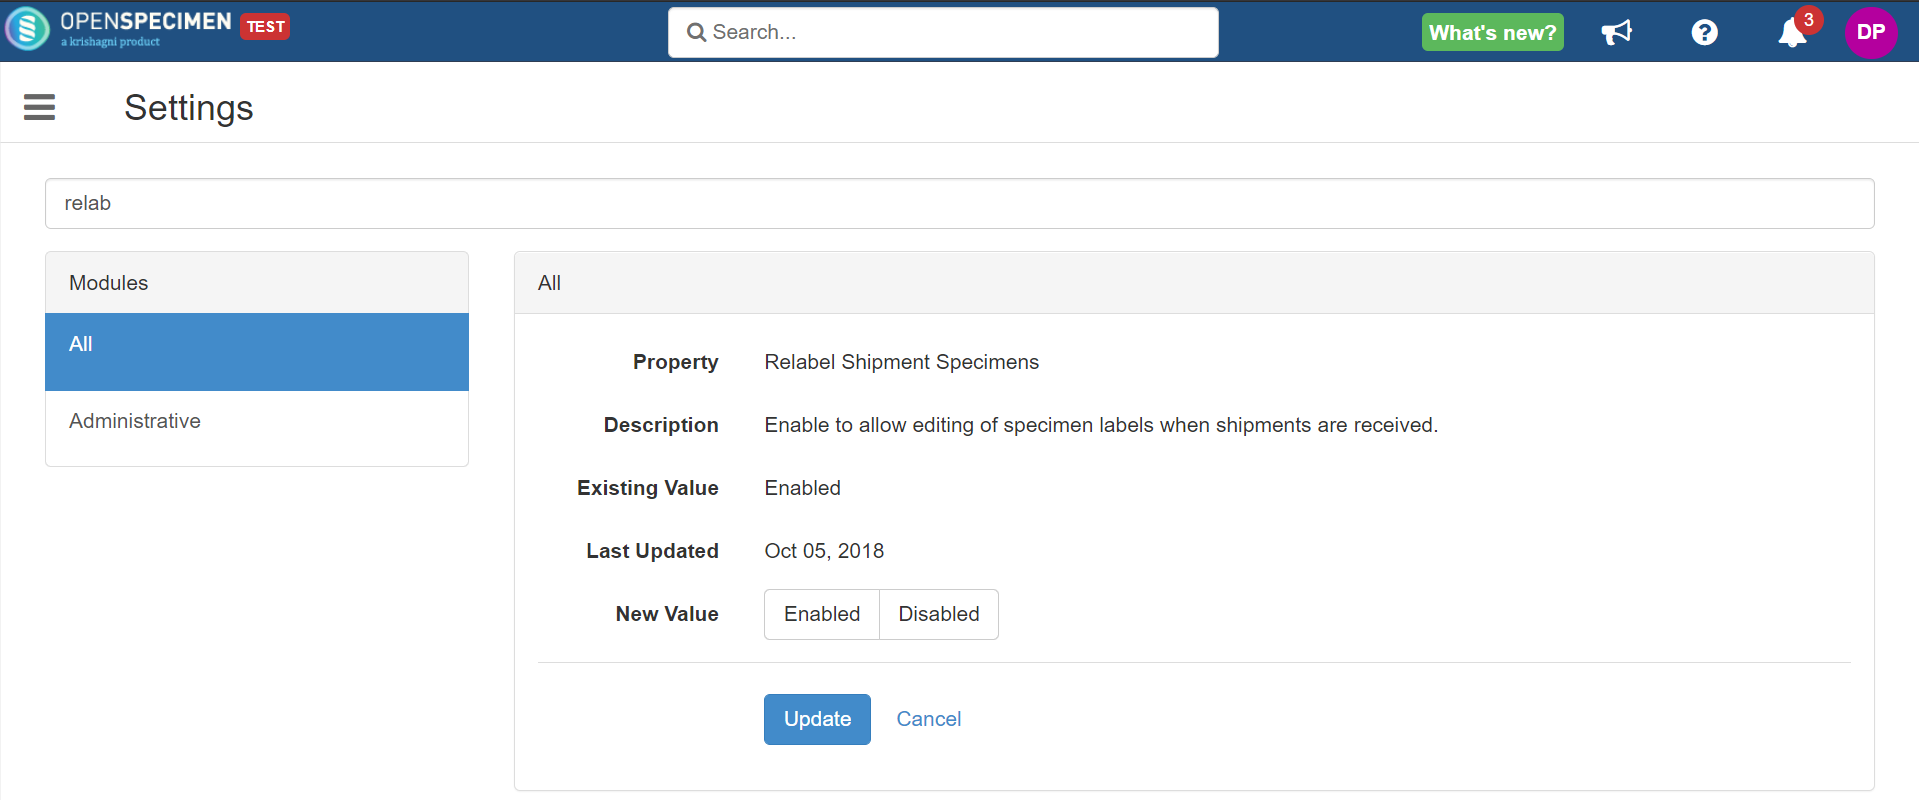
There is a A system-level setting that will allow you to relabel the shipped specimens while receiving the shipment. To enable/disable this setting, go to 'Settings' → 'Administrative' module → 'Relabel Shipment Specimens' → Select option 'Enabled' and click on the 'Update' button.
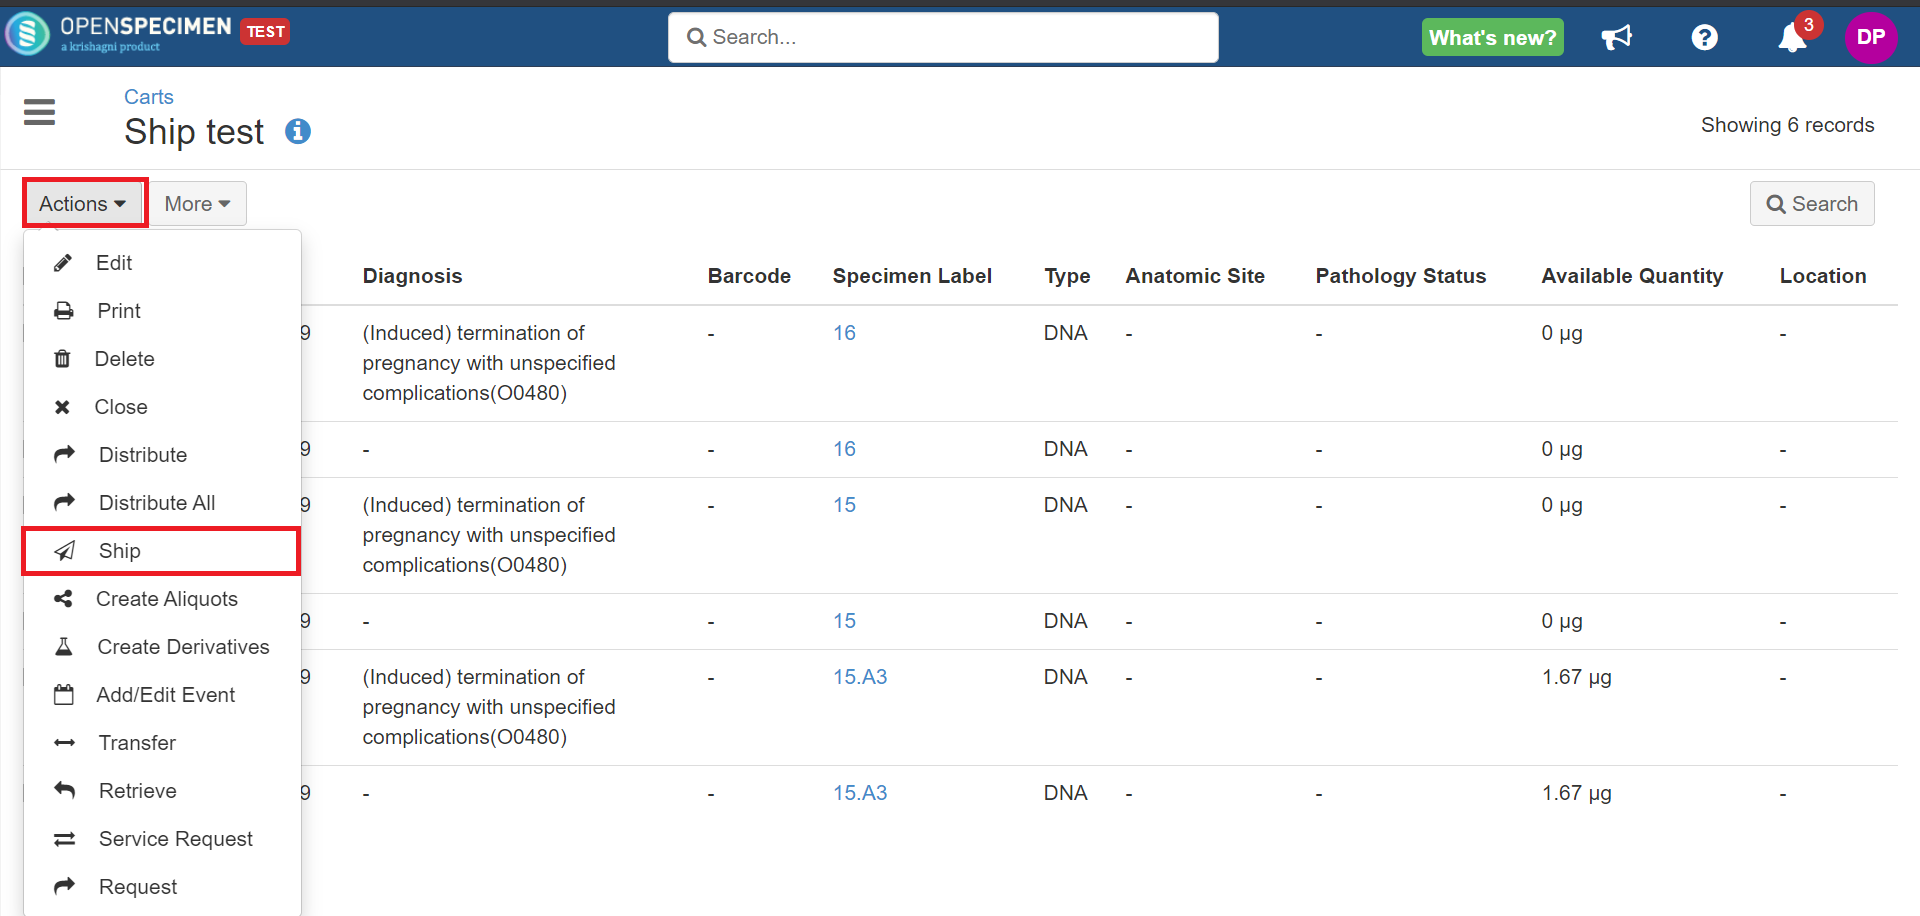
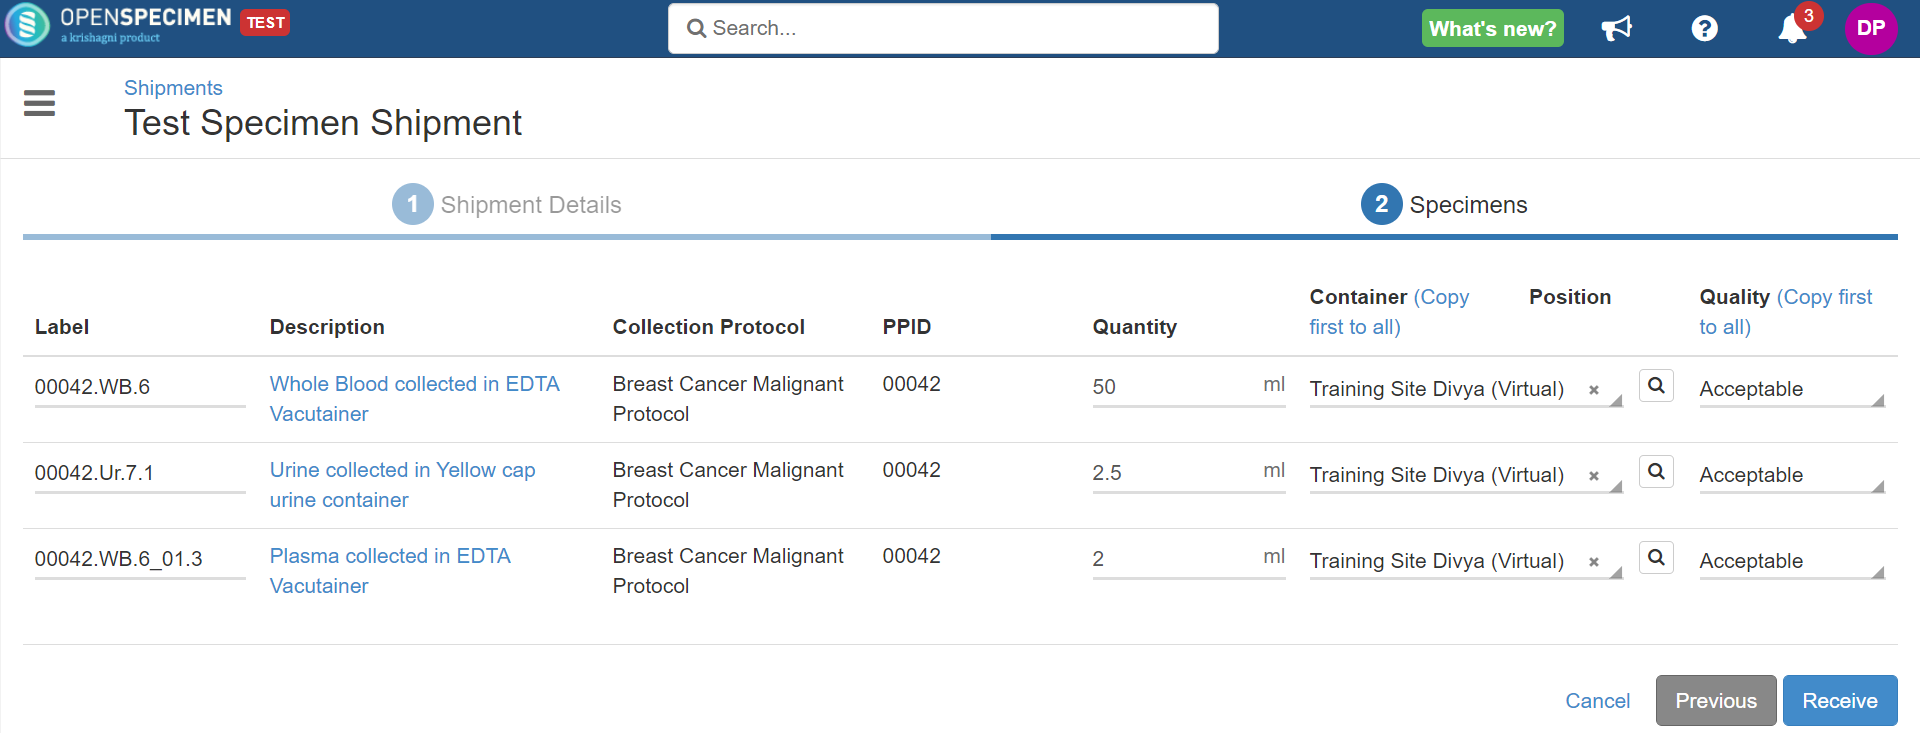
Once enabled, you can edit the specimen labels and other details while receiving the shipment. From the shipped shipments overview page, click on the 'Receive' button → Click on the ' Next ' button → Change the specimen labels or other details, and click on the 'Receive' button.
|
Edit
...
(v7.1
...
)
Shipments in the draft, shipped, or received mode modes can be edited.
| Expand |
|---|
Fields allowed to be edited are mentioned below,
The following attributes are not editable:
|
...
If you want to customize the shipment report, you will have to create a saved query using the query interface. In the query results, you have to must define the columns you wish to include in the CSV.
...
| Expand | ||
|---|---|---|
| ||
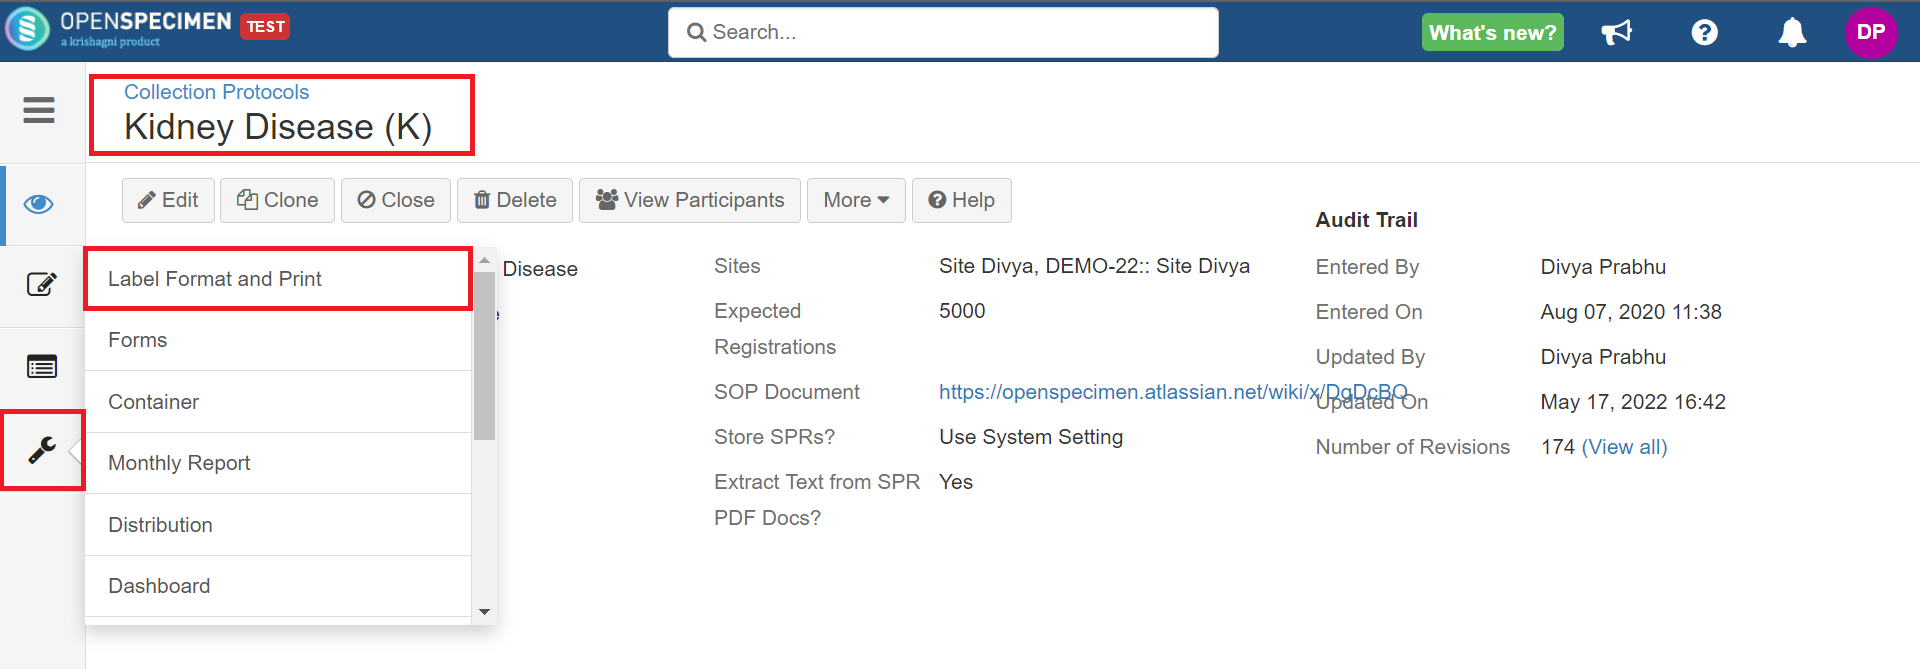
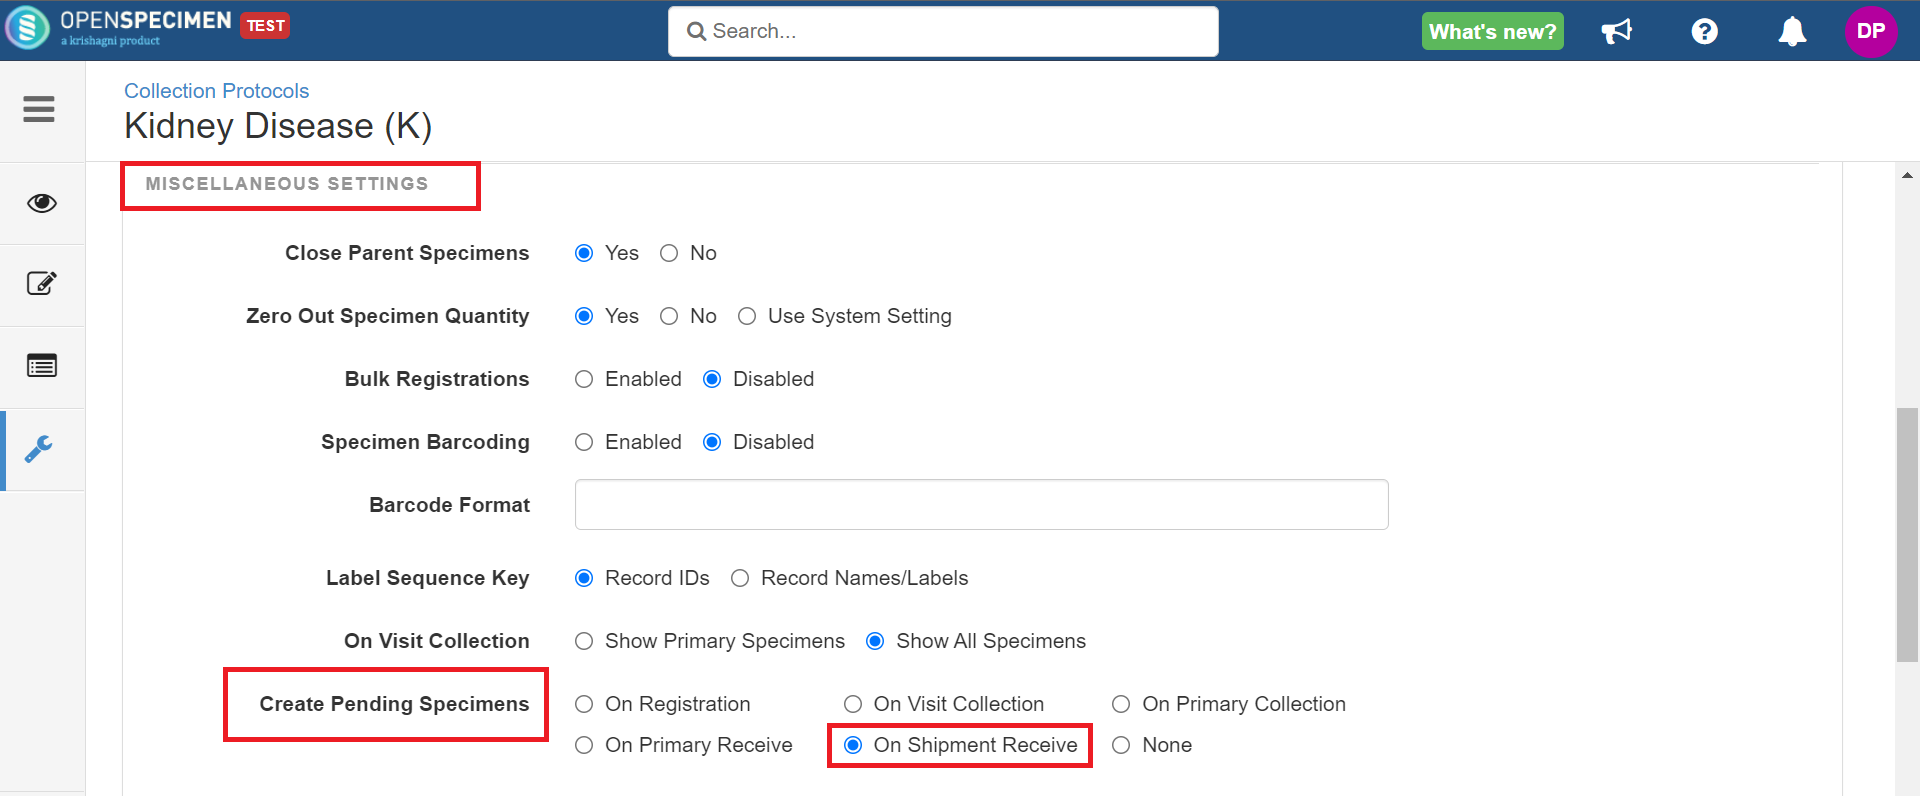
The setting is available at the CP level. Follow the below steps to enable:
Refer to the wiki page for more details. |


You can also choose for which 'Quality' you want to pre-print the child specimen labels by adding one or more values. This can be done by going to system-level 'Settings' → Biospecimen → Shipment Received Quality:

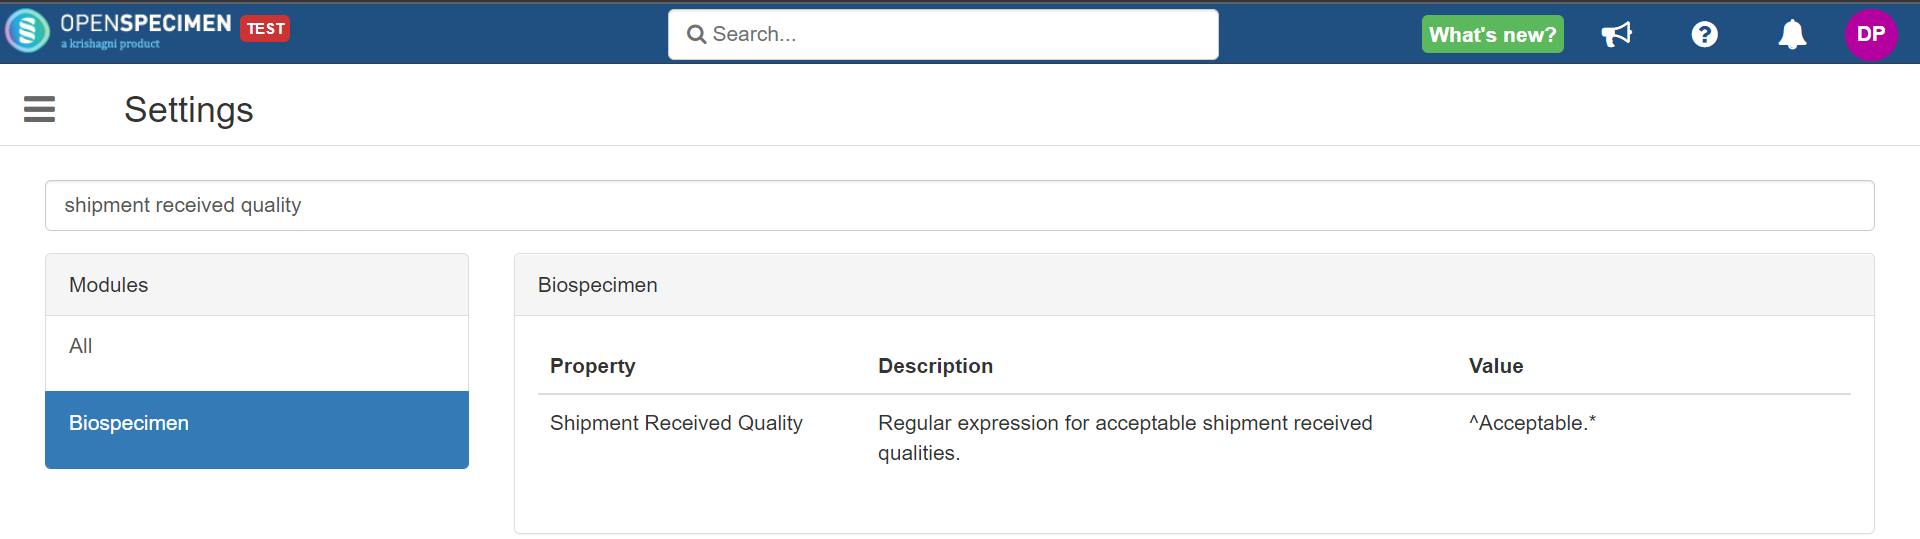
The below table lists the expressions that are supportedexample expressions which you can use:
| Expression | Description |
|---|---|
| ^Acceptable.* | Pre-prints child specimen labels for Shipment Received Quality = Acceptable, Acceptable - Clotted. i.e., It will pre-print labels for all specimens where the receive quality starts with 'Acceptable'. |
| Acceptable|Acceptable - Clotted|Acceptable - Insufficient Quantity | Pre-prints child specimen labels for three qualities: Acceptable, Acceptable - Clotted, and Acceptable - Insufficient Quantity |
| Acceptable | Pre-prints child specimen labels for Shipment Received Quality = Acceptable. |
| Info |
|---|
|
...