Introduction
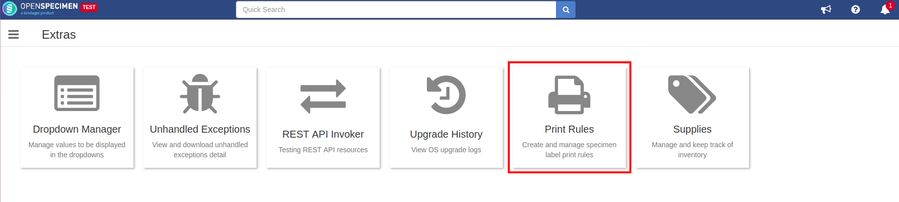
You can print labels for Collected Specimens, Containers, and Distributed Specimens. This is achieved using the Print Rules features under the “Extras” tab.
Print Rule
A Print Rule defines the conditions under which a label is printed. For example:
DNA label for 1 ml tube
DNA label for 10 ml tube
Frozen tissue labels
You can configure multiple rules and the system will print using the first matching rule.
OpenSpecimen interfaces with the printers via external software like BarTender, NiceLabel, etc. OpenSpecimen will pass the data needed for printing and printing software will automatically pick files and print the labels. For more details please refer to the Printing configuration
How to Print?
Expand to view the stetps
Log in as a Super Administrator user.
Click on ‘Extras’ → ‘Print Rules’
From v6.1, you can create print rules for 'Specimen', 'Distribution', and 'Container'. Click on the ‘Create’ button from the print rules list page

Print Rule Common Fields
Expand to view the list of fields
Field | Description | Example Values |
|---|
Users | Login name of OpenSpecimen user who will be printing labels. The default value is *, meaning any user. | John Doe, Mary Thomas, etc. |
Ip Range | Specifies IP address range, using CIDR notation, of workstations of users who will be issuing print label requests. The default value is *, meaning any workstation | Example 1: 192.168.2.0/24 matches IPv4 addresses in range 192.168.2.0 to 192.168.2.255 Example 2: 2001:db8::/48 matches IPv6 addresses in range 2001:db8:0:0:0:0:0:0 to 2001:db8:ffff:ffff:ffff:ffff:ffff:ffff |
Label Type | Type of label depending on how and where it will be used e.g. Cap, Slide. If specified, the value of this field is written to both the database table and the cmd file. The printer software can read this type and print labels accordingly. The default value is *, meaning don't care | Cap, Slide, or any other value that is used to denote the type of printing the printer software needs to carry out |
Label Design | The name of the design template to use for printing labels. This value is of interest to printer software in deciding how to label content should be arranged and printed. The default value is *, meaning don't care | Example: Cryovial Cap Label Name of design template configured in the printer software. In this instance, the name specifies label design suitable for printing labels to be used for cryovial caps |
Label Tokens | Specifies a list of attribute names of participants, visits, or specimens records that need to be printed on labels. For a detailed list of available tokens, please refer below table Default value: specimen_label,specimen_type,specimen_location | 'Label, Specimen Type, Created on' will instruct OpenSpecimen to output values of the following attributes of specimen record - label, specimen type, and created on the date |
Printer | Name of the printer. The printer name and their network addresses are configured in printer software to direct the label printing to the appropriate printer | rosy, daisy rosy and daisy are symbolic names that can be configured in printer software to send requests to printers configured at IP address 192.168.2.110 and 192.168.2.220 respectively |
Output Directory | The absolute path of directory on the local filesystem that OpenSpecimen uses to generate cmd files. This should be a shared directory that is accessible to OpenSpecimen as well as printer software (like Bartender or Nice Label) The default value is * indicating do not generate cmd files | E:/Printer/OpenSpecimenPrintedFiles/ |
File Format | The format of the data contained in the printed file. Supported values are "CMD", CMD (Quoted Values), and "CSV". Current command-line formats are tested with Bartender and Nice Label software. If you use some other software and face any issue, please let us know. |
|
File Line Ending | Check LF and CRLF if the file contains the selected character at the end of the line. |
|
File extension | The file is created with a selected extension. | txt/cmd |
Advanced Print Rules
From v6.3, you can configure any field as a print-token including custom fields. Previously, you could only select specific tokens to choose from the dropdown.
Here you can use the new ‘eval(…)’ method to create custom print-tokens.
Syntax:
eval(displayLabel, expr);
For usage of “eval” function, refer to examples in the below pages:
Download Print File
Sometimes you might not be able to integrate OpenSpecimen with the printer due to network issues. E.g. in a multi-site study where the printers are in a collection site outside the VPN. In such cases, you can download the labels print file and upload it manually to the printing software like Bartender.
This is also useful during testing to check that the print rules are configured properly. This avoids having the testers to login to the server VM to check the content of the print files.
Steps to enable setting to download print files
Login as super admin user
Click on the 'Settings'
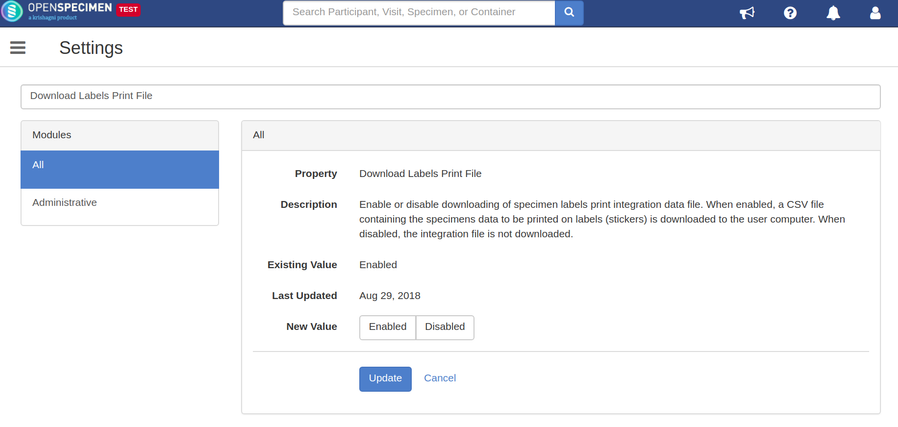
Search for the property 'Download Labels Print File' or click on the 'Administrative' module and click on the property
Select the option 'Enabled' of 'New Value' field and click on 'Update'
Navigate to specimen or participants and visit's overview pages and click on 'Print', the print integration file in CSV format will be downloaded
A downloaded print CSV file will have one-row per specimen and each row will contain the data to be printed on the specimen labels/stickers based on the print rule set
FAQs
In what order are the print rules applied?
The order of probing rules is the reverse order of their creation. The first matching rule is picked up for printing the label.
