| Table of Contents |
|---|
...
| Expand | ||||||||||||||||||||||||||||||||||||
|---|---|---|---|---|---|---|---|---|---|---|---|---|---|---|---|---|---|---|---|---|---|---|---|---|---|---|---|---|---|---|---|---|---|---|---|---|
| ||||||||||||||||||||||||||||||||||||
Login as Super admin → Settings
For the users to receive the notification below, fields should be enabled
|
Steps for self sign up:
...
Fields | Description |
|---|---|
Type | Type of the user:
|
First Name | First Name of the user |
Last Name | Last Name of the user |
Email Address | Email ID of the user |
Phone Number | Phone number of the user |
Domain Name | It is "OpenSpecimen" by default. If you have LDAP/SAML configured, you can add that as the domain name |
Login Name | The username that will be used to log in |
Institute | Institute under which the user needs to be created |
Time Zone | Time zone of the user |
Manage Forms | If enabled, the user will be able to add/edit forms. Refer to the wiki page for more details on forms. |
Manage Workflows | If enabled, the user will be able to add/edit workflows. Refer to the wiki page for more details on workflows. |
Disable Notifications | If enabled, the user will not receive any emails from OpenSpecimen. |
API User | Enable if the user works with APIs. Refer to the wiki page for more details. |
Download Labels Print File | Allows the users to download CSV files for printing labels. Refer to the wiki page for more details. |
Address | Address of the user |
Data Entry Users
...
| Expand | ||||
|---|---|---|---|---|
| ||||
|
...
| Expand | ||
|---|---|---|
| ||
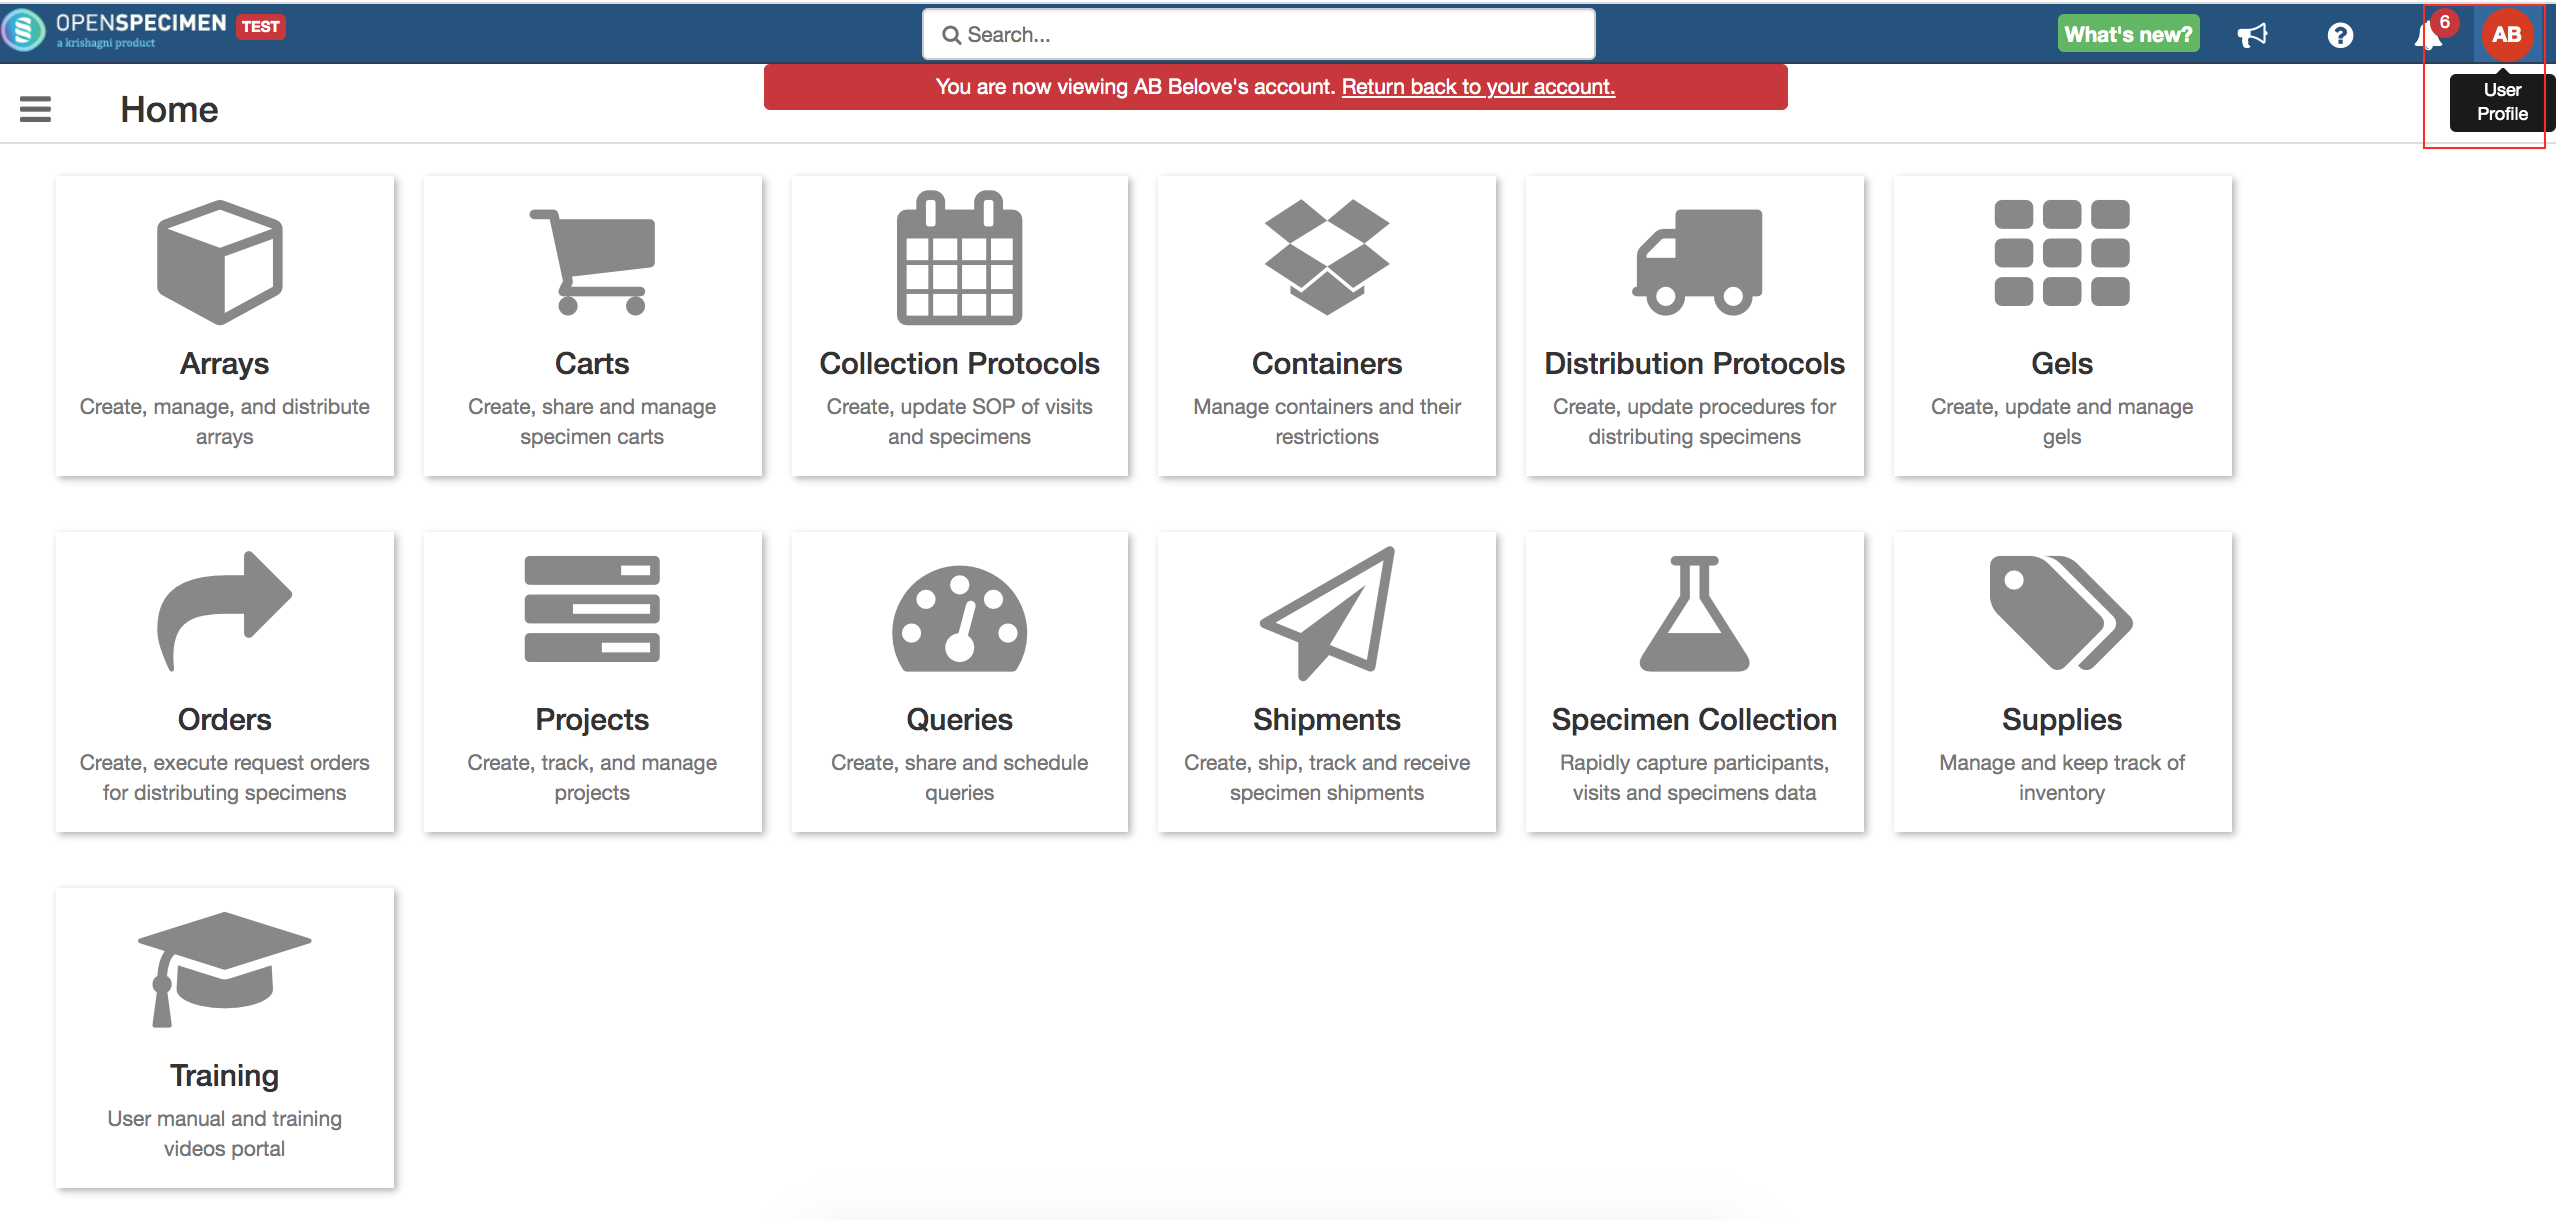
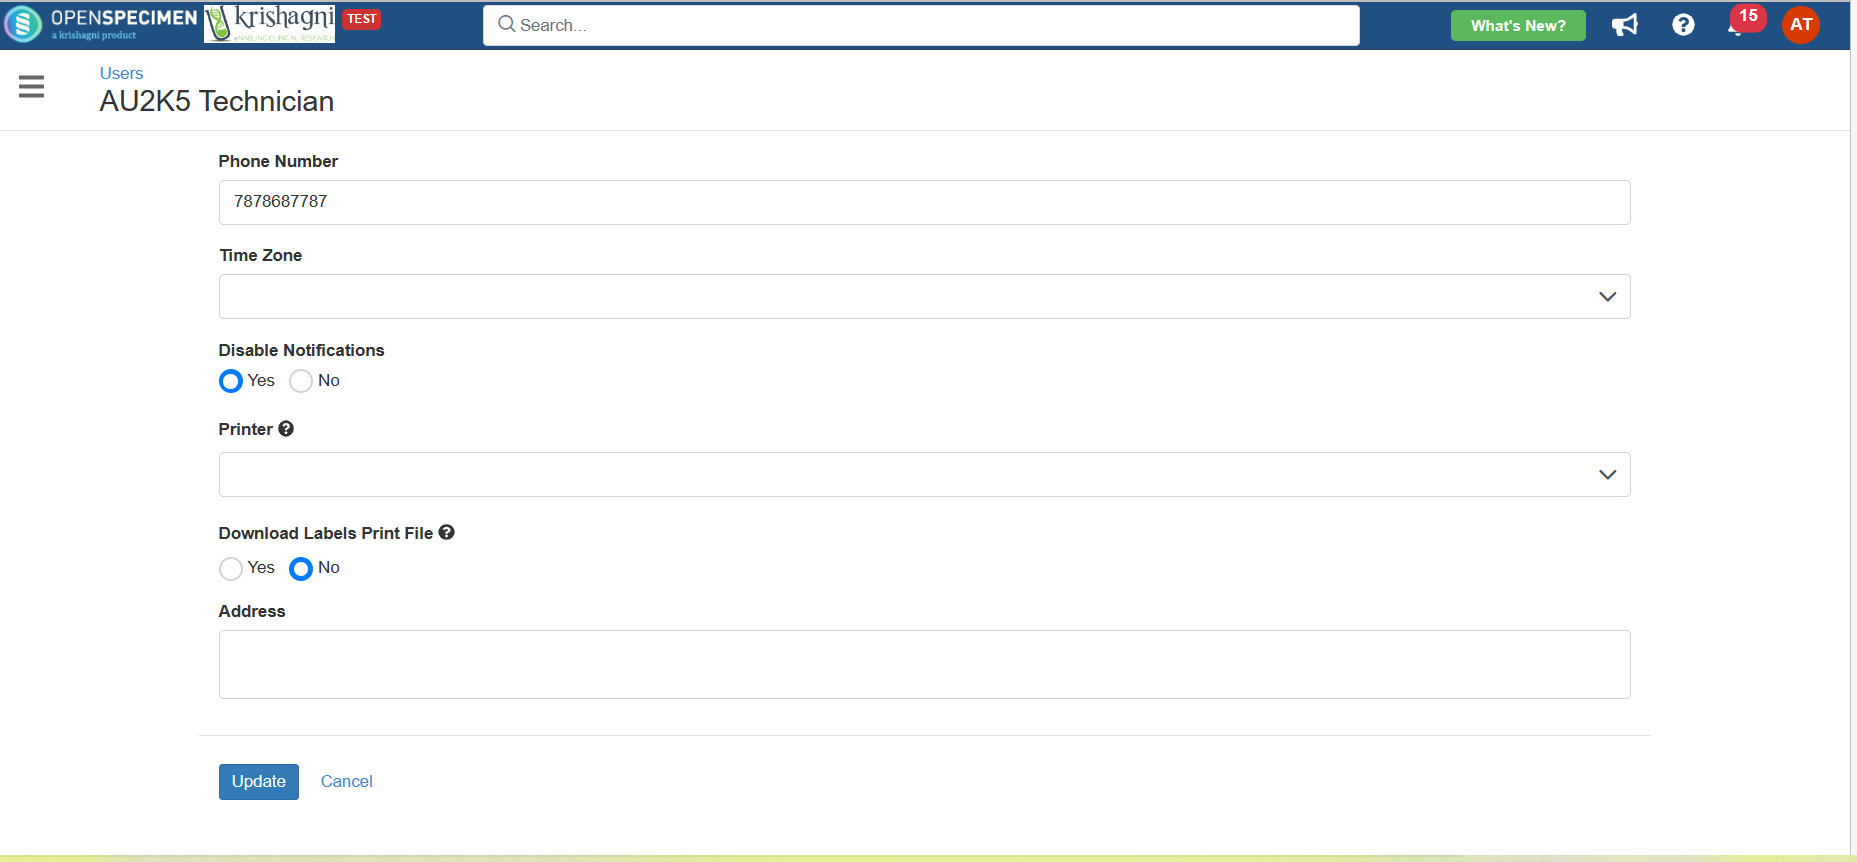
Log in as a super admin and click on 'Edit' from the user overview page to edit the user. 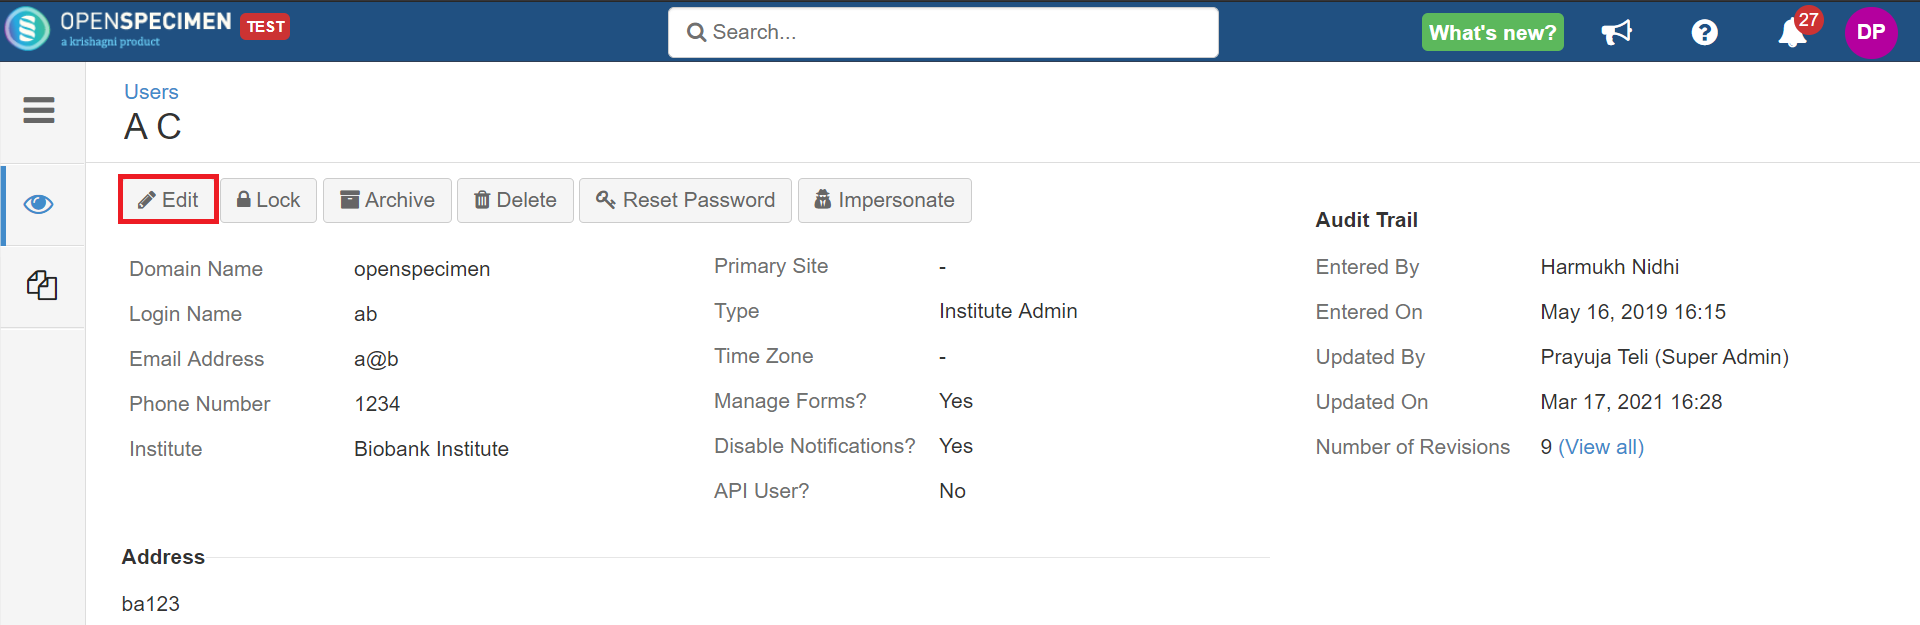 From v7.2, you can edit some basic details of their profile, such as phone number, time zone, address, and notification settings. This will help regular users to do minor profile edits without bothering admin users. Rest fields will be non-editable to regular users. 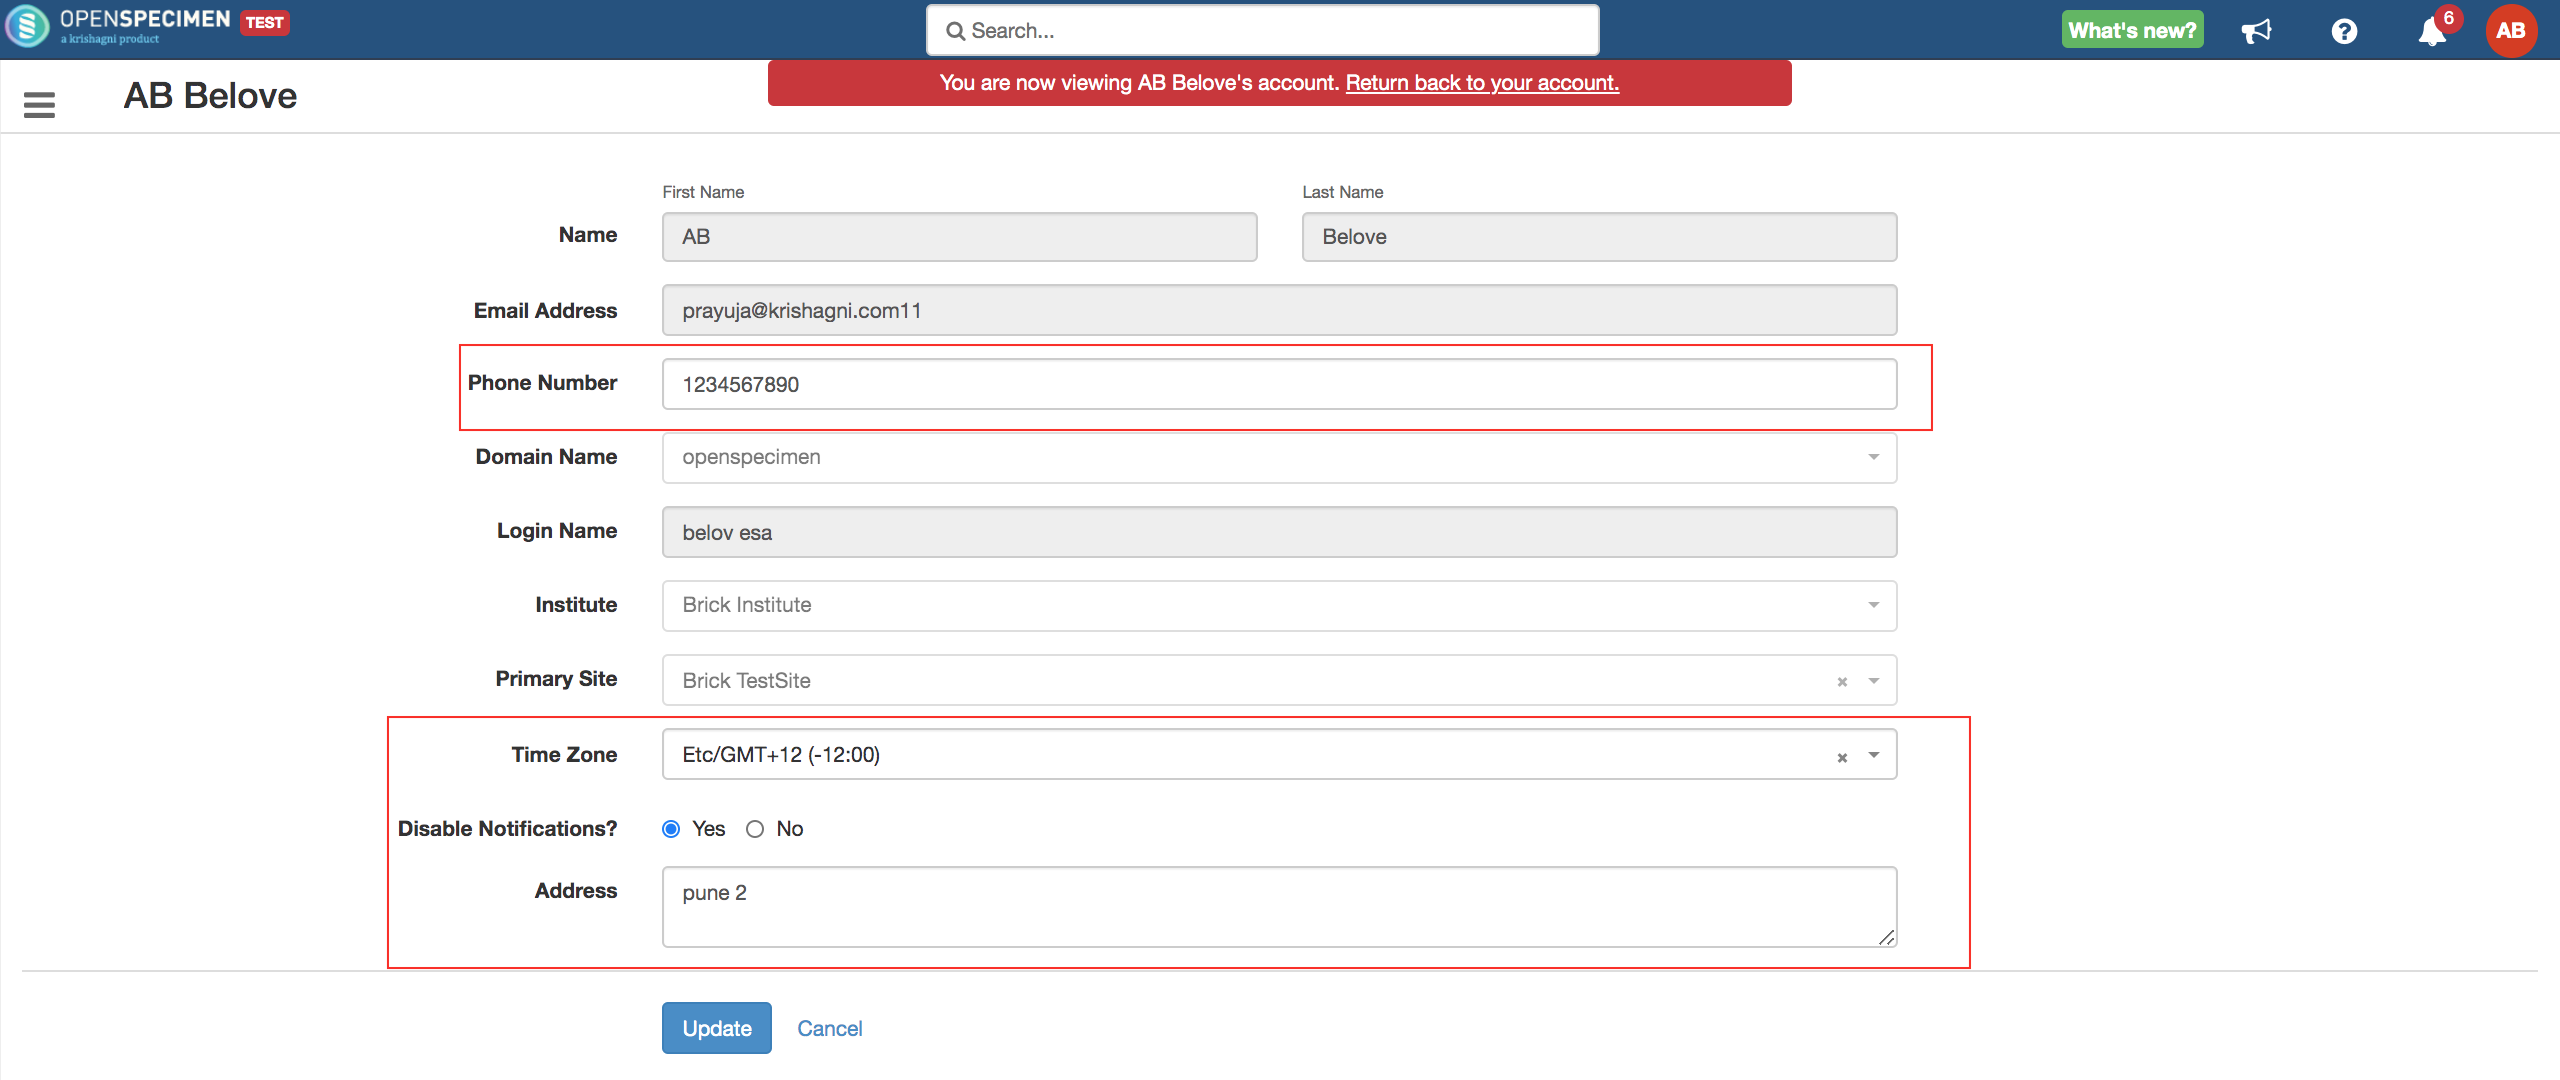 Steps to edit your own profile details :

|
...
| Expand | ||
|---|---|---|
| ||
The user account will get locked in 3 cases:
The system throws an error on UI about the account locked at the time of login. Locked users have to contact their admins to get their accounts unlocked. To unlock a user account, search for the user's account → From the user overview page, click 'Unlock'. Following these steps, a user will get an email notification that the account is unlocked. Super admin, institute admin, and site admin users can lock/unlock user accounts. 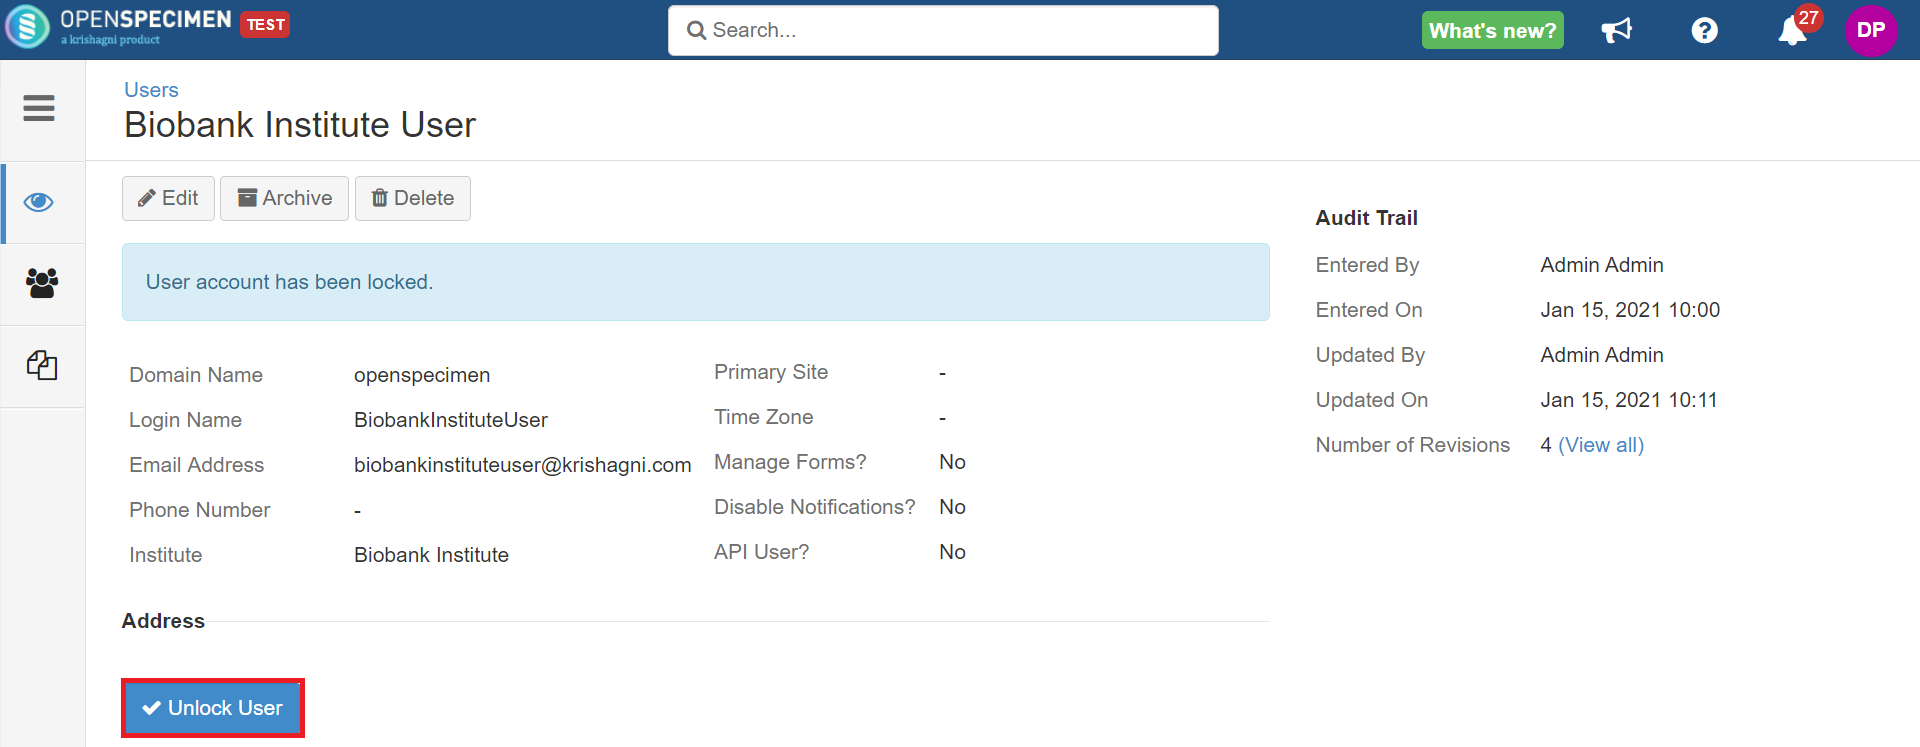
|
...