...
Answer: Specimens can be moved from one container to another using two options given as follows-from UI or bulk import as given below.
Update specimen's location through UI
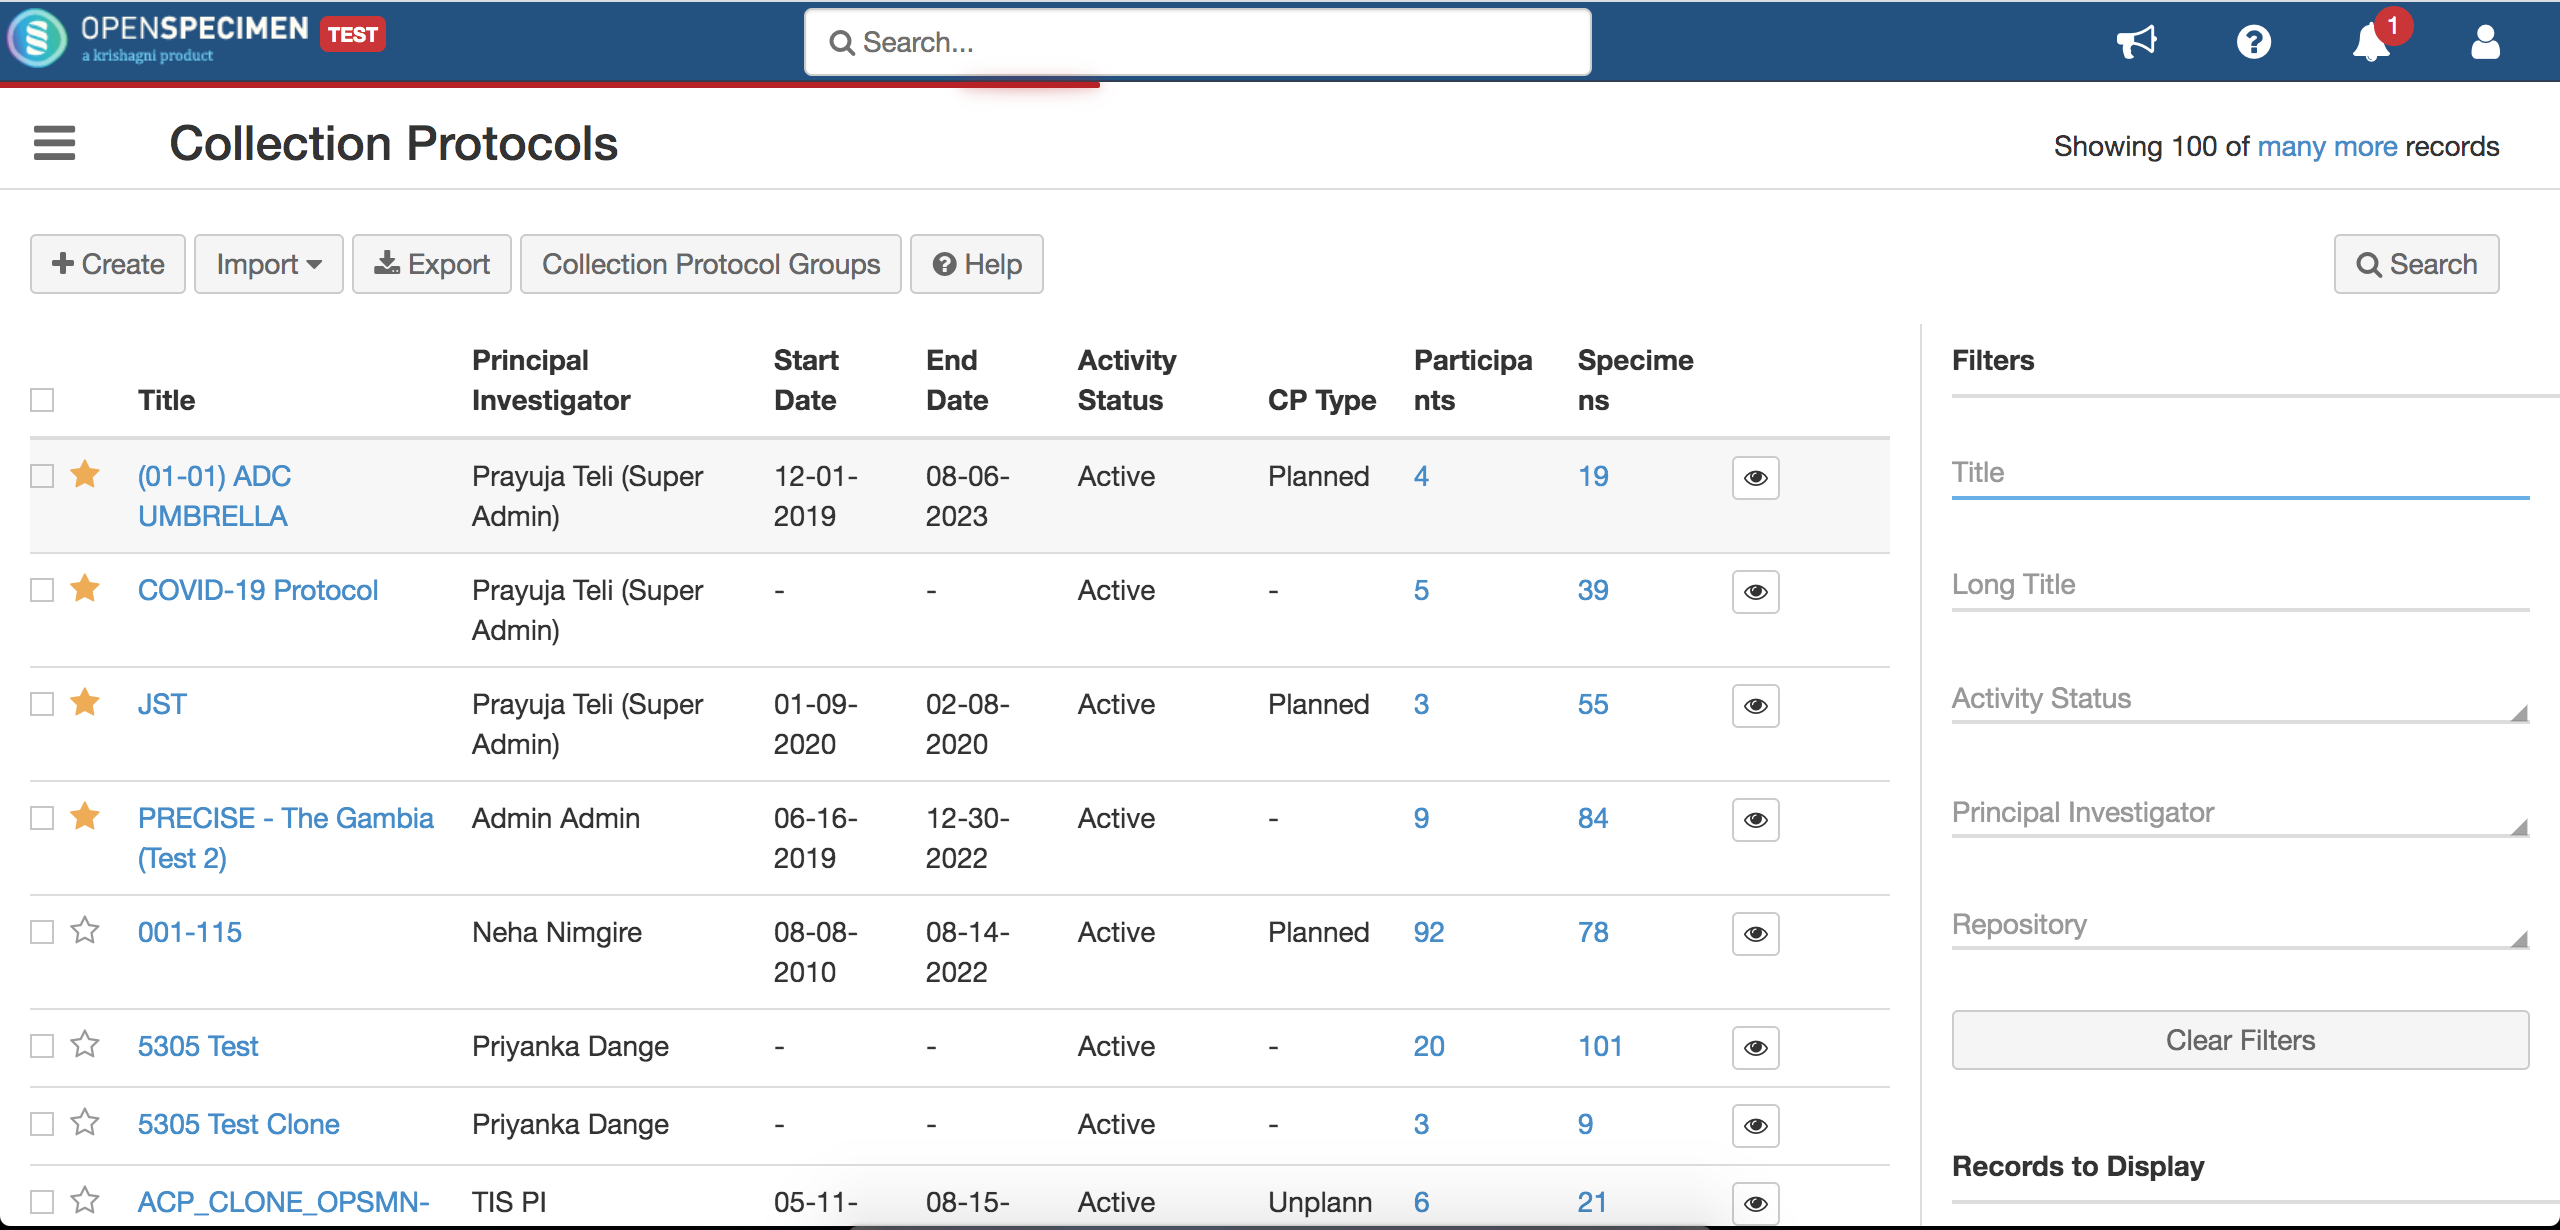
- Go to Collection Protocols page, select the desired Collection Protocol.

- Click on the participant and further on a visit having the specimen to be edited.

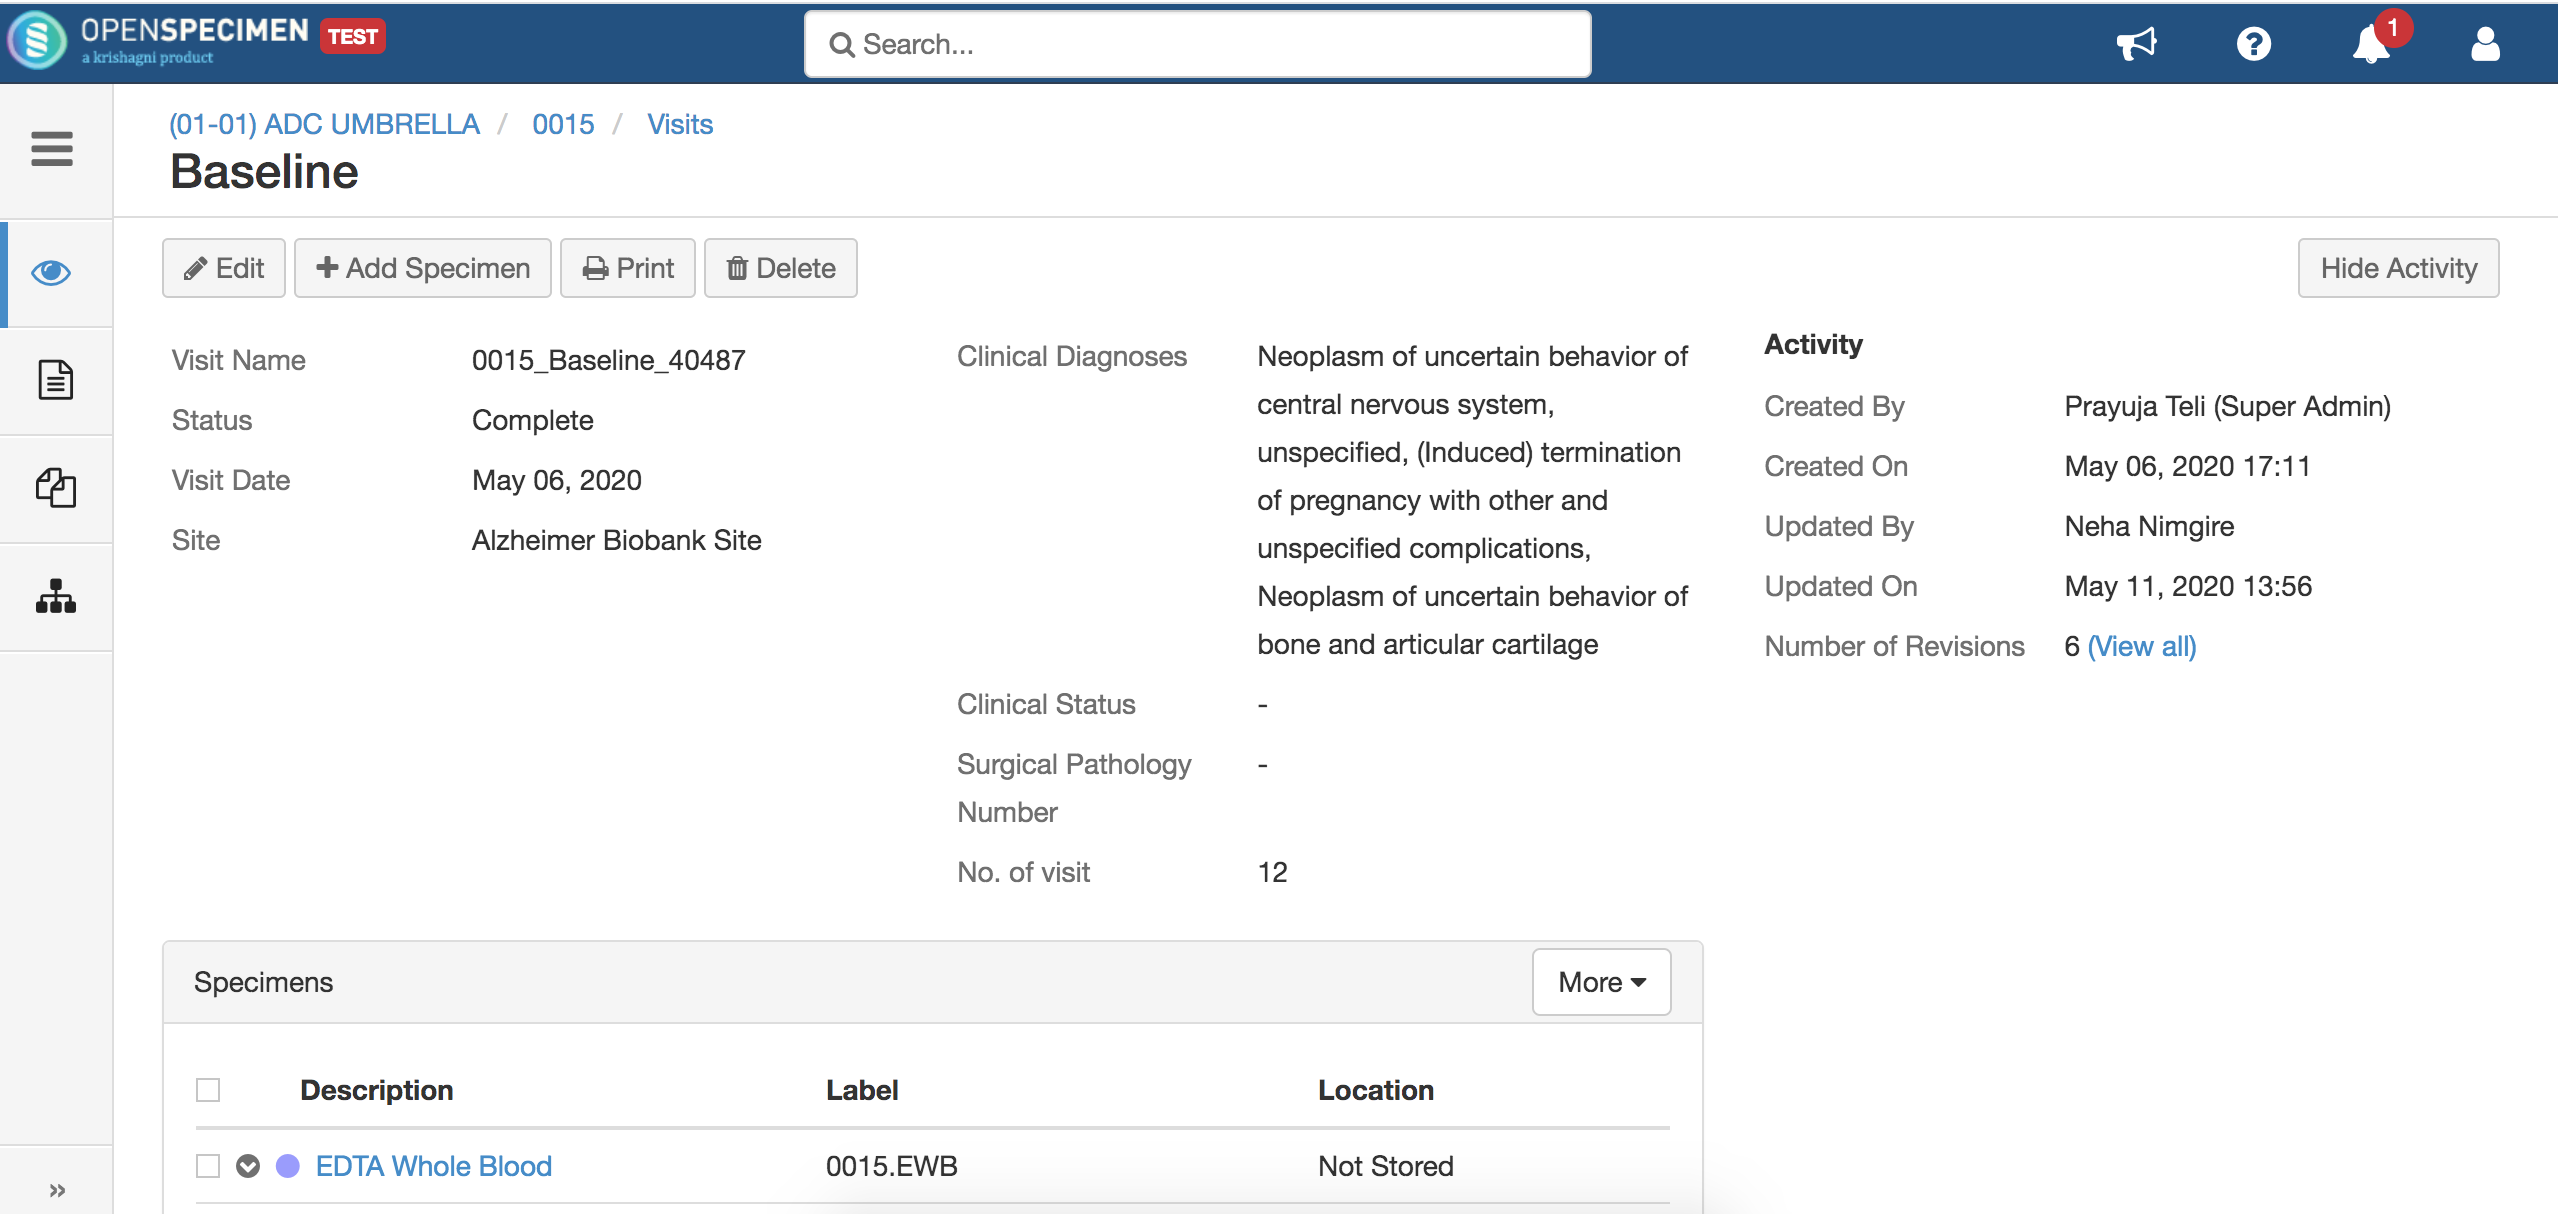
- Click on the specimen and further on "Edit".


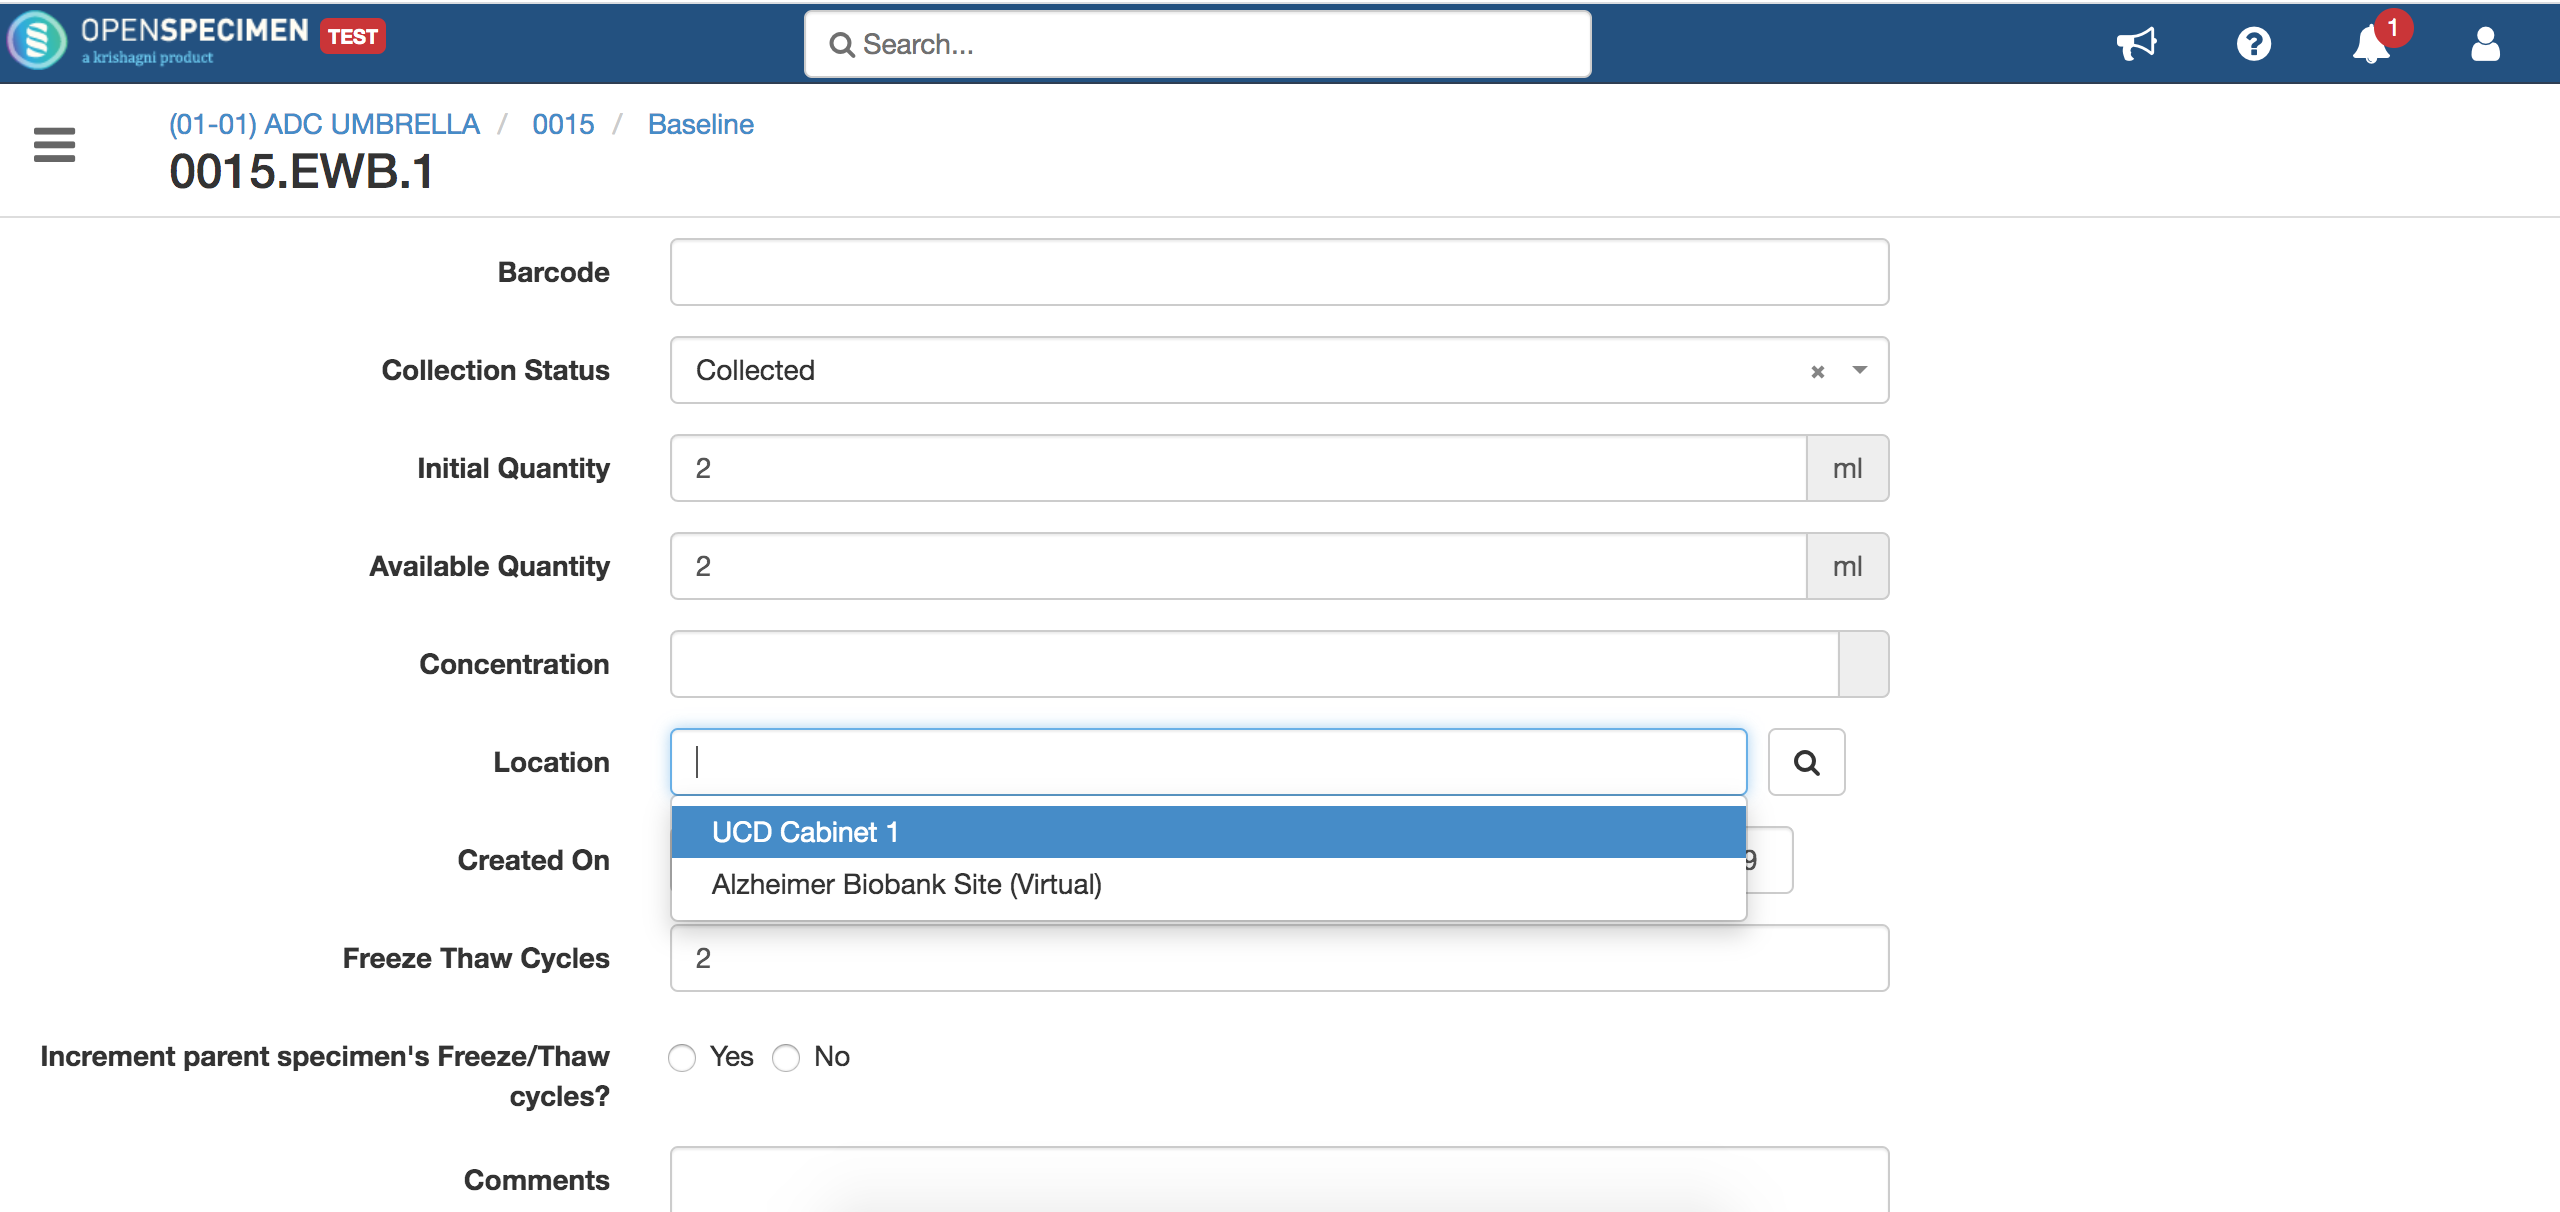
- Under location select the container to which it has to be moved and its respective position.

Update specimen's location using bulk import
- Go to collection protocols, and click on Import.

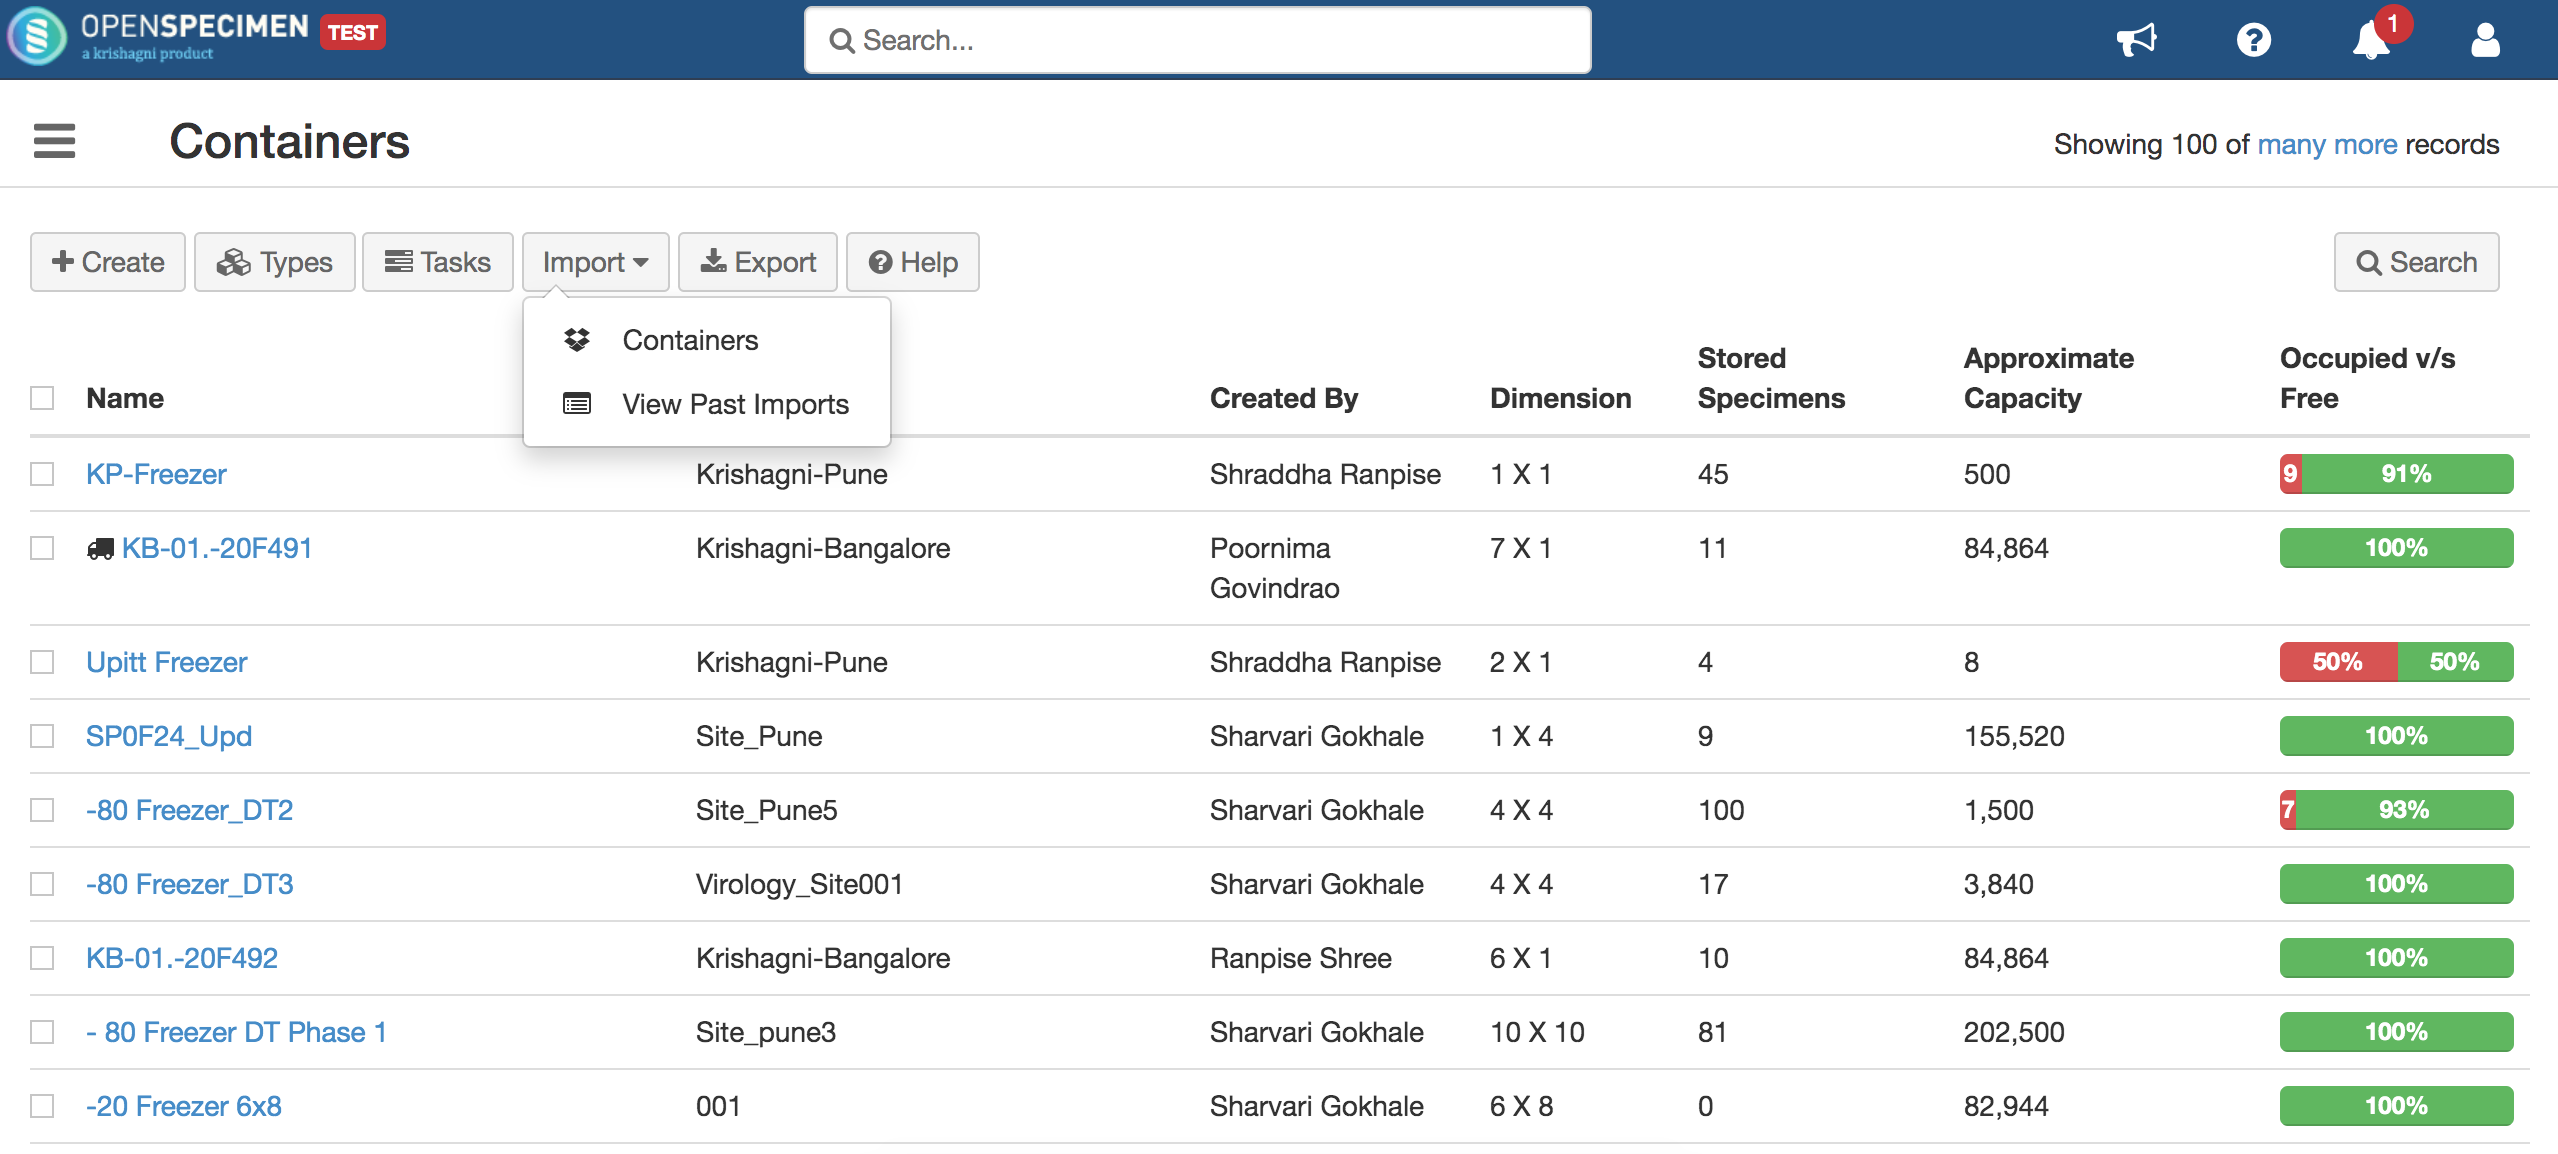
- Select 'Specimens' under import and download template.

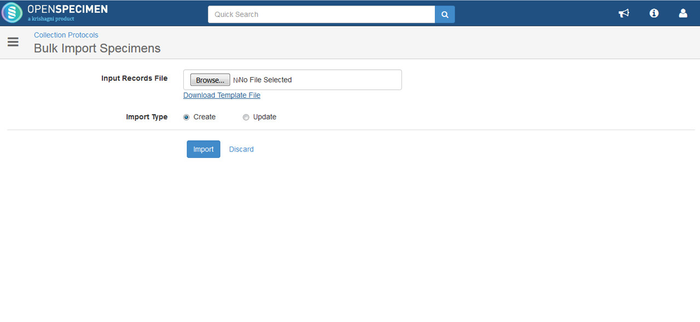
- Fill in the details- mention specimen label and location (rest columns can be removed) refer- Update specimens, upload the file and import as an update
 . Upload the file with import type 'Update'.
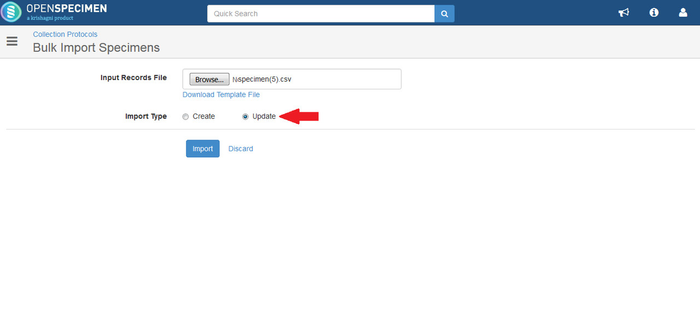
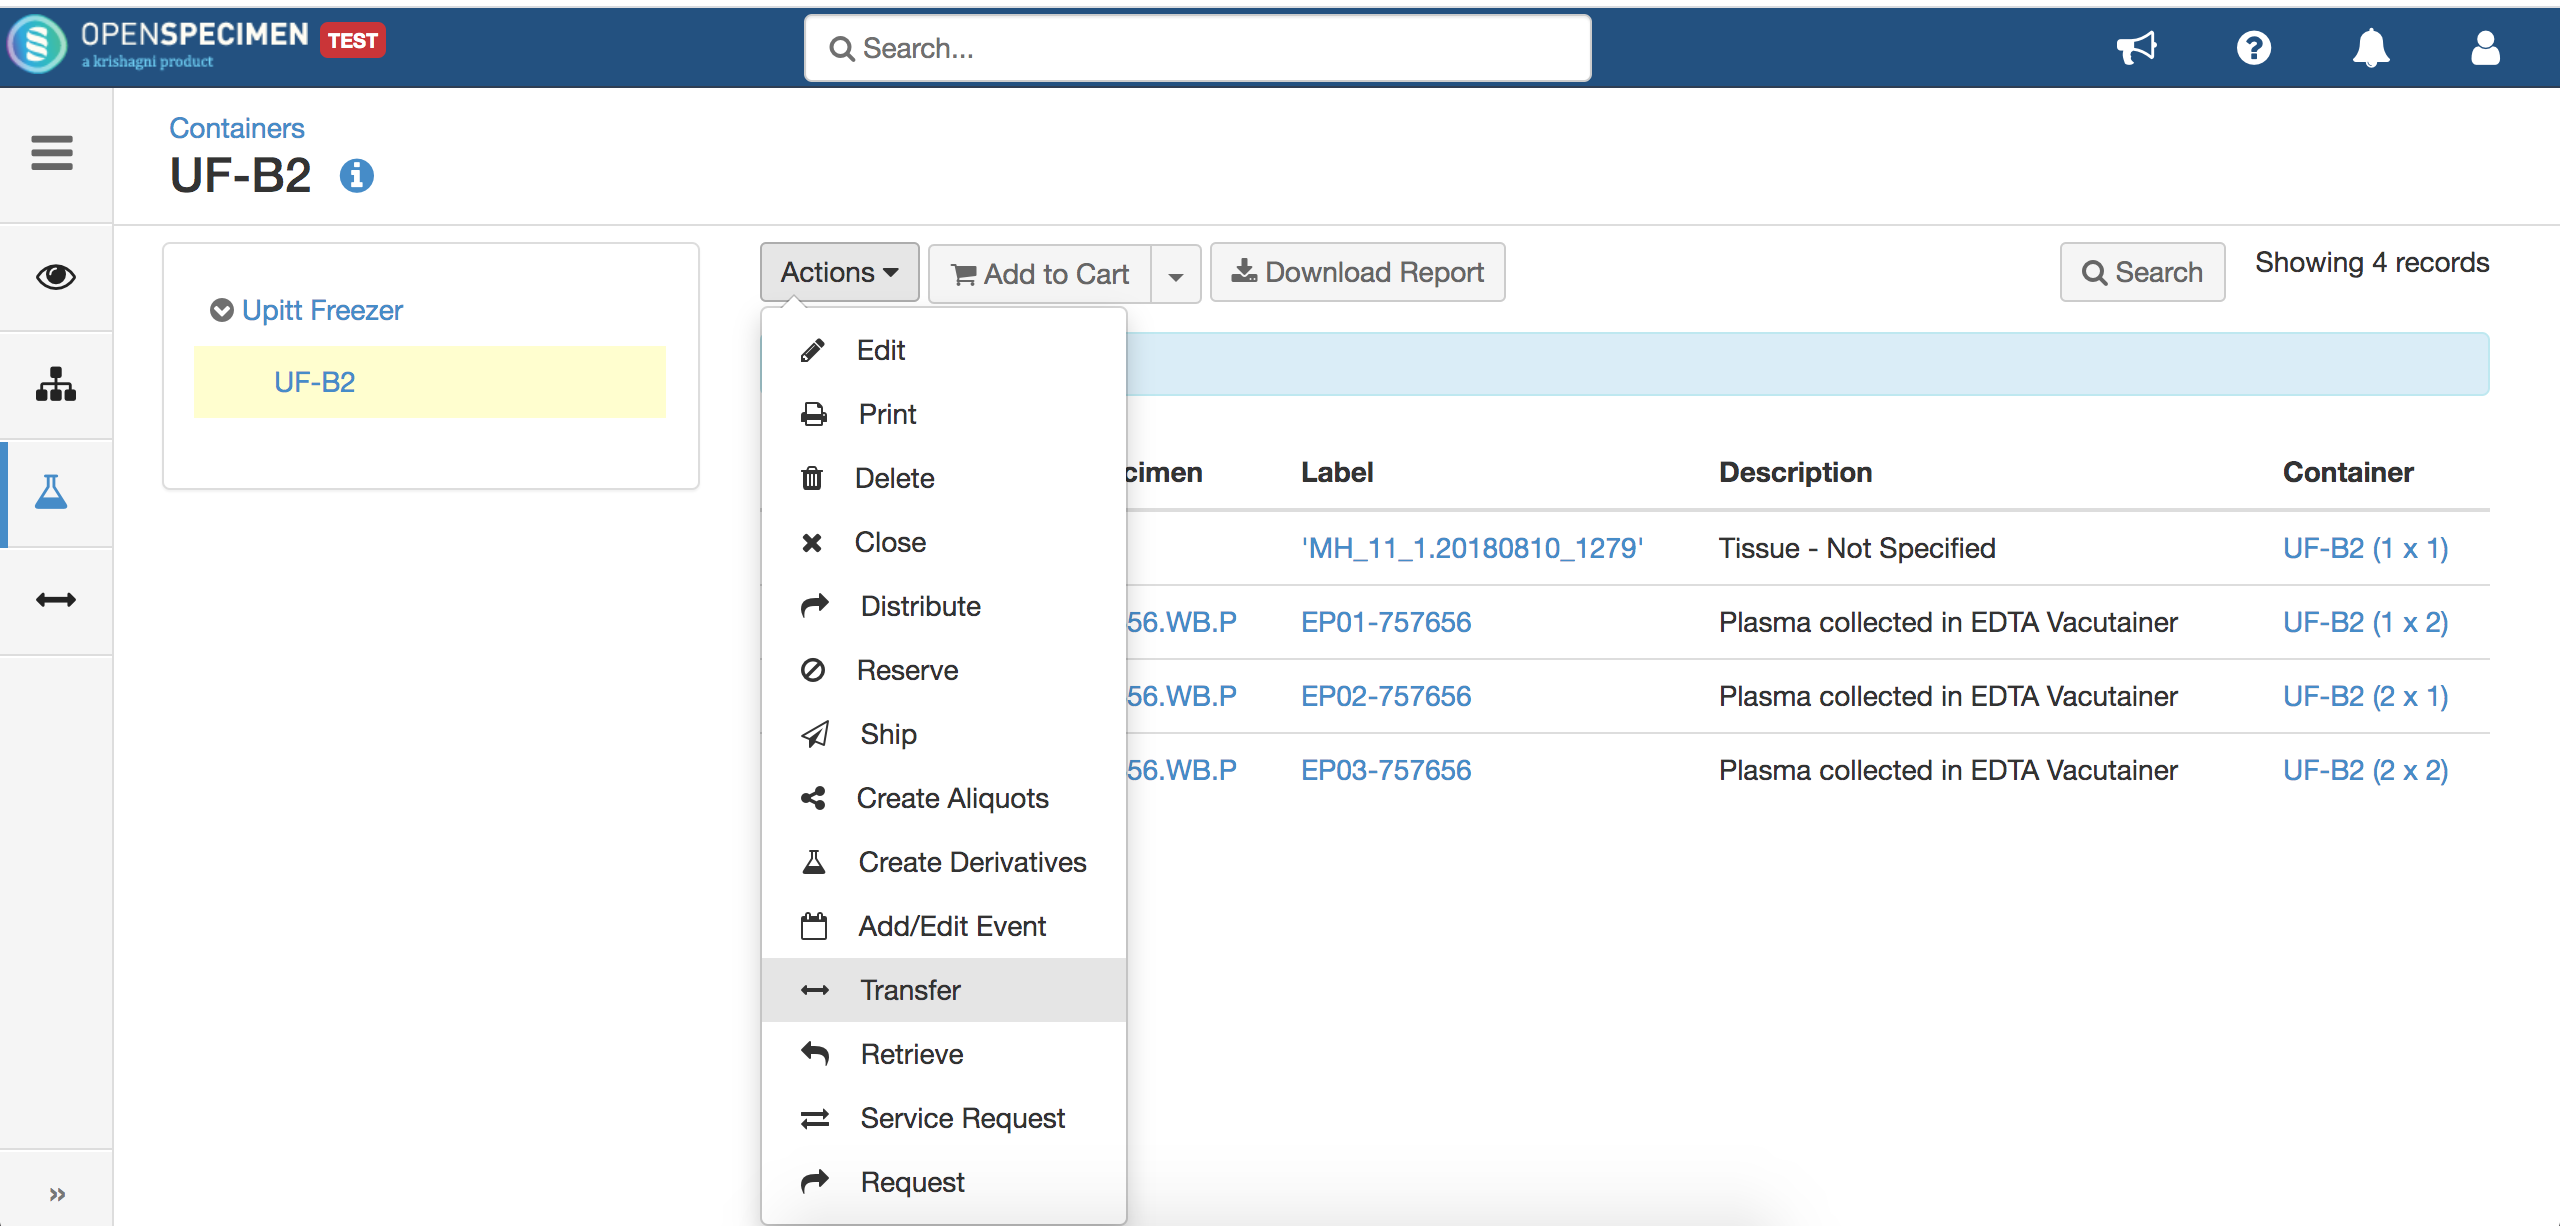
Update specimen's location through container UI
- Go to the specimen tab under a specific container and select the specimen you wish to move to another container.
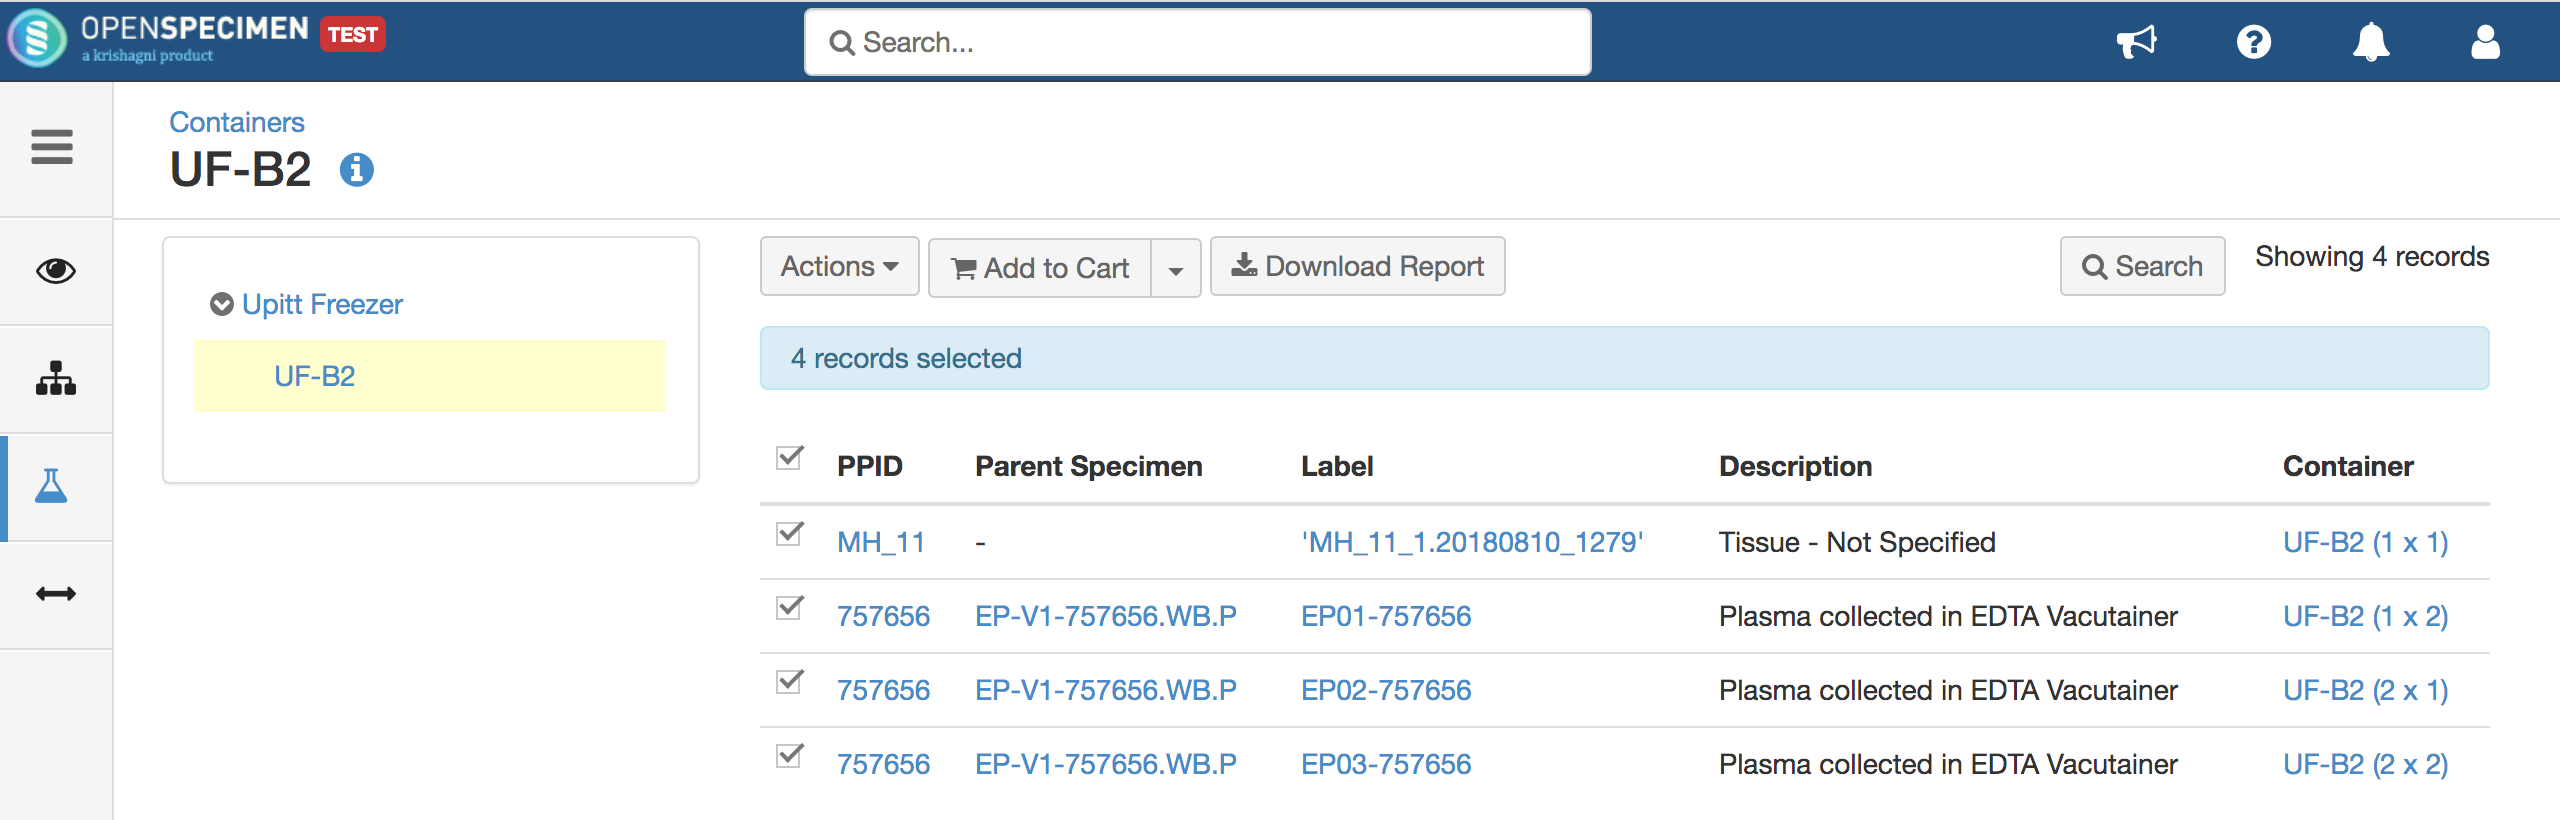
2. After selecting specimens click on the 'Actions' button and select the 'Transfer' option.
3. Provide the details of the new location/container on the below screen and click on the submit.
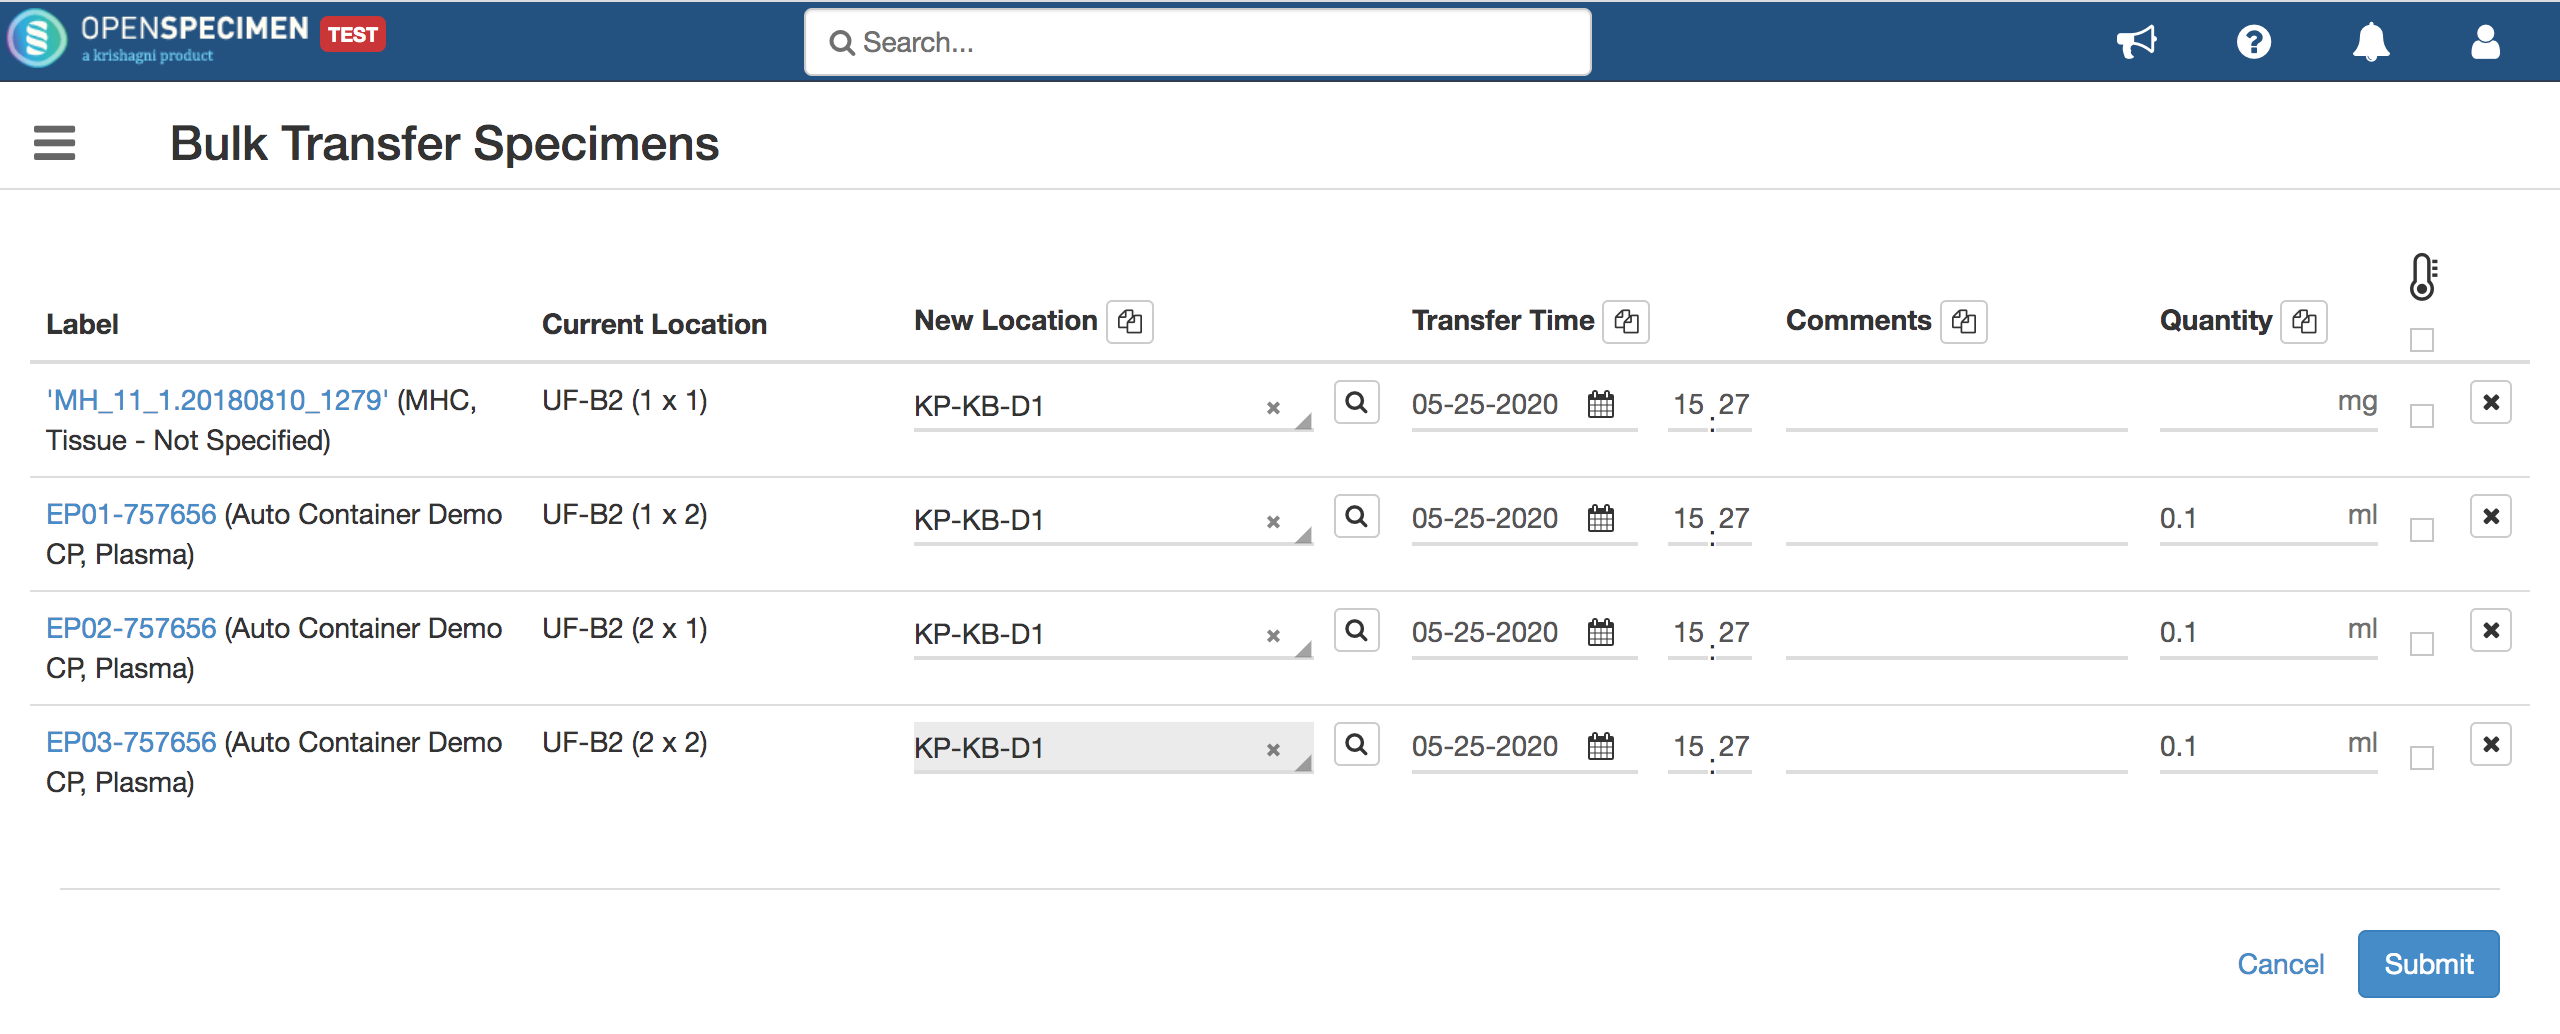
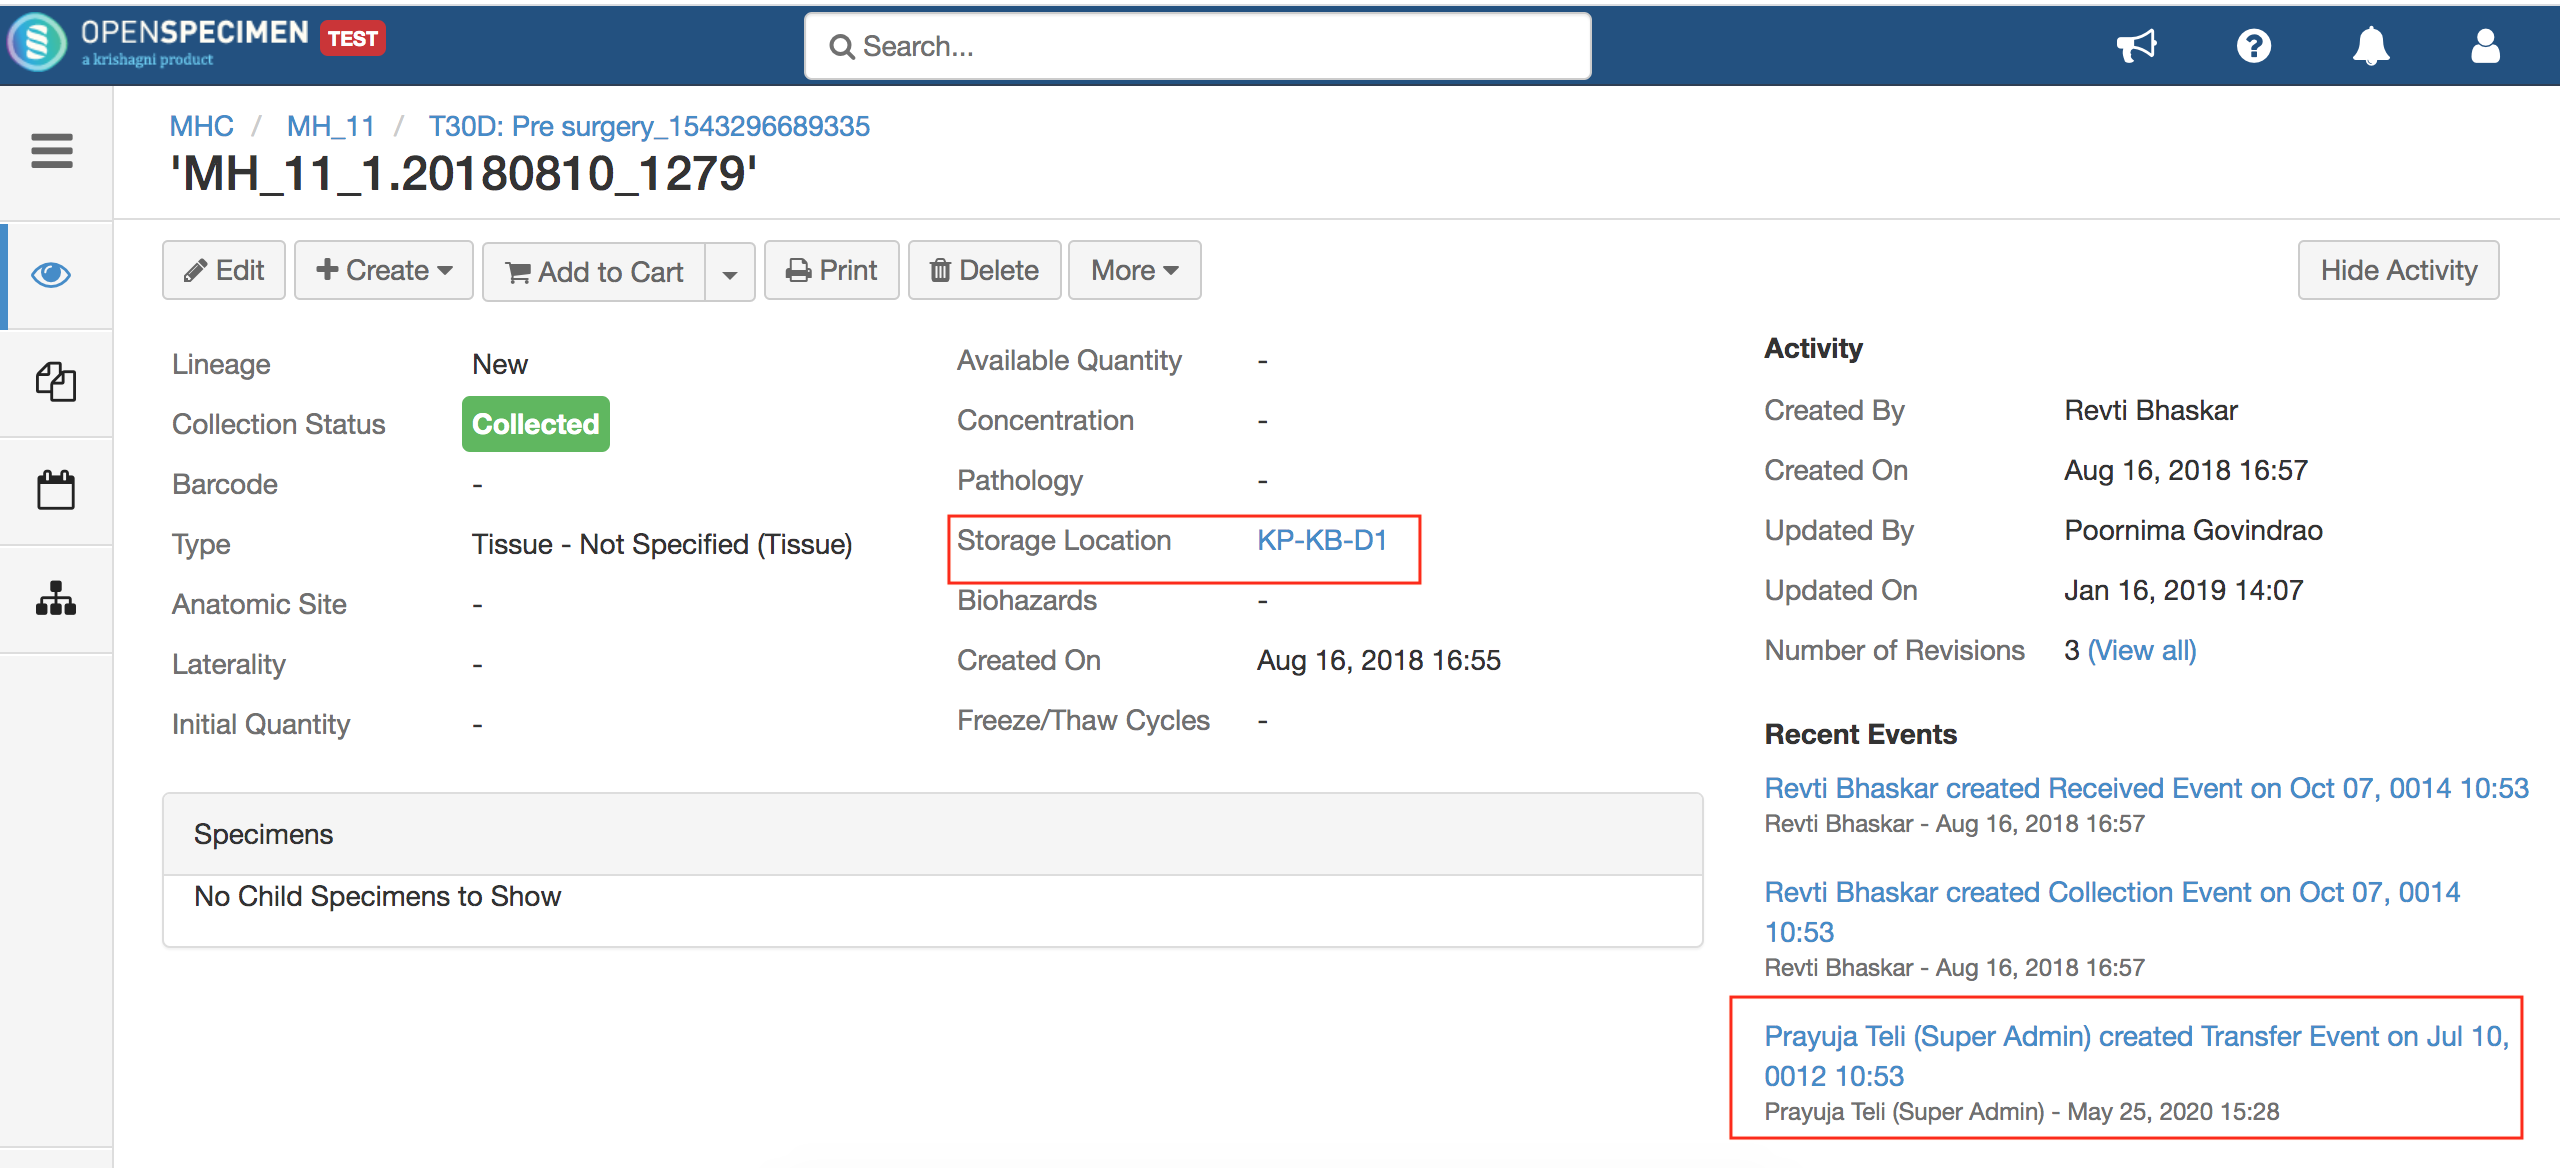
4. Go to the specimen and verify that the location is updated and the transfer event is created for the specimen.