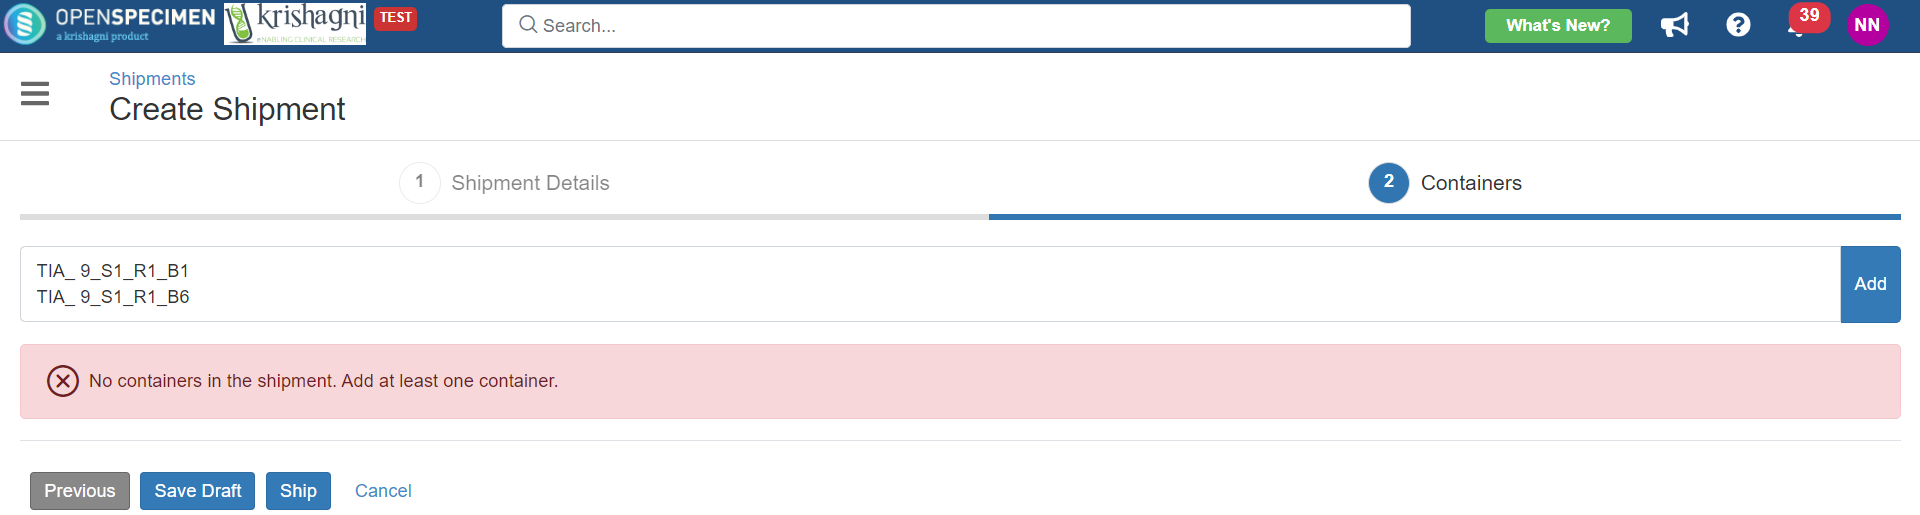
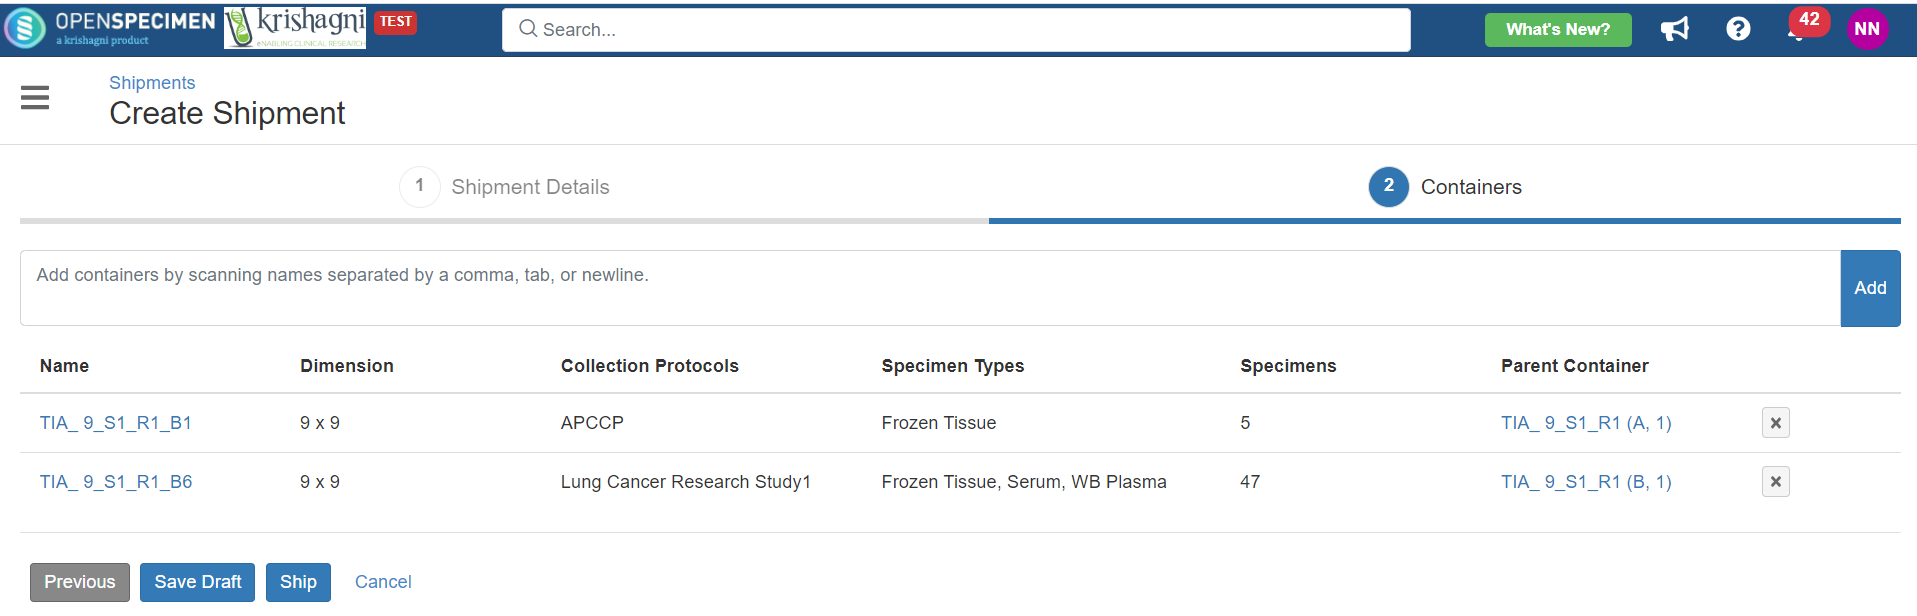
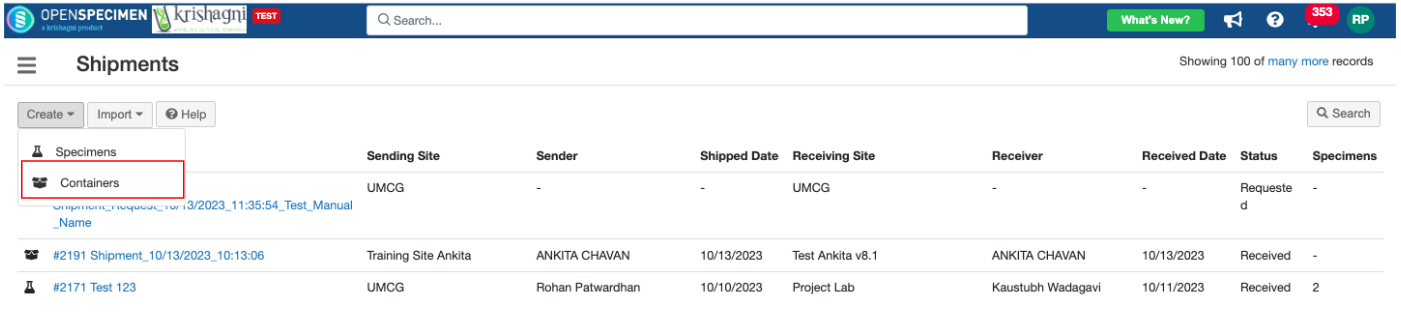
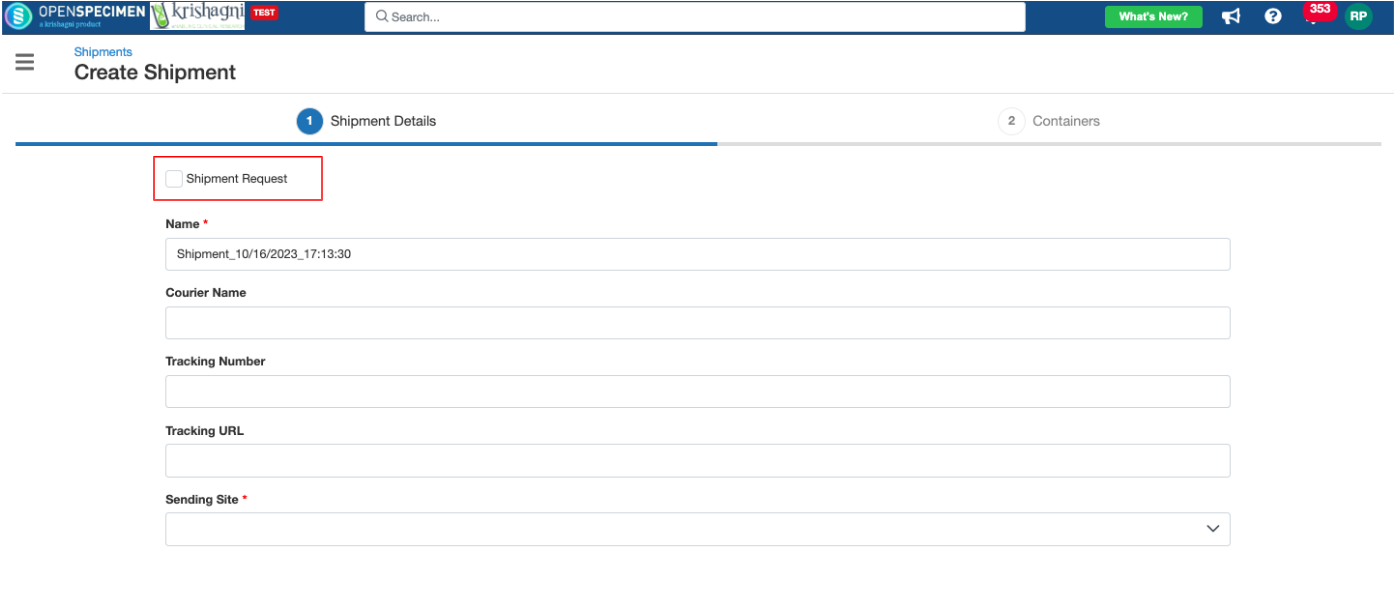
To receive the container shipment, log in as a user from the receiving site and select the ‘Shipments’ card from the home page. Select the newly created container shipments from the list.
 Image Removed Image Removed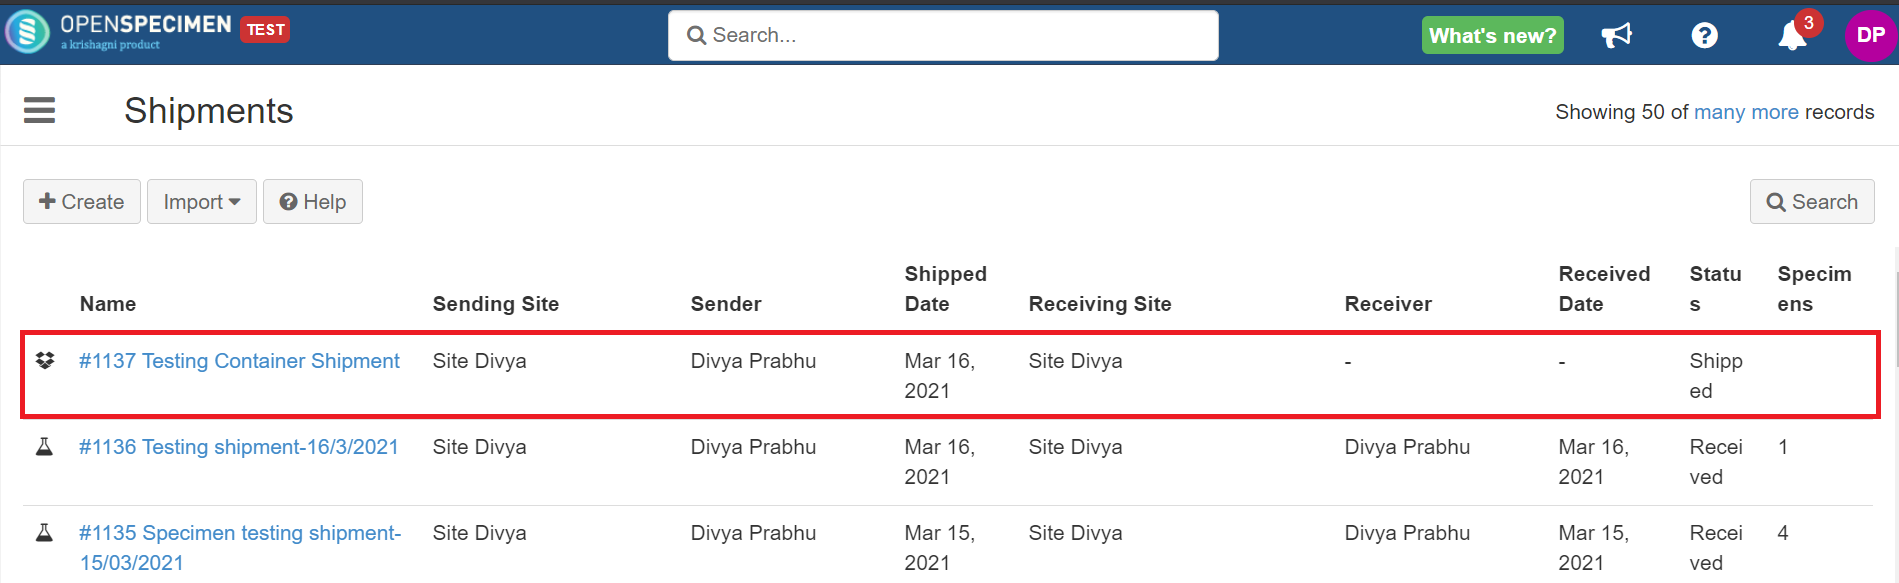 Image Added Image Added Image Removed Image Removed Image Added Image Added Image Removed Image Removed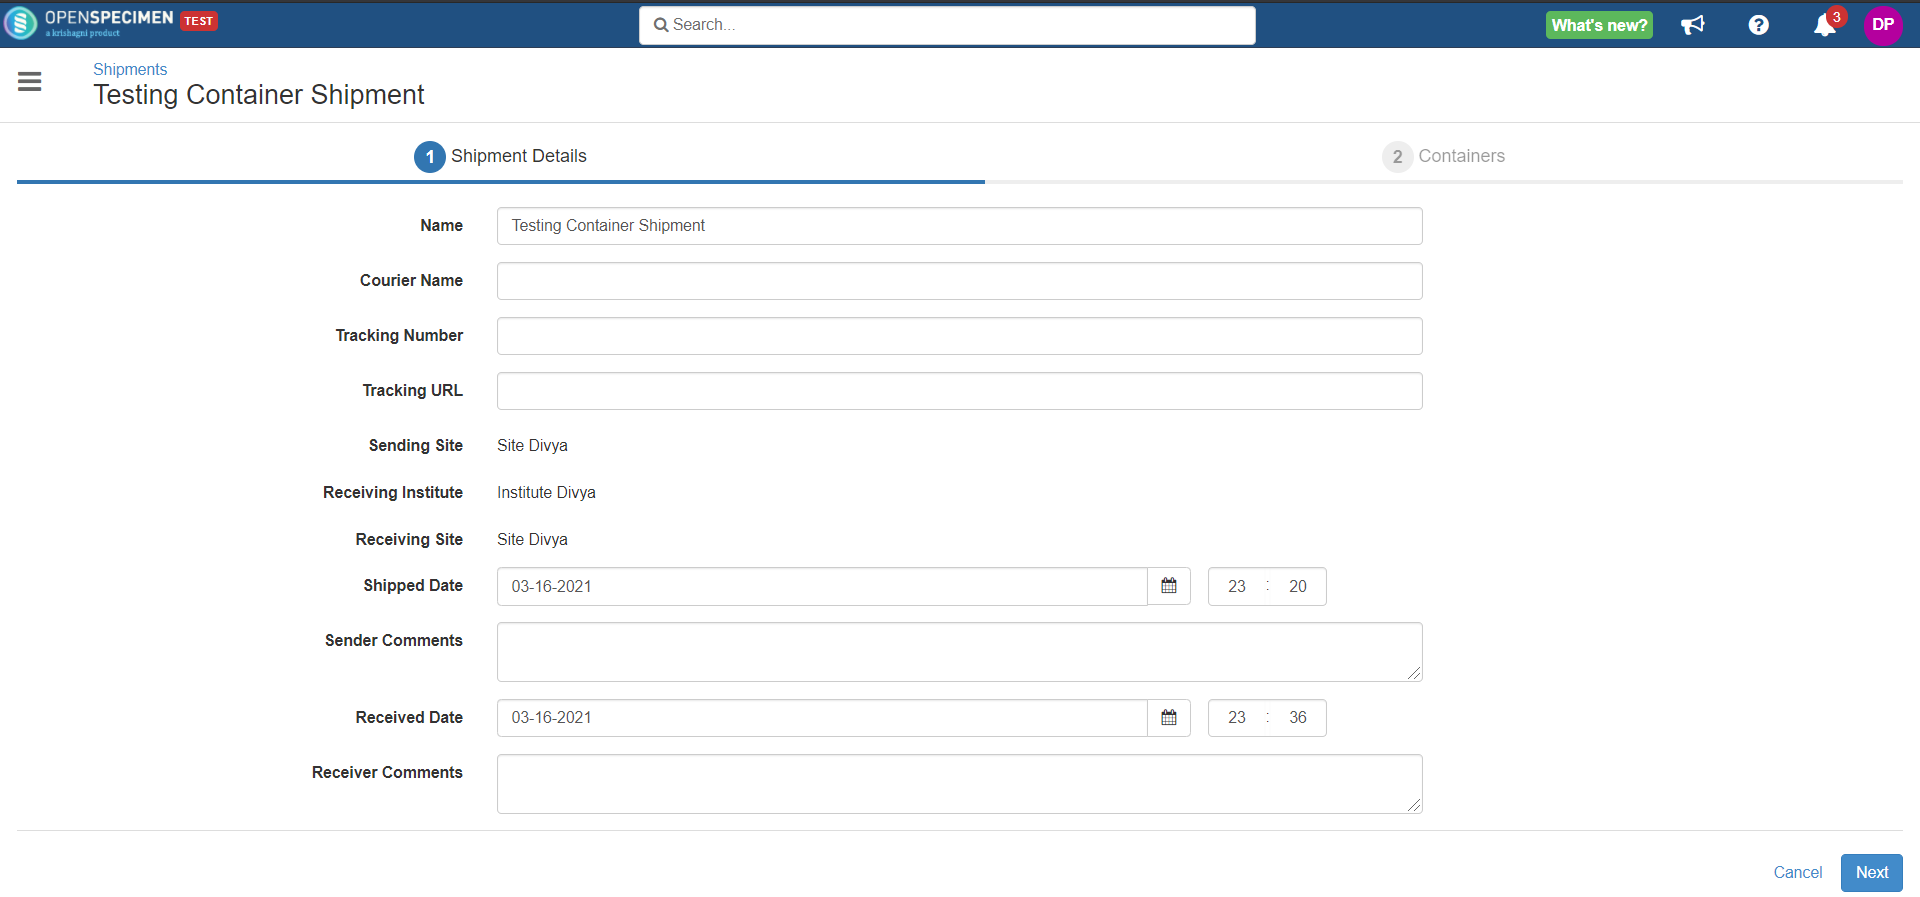 Image Added Image Added Image Removed Image Removed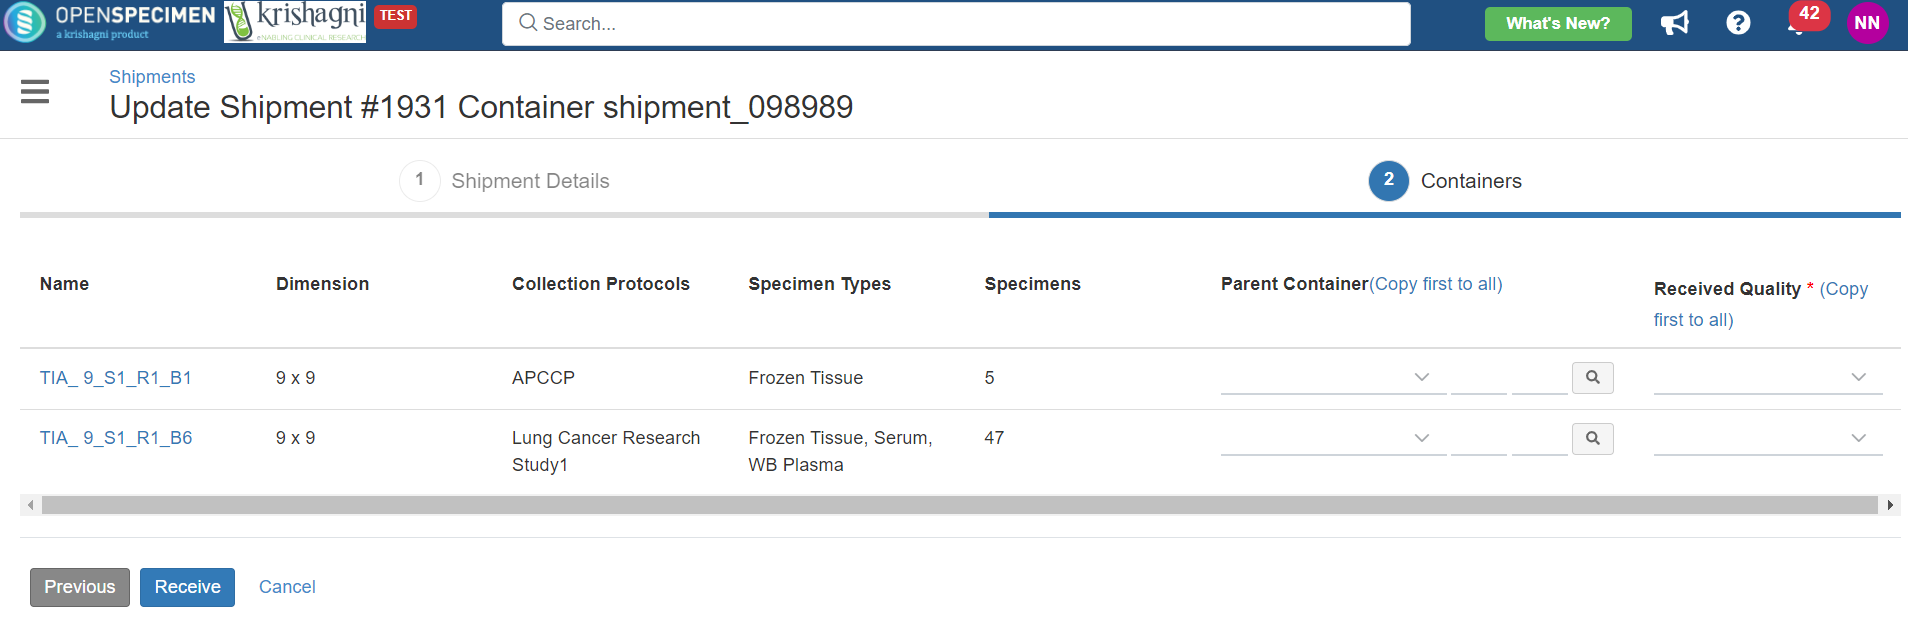 Image Added Image Added Image Removed Image Removed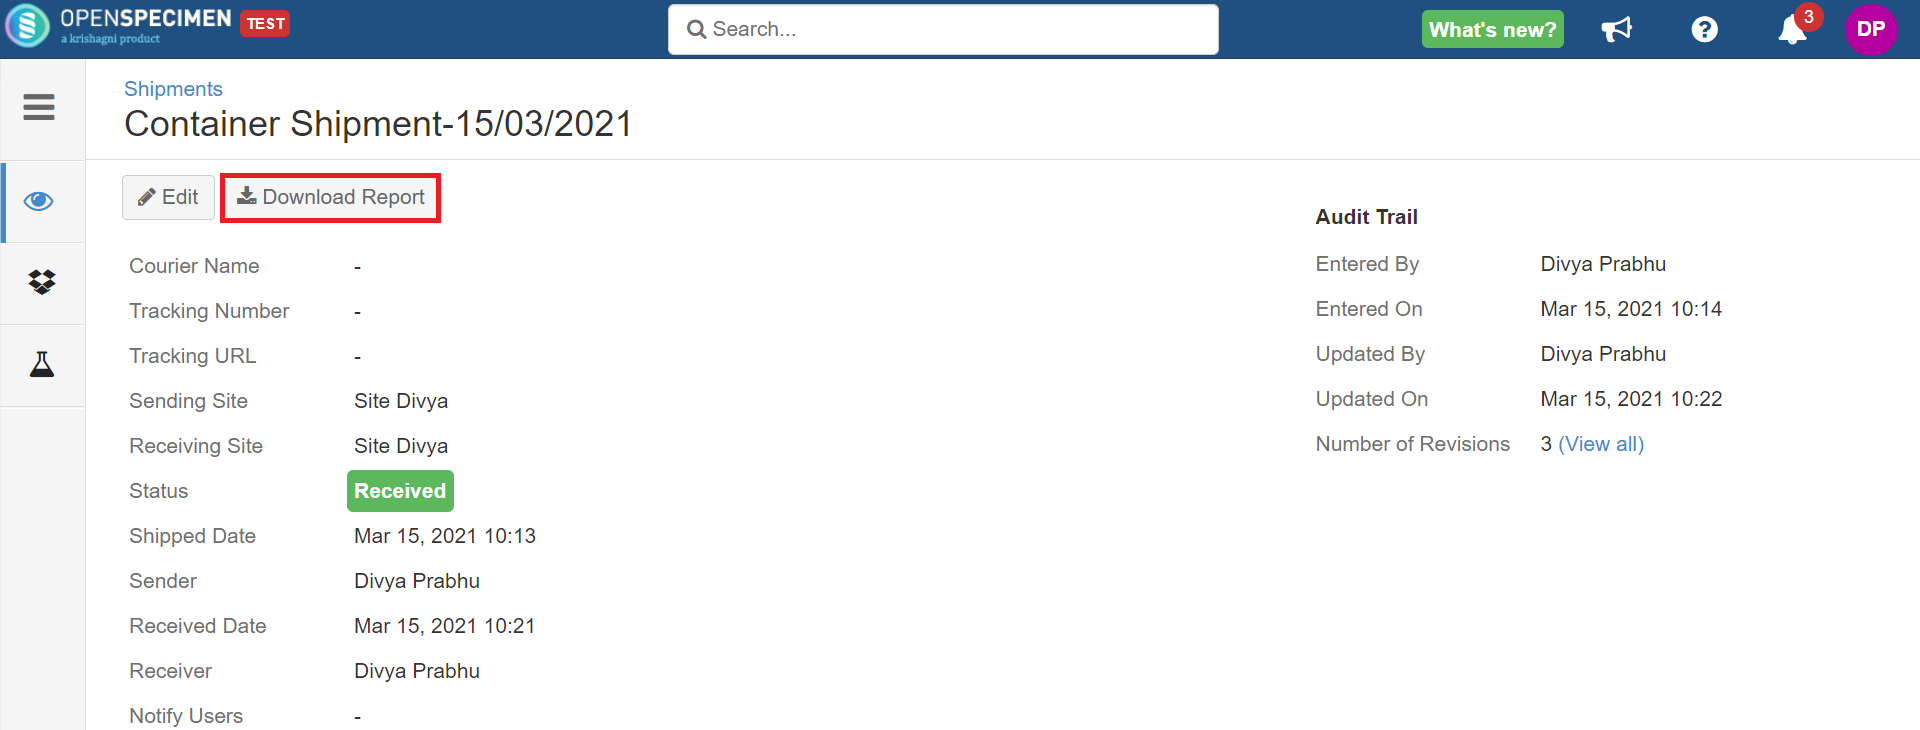 Image Added Image Added| Info |
|---|
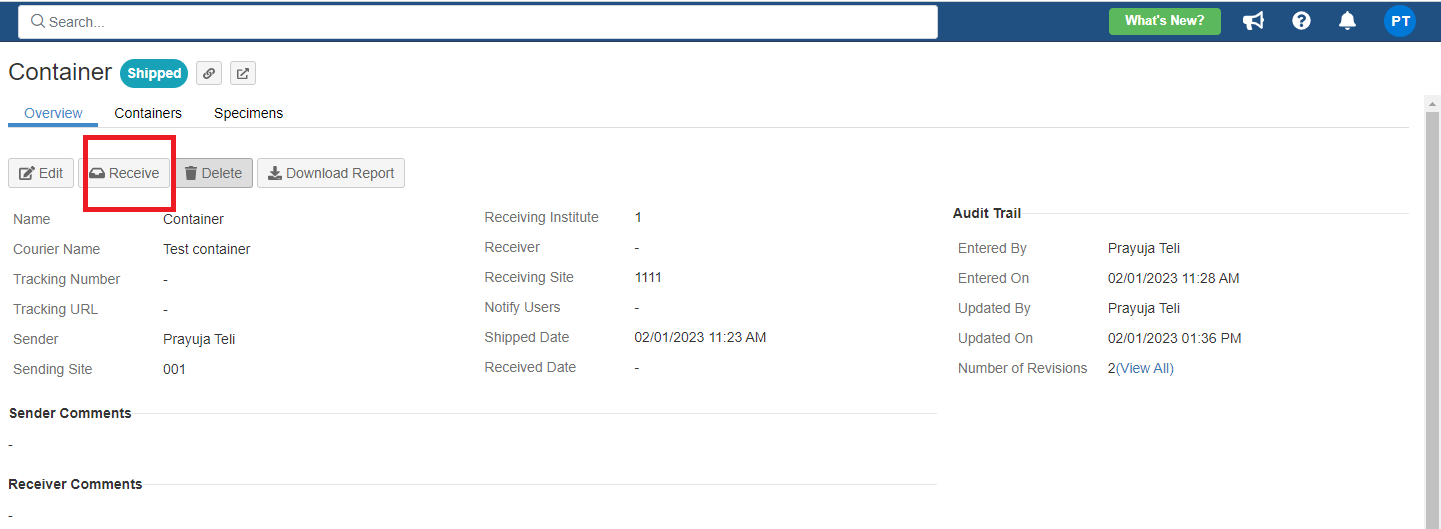
The sender of the shipment will be notified when the container is received at the receiving site. Once the shipment is ”Received”, you cannot edit the “Notify Users“ field. You can see the “Notify Users“ field on the overview page for the Received shipments but cannot see it on the edit screen.
|
The system adds ‘Shipment Shipped Event’ and ‘Shipment Received Event’ respectively for the specimens stored in the shipped or received containers.  Image Removed Image Removed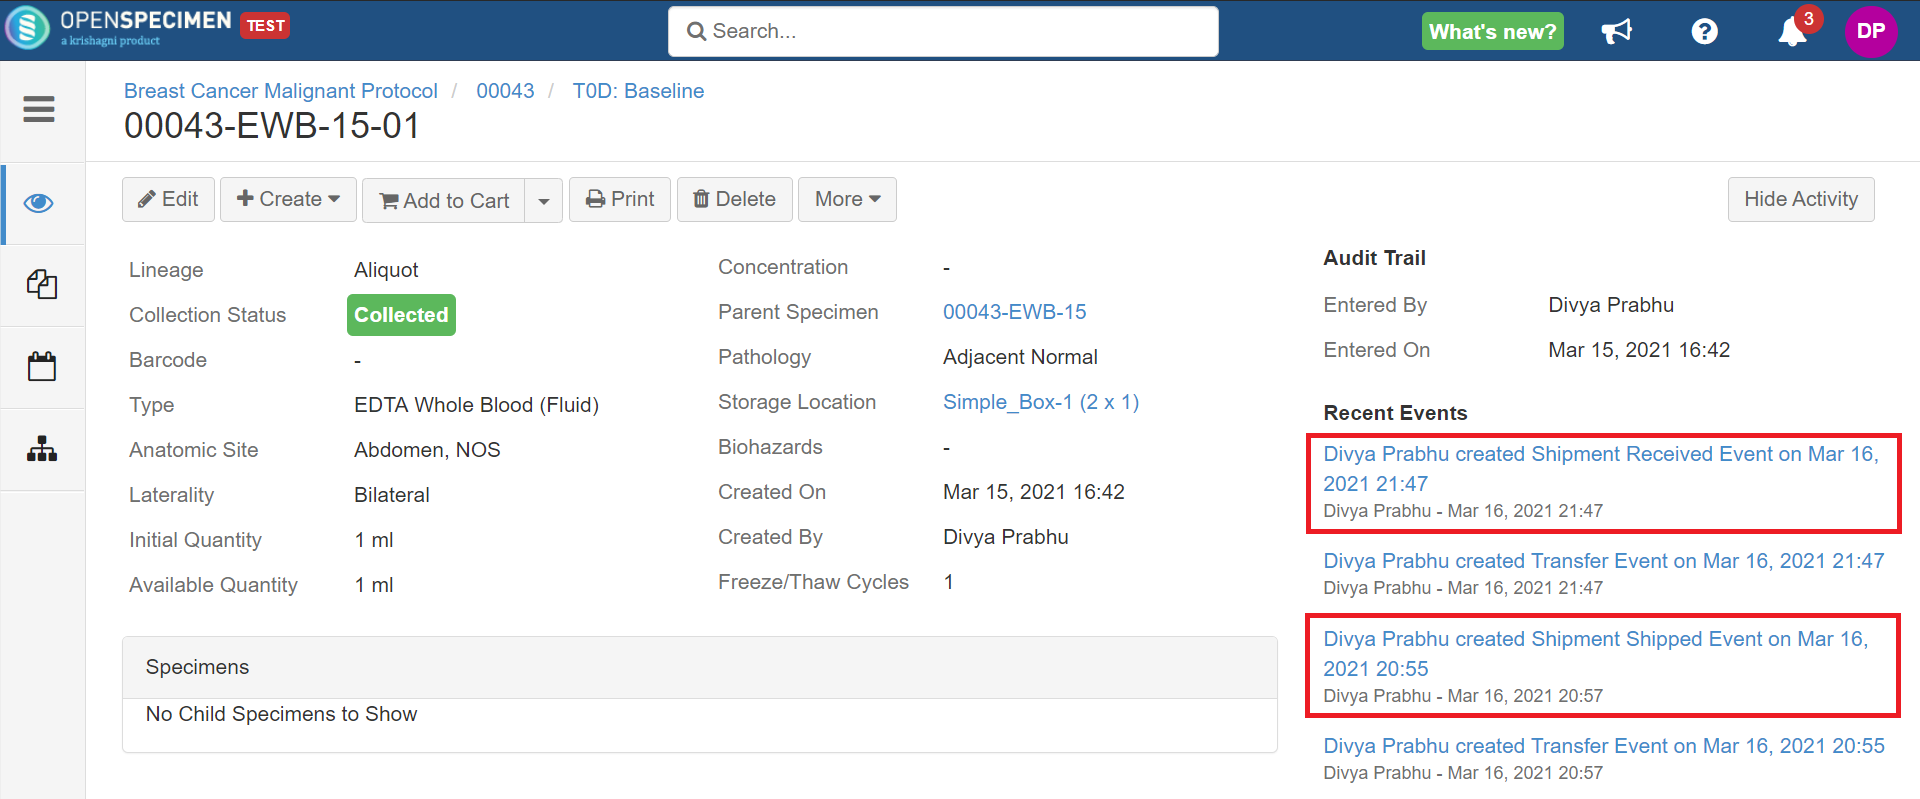 Image Added Image Added |