...
| Expand | |||||||
|---|---|---|---|---|---|---|---|
| |||||||
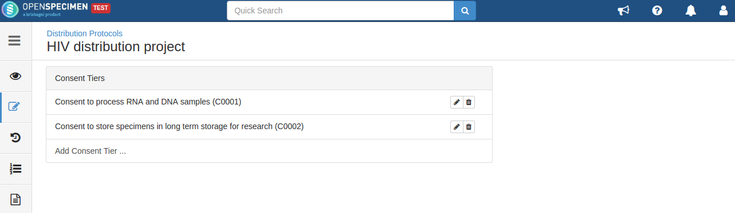
For example, consider below consents set at DP level:
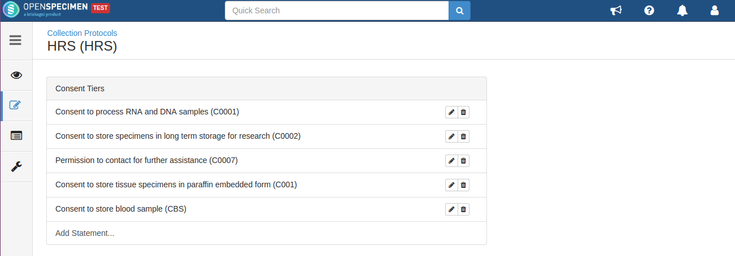
Consents set at CP level:
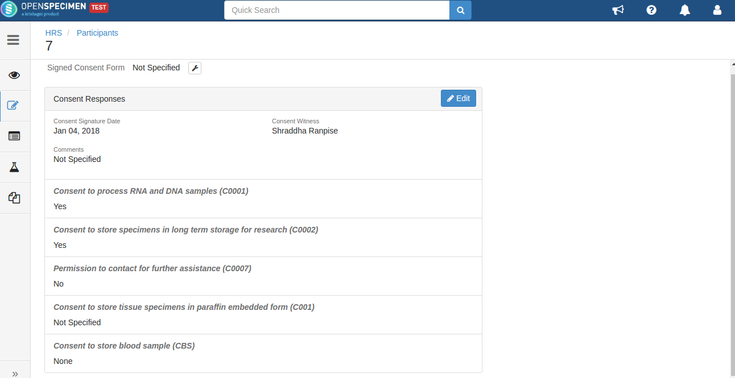
Consent responses for the DP level statements should be ‘Yes’ for the participants whose specimens are being distributed. See below, the statements which are set at DP level have responses as ‘Yes’
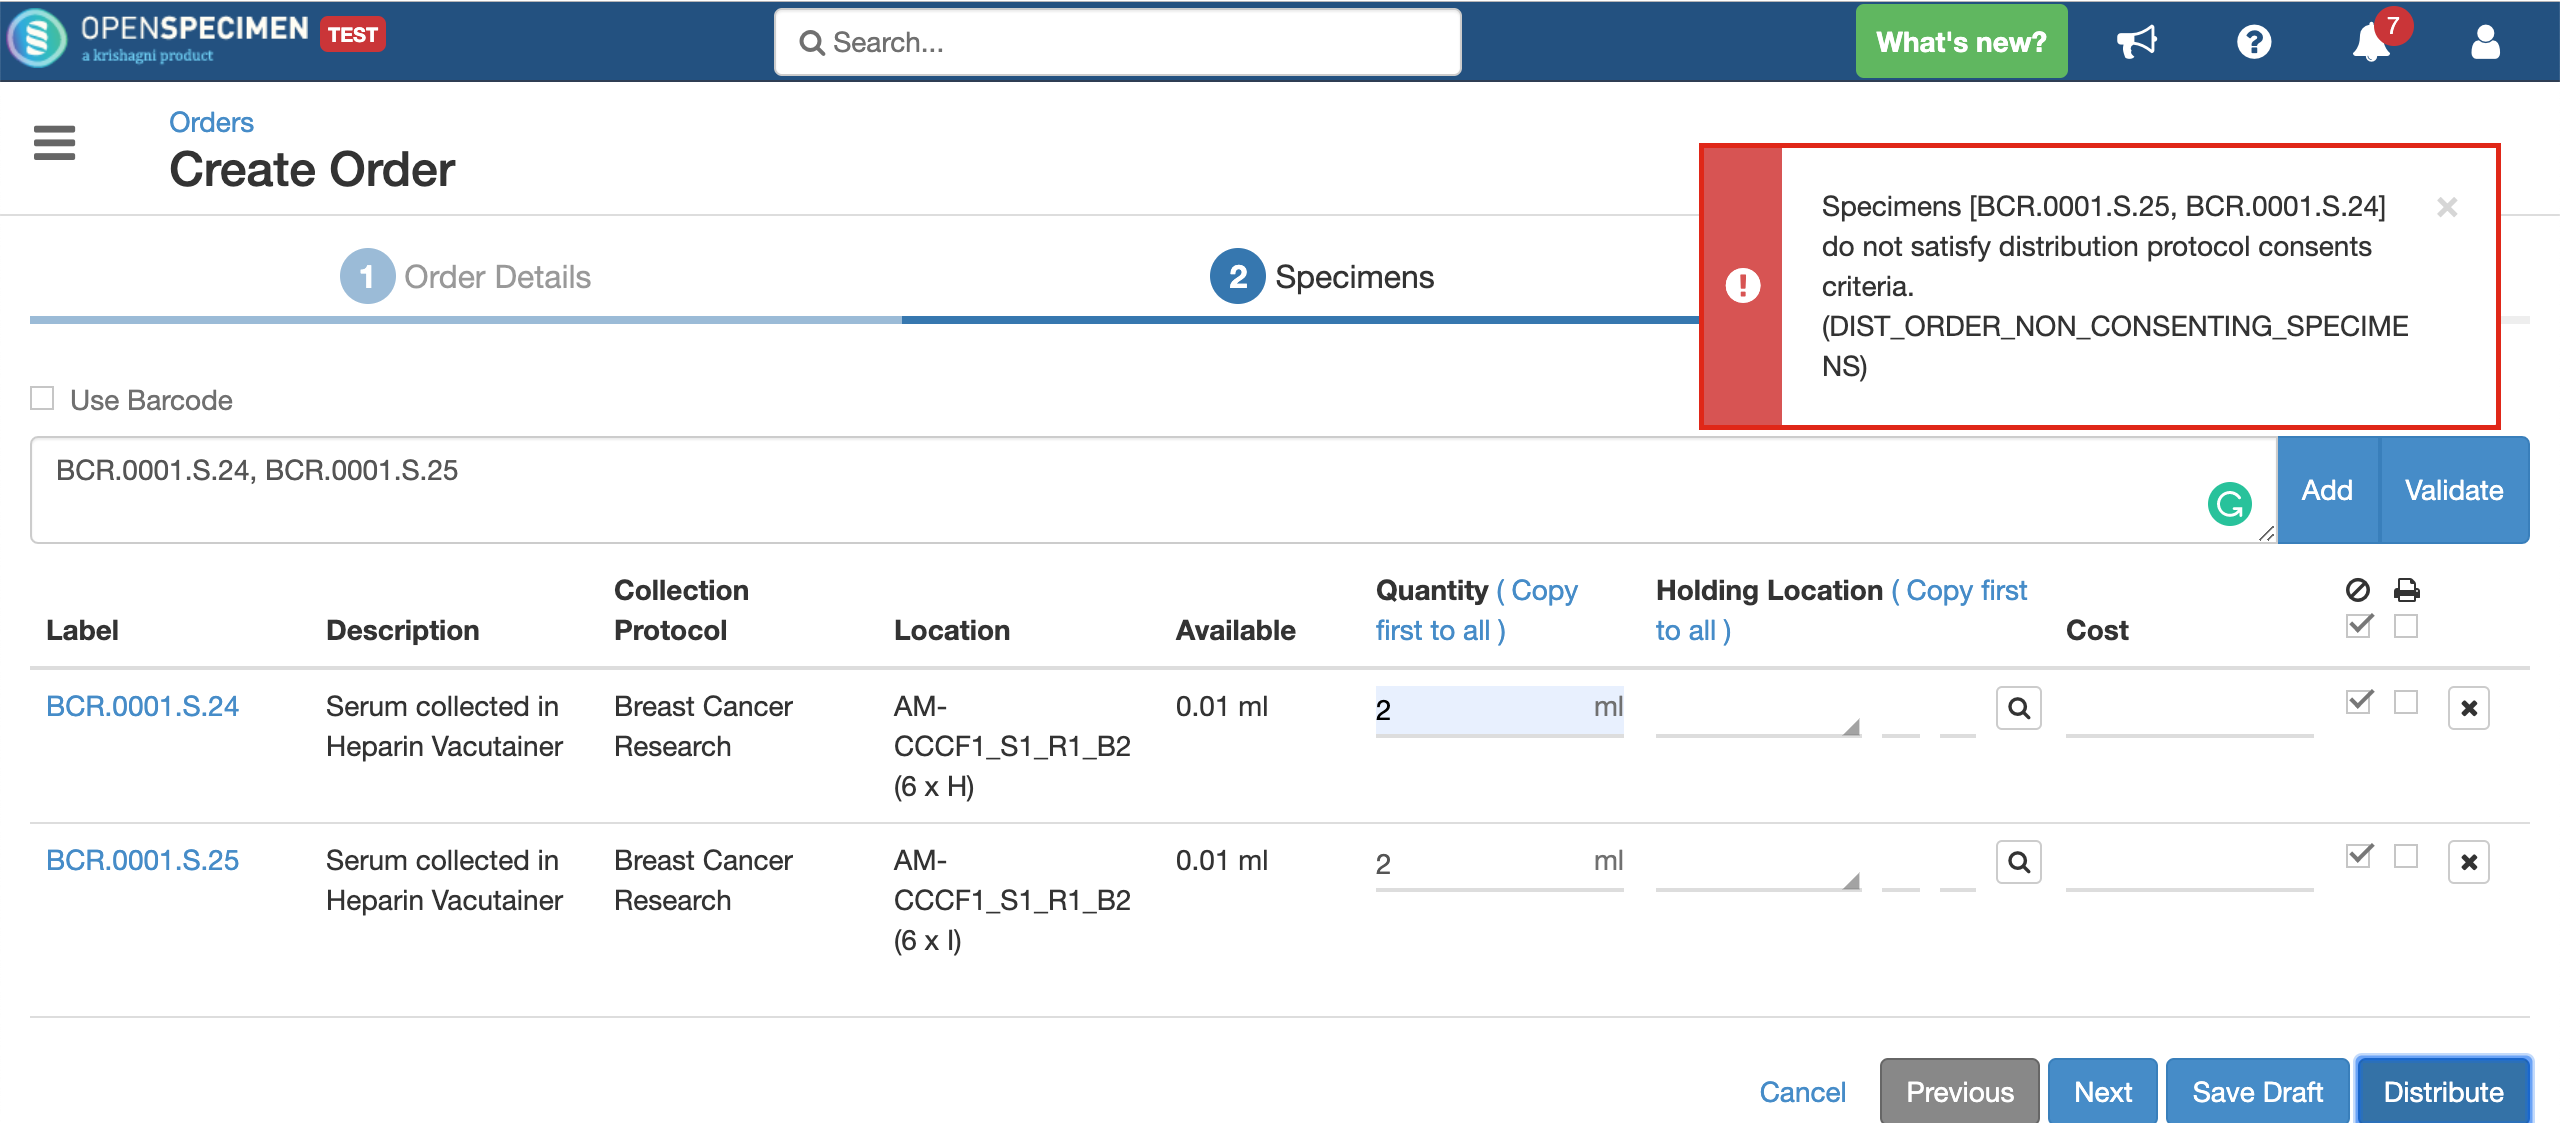
If all the above requirements are met, the system allows distributing specimens. If the consent statements from the DP and CP are not matching, or the responses are not ‘Yes,’ the below error is displayed:
|
...
Validate specimens
| Expand |
|---|
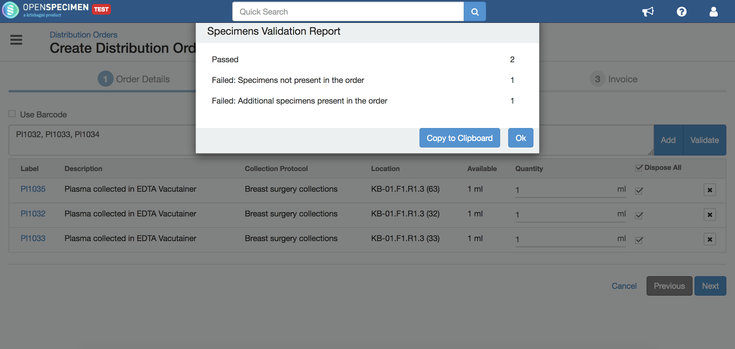
You can validate the specimens before adding them to the order by clicking on the "Validate" button. This will check for errors like specimen does not exist, privileges, etc., and provide a popup with statistics. In case of errors, you can click on "Copy to Clipboard" button and paste the error report to a file (like notepad or text).
|
...
A temporary location where the specimen will be transferred to and stored until the researcher picks it up (retrieves) for his use.
...
Close Specimens
| Expand |
|---|
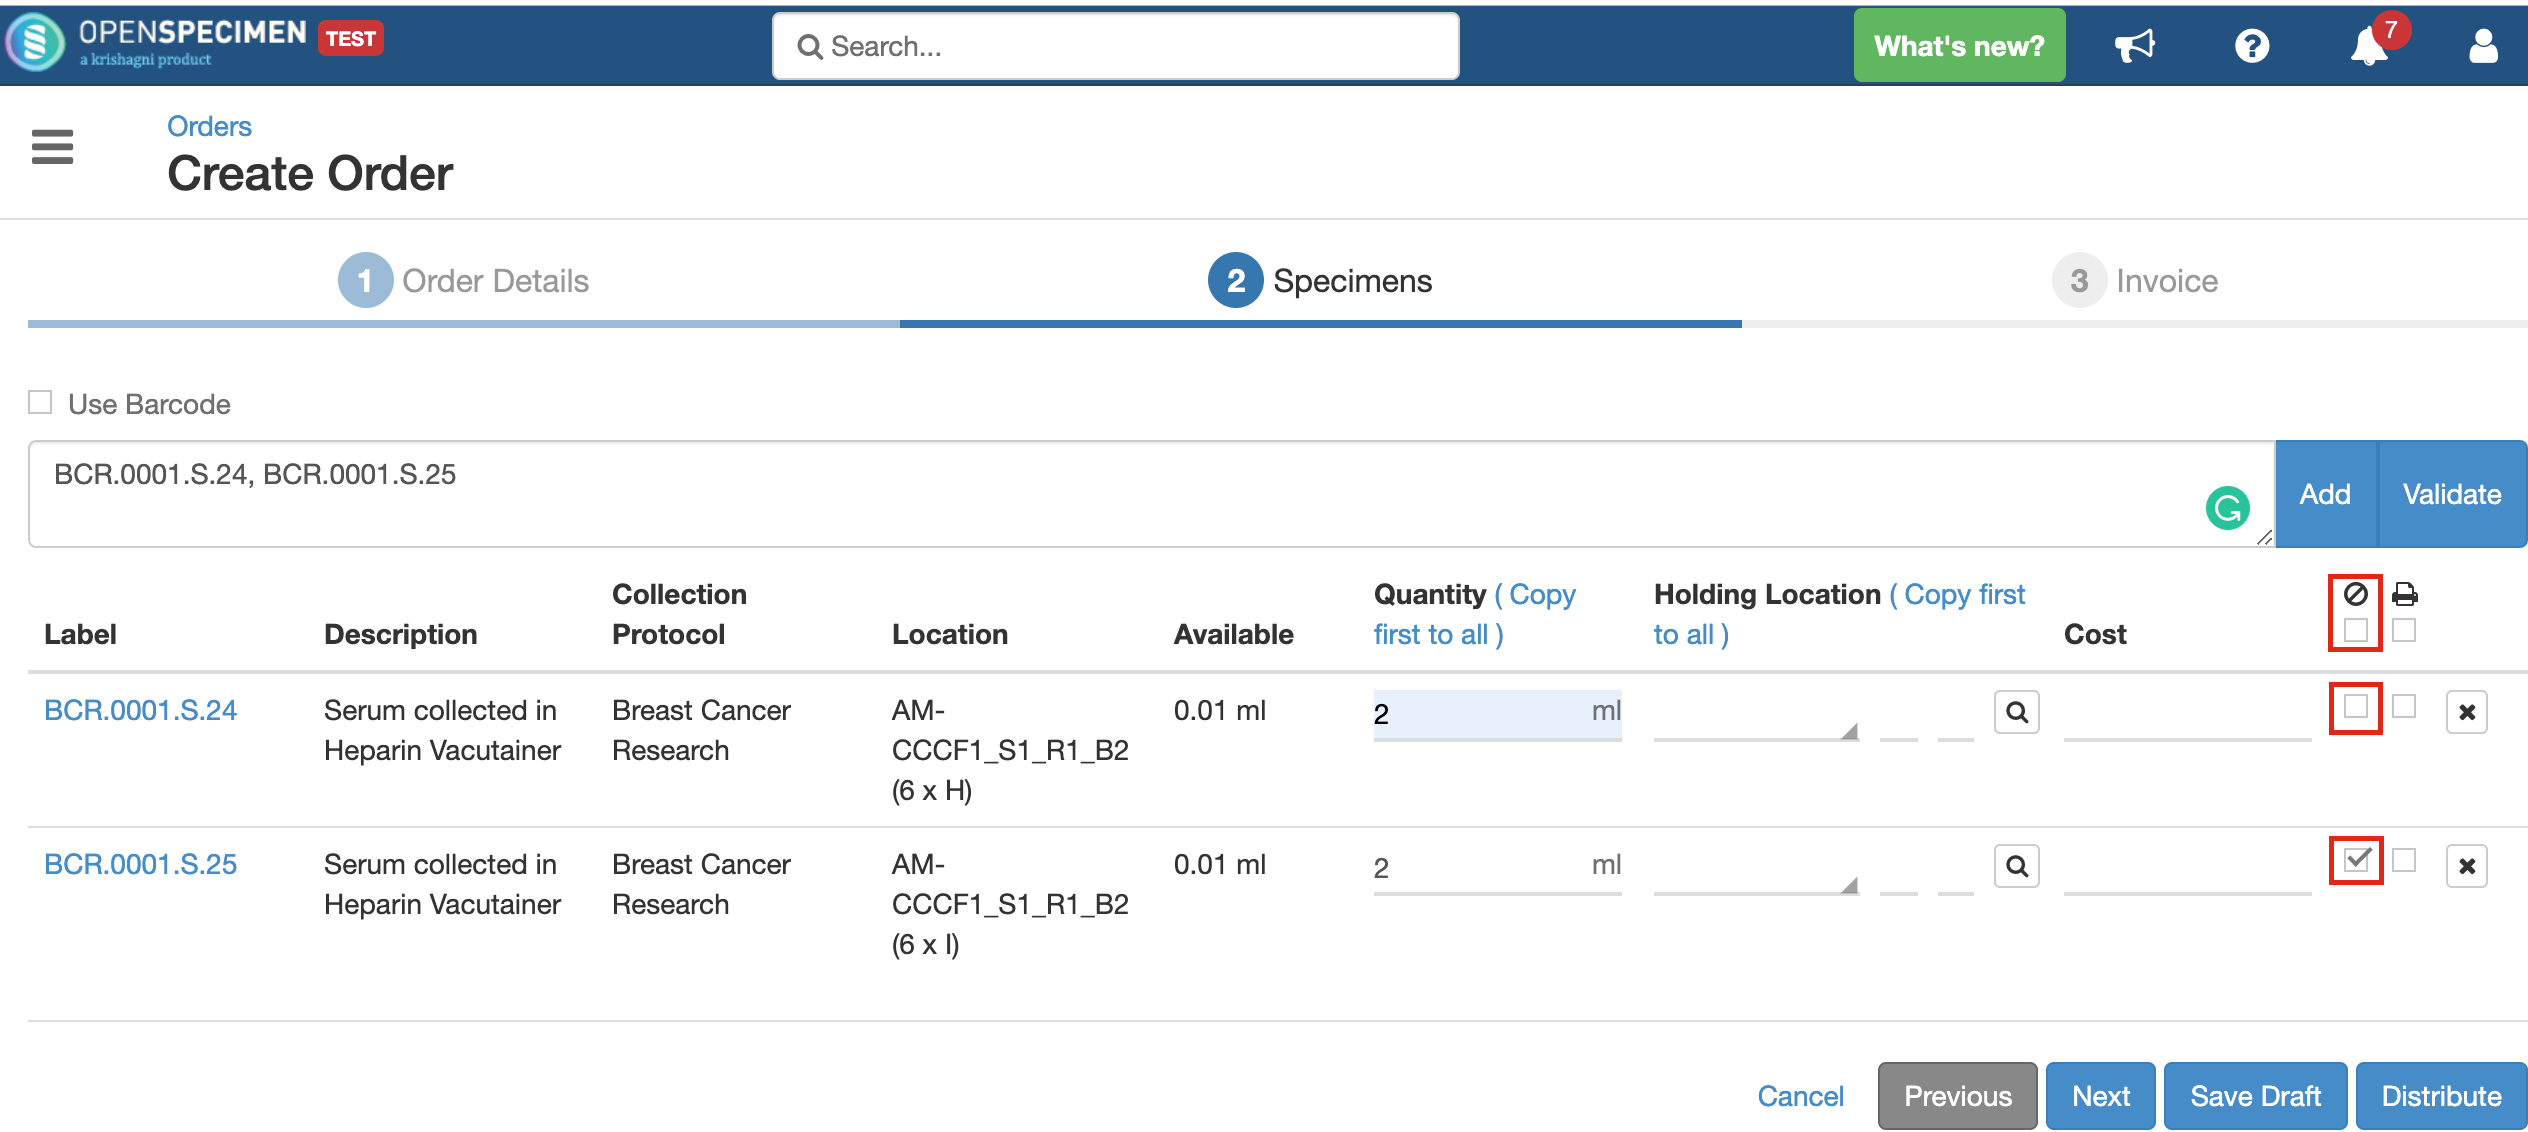
You can choose whether the specimen being distributed should be closed or kept open after distribution by checking/unchecking the 'Close Specimen' checkbox. This allows you to edit the specimen, add more details. As per the below screenshot, the first specimen will remain open, and the second one will be closed after distribution.
However, if there is a value for 'Holding Location' present, the specimen will always get closed. It will be transferred to the holding location completely and cannot be stored at two locations simultaneously. In case the specimen is to be distributed partly and held in a temporary location, it should be aliquoted into two parts and distributed accordingly. |
...
Save "Orders" as Draft
| Expand |
|---|
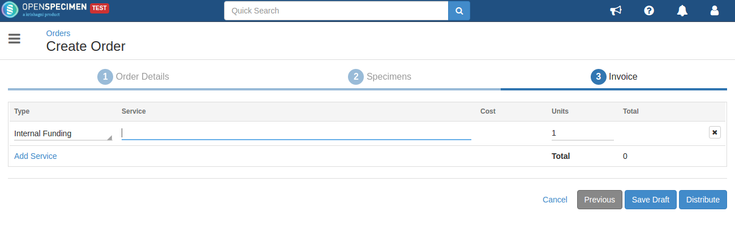
An order can be saved as a draft order if you are not yet ready with all the details. Click on the 'Save Draft' button on the 'Invoice' page of the order
|
...
| Expand |
|---|
When the specimen is held in a temporary storage location after distribution, an option to 'Retrieve' such specimens appears on the 'Specimens' tab of the 'Orders' page.
This option retrieves the specimen from the holding location, and a final transfer event is added to the specimen. Before retrieve:
After retrieve:
|

Specimen
...
Events
| Expand | ||
|---|---|---|
| ||
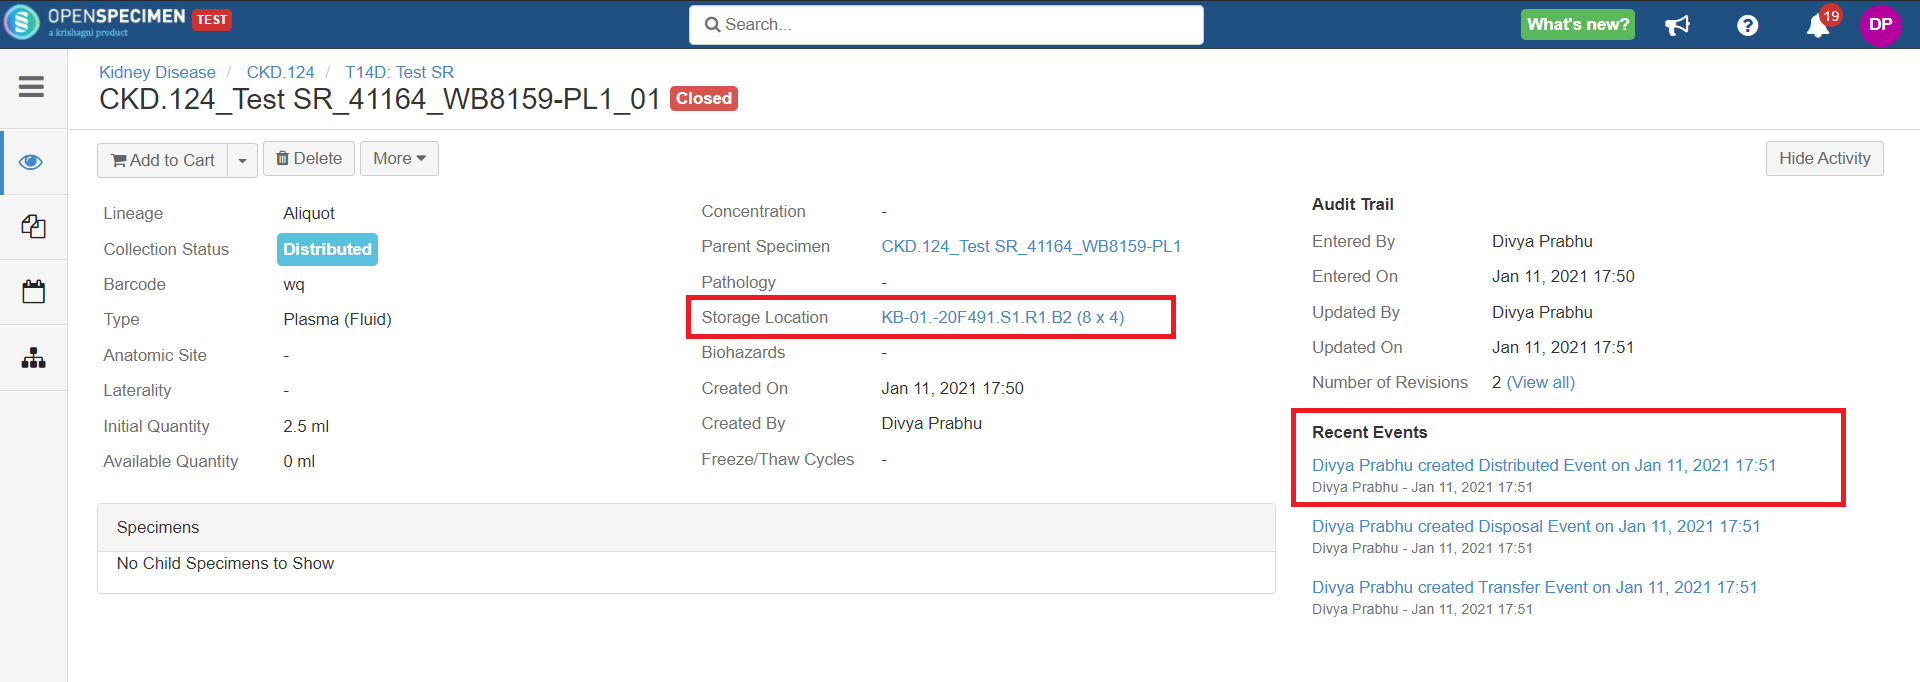
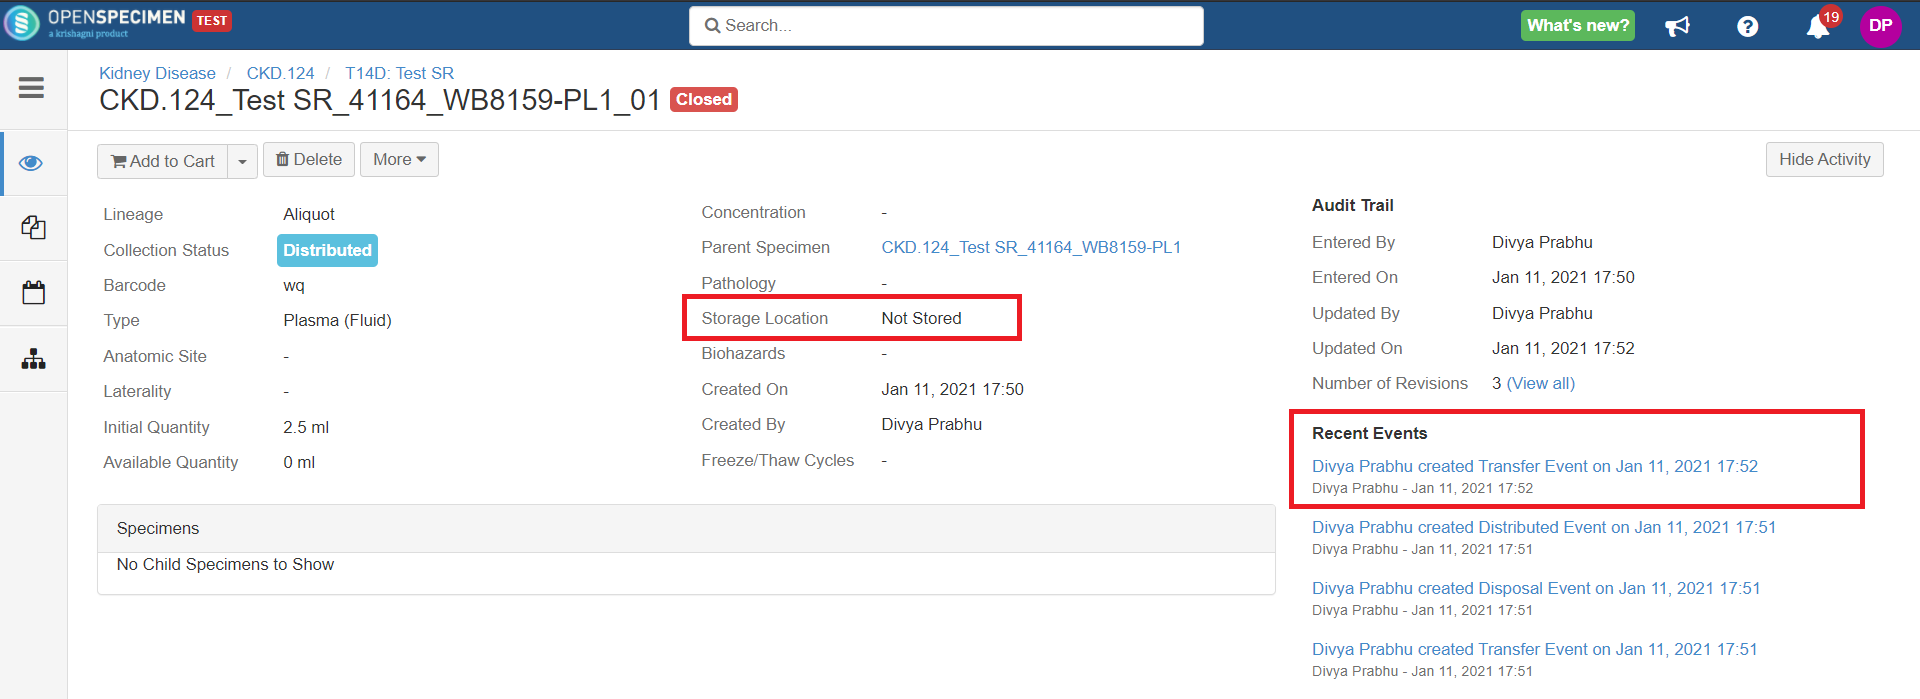
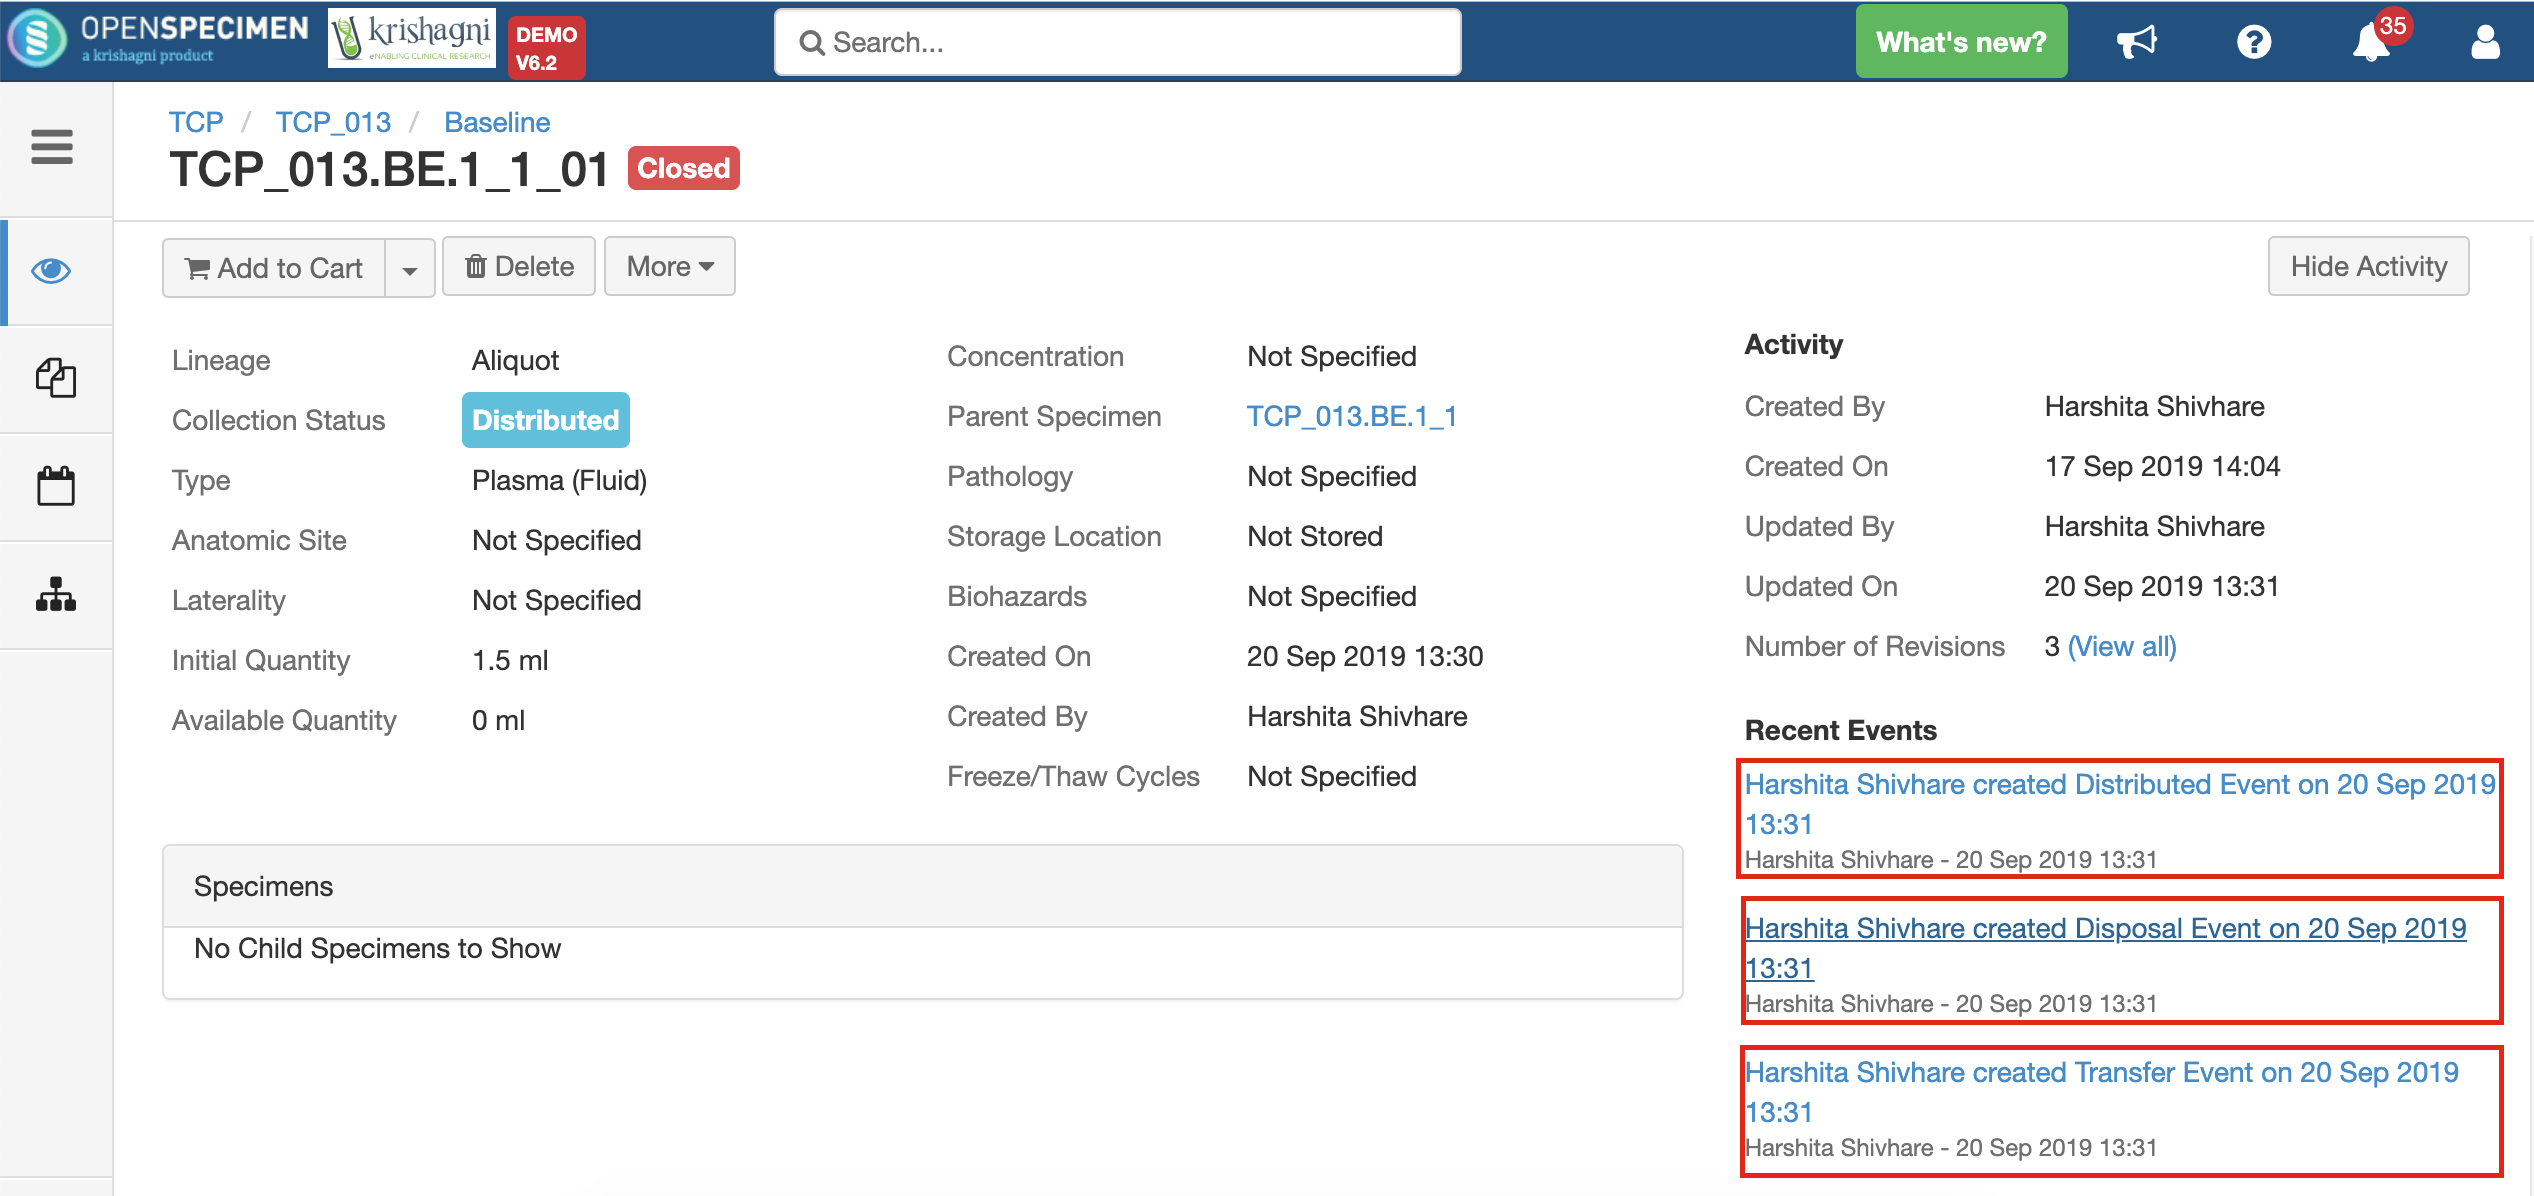
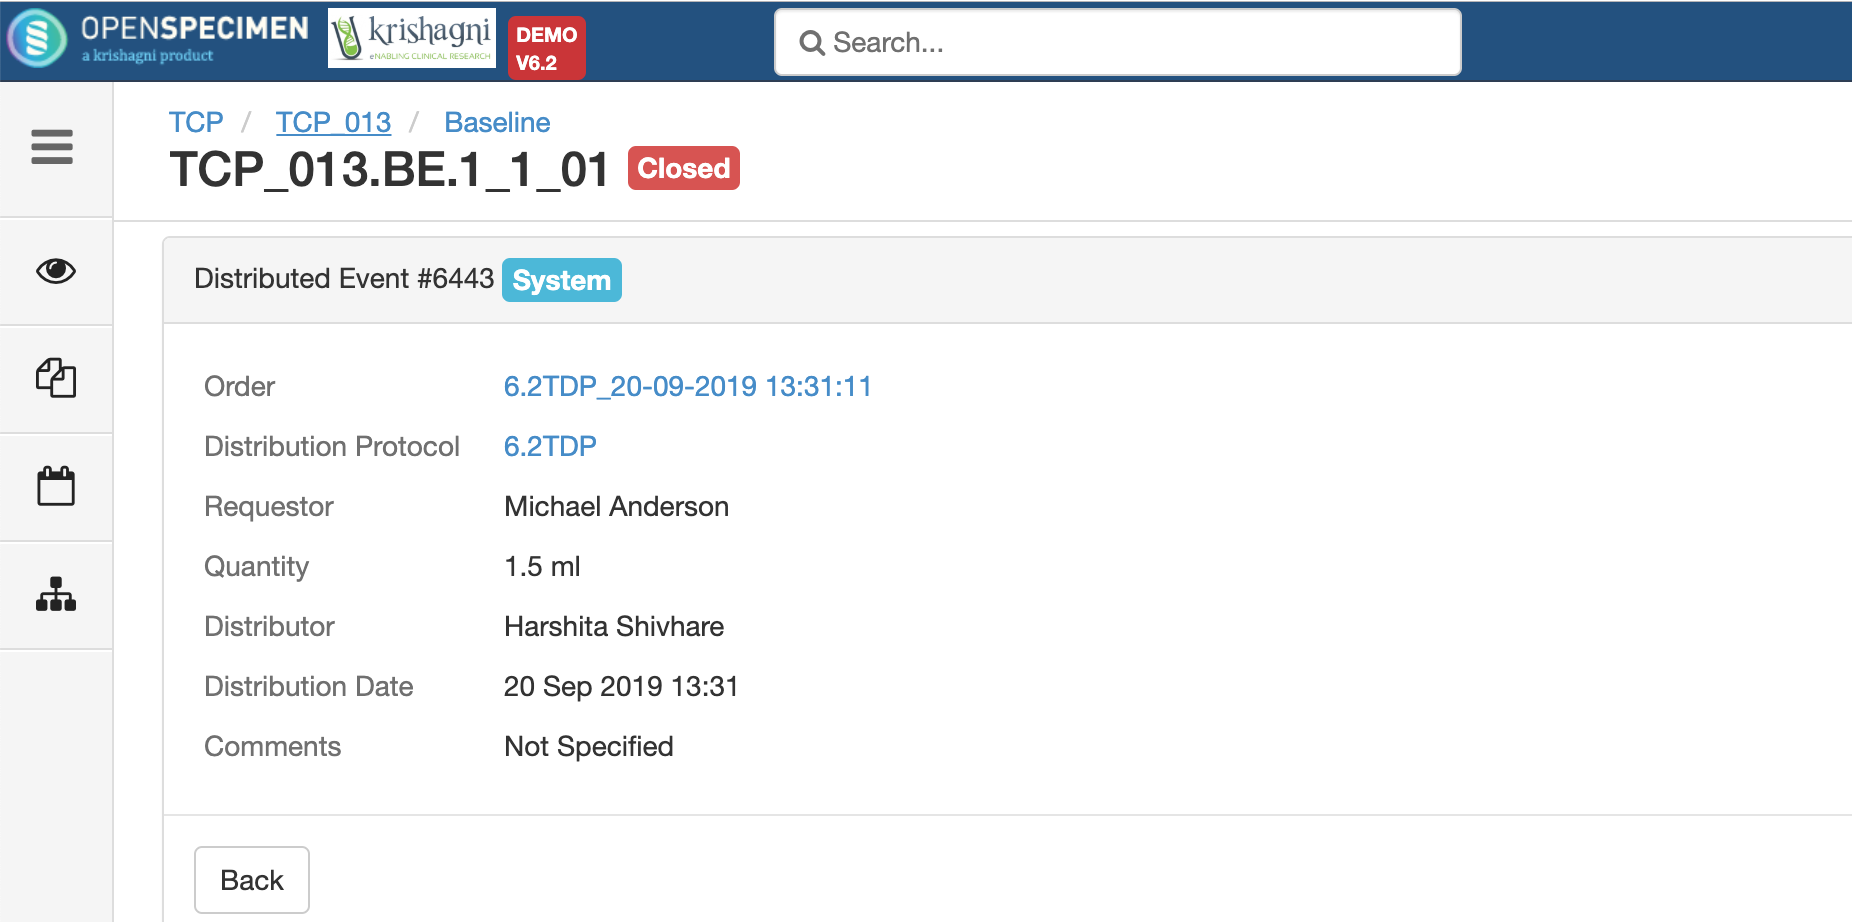
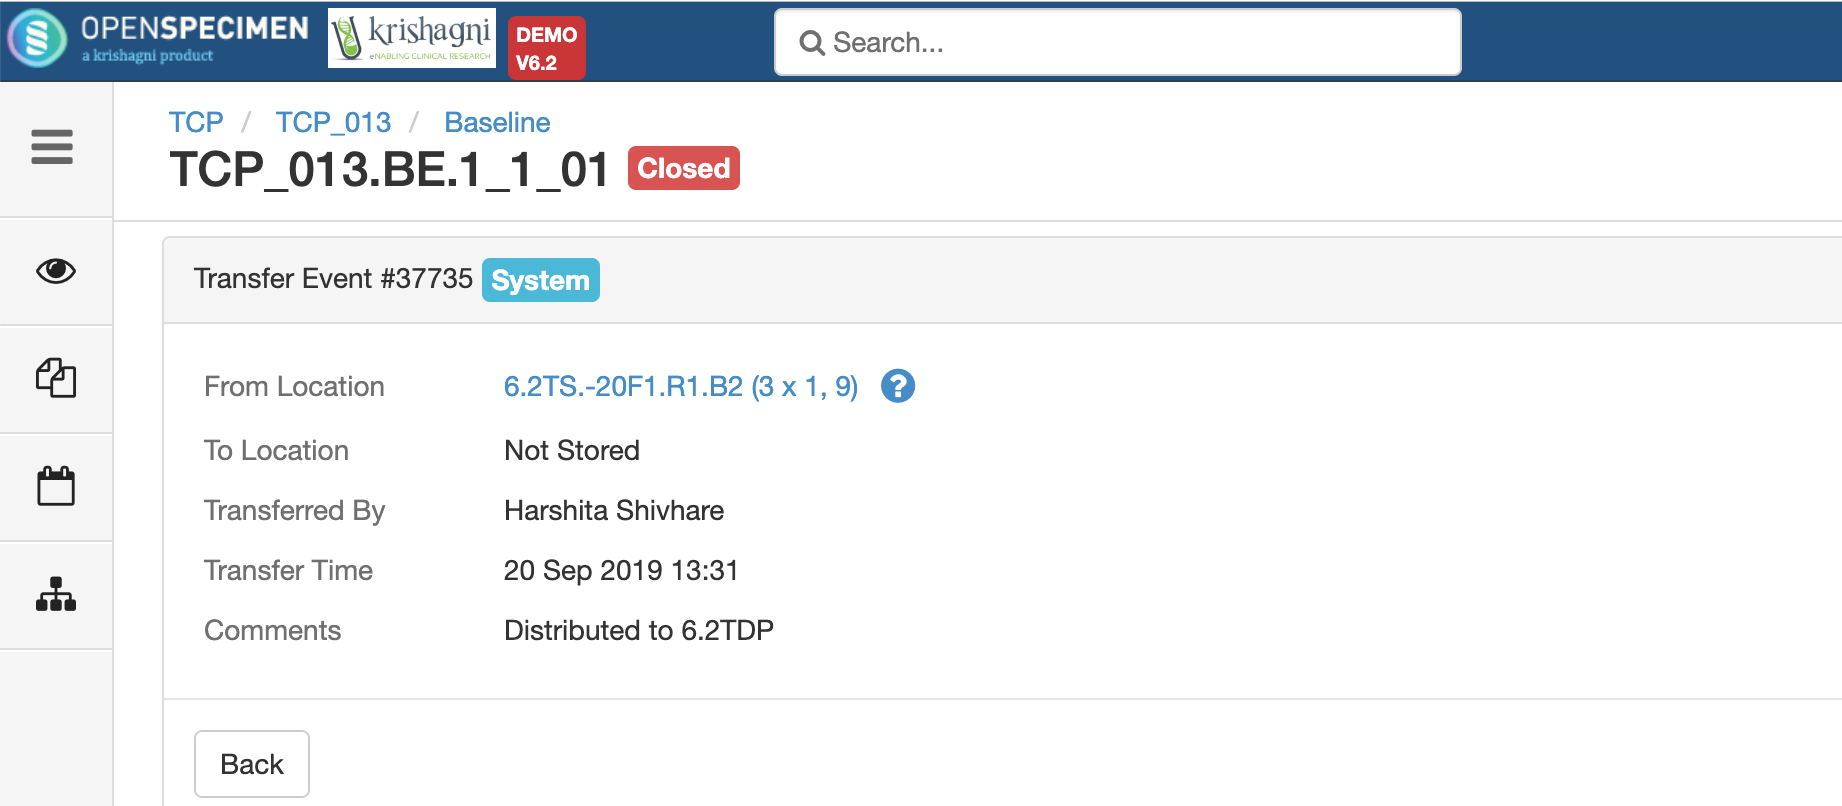
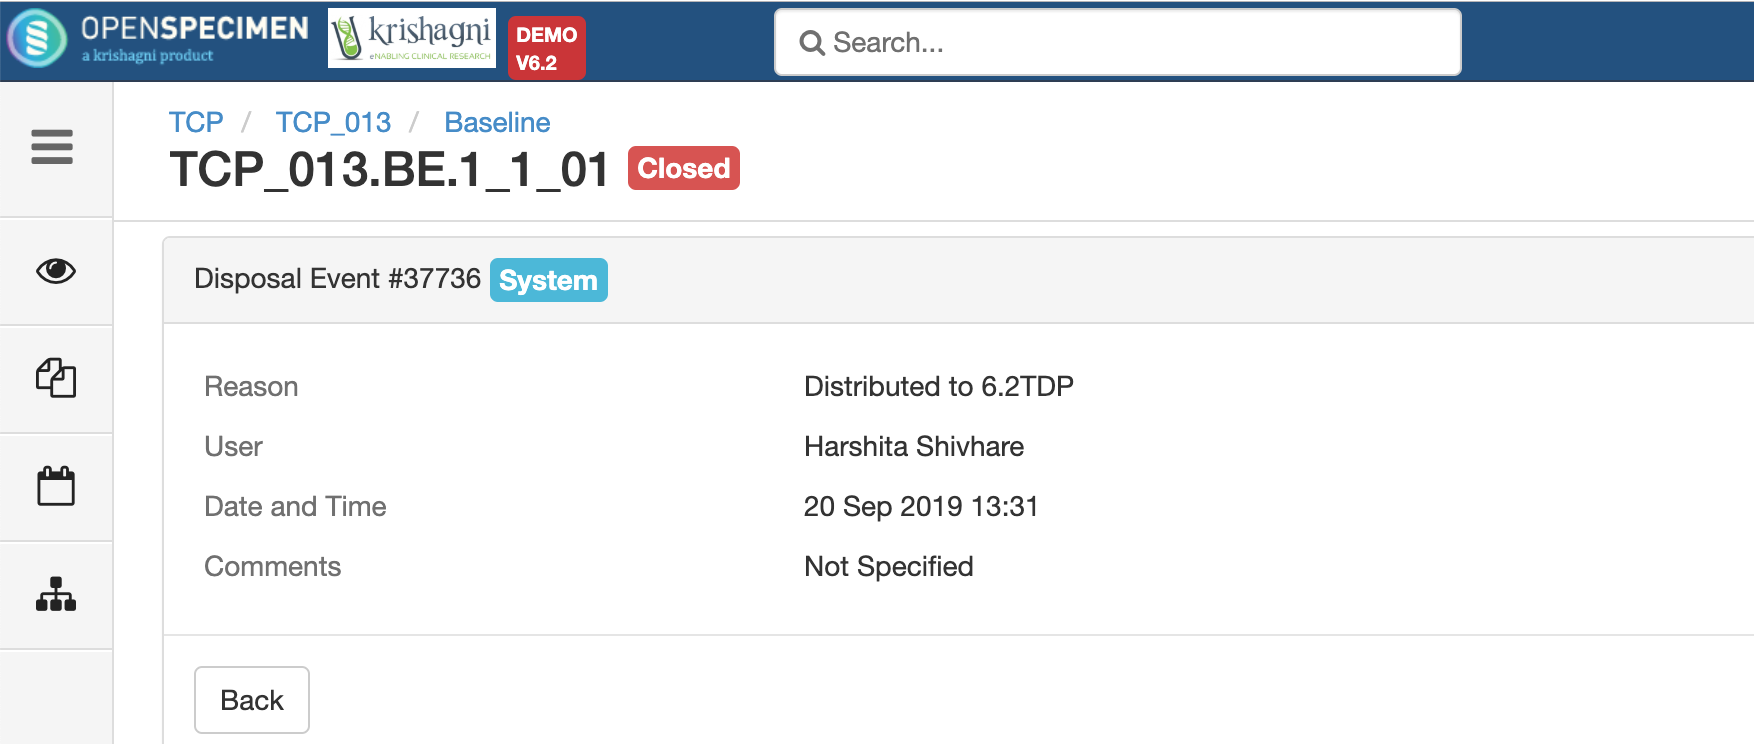
After you click on the 'Distribute' option from the above 'Create Order' screen, the following events are added for each distributed specimen:
These events are useful for creating reports or audit purposes.
|
...
| Expand |
|---|
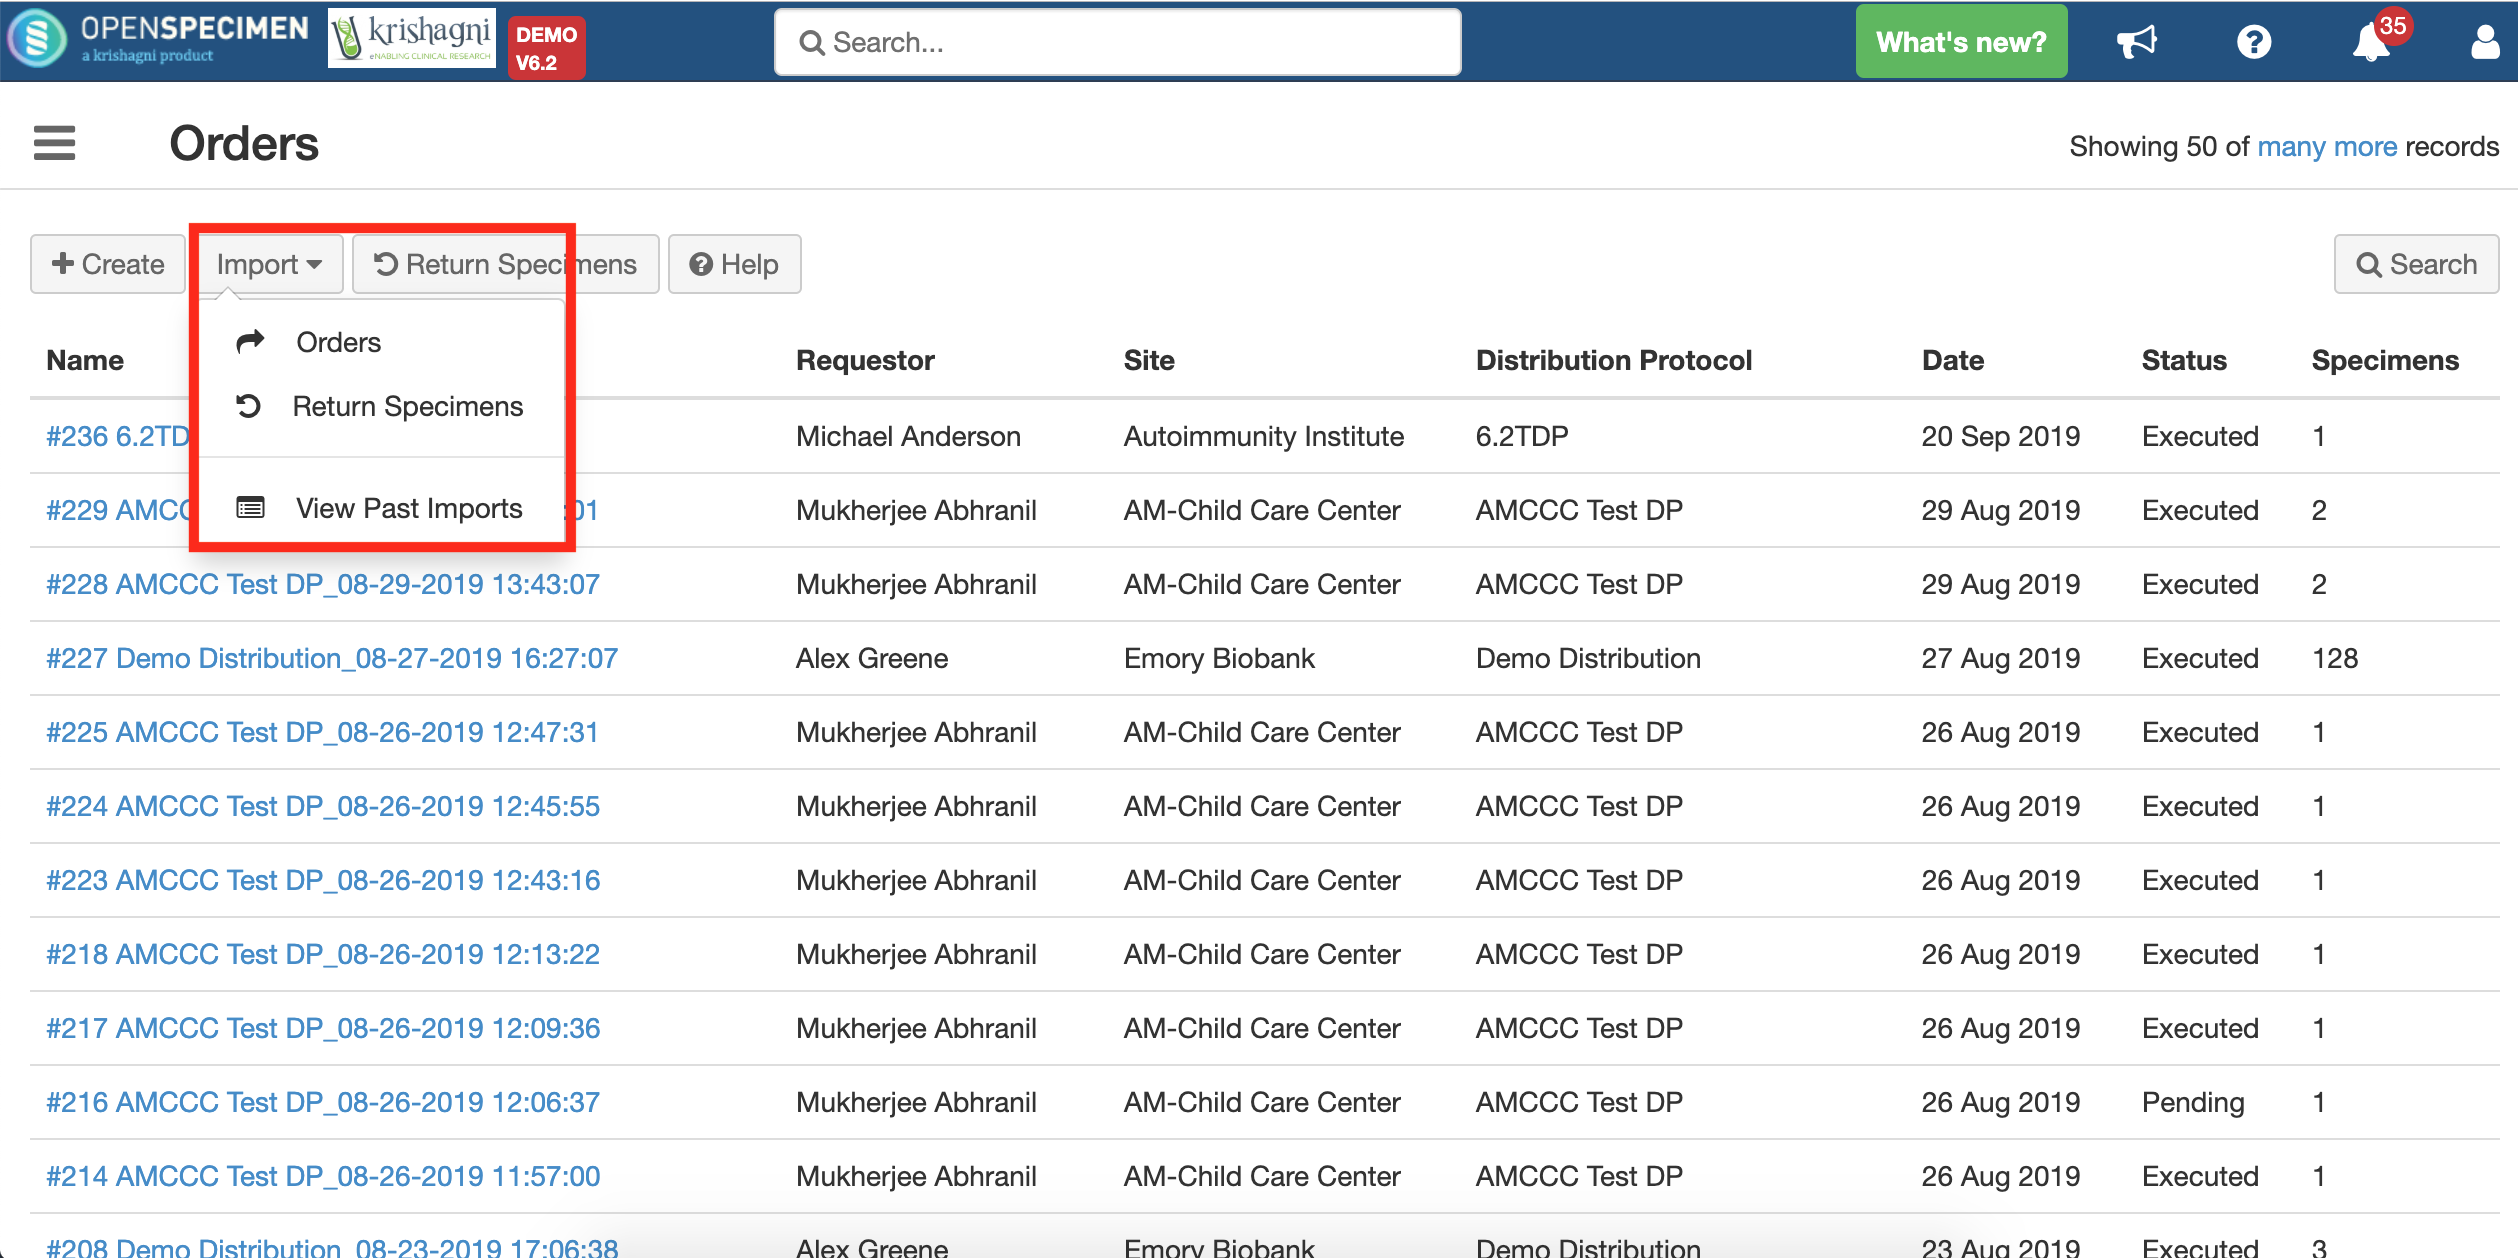
Distribution data can also be bulk uploaded for many orders at a time using CSV files. E.g., for legacy data migration.
|
...
Edit Orders (new in v7.1)
| Expand | ||
|---|---|---|
| ||
From v7.1 onwards, it is possible to edit an order in executed state. To edit an executed order, navigate to the overview page and click on 'Edit.'
The following order details can be edited for any order:
Following are NOT editable:
|
.png?version=1&modificationDate=1600084749191&cacheVersion=1&api=v2&width=735)
...