In the participant’s overview page, click on the dotted menu of the desired visit and select option ‘Collect Unplanned Specimens’
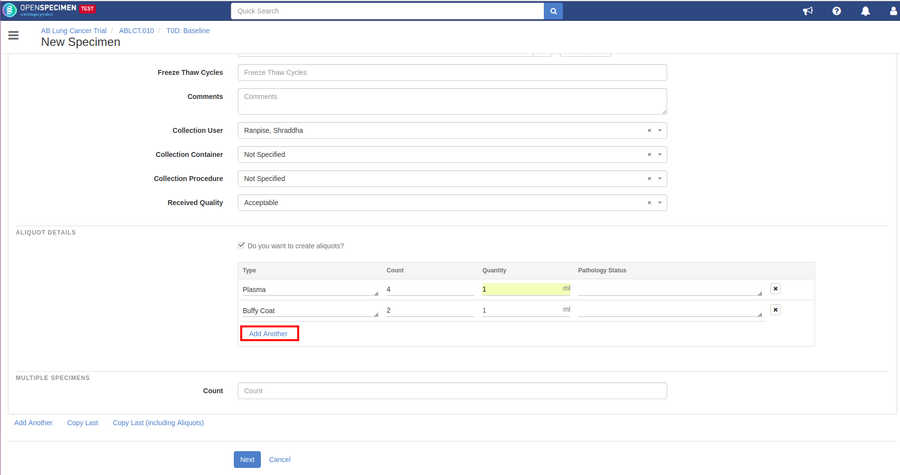
Enter all valid details for collecting one specimen type and click on 'Add Another' to add another specimen type
"Copy Last" options: These options are useful if you are creating specimens that are similar but with minor changes.
Copy last: Will make a copy of the last specimen without the aliquots
Copy Last With Aliquots: Will make a copy of the last specimen with the aliquots
Enter all the details and click on 'Next' button
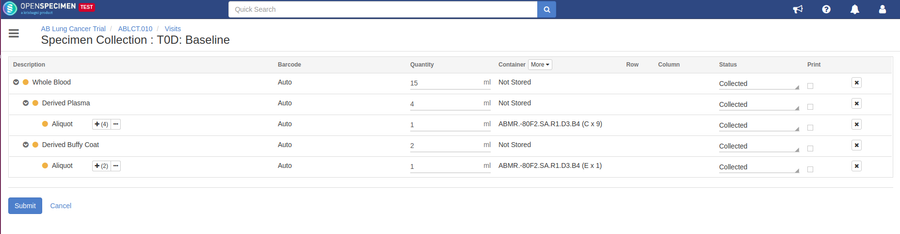
Enter the quantity of the specimens to be collected, select container position and click on ‘Submit’
Note
In the above example, all the labels are auto-generated. If the auto-generation of labels is off, a field ‘Labels’ will appear in the last step
...
Expand
title
Click here to view the steps...
In the participant page, click on the dotted menu of the desired visit and select option ‘Collect Unplanned Specimens’
Enter all details and check the checkbox of ‘Do you want to create aliquots?’ of the ‘ALIQUOT DETAILS’ section’
Enter details of the aliquots and click on 'Add Another' to add different aliquot types.
Click on Next.
In the next screen, specify quantity and container position and click on 'Submit' button
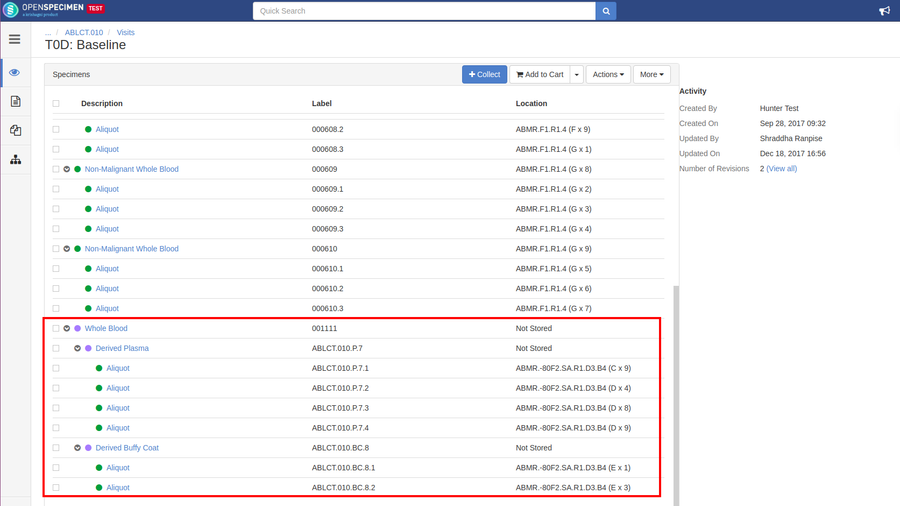
You can view the summary of the collected specimens along with all the aliquots. Note , note that the system automatically creates the intermediate derived specimens.