| Table of Contents |
|---|
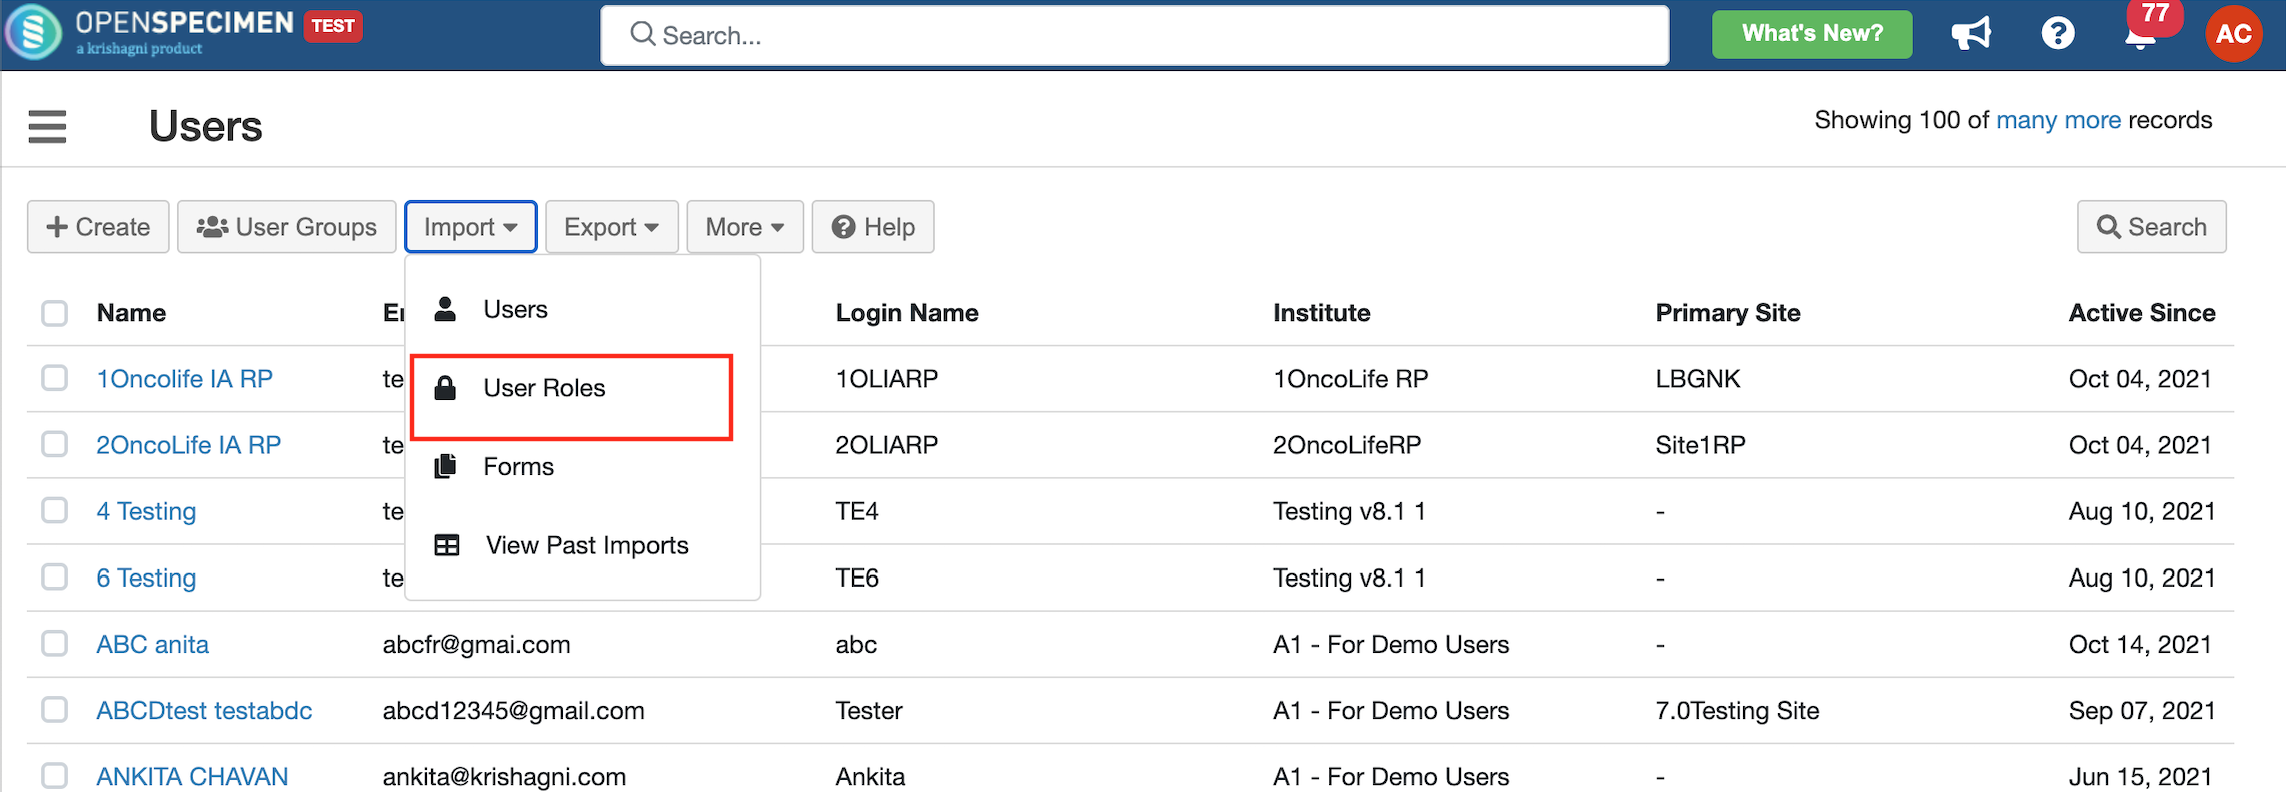
Steps to import
...
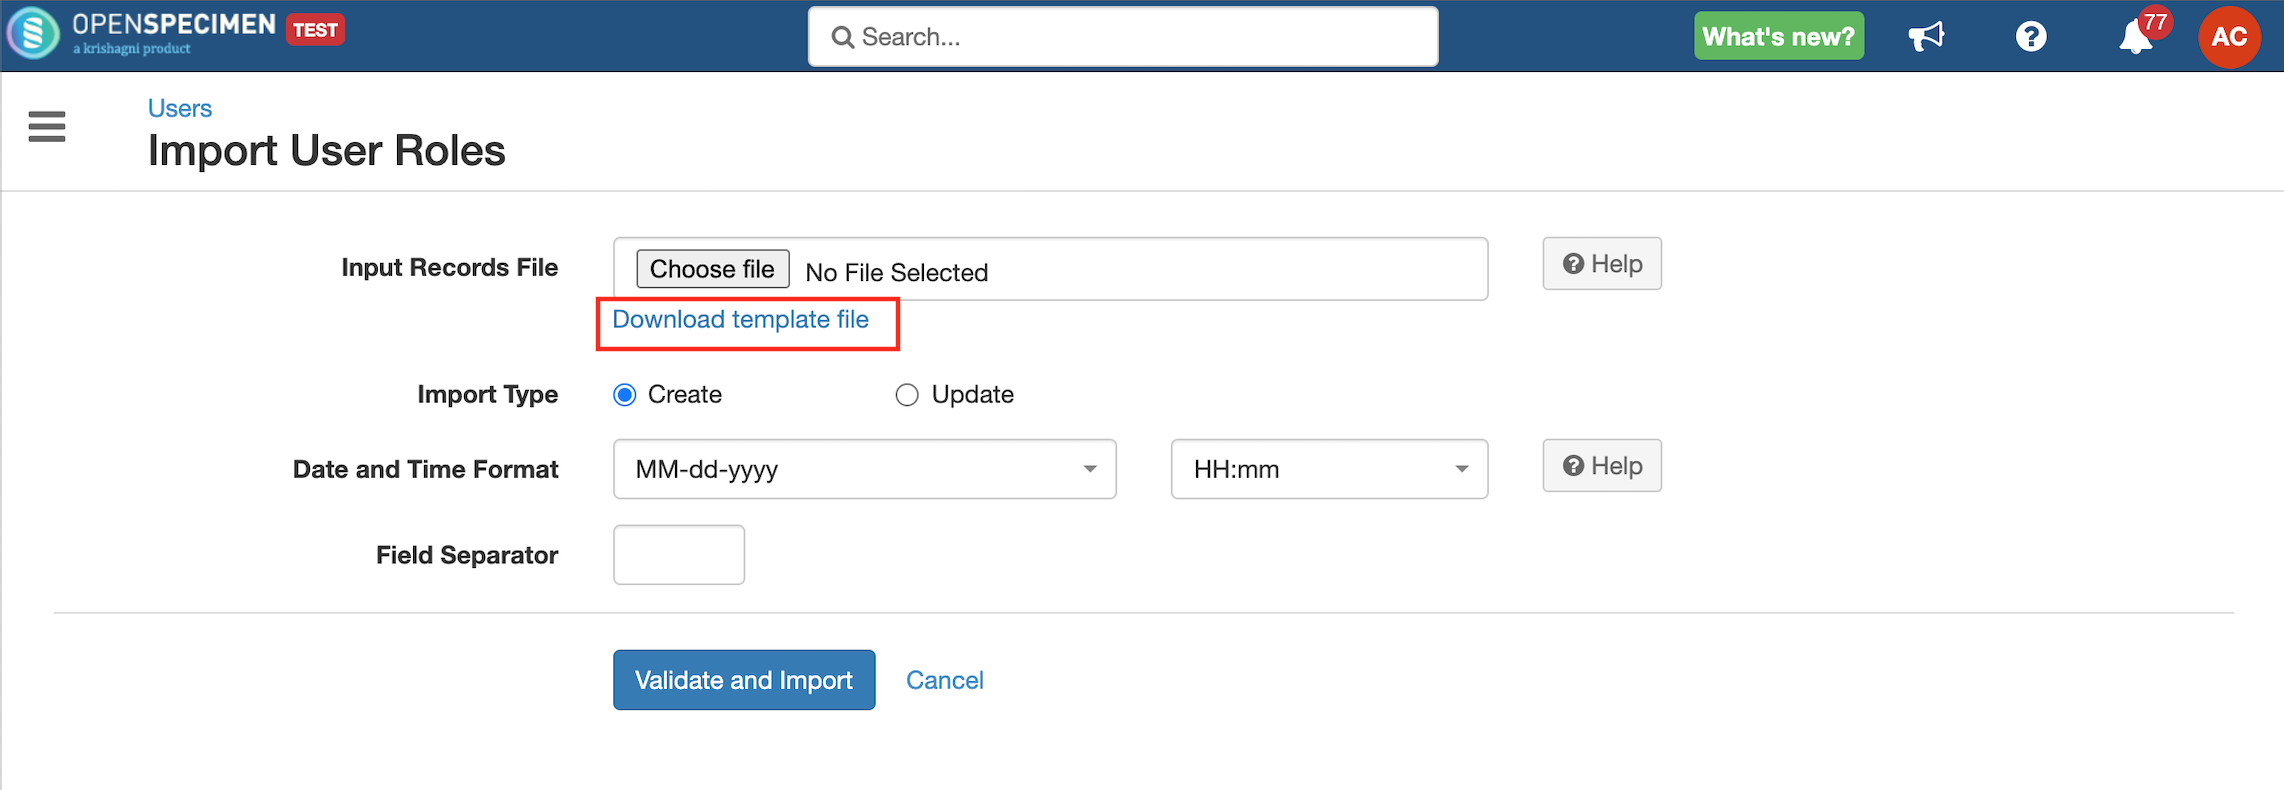
CSV
| Expand | ||
|---|---|---|
| ||
|


Sample CSV
Data Dictionary
Column Name | Datatype | Mandatory? (Create) | Mandatory? (Update) | Description | Permissible Values | Validations |
|---|---|---|---|---|---|---|
| Identifier | Number | No | DependsYes | System auto-generated unique number for every user. | Mandatory while updating roles if the Email Id column is blank. | |
| Email Address | String | Yes | Yes | Email address of the user to which role has to be added. | ||
| Role#1#Name | String | Yes | No | A role that is to be assigned to the user. |
| |
| Role#1#Site Name | String | Yes | No | The site to which the role is applicable. | Enter a valid site name or leave blank to set for "All Current and Future". Add an extra column for the user role on multiple sites. E.g. Role#2#Site Name, Role#3#Site Name, etc. You can add "All Current and Future" to update all sites. | |
| Role#1#CP Short Title | String | Yes | No | Collection protocol to which the role is applicable. | Enter a valid collection protocol name or leave blank to set for "All Current and Future". Add an extra column for the user role on multiple CPs. E.g. Role#2#CP Short Title, Role#3#CP Short Title, etc. You can add "All Current and Future" to update all sites. |
...