Introduction
OpenSpecimen allows the user to track the shipment of samples from one site to another. For example, collection site to the central repository.
To ship boxes refer to Shipment of Containers
Prerequisites to ship
System will throw an error and will not allow you to ship if any of the below is not satisfied:
- Shipping site and receiving site should use the same instance of OpenSpecimen
- Both sites and the logged-in user should be part of the CP that has the specimens being shipped
- Cannot ship specimens from multiple sites in one shipment
- If the specimens being shipped are stored in a container, the site of the container should be sending site.
- When receiving a shipment, the user can only store specimens in the containers of the receiving site
- The sending site should be the site to which specimens belong (Site under CP).
Difference between 'Distribution' & 'Shipping'
Create Shipment
You can create shipment from multiple pages. The "Action" button now available in all specimen pages allows you to create shipments without having to add specimens to the cart.
Create Shipment
You can create a new shipment by going to the "Shipment" module and scanning or typing in the specimen labels. This works well when you already have the list of specimens to ship.
Note
From v7.1 onwards, users will be able to create shipments with past/future dates.
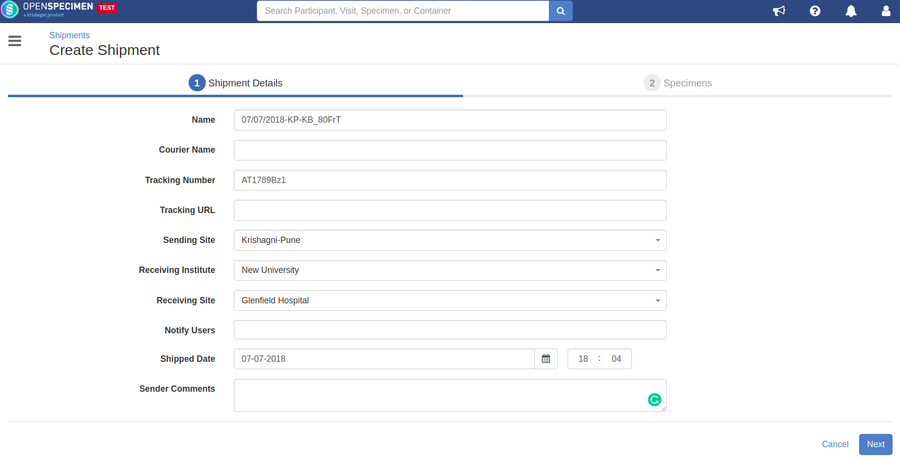
- Go to the home page and click on 'Shipments' card
- Click on 'Create' button and select the option 'Specimens'

- In 'Create Shipment' page, fill in the details and click on 'Next'
- Selected specimens will appear on the next page. In order to confirm the shipment, click on 'Ship'
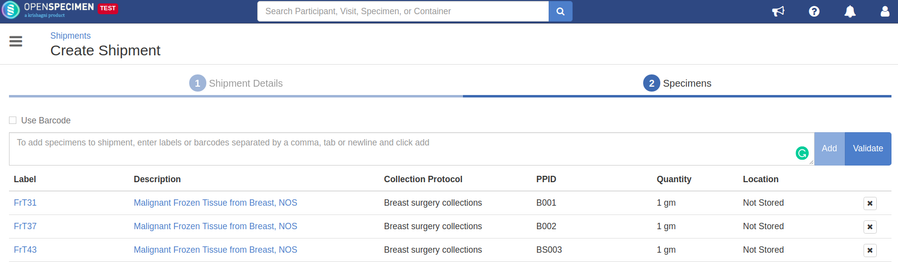
- Further, the users selected in 'Notify Users' will receive an email with a link to the shipment details
- A 'Shipment Shipped Event' is created under all specimens that were shipped
Ship from query
You can query specimens using the query interface and can ship from the results page.
- Go to the queries list page and click on 'Create'
- Create a query using any filters and click on 'View Records' to get the list of records
- Select the specimen rows or click on 'Select All' from the results page and click on 'Specimens' → 'Ship'
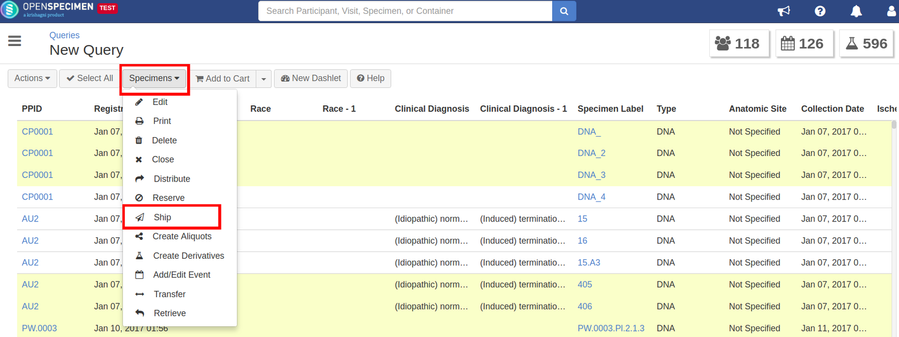
- Enter the further details and click 'Ship' to ship the specimens
Ship from cart
You can create a cart of the specimens to be shipped and can ship from the cart
- Create a 'Specimen cart' or click on existing cart from which the specimens have to be shipped
- Click on 'Actions' button and select option 'Ship'
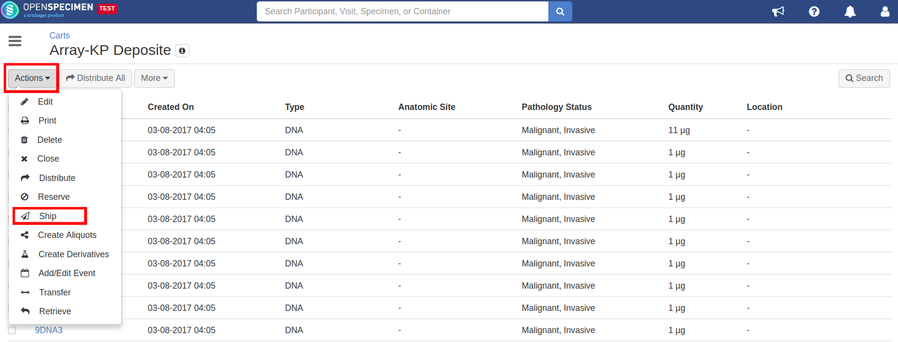
- Enter the further details and click on 'Ship' to ship the specimens
Ship from other places
You can also ship specimens from the below-listed pages:
- CP specimen list
- Container specimen list
- Reserved specimens list
- Visit and specimen pages
- Participant specimen list
E.g. Ship specimens from the participant's specimen list
- Go to the overview page of the participant whose specimens has to be shipped
- Click on 'Specimens' icon from the left-side menu
Select the specimens from the list, click on 'Actions' → 'Ship'

From v5.1, the ‘Actions’ button will appear only after selecting at least one specimen from the specimen tree.
- Enter the further details and click 'Ship' to ship the specimens
Similarly, you can ship specimens from any specimen list pages.
Receive Shipment
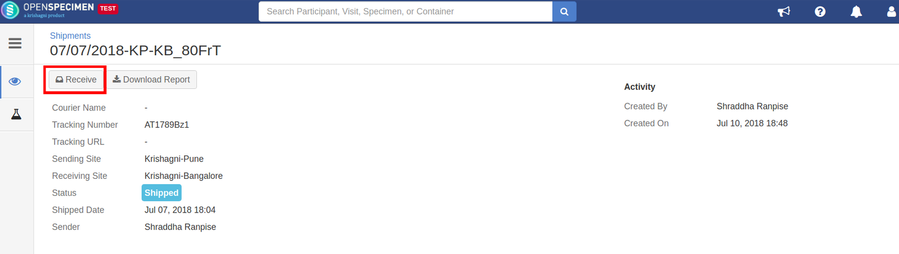
The receiver can receive shipment by clicking on 'Receive' button from the shipment details page.
- In order to receive the specimens, user from receiving site logs in and selects 'Shipments' from the homepage
- Select the shipment from the list and click on 'Receive'
- Review the shipment details and click on 'Next' to confirm the receipt of samples
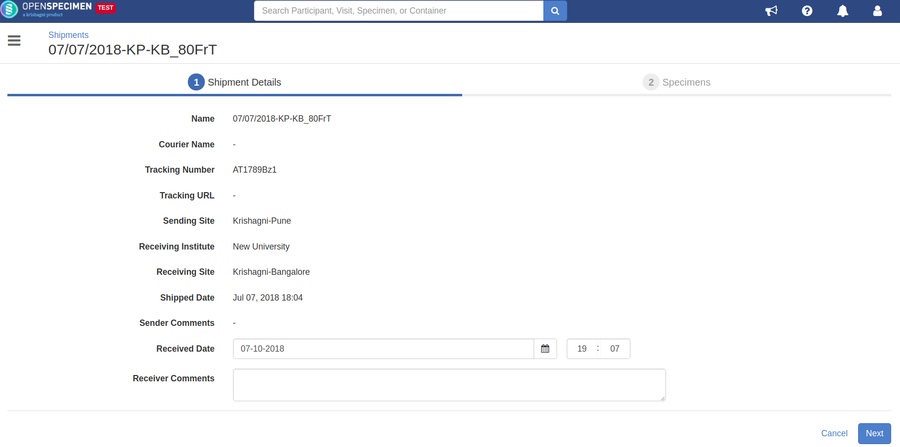
- In the next step, you can choose the
- Received sample quantity
- Quality (e.g. acceptable, unacceptable etc).
- Storage location: where the receiving site is storing the specimen
- On saving, the system will create a 'Shipment Received Event' for each specimen in the shipment
Edit the specimen details while receiving a shipment (New in v5.1)
Many a time, the specimens are collected in multiple hospitals for different studies. These specimens are labeled and then shipped to the receiving site facility for further processing and storage purpose. For faster collection and data entry, the labeling at hospitals is done using generic labels like the randomly generated unique numbers etc. However, when specimens are received at the receiving site, for better organization and retrieval purpose, the biobankers relabel the received specimens based on their type, collection container, study, or other established practices.
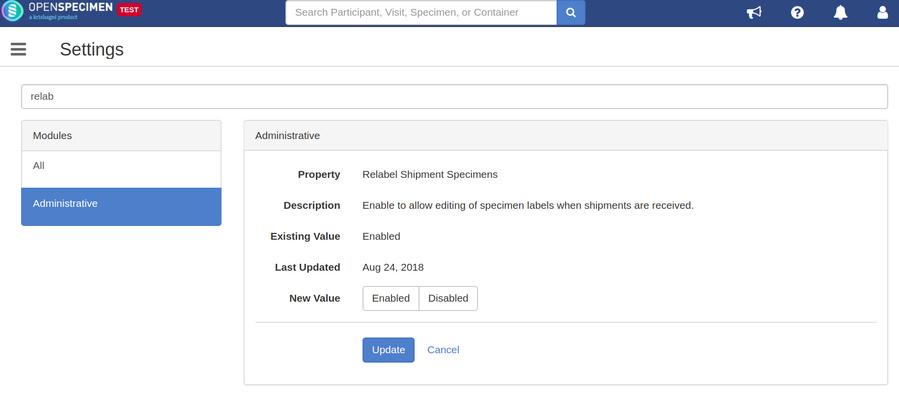
From v5.1, there is a system level setting which will allow you to relabel the shipped specimens while receiving the shipment. To enable/disable this setting, go to 'Settings' → 'Administrative' module → 'Relabel Shipment Specimens' → Select option 'Enabled' and click on 'Update' button.
Once enabled, you can edit the specimen labels along with other details while receiving the shipment. From shipped shipments overview page, click on 'Receive' button→ Click on 'Next' button→ Change the specimen labels or other details and click on 'Receive' button.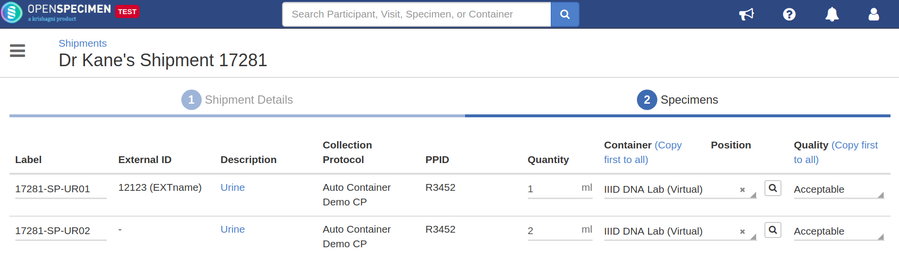
From v7.1 onwards, user will be able to edit the shipment details as well. Shipments in draft, shipped or received mode can be edited. Fields allowed to be edited are mentioned below,
- Shipment name
- Tracking URL
- Courier name
- Sender/receiver comments
- Shipped and received dates
- Received quality
The following attributes are not editable:
- Sending and receiving sites cannot be modified after the shipment is shipped.
- Specimens cannot be added or removed from the shipment after it is shipped.
- Specimen location and quantity cannot be modified after the shipment is received.
Shipment Report
Is a CSV file that you can download from the shipment page. The system comes with a default report and can be customized by the super-admin.
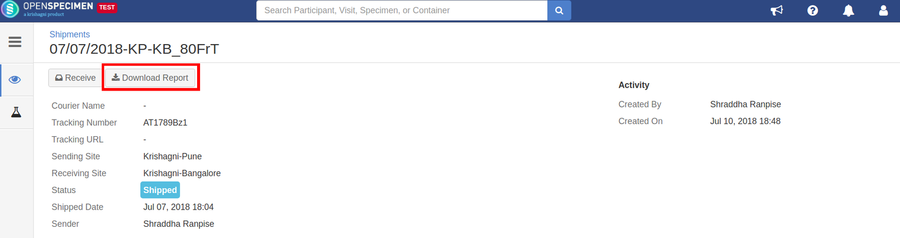
Download Report
Users can download a shipment report as a CSV file with all the details of shipment event and sample information from shipments overview page.
- Go to the shipments list page
- Click on the shipment whose report has to be downloaded
- Click on 'Download Report' from the overview page
Configure Shipment Export Report
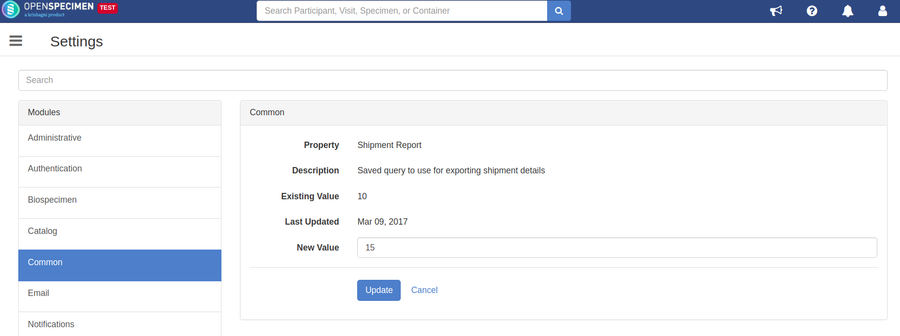
If you want to customize the shipment report, you will have to first create a saved query using the query interface. In the results view of the query, you have to define the columns you wish to include in the CSV.
- Login as super admin and go to the homepage
- Click on 'Settings' → 'Common' module
- Click on the property 'Shipment Report'

- Specify the identifier of the saved query and update the property
Create Specimens shipment in bulk
You can create specimens shipment in bulk through bulk operation, for more details refer to 'Create/Update Specimens Shipment'.