| Table of Contents |
|---|
...
| Expand | ||
|---|---|---|
| ||
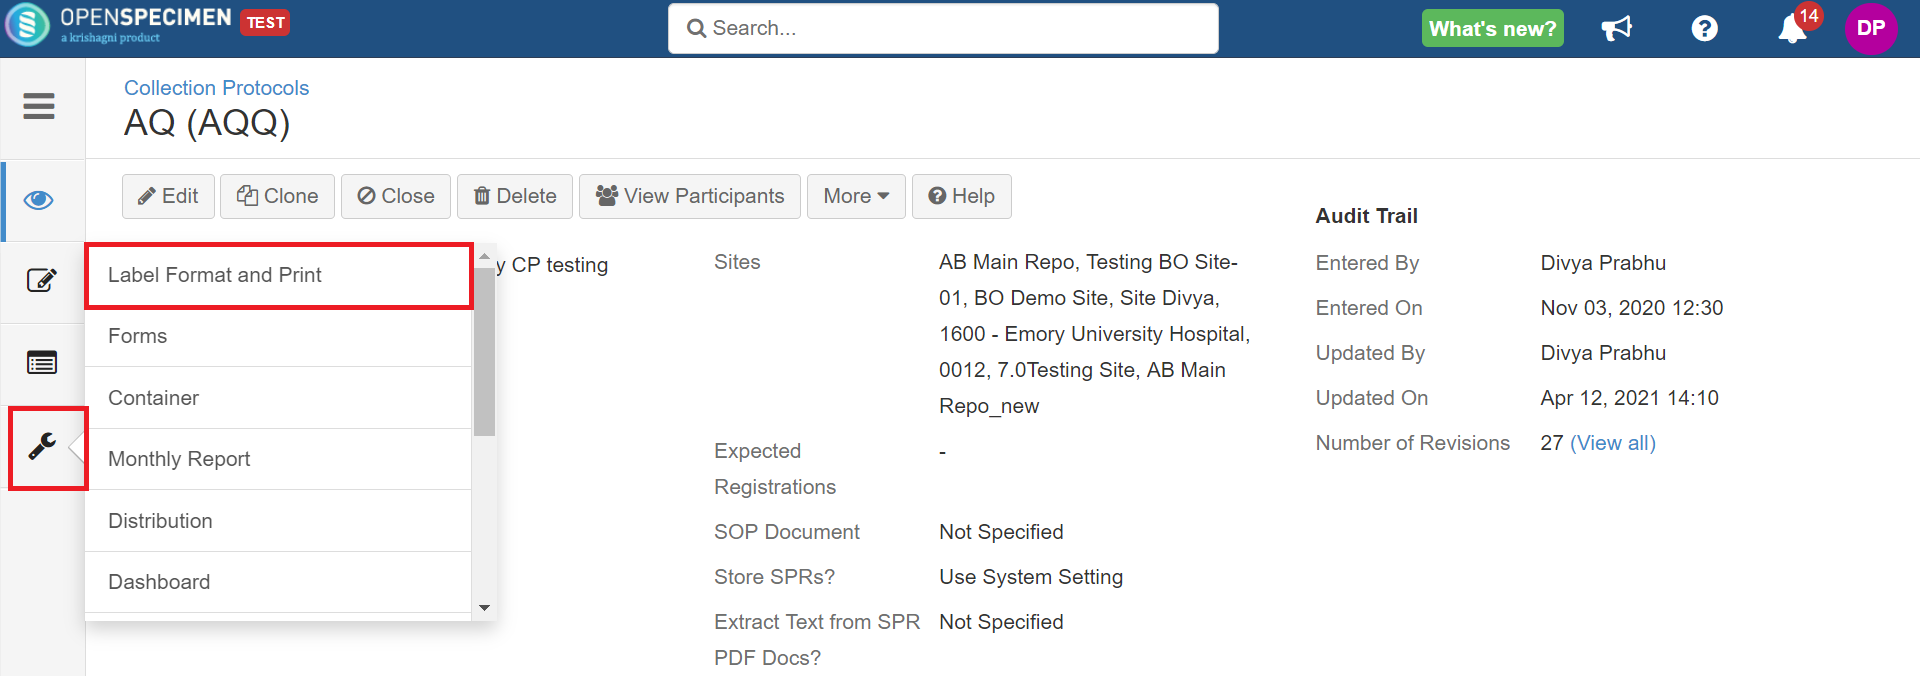
Auto-Generated Labeling: Participant, visit, and specimen labels can be auto-generated in OpenSpecimen. To do that, you must define the format using supported tokens. A list of supported tokens and their description are available under 'Labels Configuration'. To define label formats at different levels, click on 'Settings' within a collection protocol and select the 'Label Format and Print' option.
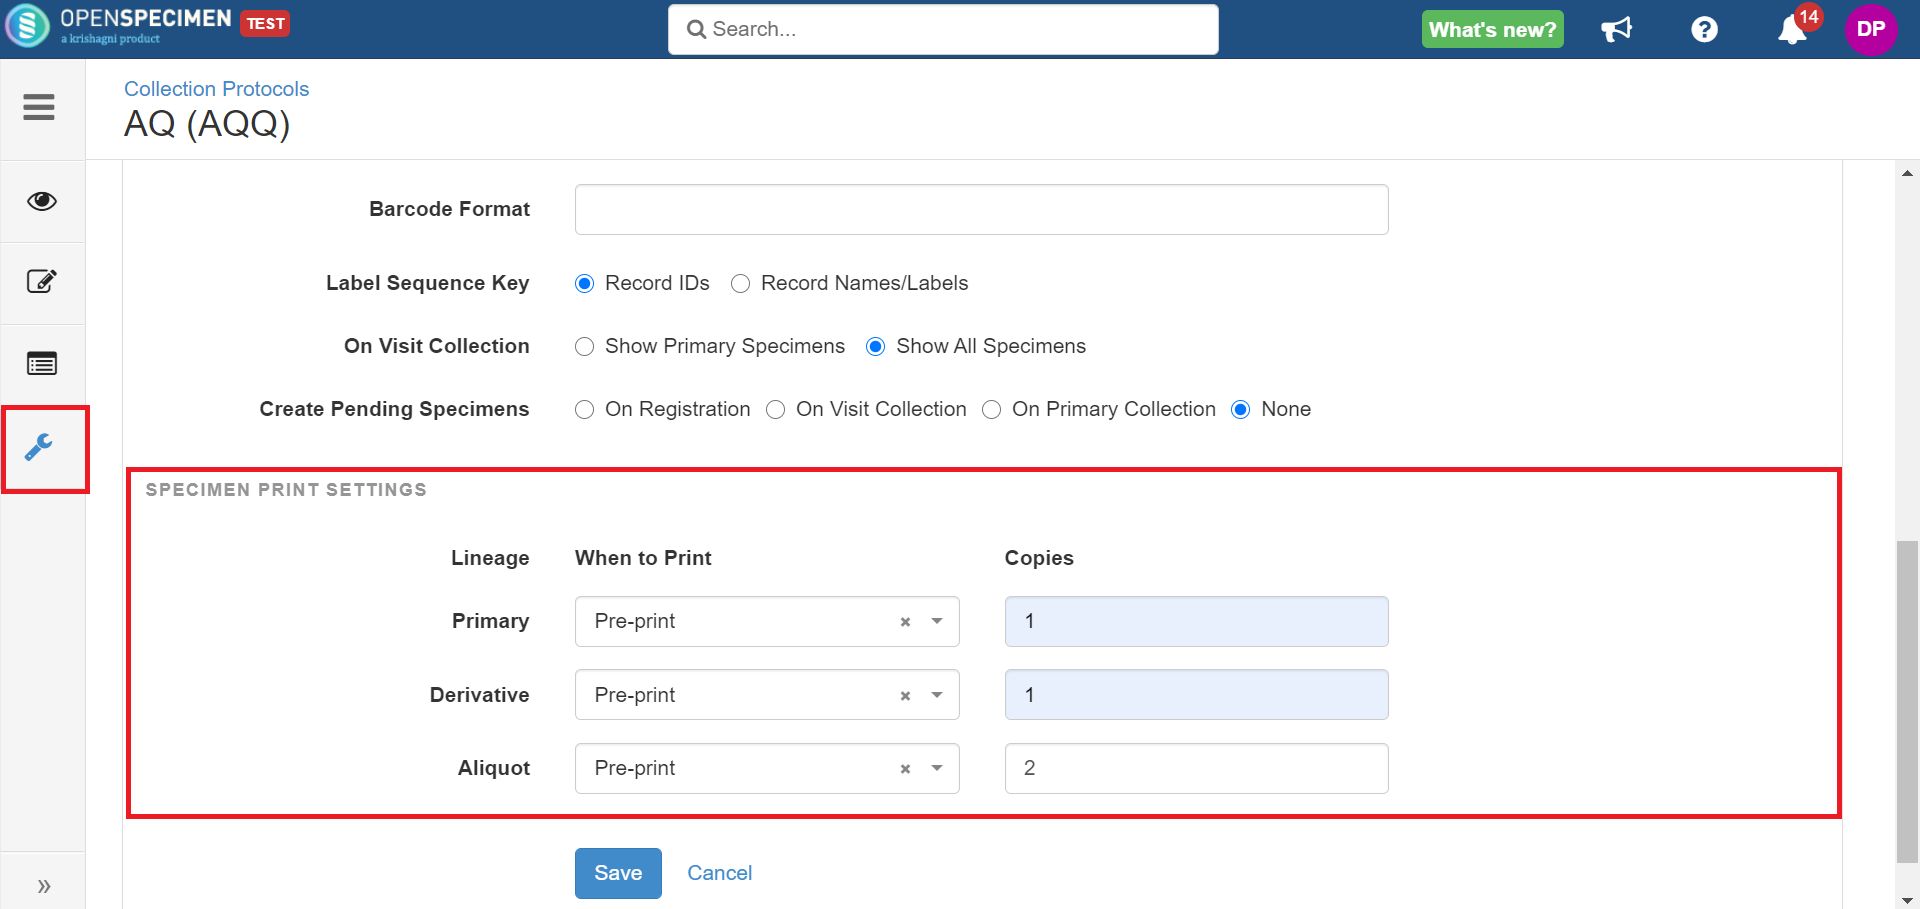
Manual Labeling: When label input needs to be done manually or scanned from barcoded tubes, the label format fields can be left blank. If you want to enforce validations on the labels that are added manually, then the format can be specified in the respective label format fields, and the "User Inputs Allowed- 'Specimen Labels" field is checked. In this case, the system validates the format when you input specimen labels and throws an error if the label entered is outside the format. 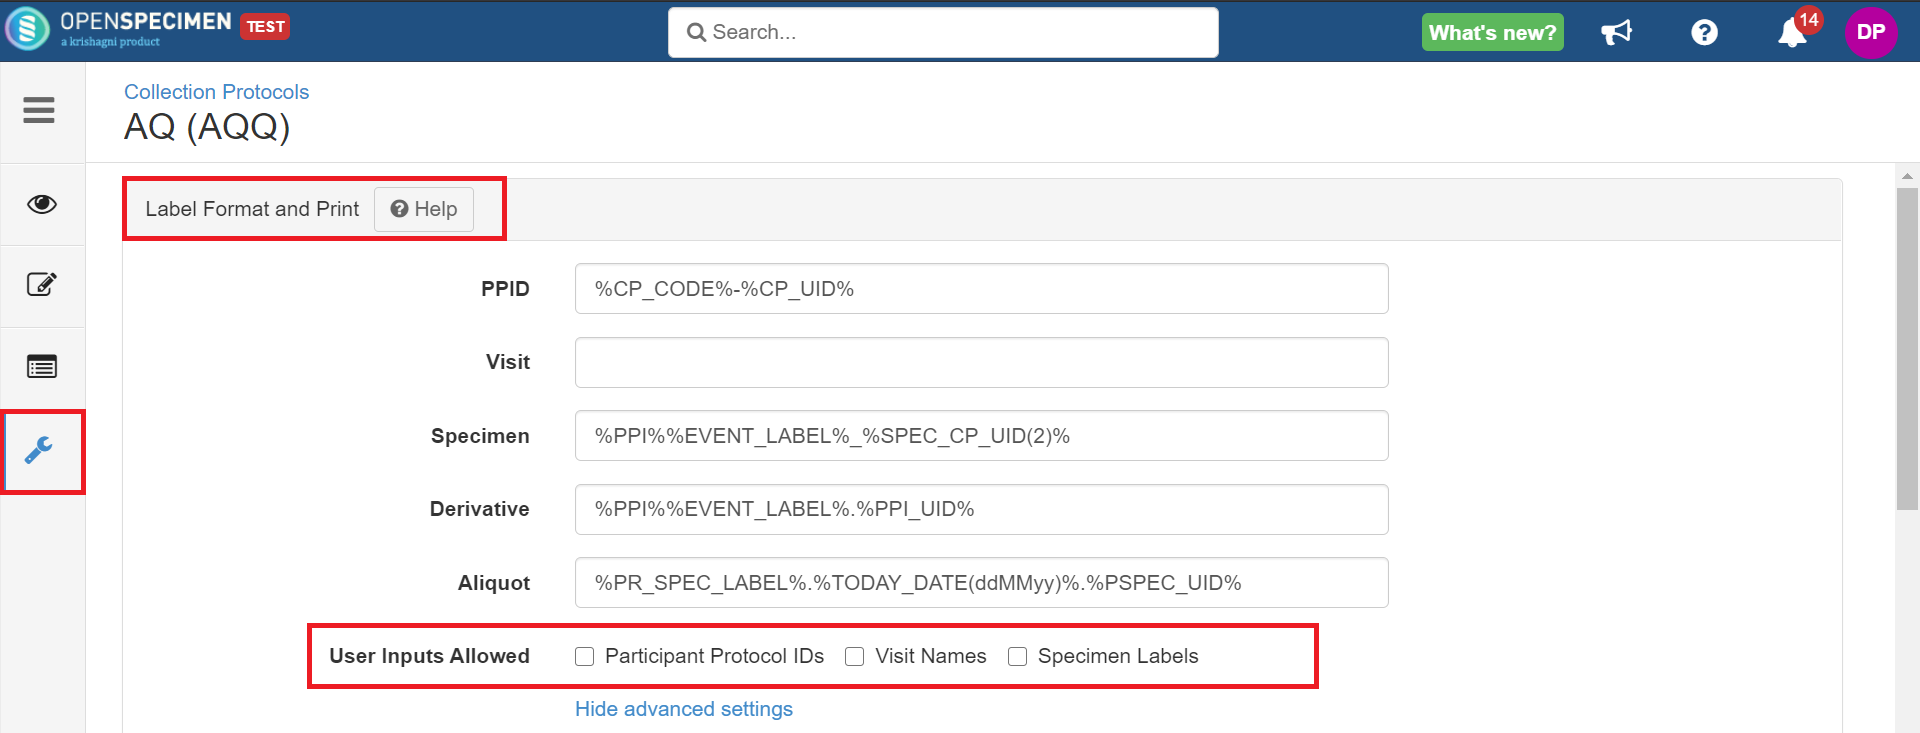 You can also set label printing options at specimen levels. Print settings provide you with the option to pre-print specimen labels or print during collection. Under 'Visit Print Settings' and 'Specimen Print Settings,' enter data of the timing to print labels: pre-print versus on collection and the number of labels that need to be printed.
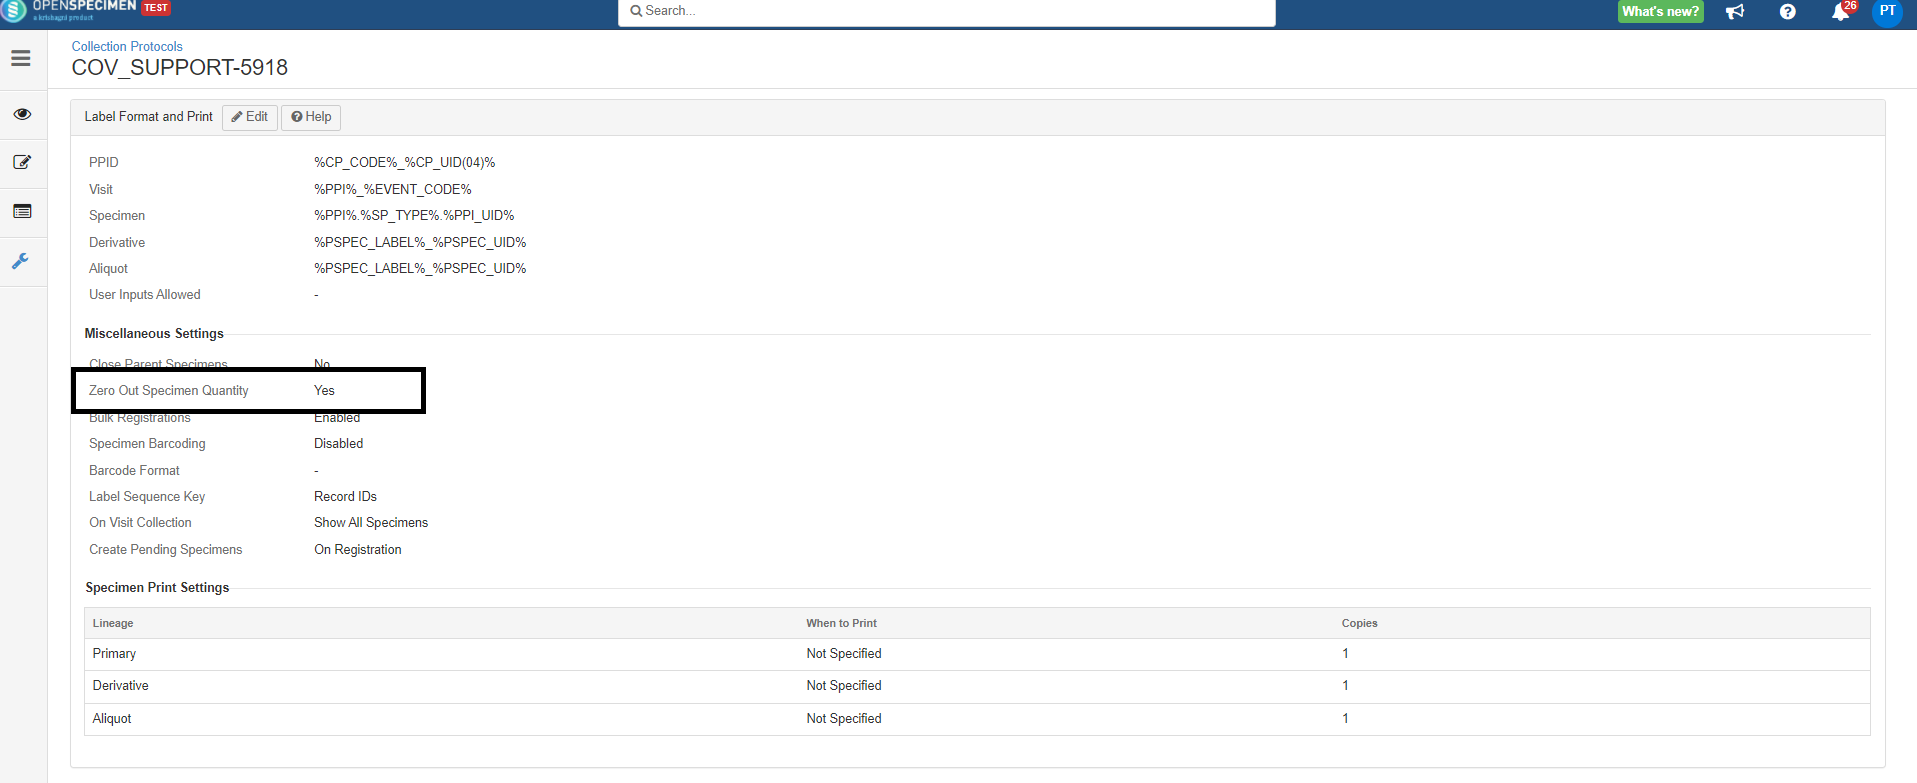
For setting up what needs to be printed on the physical label, your system administrator can do it by referring to the wiki page. Zero Out Specimen Quantity: It will make specimen quantity zero when you close the specimens.
Zero Out Specimen Quantity Zero Out Zero Out Specimen QuZero Out Specimen Quantity |
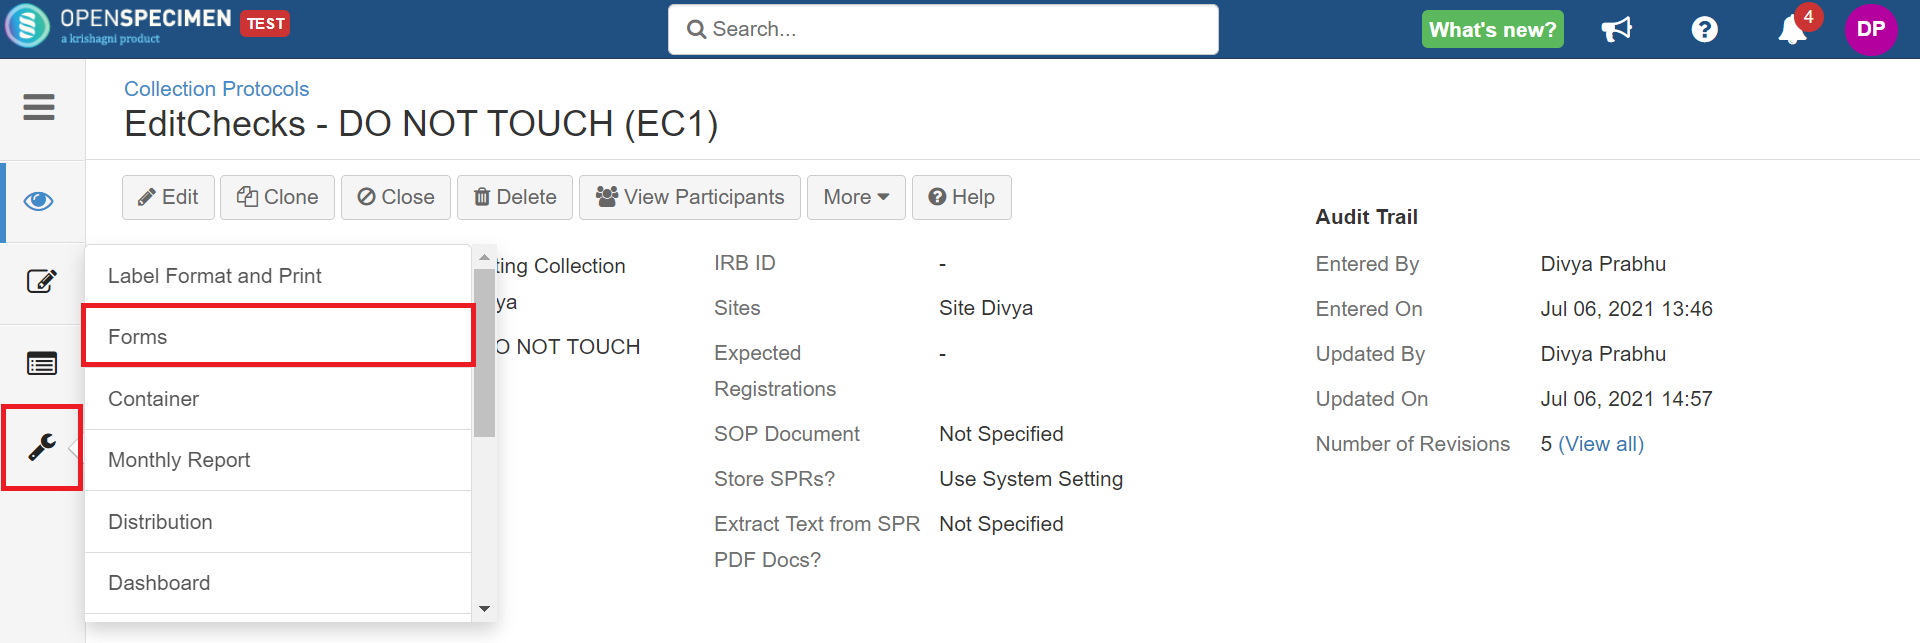
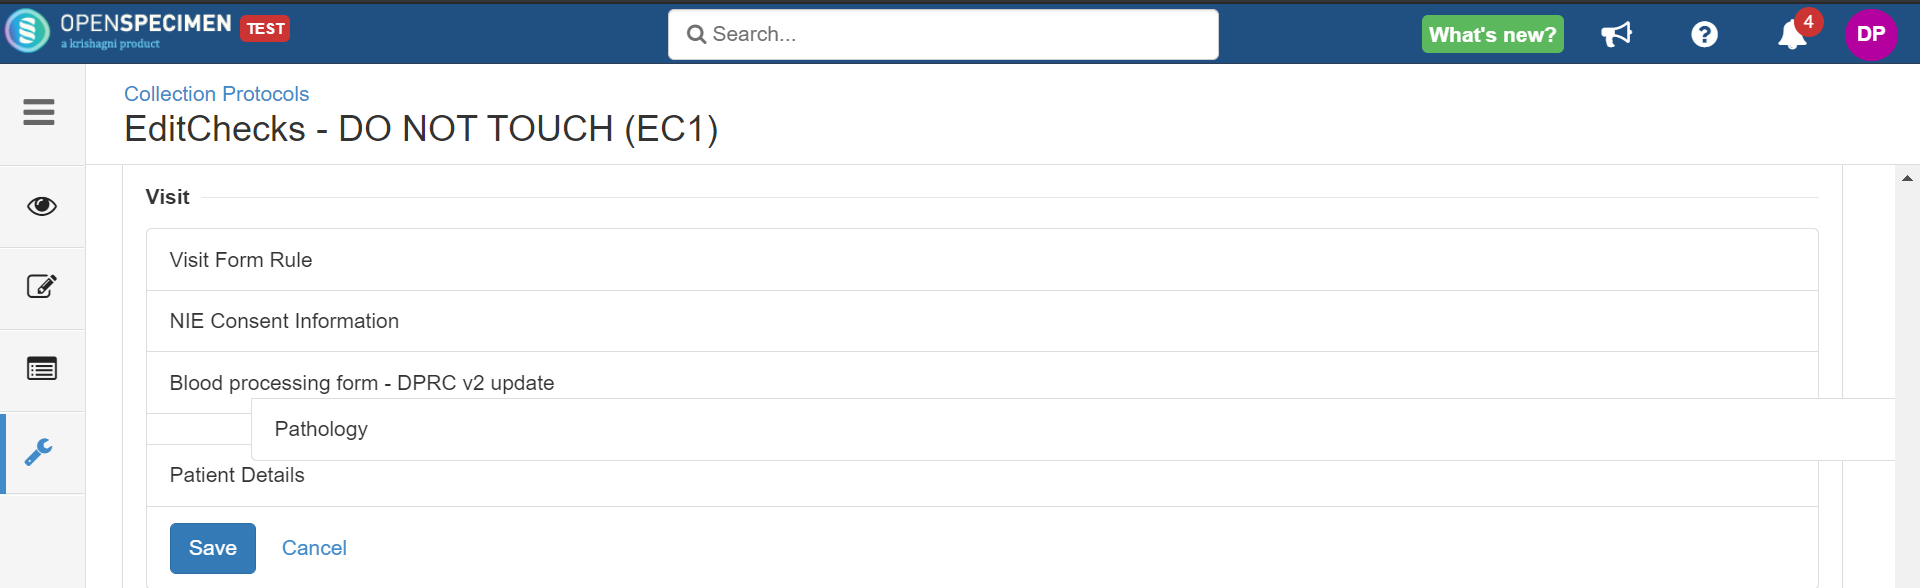
Forms
You change the order of data entry forms at respective levels (Participant, Collection Protocol Registration, Visit, and Specimen) through collection protocol settings.
| Expand |
|---|
To change forms order, click on 'Settings' within a collection protocol and select the 'Forms' option.
Drag and drop the forms as you want the order of the forms to be and click on 'Save'.
|
...
Distribution
Often collection protocol is created for a specific project. The specimens collected from such CP should be distributed using the distribution protocol created for the respective project.
To achieve that, OpenSpecimen allows linking a CP to one or more distribution protocols.
Once the DP is linked with a CP, the following features are enabled:
- One-click distribution of the specimens within the collection protocol
- Validation during distribution to avoid distributing specimens to a different distribution protocol
| Expand | ||
|---|---|---|
| ||
To link a distribution protocol to CP, go to 'Collection Protocols' → Select the CP → Settings →'Distribution' and click on 'Add Distribution Protocol'.
|

Dashboard
The dashboard is an enterprise plugin available to display different metrics and graphs per protocol within OpenSpecimen. A default dashboard is installed for every protocol and can be further customized as per local needs. Refer wiki page to configure the dashboard and setting to a CP.
Catalog
You can configure any catalog for a CP. Refer wiki page to create and set a catalog for a CP.
...