You can create containers with or without using the container types. Using types, you can create a whole hierarchy at once, i.e. the freezer, rack, and boxes all at once or individually.
Create Container Types
The container type is a 'template' used to create containers. Refer to the wiki page for creating container types.
...
| Expand |
|---|
| title | Click here to view the steps... |
|---|
|
Click on 'Containers' from the homepage. Click on the 'Create' button.
 Image Removed Image Removed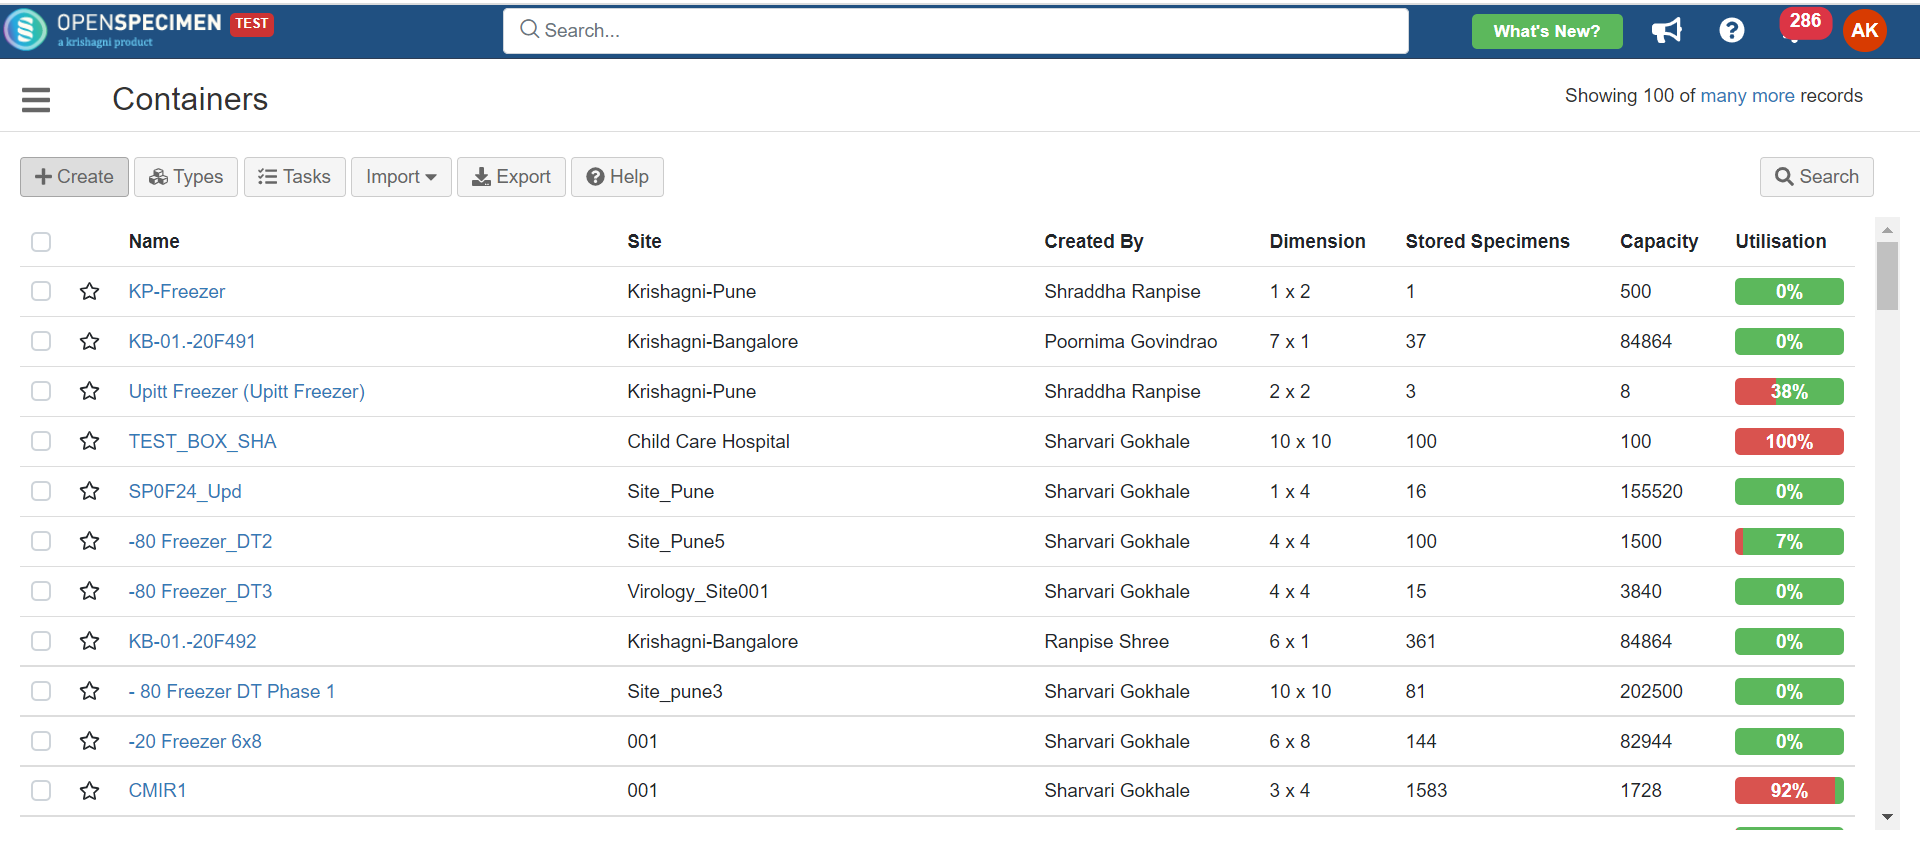 Image Added Image Added 3. Select the 'Container Hierarchy' option. Image Removed Image Removed 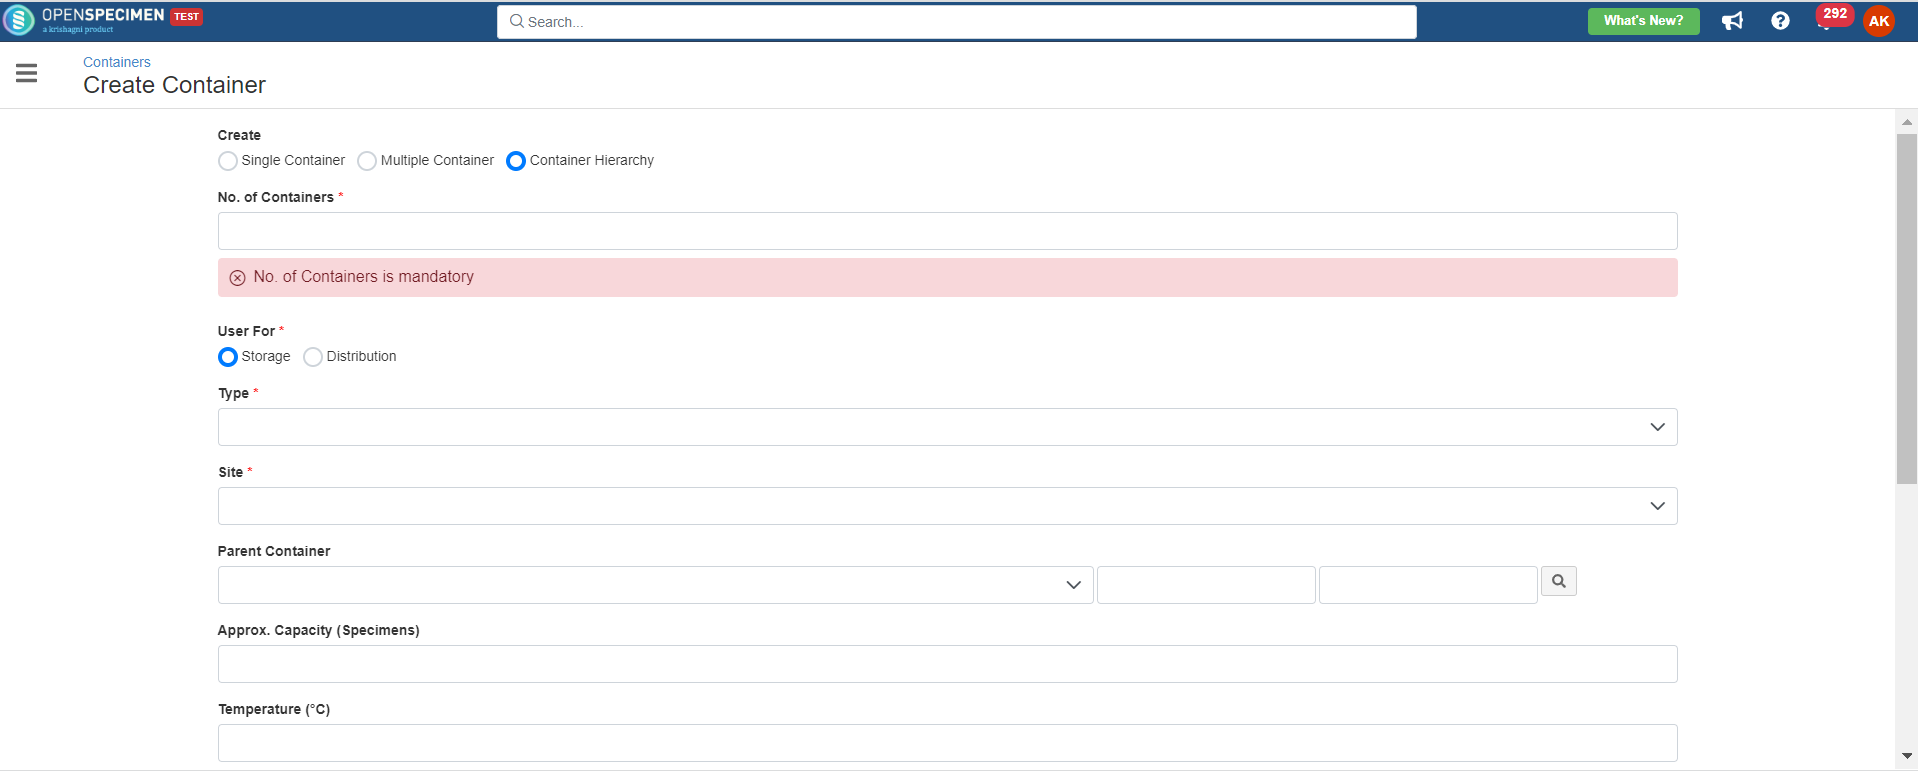 Image Added Image Added
4. Under the 'Type' field, select type of container you wish to create, for example, "-80 Freezer." 5. Enter mandatory details as mentioned below: | Expand |
|---|
| title | Expand for mandatory details |
|---|
|
| Field Title | Mandatory | Description |
|---|
| No. of containers | Yes | This will create multiple containers of with same dimensions. | | Used for | Yes | Specifies whether the container created will be used as only storage container or a temporary storage container to store distributed samples | | Type | Yes | Type of container you wish to create for your repository. | | Parent Site | Yes | The site where the physical container exists. | | Parent Container | No | The parent container under which the container has to be created. | | Approximate Capacity | No | This is automatically calculated by default. The user can also manually specify in case the whole freezer is not created at once. Based on this the utilization presentation is shown. | | Temperature | No | The temperature of the container. | | Store Specimens | No | It depends on the type of container that directly holds the sample. e.g. a freezer or a rack does not store specimens, whereas a box stores specimens. | | Display in Map | No | Within the container map, the user can choose to display specimens stored by their PPID (participant protocol ID of the participant) or specimen label or Specimen barcode. | | Collection Protocol | No | To dedicate a container to specific collection protocol. This will allow you to restrict the container for a particular CP | | Specimen Types | No | To restrict the container to hold only specific types of samples. |
|
6. Click on the 'Create' button. 7. You will be able to see your container in the list. This will create the whole freezer with all racks and boxes with names auto-generated based on the format specified at the container type level.
|
...
| Expand |
|---|
| title | Click here to view the steps... |
|---|
|
Go to containers list page and click on 'Create' button Select option 'Single Container' of the 'Create' field
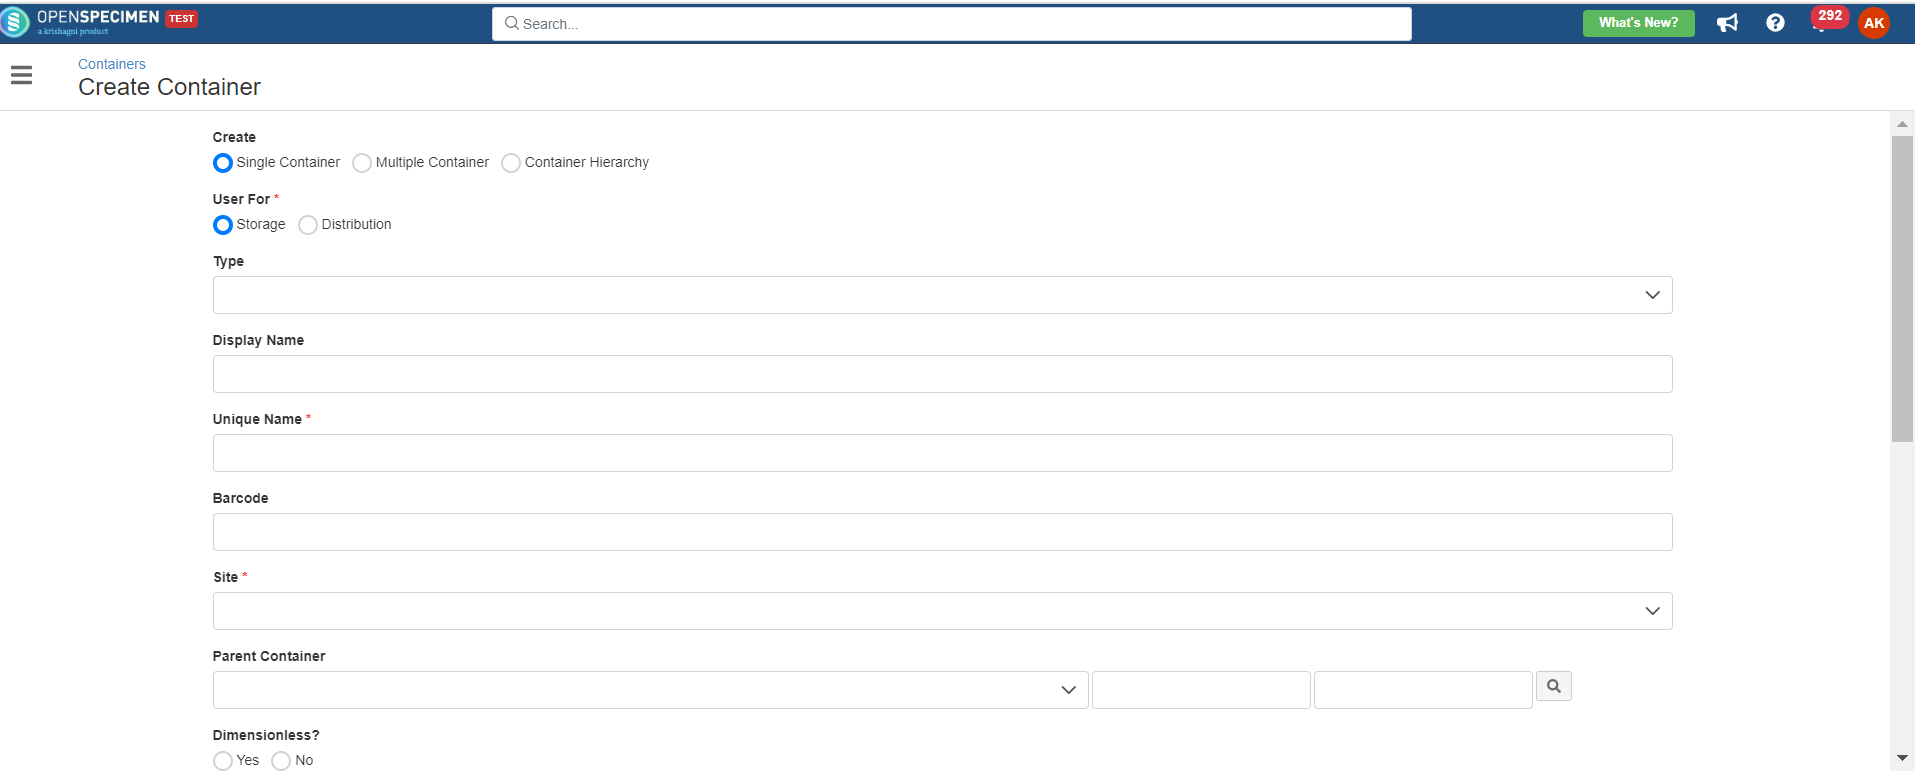 Image Removed Image Removed Image Added Image Added 3. Enter all the mandatory details and click on 'Create' button | Expand |
|---|
| title | Expand for mandatory details |
|---|
|
| Field Title | Mandatory | Description |
|---|
| Used for | Yes | Specifies whether the container created will be used as only storage container or a temporary storage container to store distributed samples | | Type | No | Type of container you wish to create for your repository. | | Display name | No | Additional name field which allows the user to label the container as per their requirement. | | Unique name | Yes | System auto generated unique label based on the format set at container type level. | | Parent Container | No | The parent container under which the container has to be created. | | Barcode | No | Can be used in case pre barcoded storage containers. | | Site | Yes | The site where the physical container exists. | | Dimension | Yes | The size of the container in rows and columns. For example, Freezer has 5 shelves, each shelf having 4 racks, dimensions will be 5 and 4. | | Position Labeling | Yes | Within the container map, the user can choose how the positions should be displayed - 'Linear'(1,2,3,....81) or 'Row and Column'(1,1;1,2;1,3.....) | | Approximate Capacity | No | This is automatically calculated by default. The user can also manually specify in case the whole freezer is not created at once. Based on this the utilization presentation is shown. | | Position Assignments | Yes | The position assignment of the container, e.g. Horizontal, top down, left to right etc. | | Temperature | No | The temperature of the container. | | Store Specimens | No | It depends on the type of container that directly holds the sample. e.g. a freezer or a rack does not store specimens, whereas a box stores specimens. | | Display in Map | No | Within the container map, the user can choose to display specimens stored by their PPID (participant protocol ID of the participant) or specimen label. | | Collection Protocol | No | To dedicate a container to specific collection protocol. | | Specimen Types | No | To restrict the container to hold only specific types of samples. |
|
|
...
| Expand |
|---|
| title | Click here to view the steps... |
|---|
|
Go to containers list page and click on 'Create' button Select the option 'Multiple Containers' of the 'Create' field
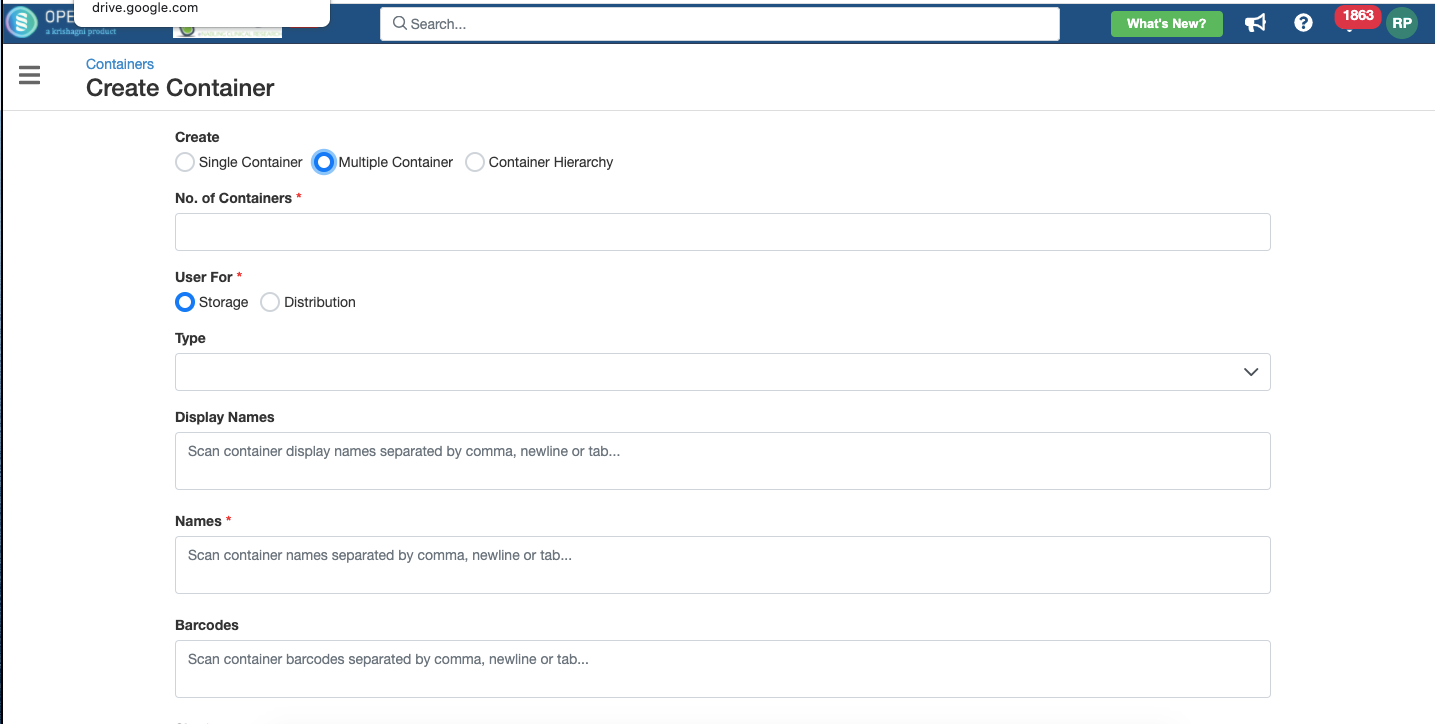 Image Modified Image Modified 3. Enter all the mandatory details, specify the number of containers to be created and click on 'Create' button | Expand |
|---|
|
| title | Expand for mandatory details |
|---|
|
Please find below table
Field Title | Mandatory | Description |
No. of containers | Yes | This will create multiple containers of with same dimensions. |
Used for | Yes | Specifies whether the container created will be used as only storage container or a temporary storage container to store distributed samples |
Type | No | Type of container you wish to create for your repository. |
Display Name | No | Display Names of containers (from v10.0.RC2 onwards) |
Name | Yes | Comma separated values of unique names for containers (if container type is not selected) (from v10.0.RC2 onwards) |
Barcode | No | Comma separated values of unique names for containers (from v10.0.RC2 onwards) |
Site | Yes | The site where the physical container exists. |
Parent Container | No | The parent container under which the container has to be created. |
Dimension | Yes | The size of the container in rows and columns. For example, Freezer has 5 shelves, each shelf having 4 racks, dimensions will be 5 and 4. |
Position Labeling | Yes | Within the container map, the user can choose how the positions should be displayed - 'Linear'(1,2,3,....81) or 'Row and Column'(1,1;1,2;1,3.....) |
Position Assignments | Yes | The position assignment of the container, e.g. Horizontal, top down, left to right etc. |
Approximate Capacity | No | This is automatically calculated by default. The user can also manually specify in case the whole freezer is not created at once. Based on this the utilization presentation is shown. |
Temperature | No | The temperature of the container. |
Store Specimens | No | It depends on the type of container that directly holds the sample. e.g. a freezer or a rack does not store specimens, whereas a box stores specimens. |
Display in Map | No | Within the container map, the user can choose to display specimens stored by their PPID (participant protocol ID of the participant) or specimen label. |
Collection Protocol | No | To dedicate a container to specific collection protocol. |
Specimen Types | No | To restrict the container to hold only specific types of samples. |
| Note |
|---|
Parent Container is used only when you are creating sub-containers. You can create single or multiple containers without selecting any container type. Create containers in the top-down hierarchy. I.e. Freezer->Rack→Box. Restrictions set based on Collection Protocol and Specimen Types on any container is carried forward to all child containers below it by default. Restrictions can be set at any level.
|
Create dimensionless container
...
You can edit the details of the container you created at any time by selecting each level and then clicking on 'Edit' button.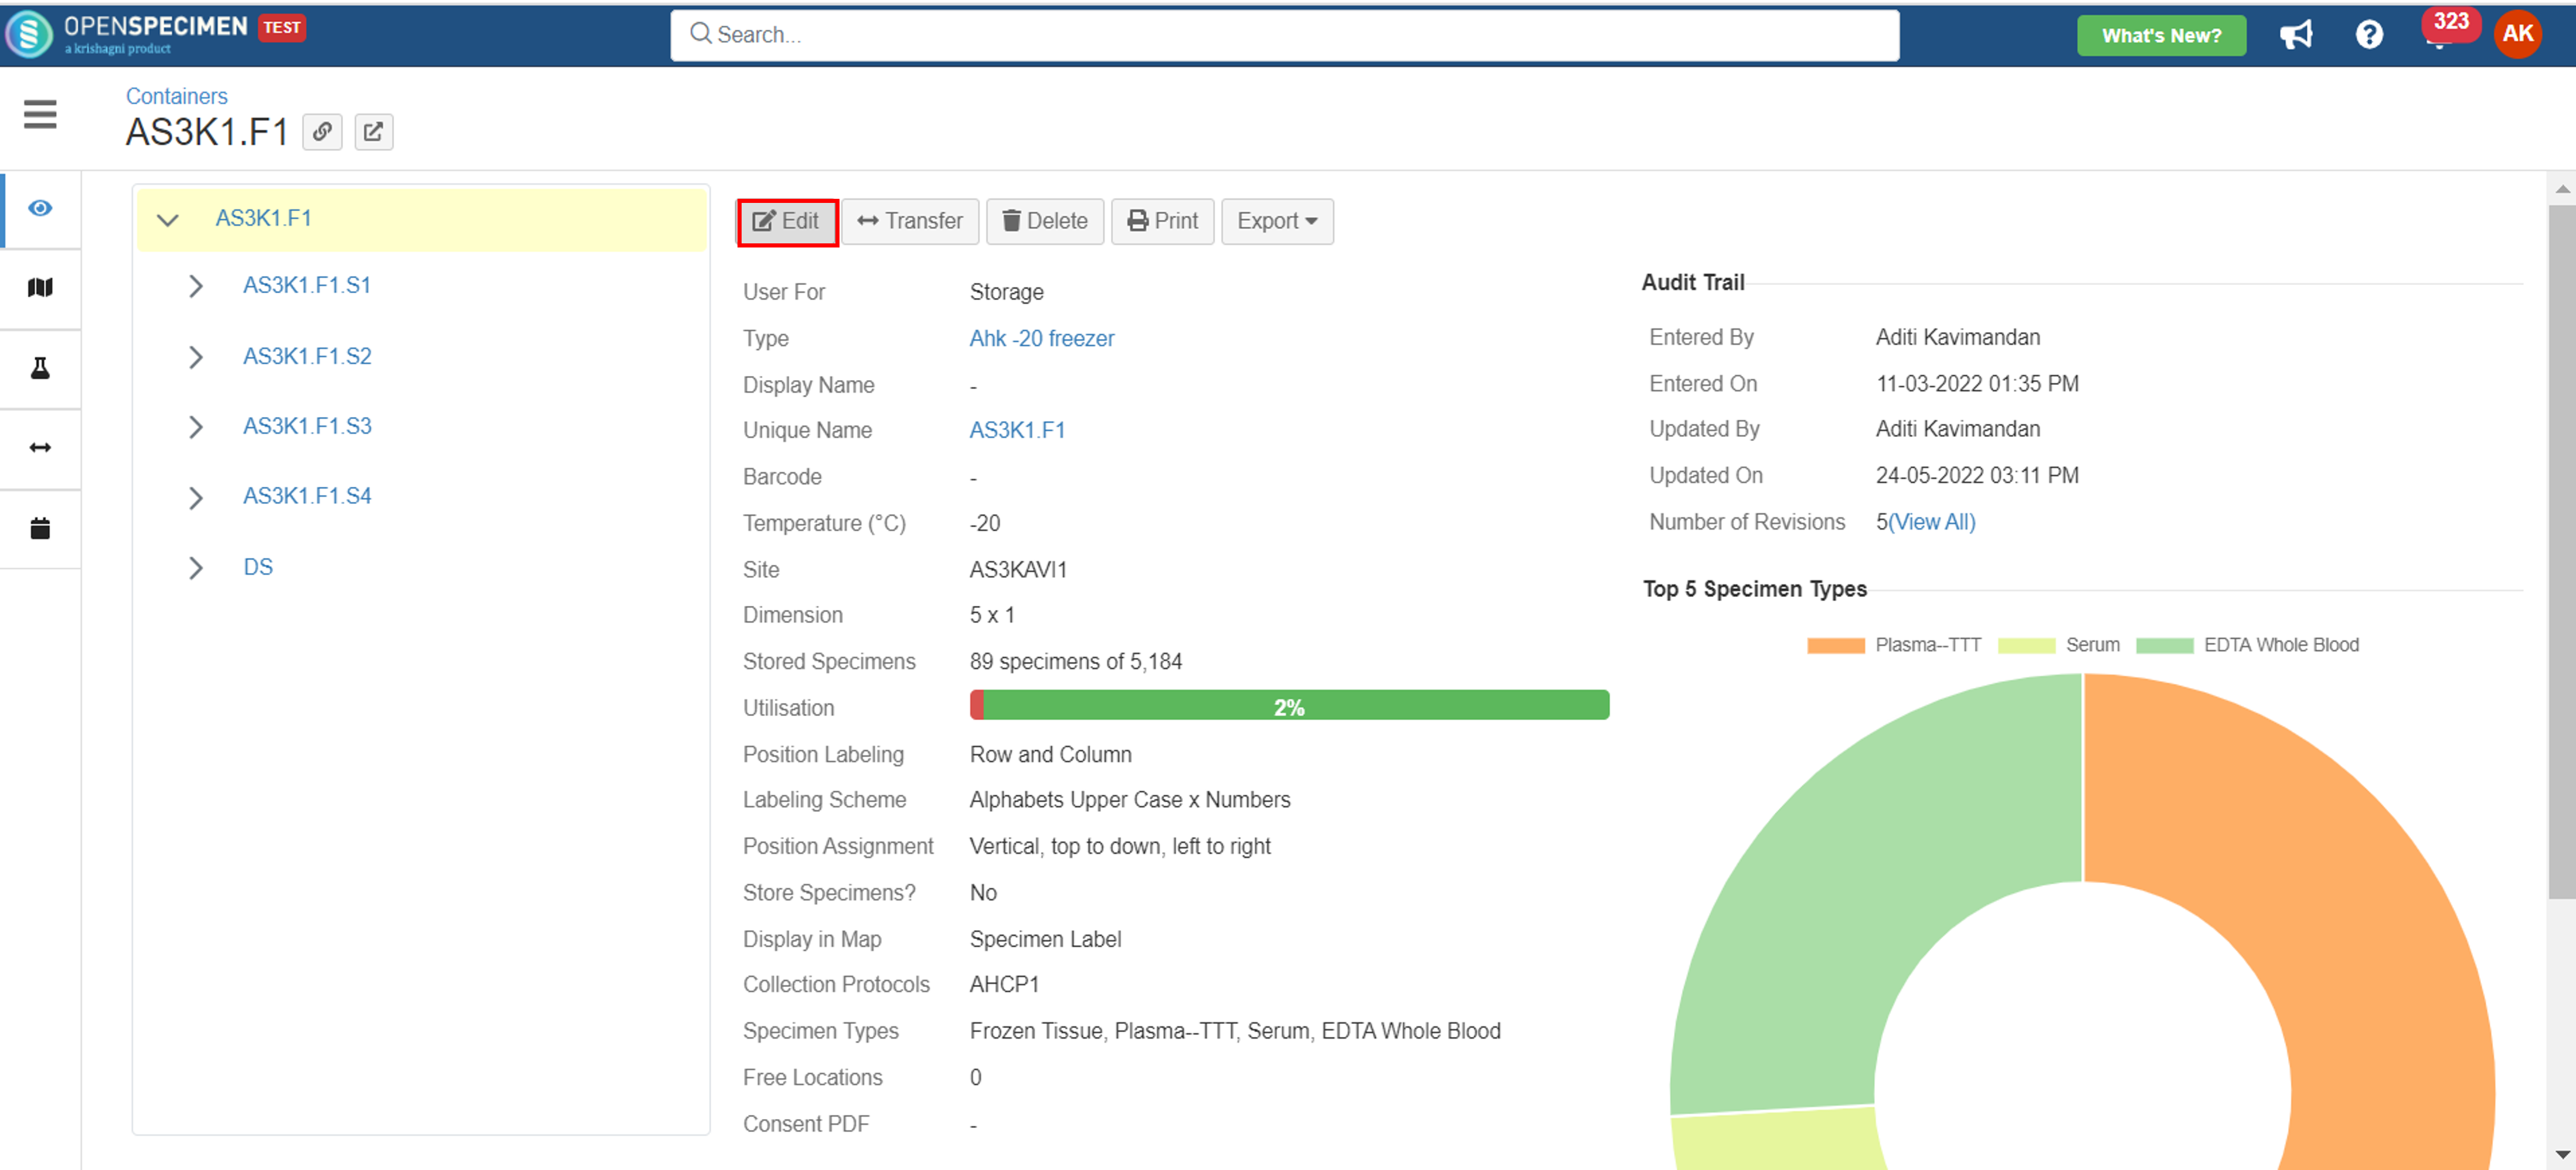 Image Removed
...
| Info |
|---|
Any changes applied at parent container level is applied to all the levels. |
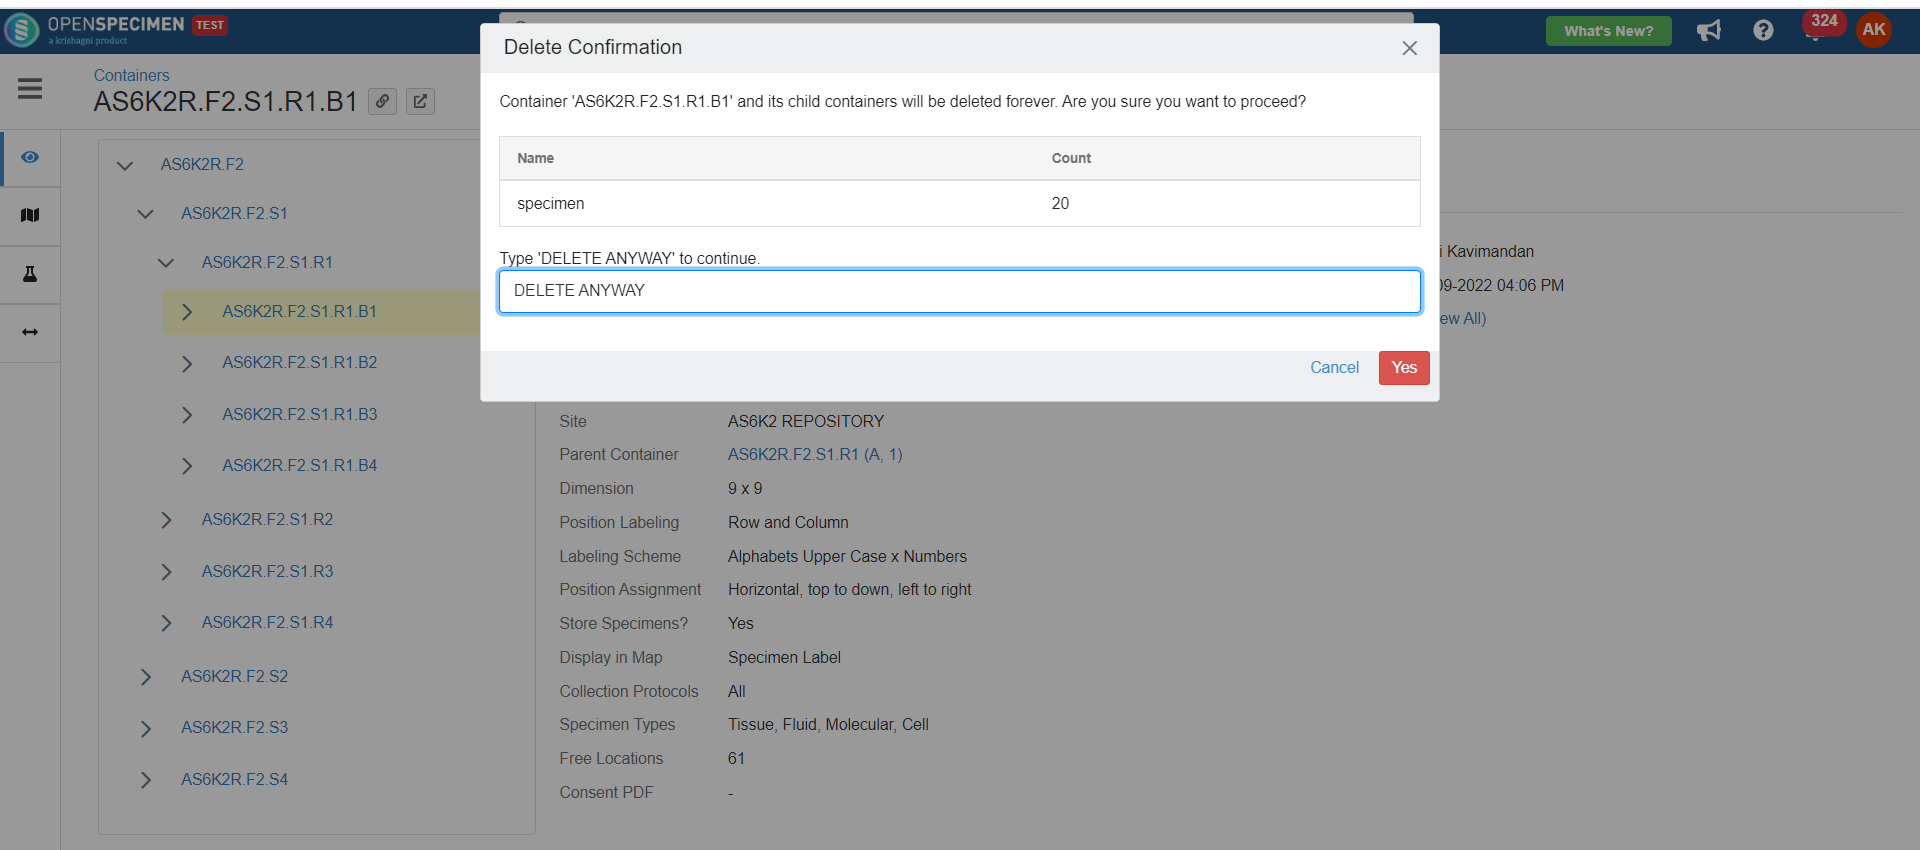
Delete Containers
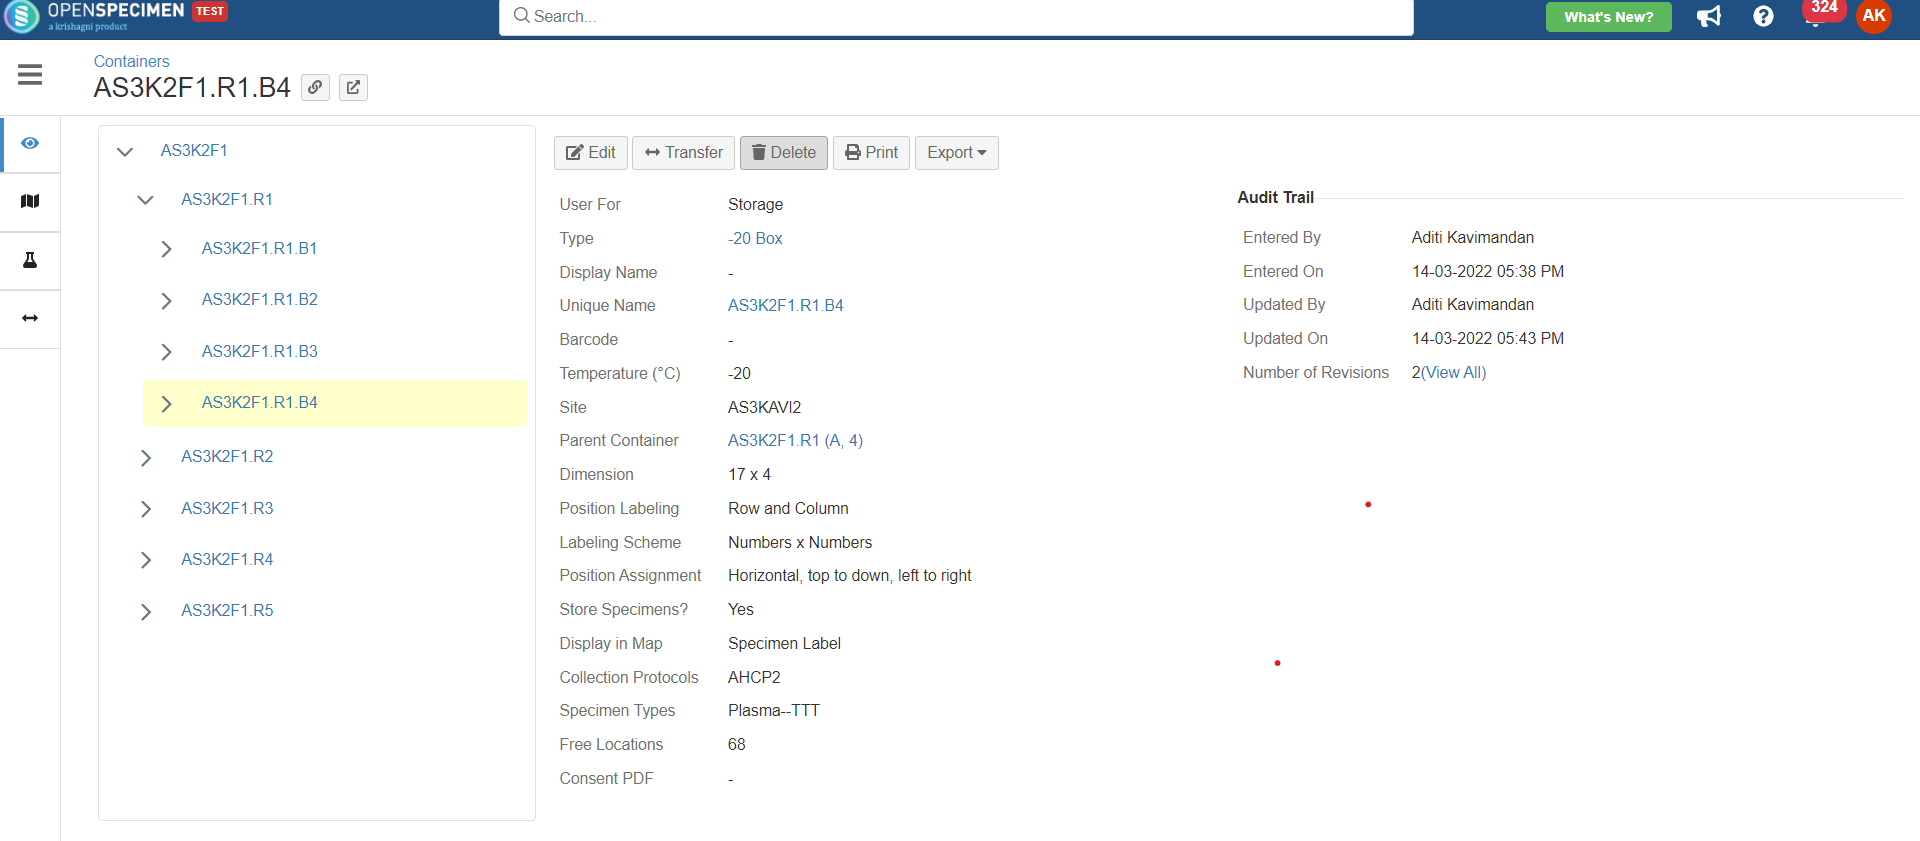
OpenSpecimen supports deleting multiple containers or at particular level.
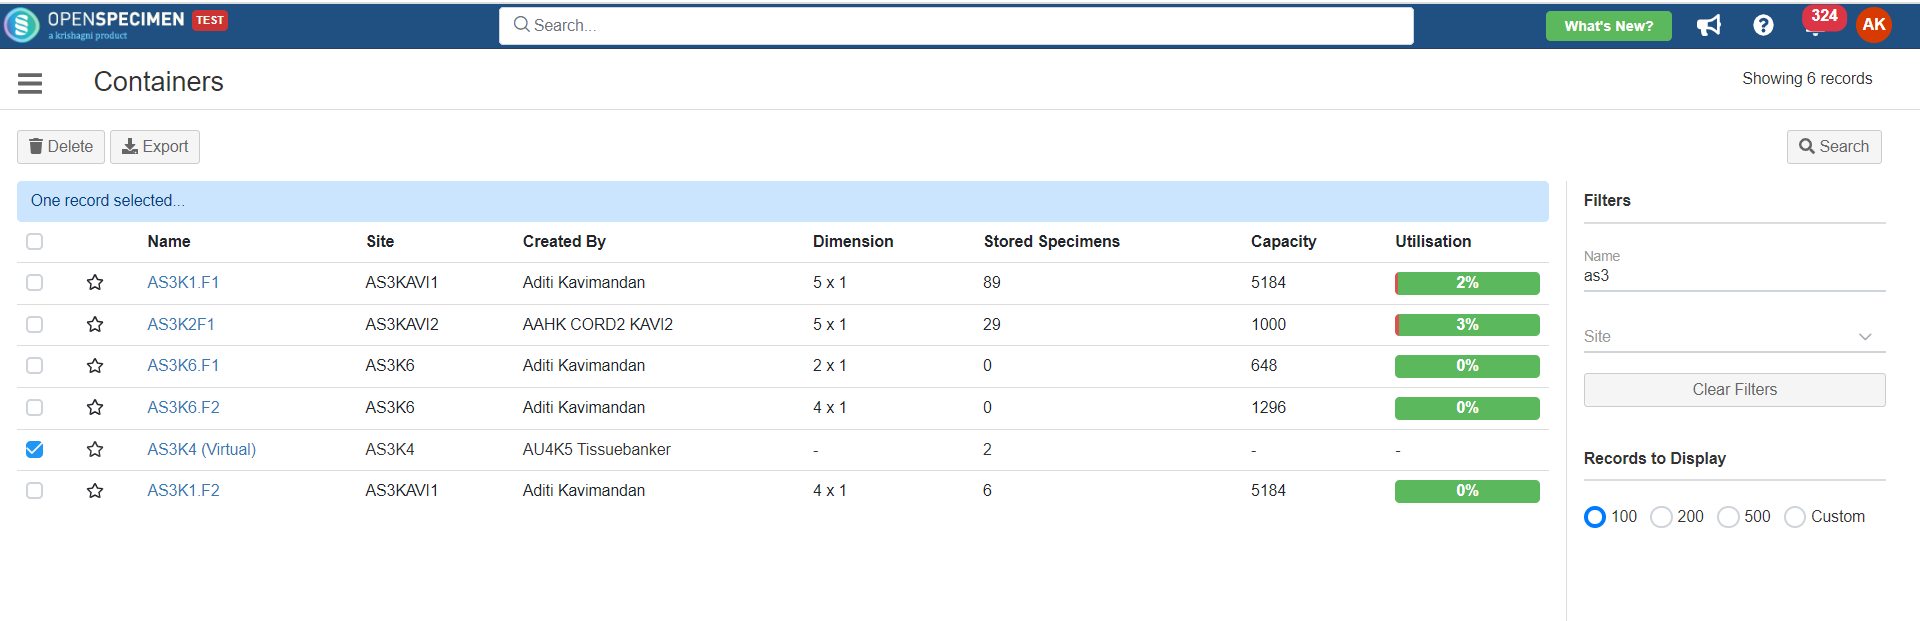
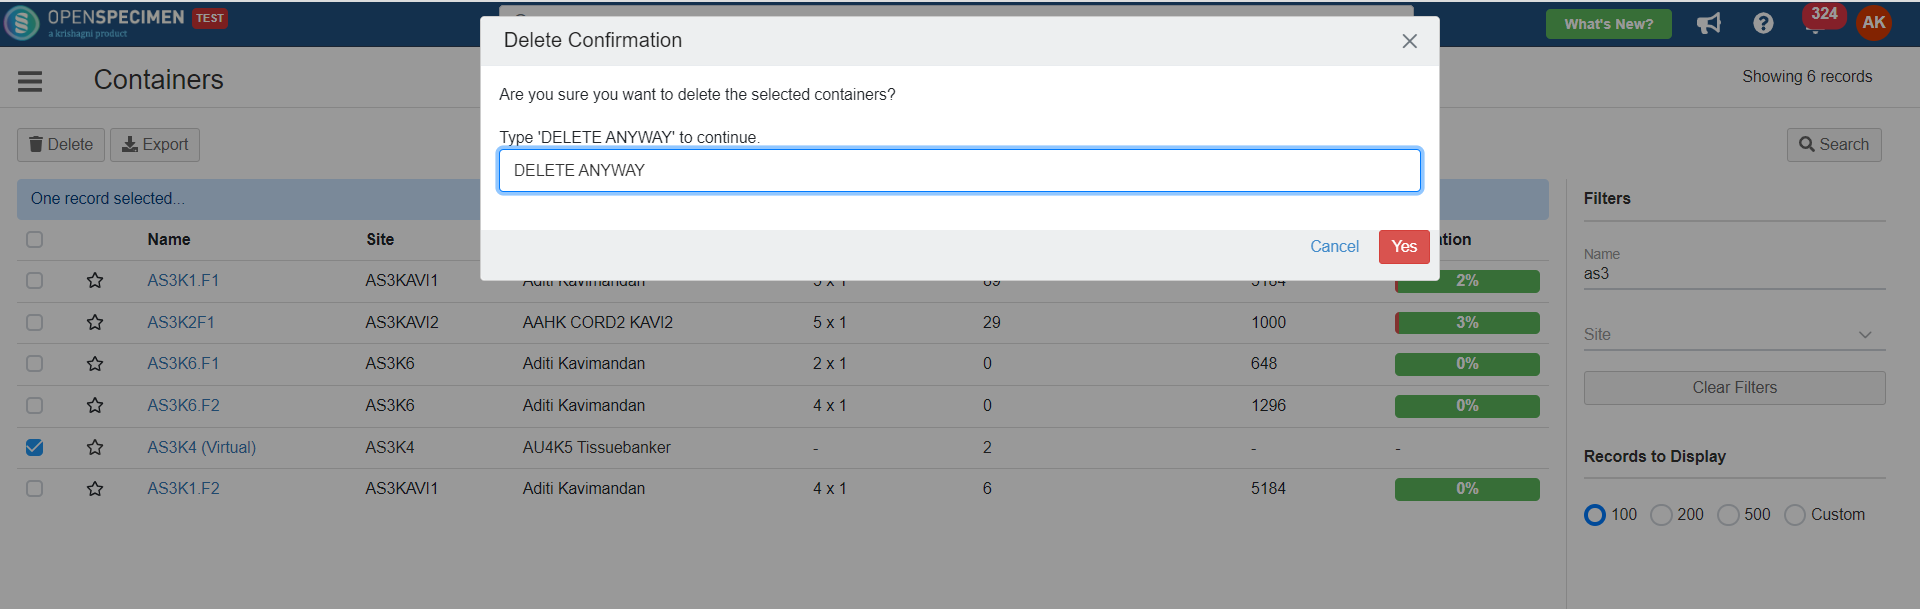
Deleting Multiple Containers
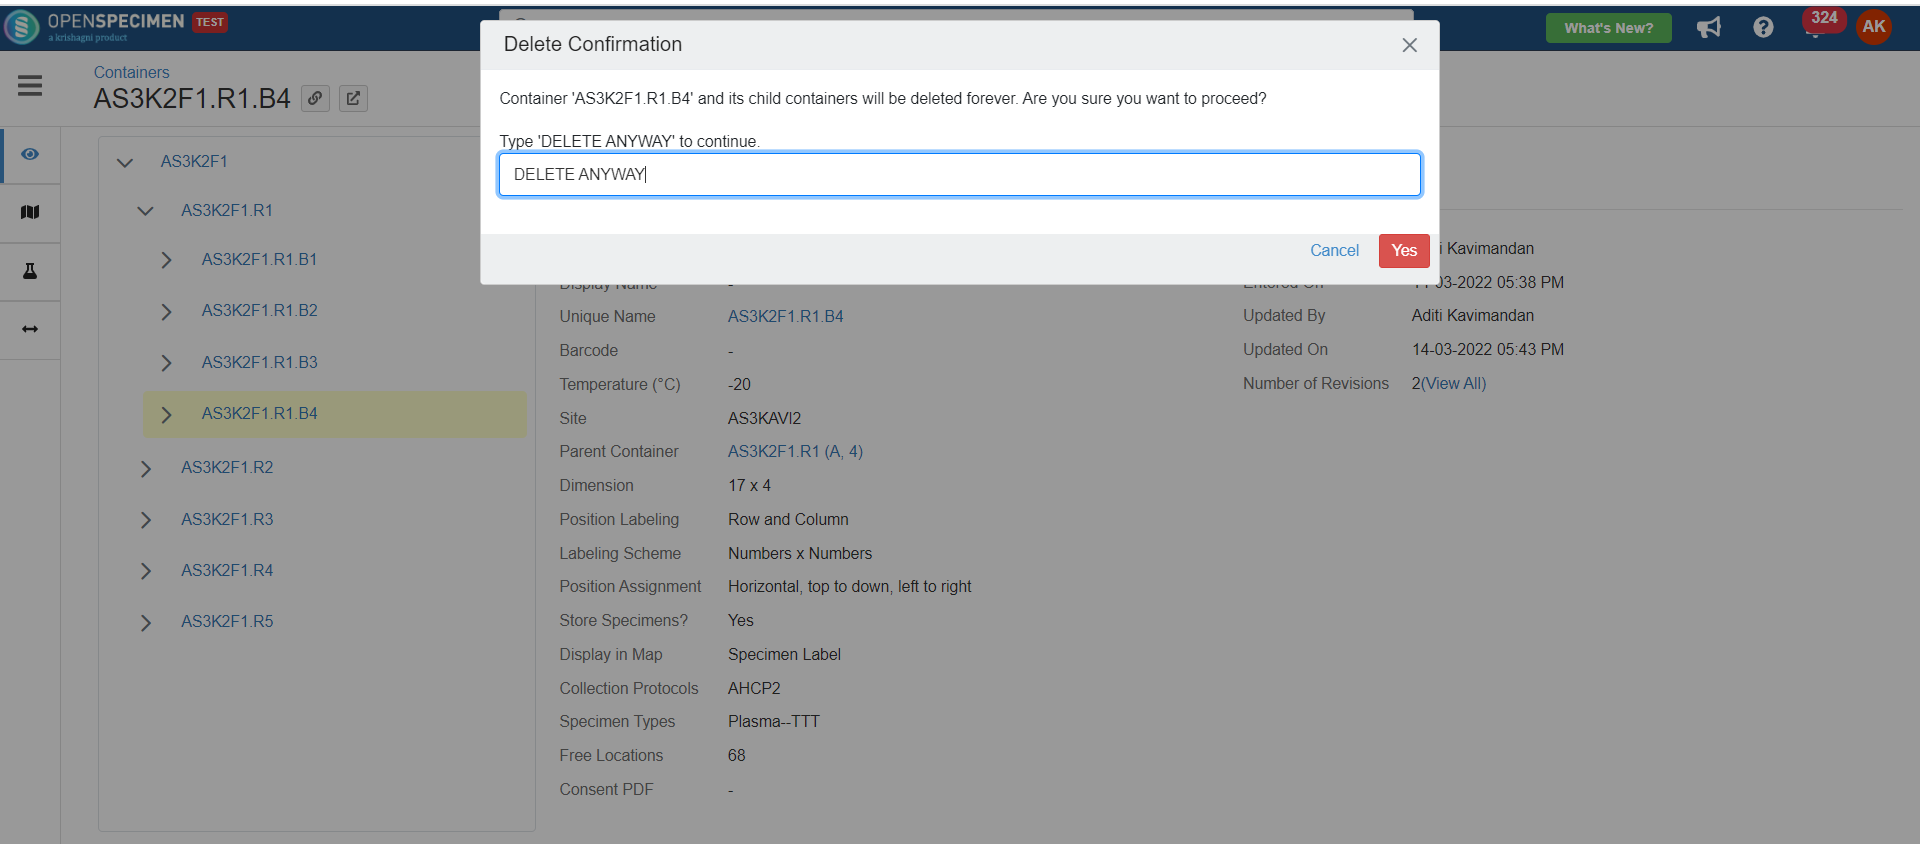
Deleting container from any level