...
| Expand |
|---|
The CP-specific forms such as registration, specimen, and visit level forms can be attached to one or multiple collection protocols. | Info |
|---|
The 'Associations' column displays a count of form associations. |
Steps 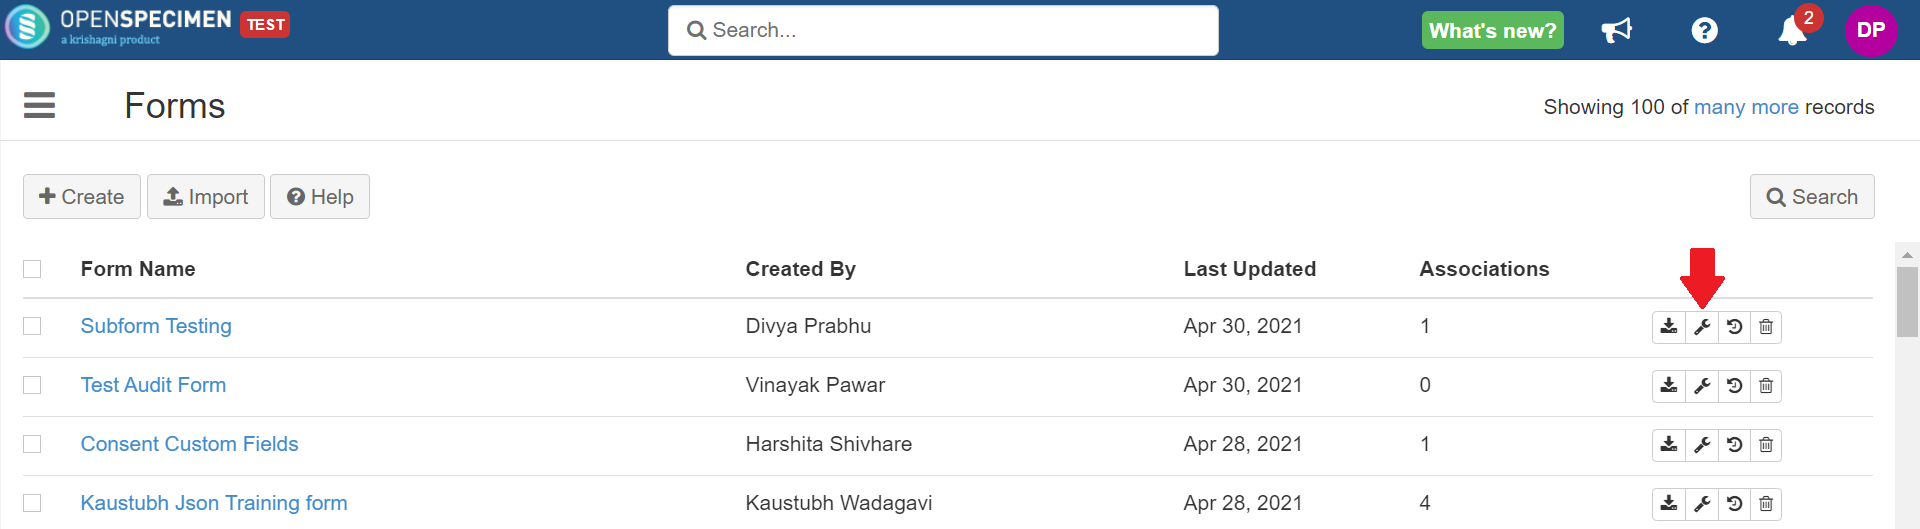 Select the CP-specific level, e.g., registration, specimen, or visit form (when levels not specific to CP such as container custom fields are selected, the options to select CP will not be displayed).
 Check the 'All Current and Future Collection Protocols' checkbox to link the form with all protocols in the system. If you want to link it to more than one Collection Protocol, click in the collection protocol box and select one or more collection protocols to which the form has to be linked.
In the case of custom fields (for example, forms attached at Distribution Protocol Custom Fields, Container Custom Fields, etc.), it will get attached to all distribution protocols or containers across the system. 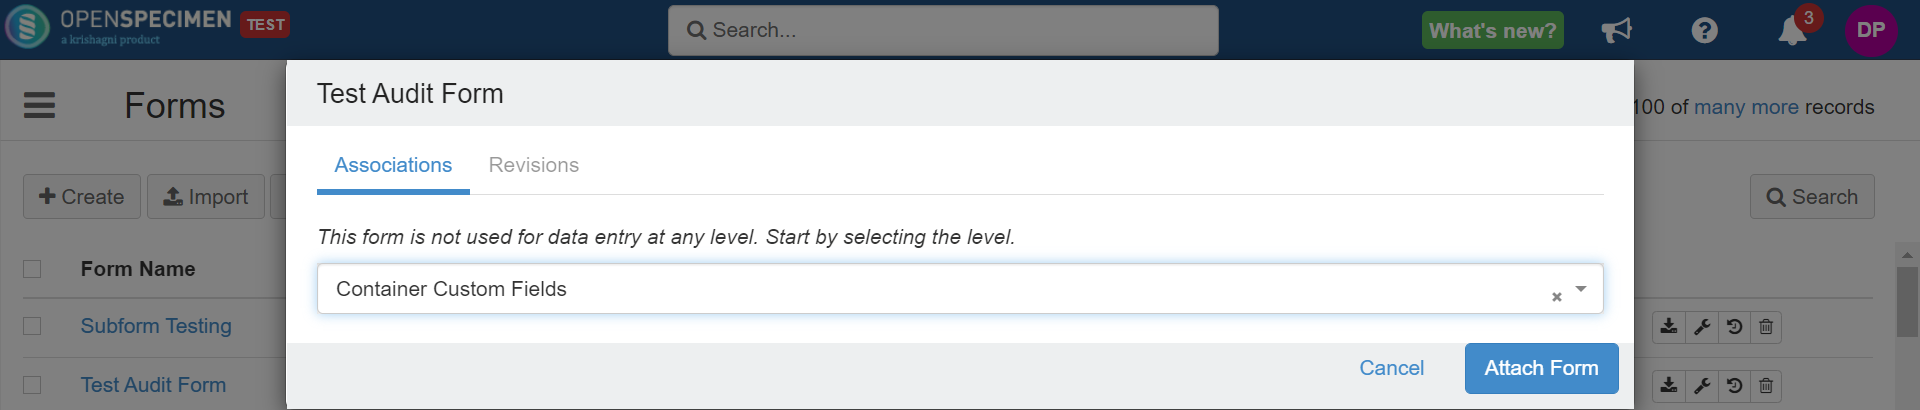 Image Removed Image Removed Image Added Image AddedFollowing are the levels where the forms can only be attached by the Super Admins CP custom field | Container custom filed | DP requirement custom field | DP custom field | Participant form | Project custom field | Registration custom field | Service request custom form | Site custom field | Specimen array event | Specimen slide event | User profile form |
|
As Custom Form
| Expand |
|---|
Level | Description |
|---|
Participant Forms | Forms linked at the participant level will be available under all CPs. Data entered at the 'Participant' level will be available under all CPs the participant is registered to.
E.g., If P1 is registered under CP1 and CP2, 'Participant Contact Details' entered for P1 under CP1 will also be available under CP2. Forms added at this level will be available under the forms tab on the participant overview page.
| Registration Forms | For CP-specific participant forms. E.g., 'Smoking history', which might only be required under Lung Cancer Protocol. Forms added at this level will be available under the forms tab on the participant overview page. | Specimen Array Event | To add custom fields to the "add event page" of the array. Multiple forms can be attached at this level. While adding an event, click the dropdown button in the event field to select the form. | Specimen Event | To add "custom events" to describe different stages of a specimen life cycle, e.g., Nano-drop event. Refer to the wiki page for more details. | Specimen Forms | Forms linked to this level will be available under the forms tab of any collected specimens of the attached CP. | Specimen Slide Event | To add custom fields on the add event page for the slide. Multiple forms can be attached at this level. While adding an event, click the dropdown button in the event field to select the form. | User Forms (New in v8.0) | To add forms at the “User“ level. The forms can be added to capture training records, and so on. Refer to the wiki page for more details. | Visit Forms | Forms linked to this level will be available under the forms tab of any occurred visit of the attached CP. |
|
...
Case 1: Changing the attachment level from ALL to single/multiple CP
| Expand |
|---|
Go to the Collection Protocol list page → More → Export.
 2. Select the name of the form in 'Record Type' and click on 'Export'. A CSV file containing the form records will be exported.  3. Go to the forms list page, search for the form for which the attachment was to be changed, click on the spanner icon and delete the previous attachment level.  4. Add the new attachment level and click on 'Done.' 5. Go to the exported form records CSV (exported in step 2) in any text editor. 6. Remove the first column (Identifier) and save the file. If the new attachment level added was CP specific, go to that CP’s patient list view page → More → Biospecimen Data. If the new attachment level added was not CP specific, go to the Collection Protocols list page and click on More → Biospecimen Data.
 7. Select the form name from the 'Record Type' dropdown and click on 'Validate and Import.'  |
Case 2: Changing the attachment level from single/multiple CP to ALL
| Expand |
|---|
Go to each CP's participant list page, to which the form is attached, click on 'Export.'
 2. Select the form name from the 'Record Type' dropdown and click on 'Export.'  3. Repeat steps 3 to 6 from Case 1. |
...
Make sure you do not delete the attachment of the form. This will result in the deletion of the data.
| Expand |
|---|
In this case, go to the CPG → Click on the 'Forms' tab.
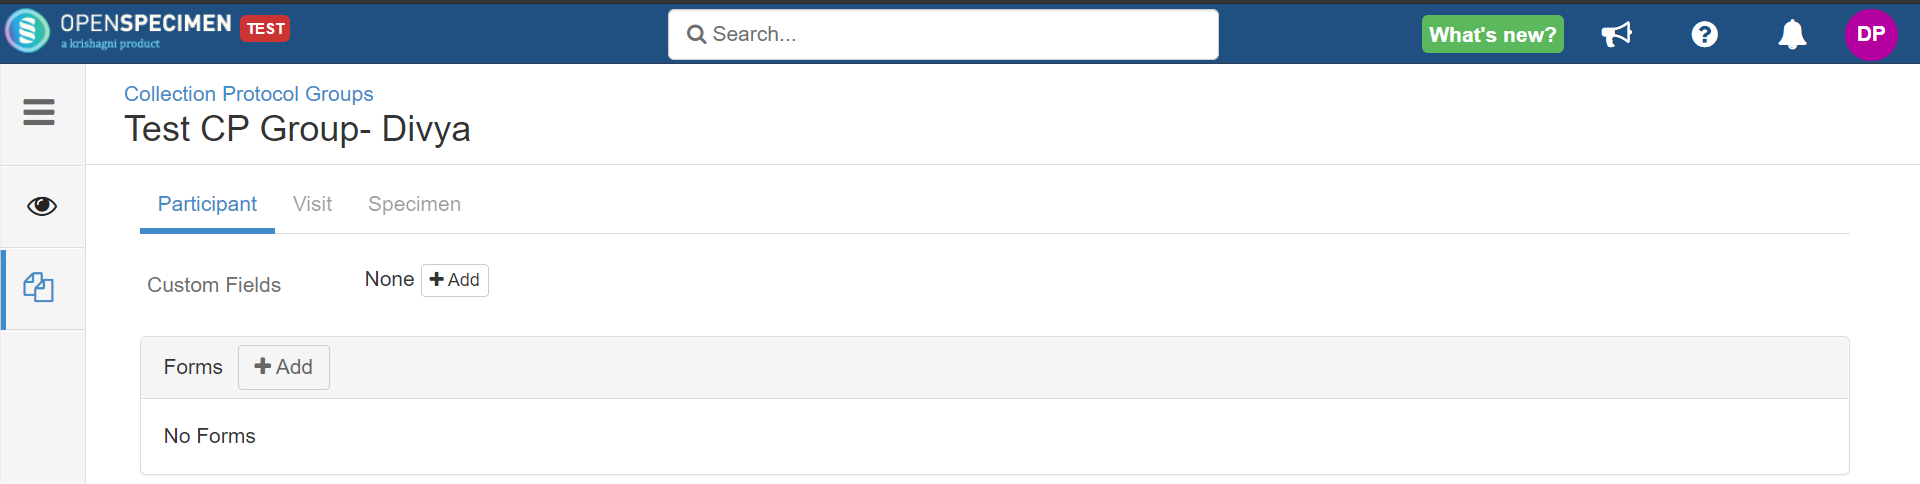 2. Select participant/visit/specimen where you want to attach the form. 3. If you wish to attach the form at the ‘Custom Fields' level, click on the 'Add’ button beside it. 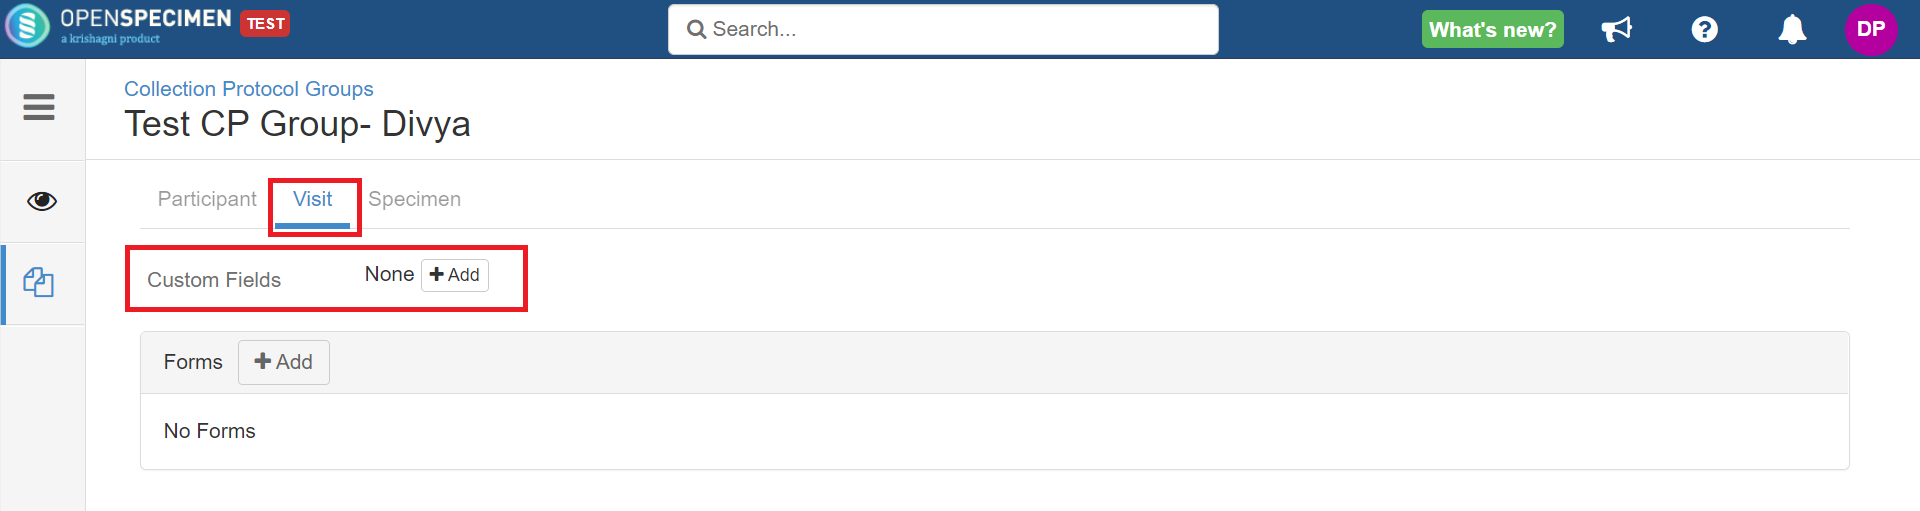 4. If you wish to attach the form at the ‘Visit Forms' level, click on the ‘Add’ button present beside 'Forms’ title. 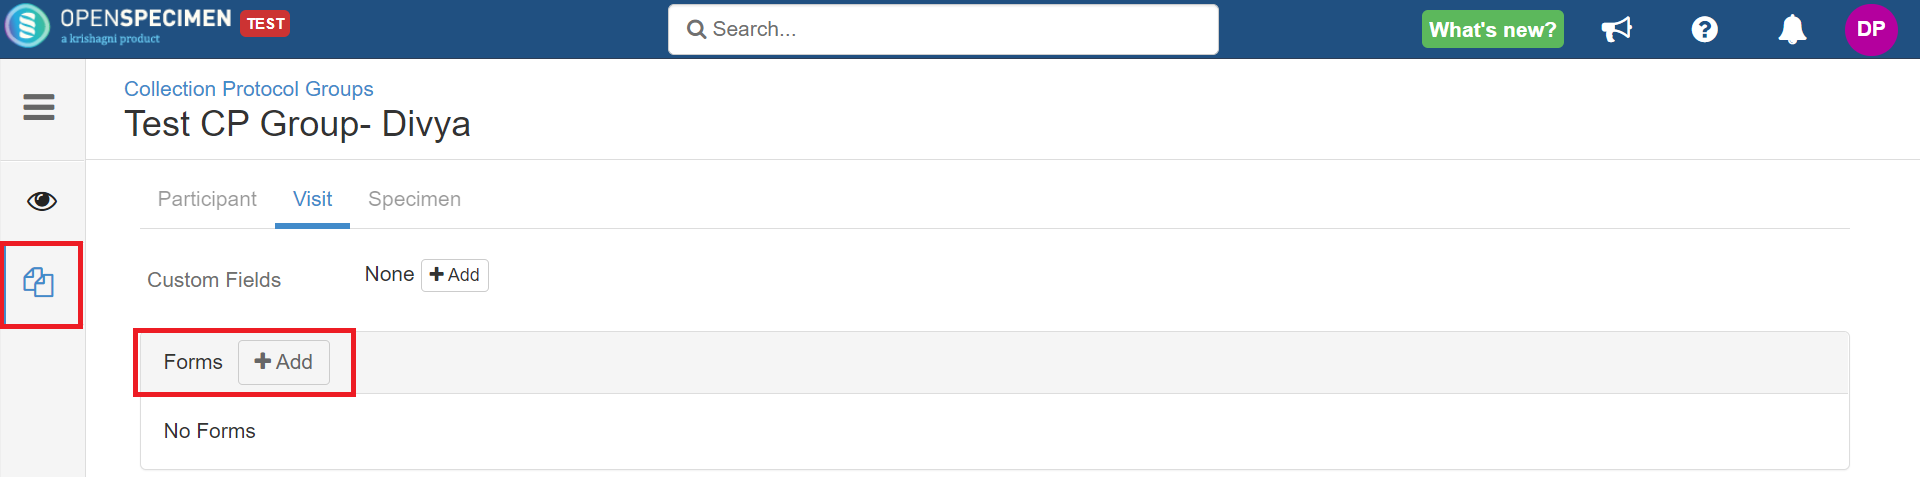 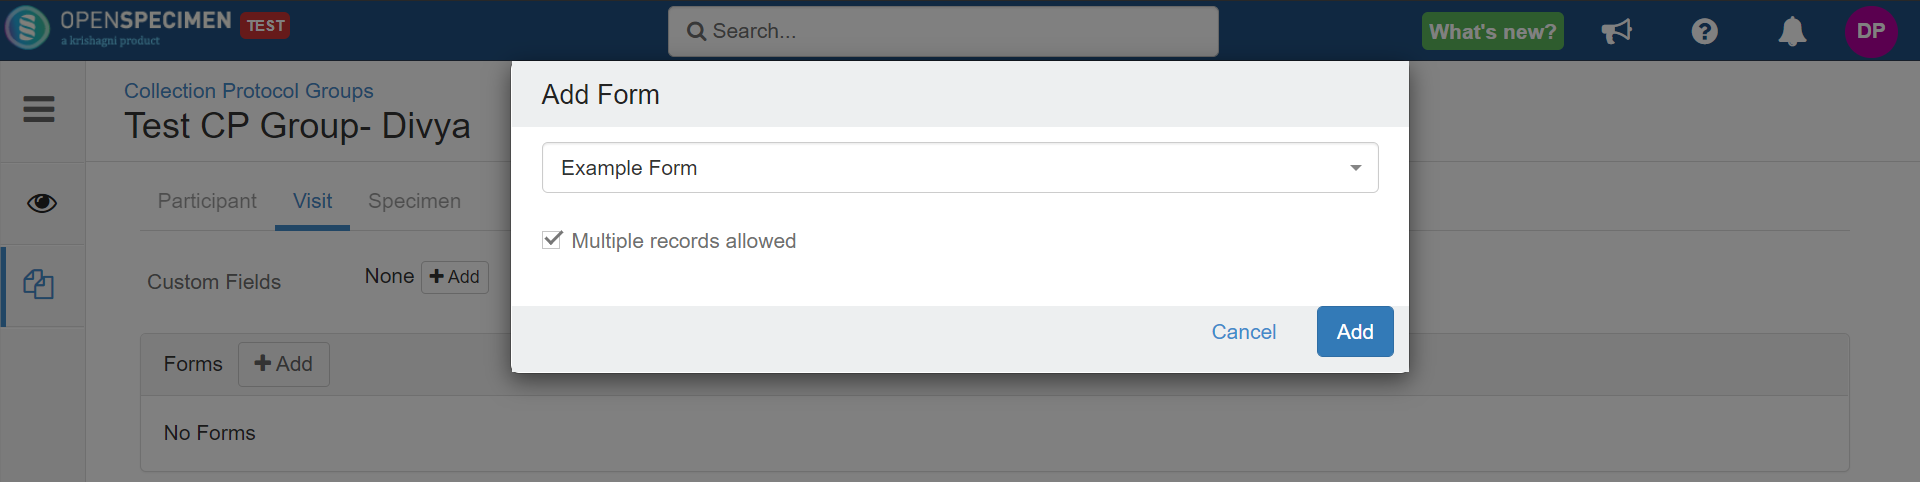 |