| Table of Contents |
|---|
You can configure background and font colors per specimen type classes or class in the container map view. This is aimed at making it easy to understand the type of specimens in the box quickly.
...
You can refer to the supported list of colors here.
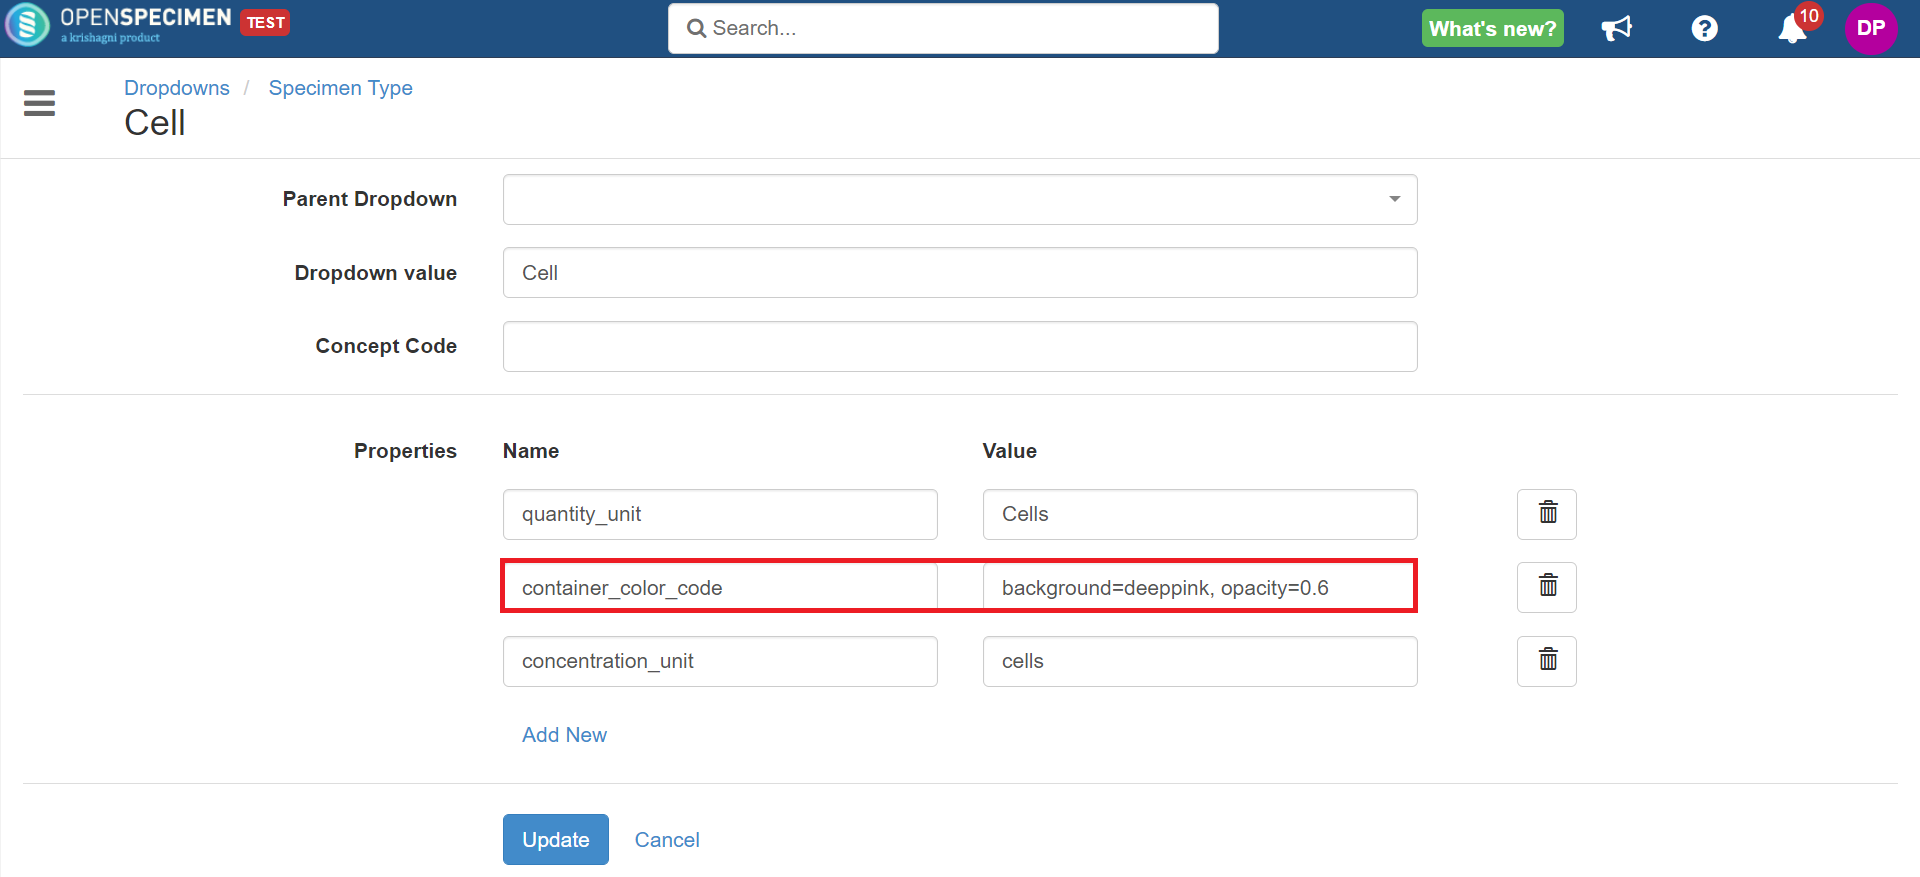
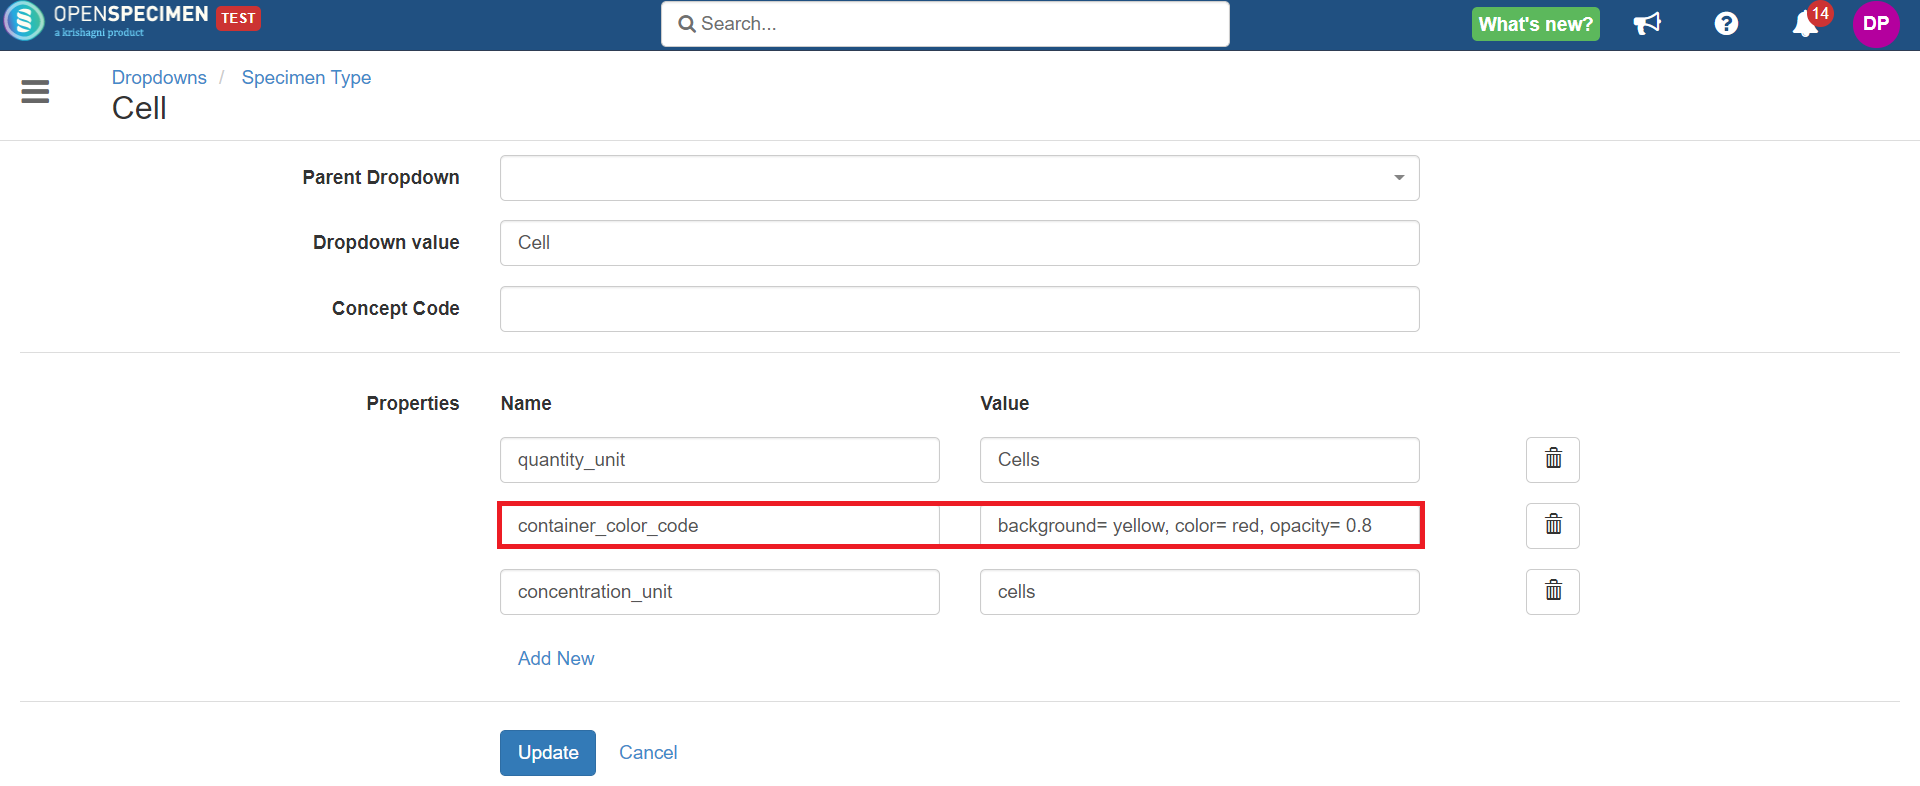
Details of each attribute to set color coding for containers in OpenSpecimen are explained in below table:
Attribute | Description |
|---|---|
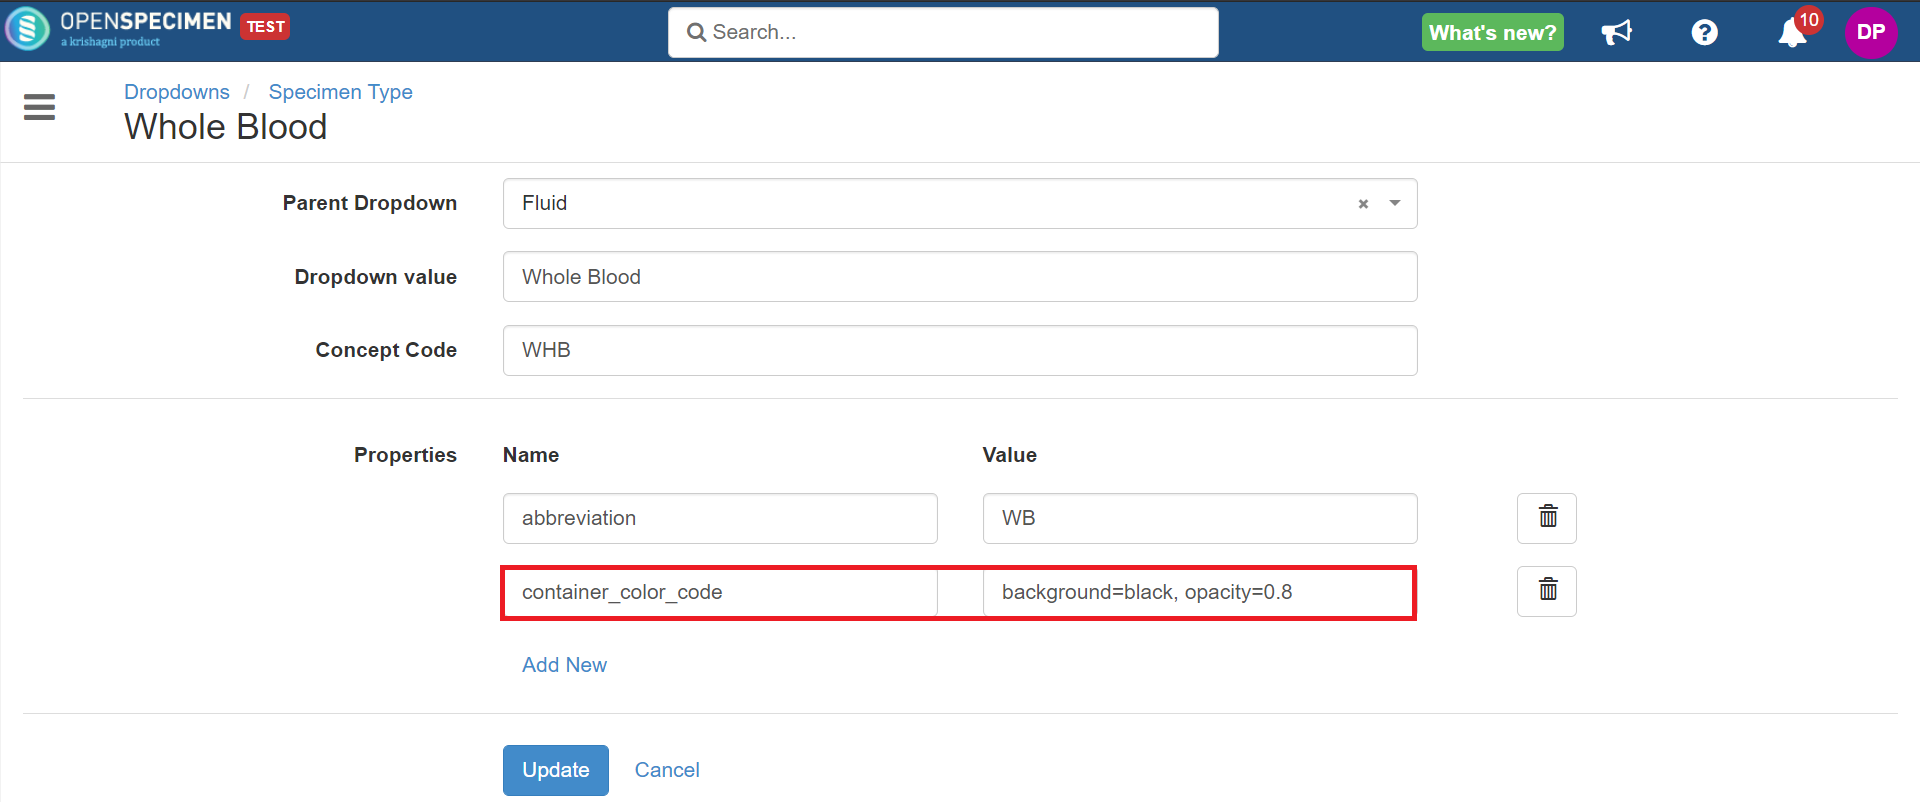
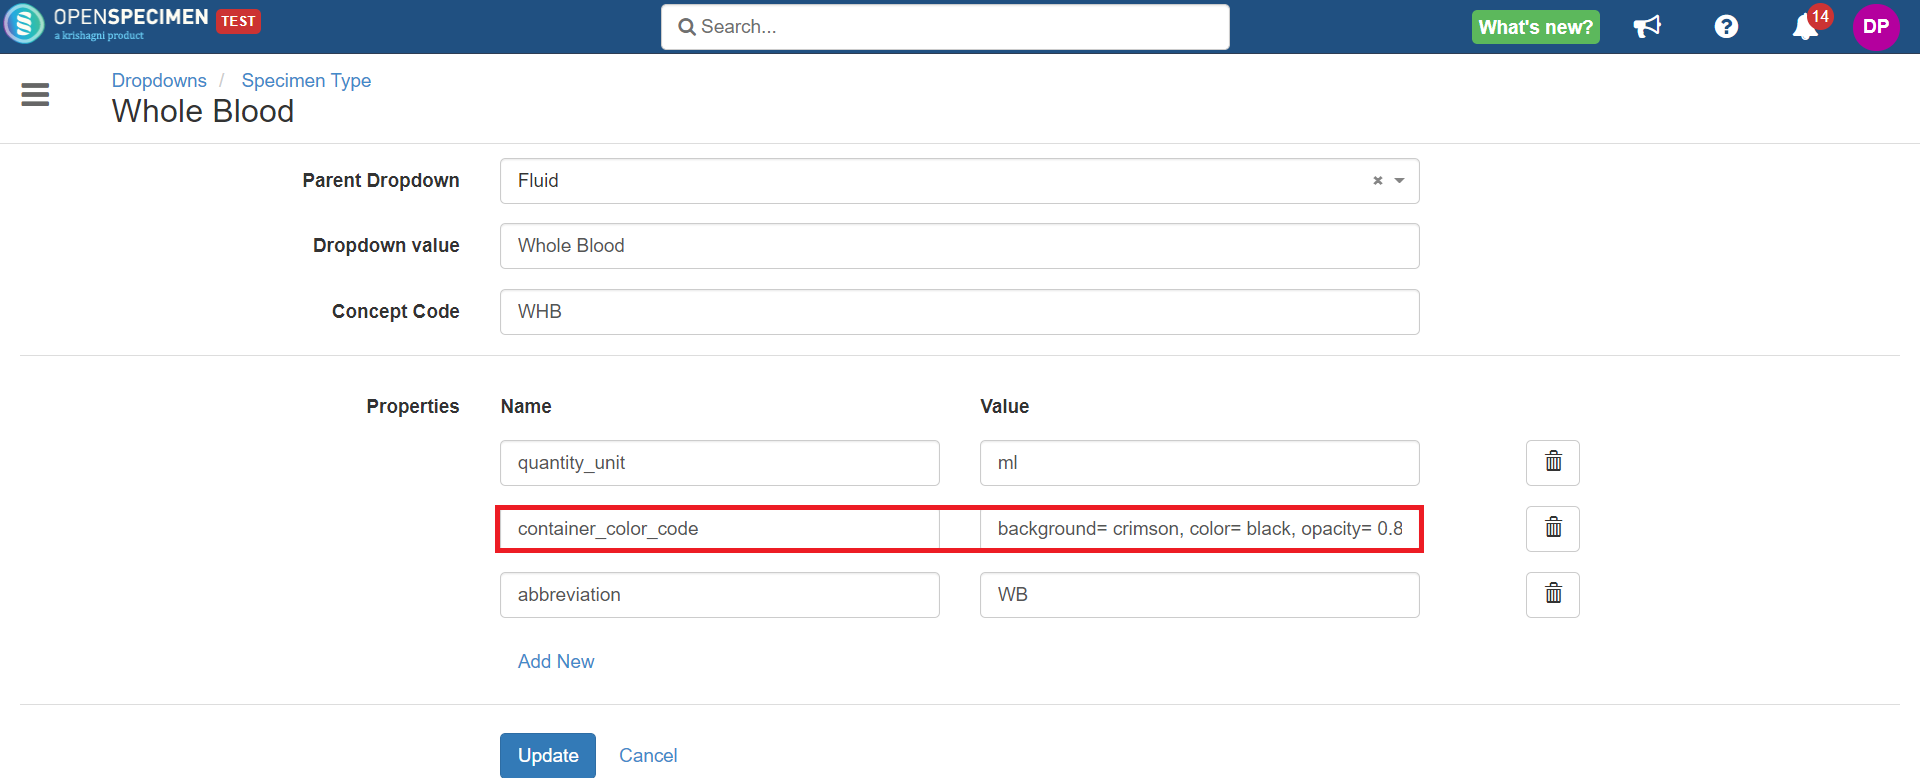
container_color_code | Property used to set container map view color coding. |
background | Value used to set the background color. |
color | Value used to set the font color. |
opacity | Value used to set the opacity of background color. |
Set Color at Specimen Class Level
...
| Expand | ||
|---|---|---|

   |
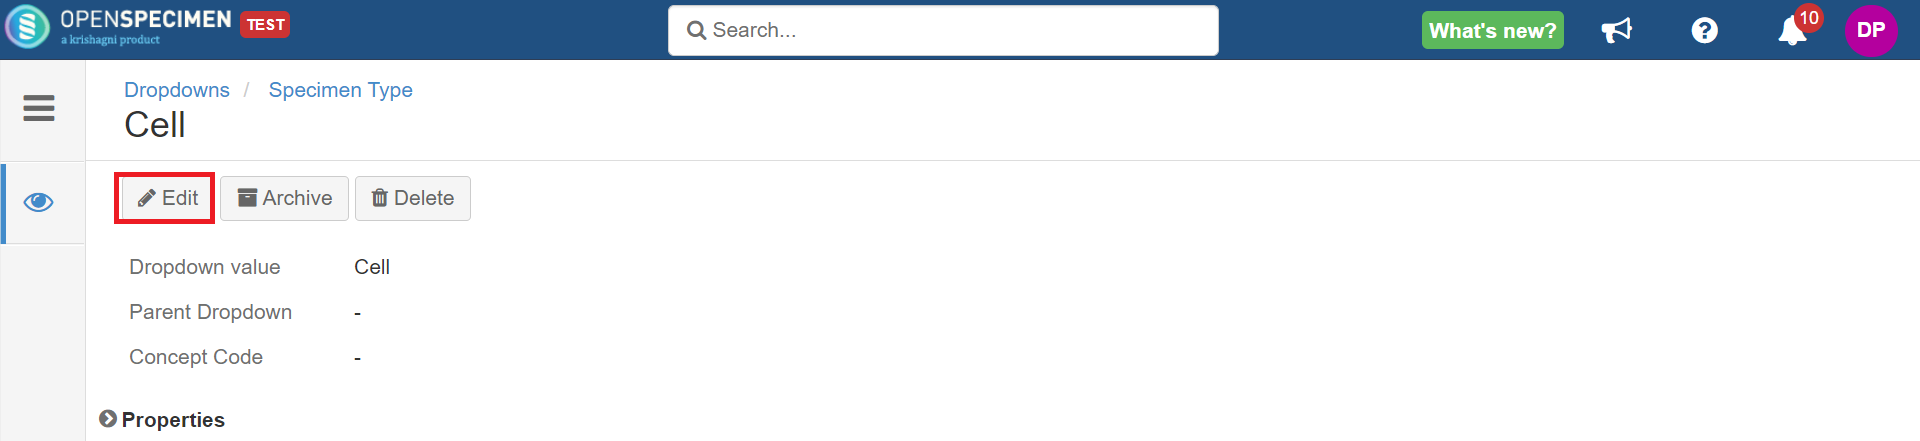
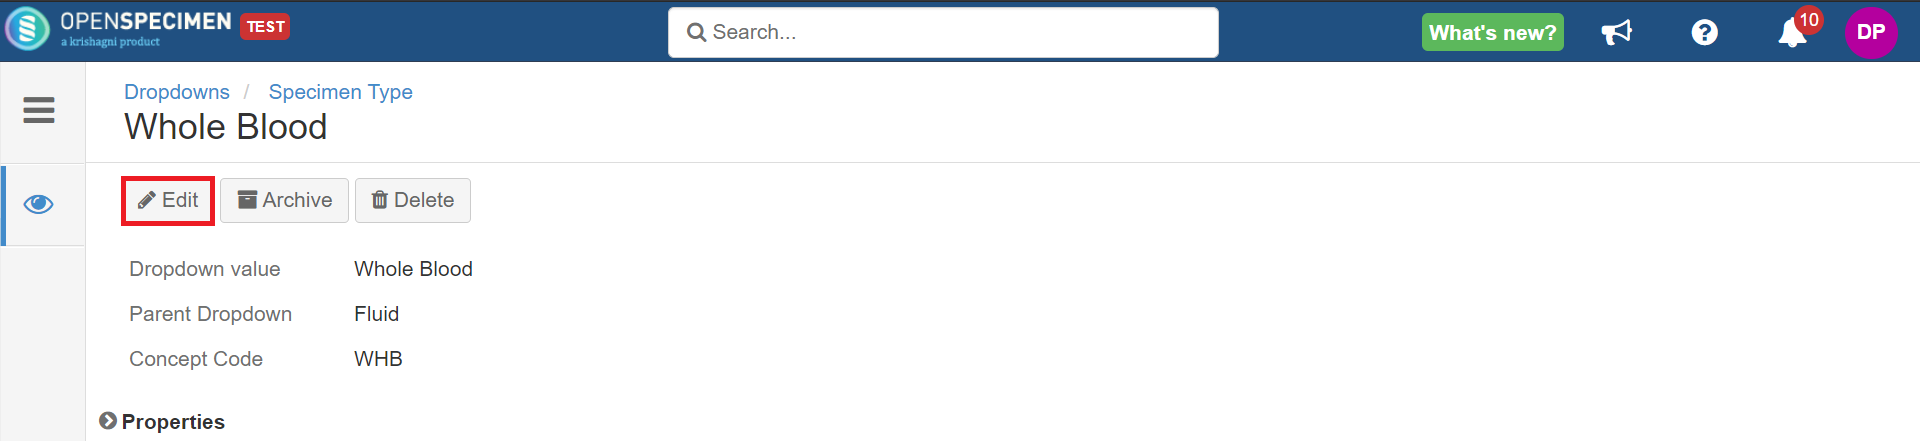
Set Color at Specimen Type Level
...
| Expand |
|---|

  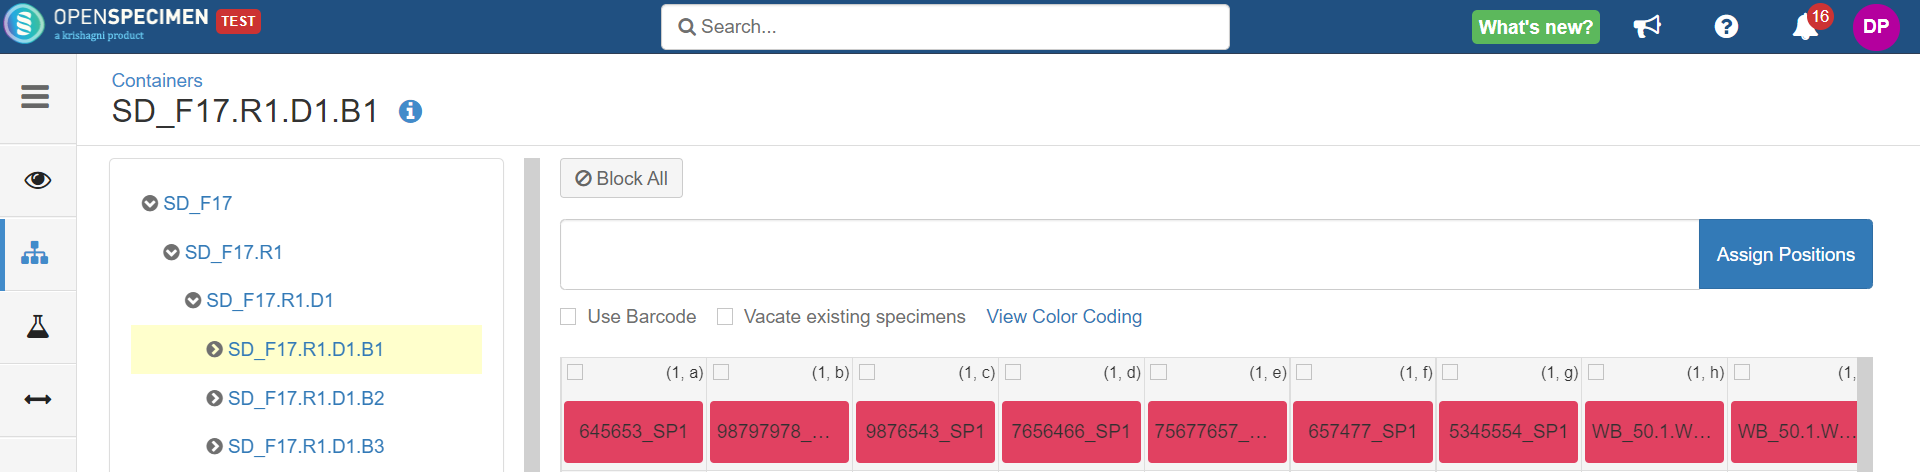 |
View Color Coding Legend
Go to the map view of the container where the specimens are stored and click on the 'View Color Coding' link.
...