...
You can configure colors per specimen type classes in the container map view. This is aimed at making it easy to quickly understand the type of specimens in the box.
...
Set Color
...
at Specimen Class Level
You can set different colors for specimen classes- molecular, fluid, cell, and tissue the color-coding at the specimen class level (I.e. Molecular, Fluid, Cell, and Tissue). This will be inherited by all the types under that class. This can be overridden at the individual type level.
| Expand | ||
|---|---|---|

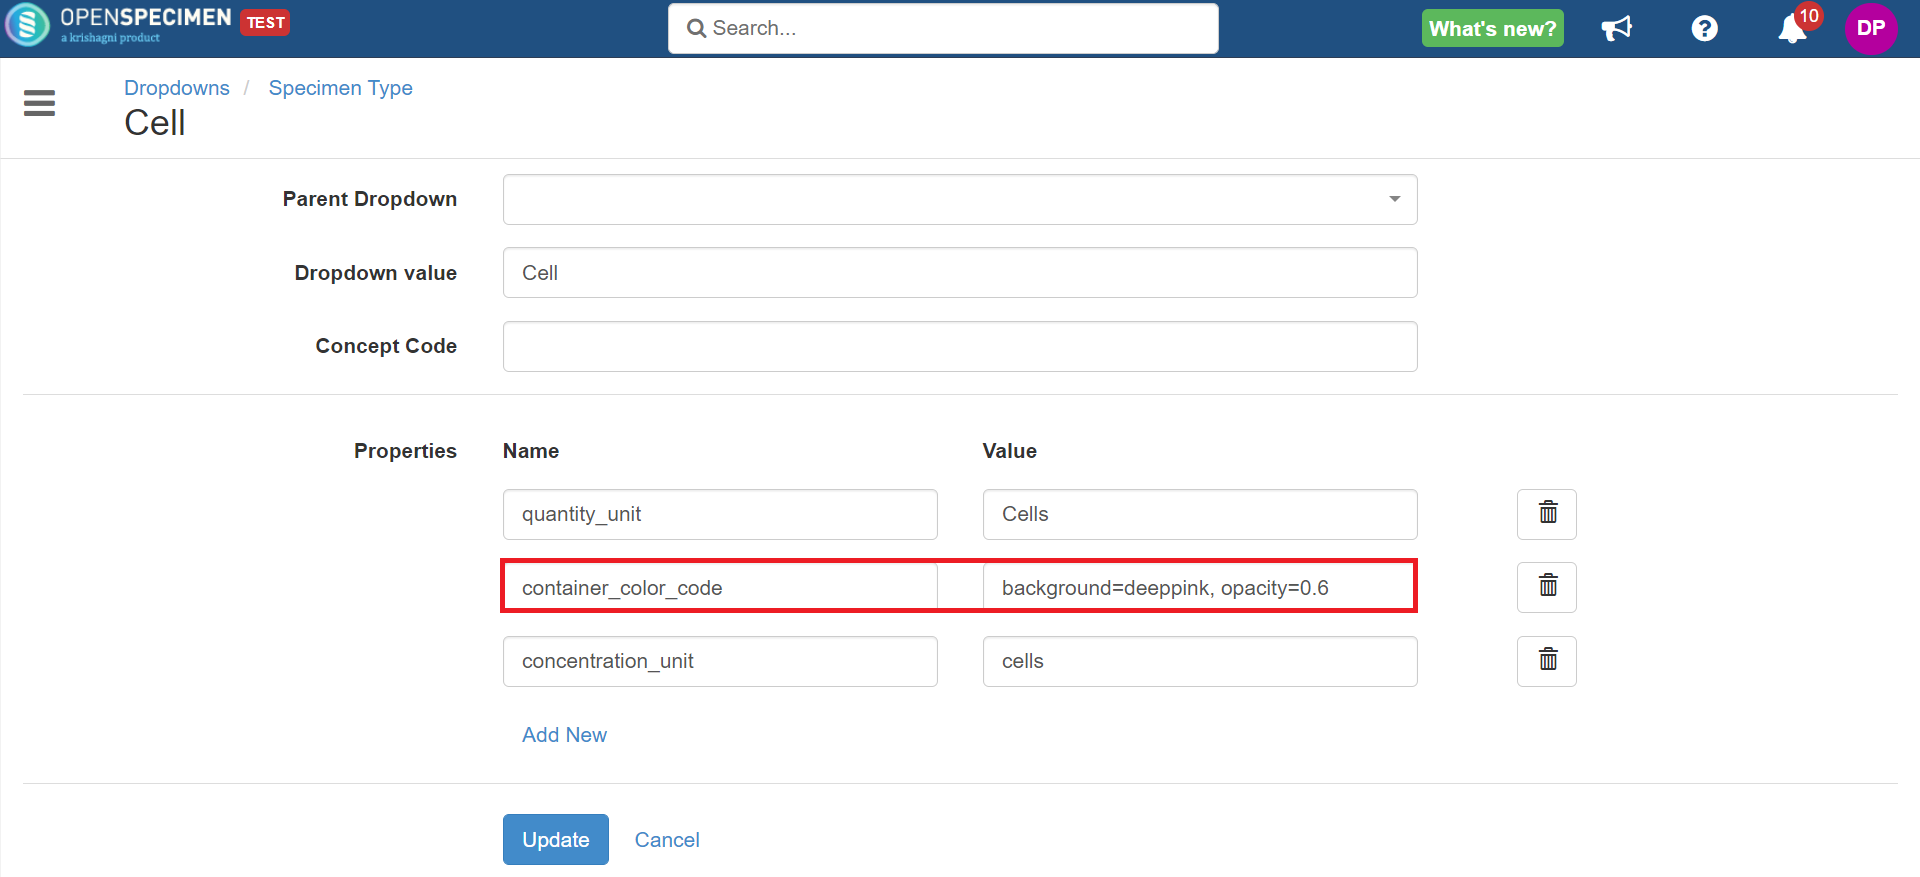 |
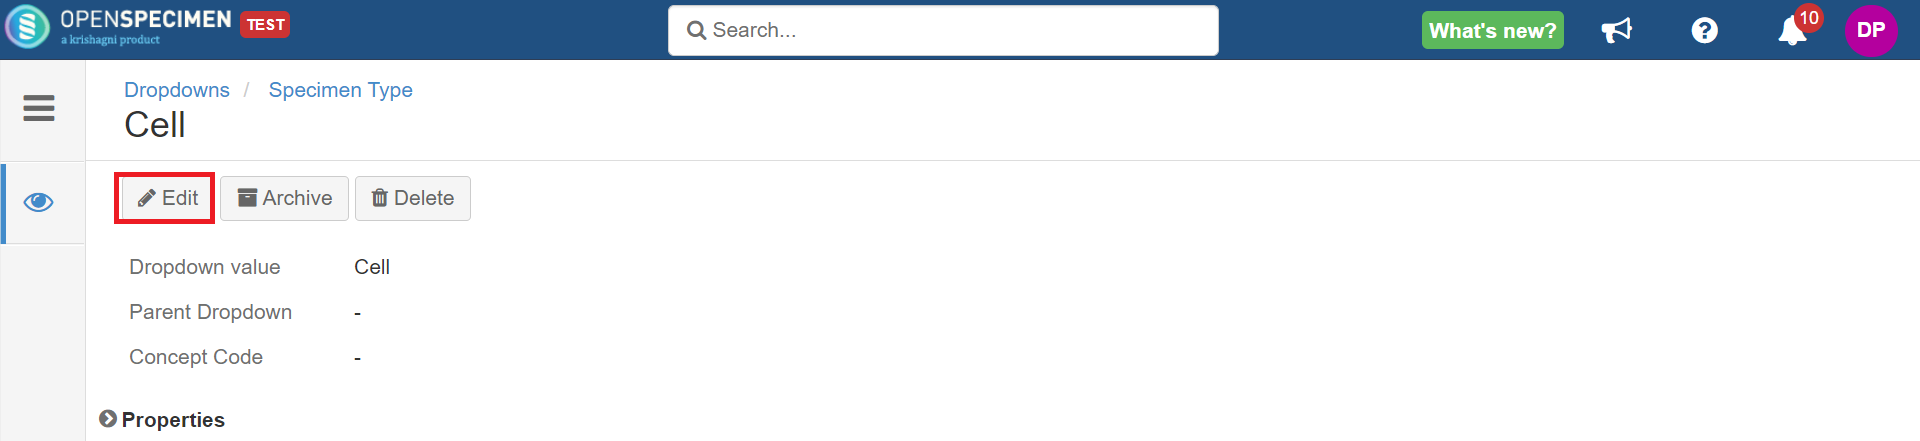
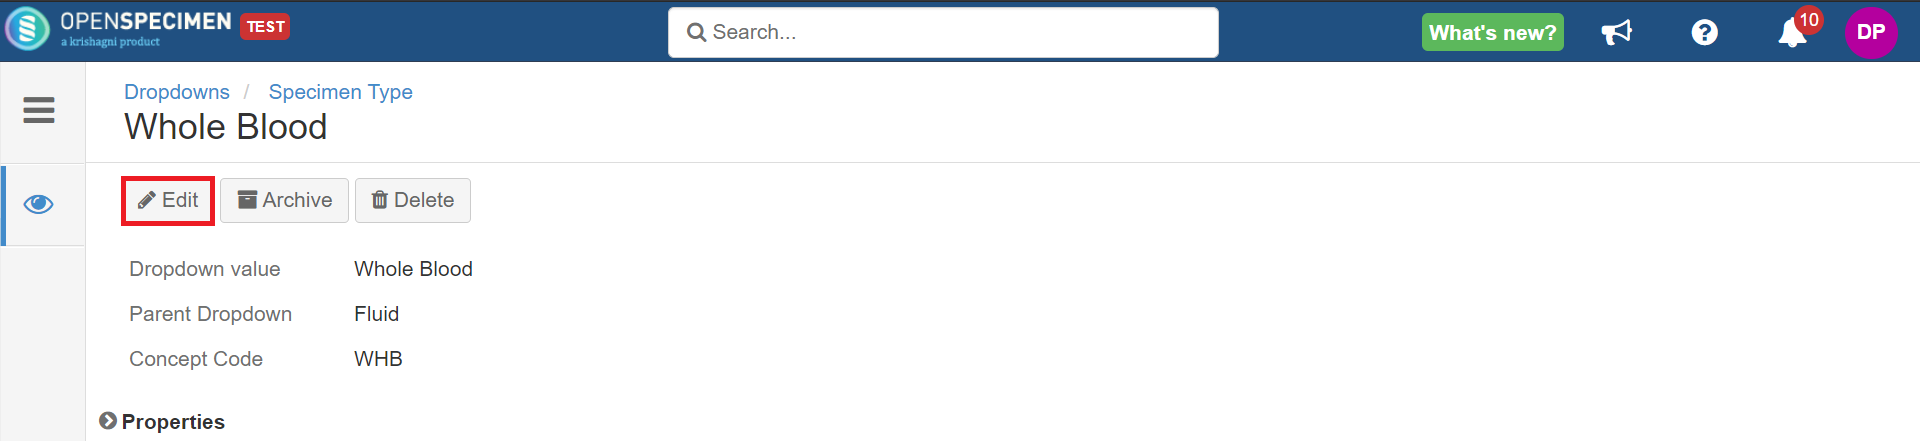
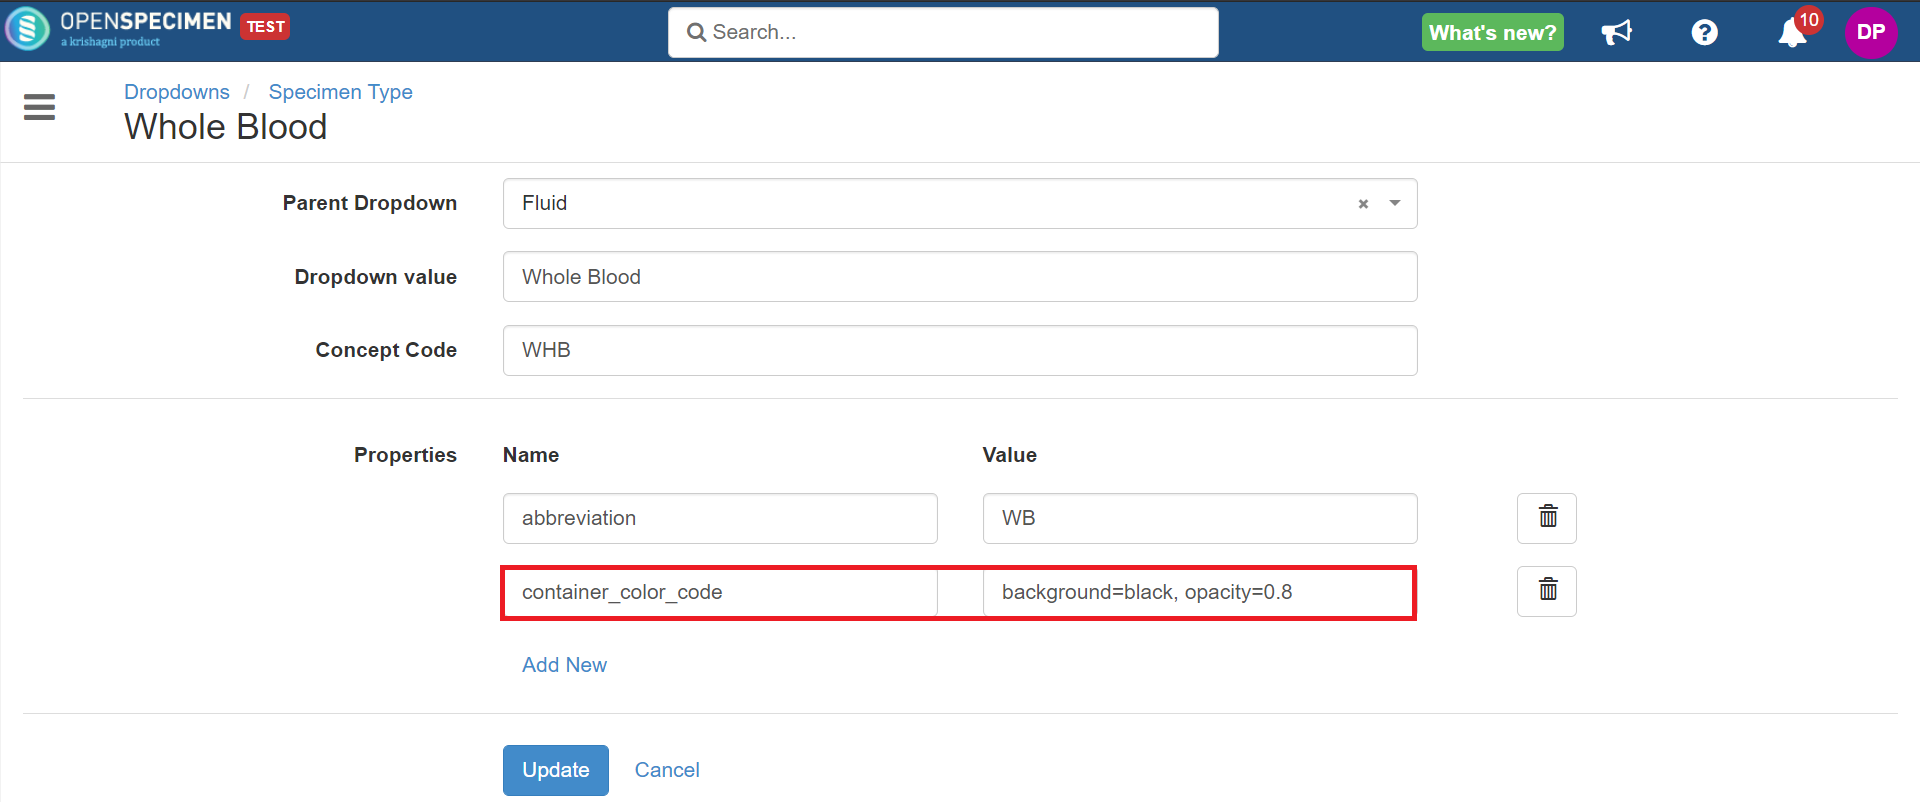
Set Color
...
at Specimen Type Level
You can set different colors a color code for specimen types- a specimen type level. E.g. whole blood, urine, saliva, and so onetc. This will override any specimen class level setting.
| Expand |
|---|

 |
View Color Coding
...
Legend
Go to the map view of the container where the specimens are stored and click on the 'View Color Coding' link.
...